SpringCloud注册中心切换nacos
SpringBoot与nacos版本对应关系
https://github.com/alibaba/spring-cloud-alibaba/wiki/%E7%89%88%E6%9C%AC%E8%AF%B4%E6%98%8E
导读
因为种种原因,现在很多公司微服务的注册中心不在使用eureka,纷纷转向阿里的nacos,公司早就在使用nacos,但是是别人搭建的,出于好奇,今天自己手动创建项目,完整搭建一遍...自己动手丰衣足食
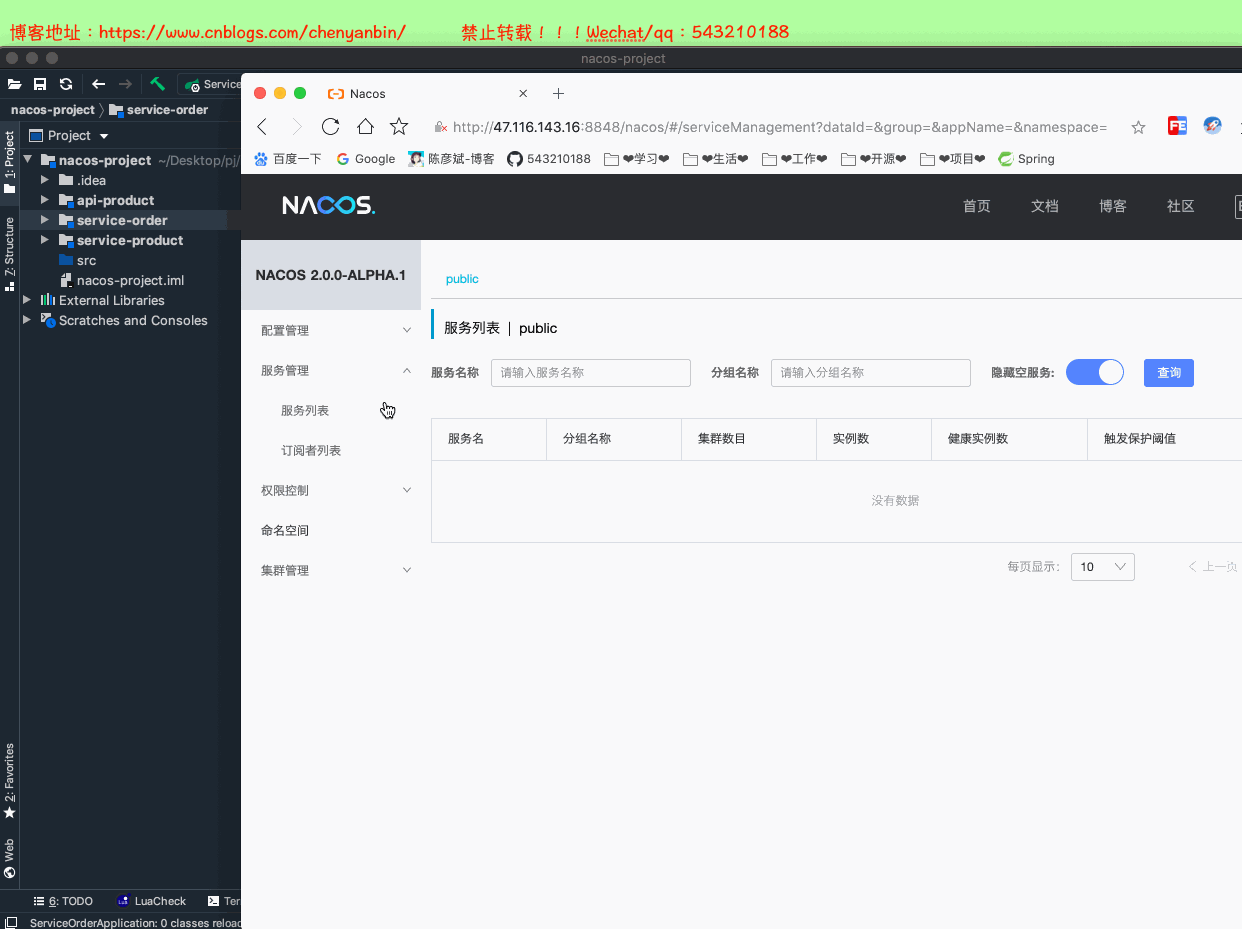
搭建nacos
创建项目
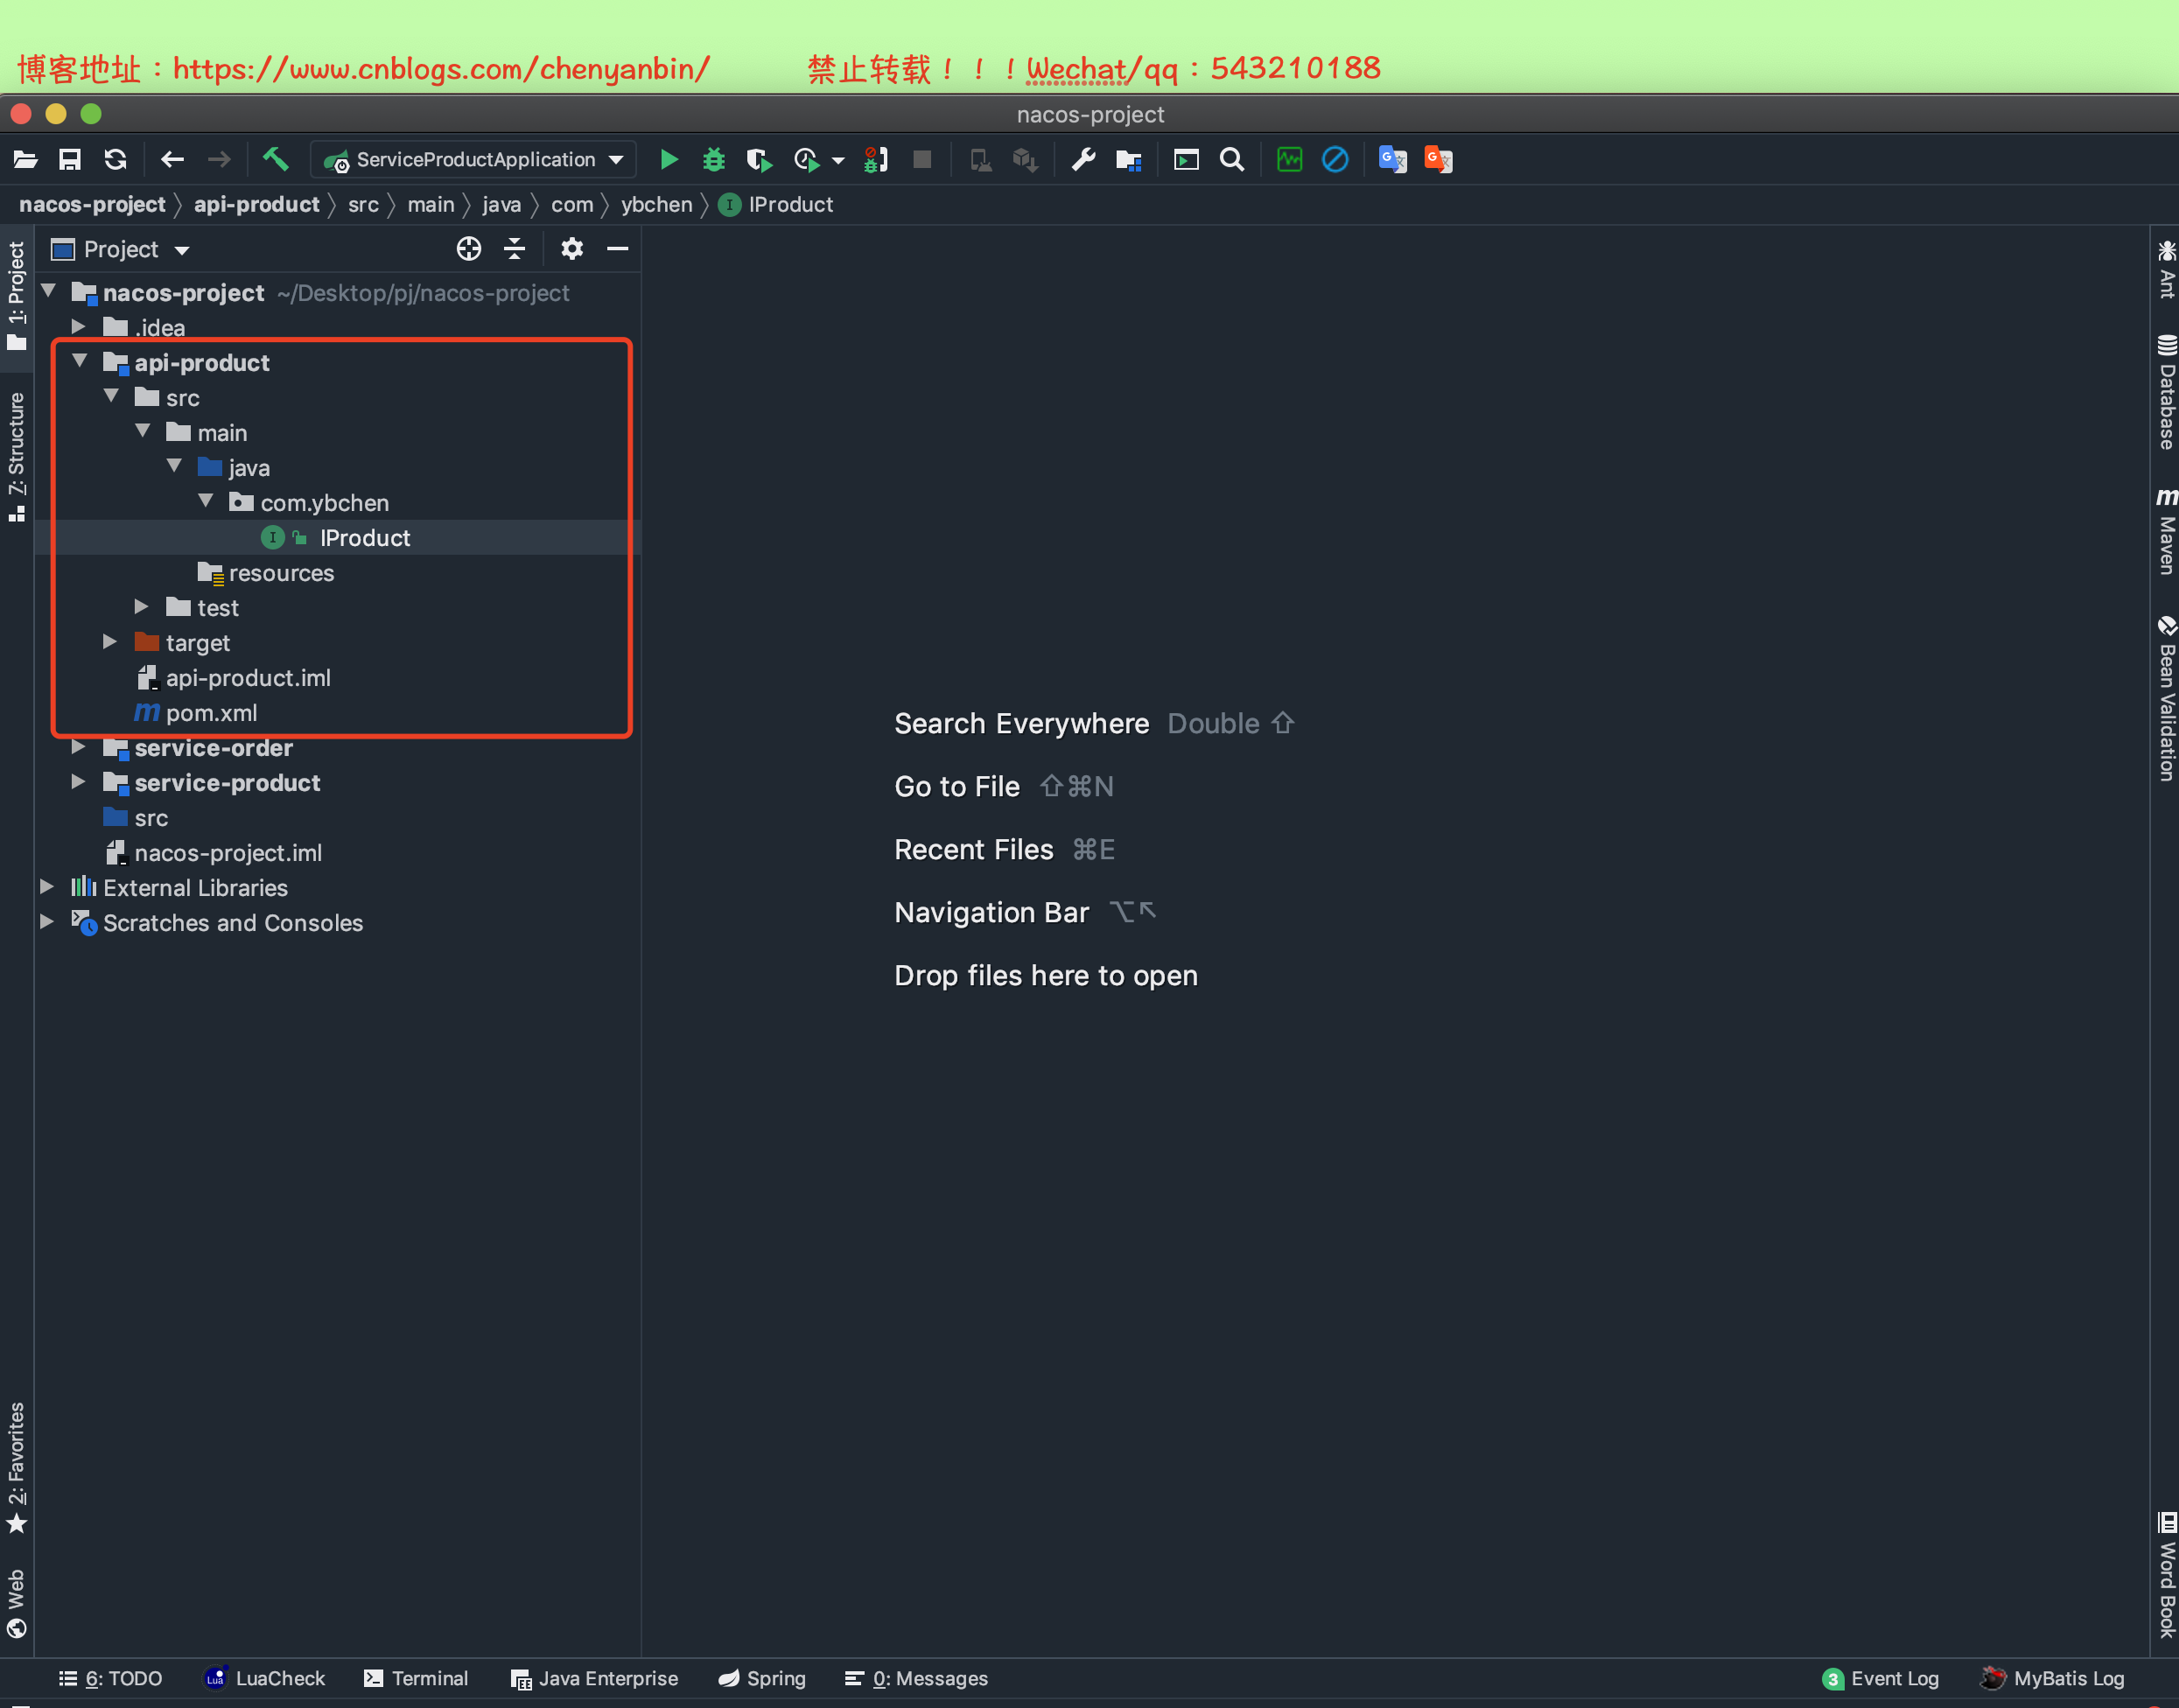
api-product
项目结构
pom.xml


<?xml version="1.0" encoding="UTF-8"?>

<project xmlns="http://maven.apache.org/POM/4.0.0"

         xmlns:xsi="http://www.w3.org/2001/XMLSchema-instance"

         xsi:schemaLocation="http://maven.apache.org/POM/4.0.0 http://maven.apache.org/xsd/maven-4.0.0.xsd">

    <modelVersion>4.0.0</modelVersion>

    <groupId>com.ybchen</groupId>

    <artifactId>api-product</artifactId>

    <version>1.0-SNAPSHOT</version>

    <dependencies>

        <dependency>

            <groupId>org.springframework.cloud</groupId>

            <artifactId>spring-cloud-starter-openfeign</artifactId>

            <version>2.2.0.RELEASE</version>

        </dependency>

    </dependencies>

</project>
pom.xml
IProduct.java
package com.ybchen;

import org.springframework.cloud.openfeign.FeignClient;

import org.springframework.web.bind.annotation.GetMapping;

import org.springframework.web.bind.annotation.RequestMapping;

import org.springframework.web.bind.annotation.RequestParam;

// name=服务名

@FeignClient(name = "service-product")

@RequestMapping("/api/v1/product")

public interface IProduct {

    @GetMapping("getData")

    Object getData(@RequestParam("name") String name);

}
service-product
项目结构

pom.xml
<?xml version="1.0" encoding="UTF-8"?>

<project xmlns="http://maven.apache.org/POM/4.0.0" xmlns:xsi="http://www.w3.org/2001/XMLSchema-instance"

         xsi:schemaLocation="http://maven.apache.org/POM/4.0.0 https://maven.apache.org/xsd/maven-4.0.0.xsd">

    <modelVersion>4.0.0</modelVersion>

    <parent>

        <groupId>org.springframework.boot</groupId>

        <artifactId>spring-boot-starter-parent</artifactId>

        <version>2.1.18.RELEASE</version>

        <relativePath/> <!-- lookup parent from repository -->

    </parent>

    <groupId>com.ybchen</groupId>

    <artifactId>service-product</artifactId>

    <version>0.0.1-SNAPSHOT</version>

    <name>service-product</name>

    <description>Demo project for Spring Boot</description>

    <properties>

        <java.version>1.8</java.version>

    </properties>

    <dependencies>

        <dependency>

            <groupId>com.ybchen</groupId>

            <artifactId>api-product</artifactId>

            <version>1.0-SNAPSHOT</version>

        </dependency>

        <dependency>

            <groupId>org.springframework.boot</groupId>

            <artifactId>spring-boot-starter-web</artifactId>

        </dependency>

        <dependency>

            <groupId>org.springframework.boot</groupId>

            <artifactId>spring-boot-starter-test</artifactId>

            <scope>test</scope>

        </dependency>

        <!--nacos-->

        <dependency>

            <groupId>com.alibaba.cloud</groupId>

            <artifactId>spring-cloud-starter-alibaba-nacos-config</artifactId>

            <version>2.0.0.RELEASE</version>

        </dependency>

        <dependency>

            <groupId>com.alibaba.cloud</groupId>

            <artifactId>spring-cloud-starter-alibaba-nacos-discovery</artifactId>

            <version>2.0.0.RELEASE</version>

        </dependency>

        <!--ribbon-->

        <dependency>

            <groupId>org.springframework.cloud</groupId>

            <artifactId>spring-cloud-starter-netflix-ribbon</artifactId>

        </dependency>

        <!--openfeign-->

        <dependency>

            <groupId>org.springframework.cloud</groupId>

            <artifactId>spring-cloud-starter-openfeign</artifactId>

        </dependency>

    </dependencies>

    <!--管理cloud-->

    <dependencyManagement>

        <dependencies>

            <dependency>

                <groupId>org.springframework.cloud</groupId>

                <artifactId>spring-cloud-dependencies</artifactId>

                <version>Greenwich.SR6</version>

                <type>pom</type>

                <scope>import</scope>

            </dependency>

        </dependencies>

    </dependencyManagement>

    <build>

        <plugins>

            <plugin>

                <groupId>org.springframework.boot</groupId>

                <artifactId>spring-boot-maven-plugin</artifactId>

            </plugin>

        </plugins>

    </build>

</project>
pom.xml
application.properties
server.port=8888

#nacos config

spring.cloud.nacos.discovery.server-addr=47.116.143.16:8848

spring.application.name=service-product
bootstrap.properties
#nacos config

spring.cloud.nacos.config.server-addr=47.116.143.16:8848

spring.application.name=service-product
ServiceProductApplication.java
package com.ybchen.serviceproduct;

import org.springframework.boot.SpringApplication;

import org.springframework.boot.autoconfigure.SpringBootApplication;

import org.springframework.cloud.client.discovery.EnableDiscoveryClient;

import org.springframework.cloud.client.loadbalancer.LoadBalanced;

import org.springframework.cloud.openfeign.EnableFeignClients;

import org.springframework.context.annotation.Bean;

import org.springframework.web.client.RestTemplate;

@EnableFeignClients

@EnableDiscoveryClient

@SpringBootApplication

public class ServiceProductApplication {

    @Bean

    @LoadBalanced

    public RestTemplate restTemplate() {

        return new RestTemplate();

    }

    public static void main(String[] args) {

        SpringApplication.run(ServiceProductApplication.class, args);

    }

}
IProductImpl.java
package com.ybchen.serviceproduct.service;

import com.ybchen.IProduct;

import org.springframework.web.bind.annotation.RestController;

import java.util.HashMap;

import java.util.Map;

/**

 * @Description:

 * @Author:chenyanbin

 * @Date:2020/12/26 4:07 下午

 * @Versiion:1.0

 */

@RestController

public class IProductImpl implements IProduct {

    @Override

    public Object getData(String name) {

        Map<String,String> resultMap=new HashMap<>();

        resultMap.put("id","1");

        resultMap.put("name",name);

        return resultMap;

    }

}
service-order
项目结构

pom.xml
<?xml version="1.0" encoding="UTF-8"?>

<project xmlns="http://maven.apache.org/POM/4.0.0" xmlns:xsi="http://www.w3.org/2001/XMLSchema-instance"

         xsi:schemaLocation="http://maven.apache.org/POM/4.0.0 https://maven.apache.org/xsd/maven-4.0.0.xsd">

    <modelVersion>4.0.0</modelVersion>

    <parent>

        <groupId>org.springframework.boot</groupId>

        <artifactId>spring-boot-starter-parent</artifactId>

        <version>2.1.18.RELEASE</version>

        <relativePath/> <!-- lookup parent from repository -->

    </parent>

    <groupId>com.ybchen</groupId>

    <artifactId>service-order</artifactId>

    <version>0.0.1-SNAPSHOT</version>

    <name>service-order</name>

    <description>Demo project for Spring Boot</description>

    <properties>

        <java.version>1.8</java.version>

    </properties>

    <dependencies>

        <dependency>

            <groupId>com.ybchen</groupId>

            <artifactId>api-product</artifactId>

            <version>1.0-SNAPSHOT</version>

        </dependency>

        <dependency>

            <groupId>org.springframework.boot</groupId>

            <artifactId>spring-boot-starter-web</artifactId>

        </dependency>

        <dependency>

            <groupId>org.springframework.boot</groupId>

            <artifactId>spring-boot-starter-test</artifactId>

            <scope>test</scope>

            <exclusions>

                <exclusion>

                    <groupId>org.junit.vintage</groupId>

                    <artifactId>junit-vintage-engine</artifactId>

                </exclusion>

            </exclusions>

        </dependency>

        <!--nacos-->

        <dependency>

            <groupId>com.alibaba.cloud</groupId>

            <artifactId>spring-cloud-starter-alibaba-nacos-config</artifactId>

            <version>2.0.0.RELEASE</version>

        </dependency>

        <dependency>

            <groupId>com.alibaba.cloud</groupId>

            <artifactId>spring-cloud-starter-alibaba-nacos-discovery</artifactId>

            <version>2.0.0.RELEASE</version>

        </dependency>

        <!--ribbon-->

        <dependency>

            <groupId>org.springframework.cloud</groupId>

            <artifactId>spring-cloud-starter-netflix-ribbon</artifactId>

        </dependency>

        <!--openfeign-->

        <dependency>

            <groupId>org.springframework.cloud</groupId>

            <artifactId>spring-cloud-starter-openfeign</artifactId>

        </dependency>

    </dependencies>

    <!--管理cloud-->

    <dependencyManagement>

        <dependencies>

            <dependency>

                <groupId>org.springframework.cloud</groupId>

                <artifactId>spring-cloud-dependencies</artifactId>

                <version>Greenwich.SR6</version>

                <type>pom</type>

                <scope>import</scope>

            </dependency>

        </dependencies>

    </dependencyManagement>

    <build>

        <plugins>

            <plugin>

                <groupId>org.springframework.boot</groupId>

                <artifactId>spring-boot-maven-plugin</artifactId>

            </plugin>

        </plugins>

    </build>

</project>
pom.xml
application.properties
server.port=9999

#nacos config

spring.cloud.nacos.discovery.server-addr=47.116.143.16:8848

spring.application.name=service-order
bootstrap.properties
#nacos config

spring.cloud.nacos.config.server-addr=47.116.143.16:8848

spring.application.name=service-order
ServiceOrderApplication.java
package com.ybchen.serviceorder;

import com.ybchen.IProduct;

import org.springframework.boot.SpringApplication;

import org.springframework.boot.autoconfigure.SpringBootApplication;

import org.springframework.cloud.client.discovery.EnableDiscoveryClient;

import org.springframework.cloud.client.loadbalancer.LoadBalanced;

import org.springframework.cloud.openfeign.EnableFeignClients;

import org.springframework.context.annotation.Bean;

import org.springframework.web.client.RestTemplate;

@EnableFeignClients(clients = {

        IProduct.class

})

@EnableDiscoveryClient

@SpringBootApplication

public class ServiceOrderApplication {

    @Bean

    @LoadBalanced

    public RestTemplate restTemplate() {

        return new RestTemplate();

    }

    public static void main(String[] args) {

        SpringApplication.run(ServiceOrderApplication.class, args);

    }

}
PayVO.java
package com.ybchen.serviceorder.vo;

/**

 * @Description:

 * @Author:chenyanbin

 * @Date:2020/12/26 4:11 下午

 * @Versiion:1.0

 */

public class PayVO {

    private String name;

    public String getName() {

        return name;

    }

    public void setName(String name) {

        this.name = name;

    }

    @Override

    public String toString() {

        return "PayVO{" +

                "name='" + name + '\'' +

                '}';

    }

}
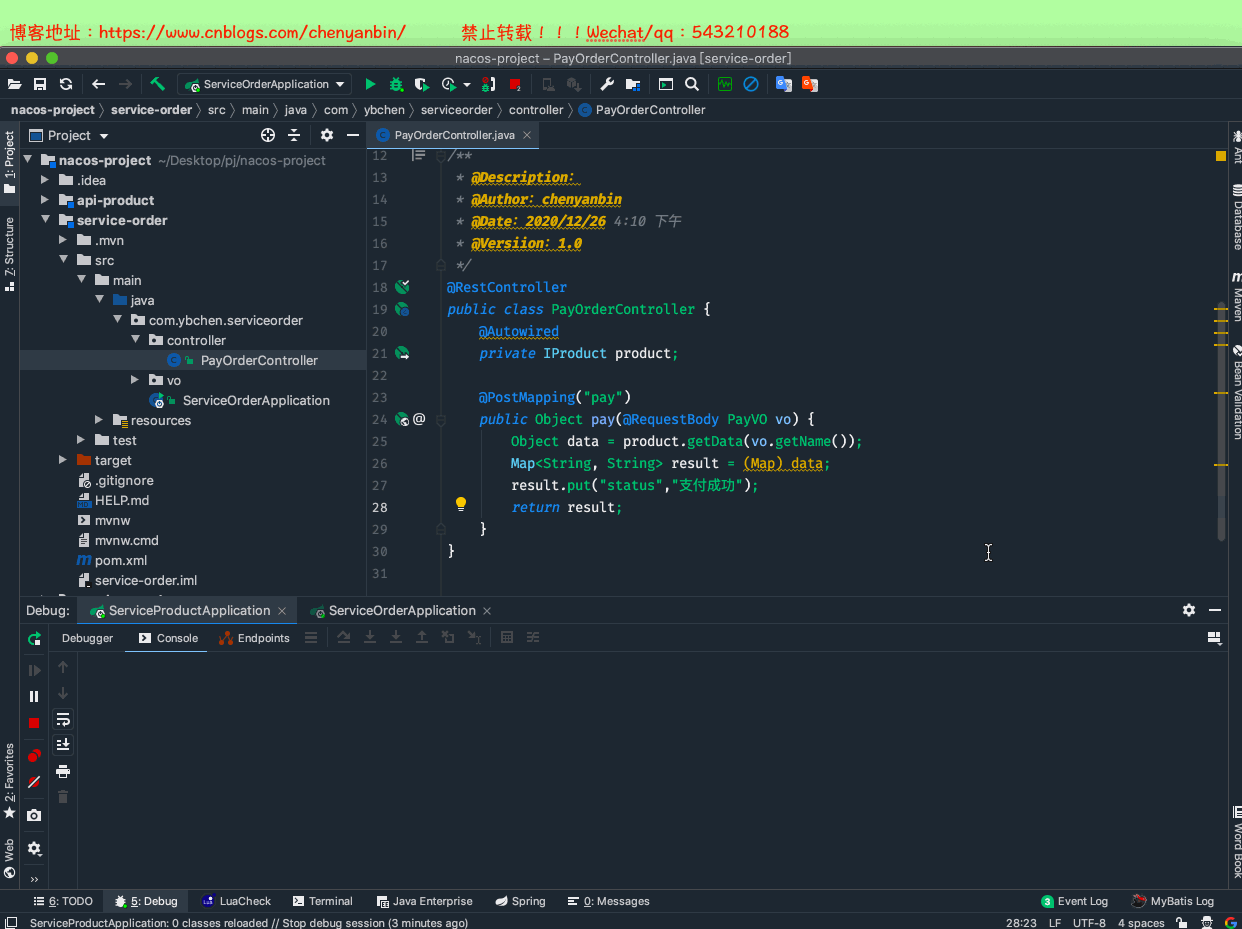
PayOrderController.java
package com.ybchen.serviceorder.controller;

import com.ybchen.IProduct;

import com.ybchen.serviceorder.vo.PayVO;

import org.springframework.beans.factory.annotation.Autowired;

import org.springframework.web.bind.annotation.PostMapping;

import org.springframework.web.bind.annotation.RequestBody;

import org.springframework.web.bind.annotation.RestController;

import java.util.Map;

/**

 * @Description:

 * @Author:chenyanbin

 * @Date:2020/12/26 4:10 下午

 * @Versiion:1.0

 */

@RestController

public class PayOrderController {

    @Autowired

    private IProduct product;

    @PostMapping("pay")

    public Object pay(@RequestBody PayVO vo) {

        Object data = product.getData(vo.getName());

        Map<String, String> result = (Map) data;

        result.put("status","支付成功");

        return result;

    }

}
项目启动
测试
项目源码
链接: https://pan.baidu.com/s/1EfYjpiJaAKCyuLKnPiqckw 密码: o3uf
SpringCloud注册中心切换nacos的更多相关文章
- 【Docker】(5)---springCloud注册中心打包Docker镜像
[Docker](5)---springCloud注册中心打包Docker镜像 上一篇文章讲了将镜像推送到远处私有仓库,然后再从私有仓库拉取该镜像的过程.而这里的镜像是直接从Docker拉取的. 所以 ...
- IDEA快速搭建 SpringCloud 注册中心与
第一步:创建 注册中心(eureka)项目 按照以下步骤一步一步来(只是对于IDEA的初学者来说) (我这里选择maven项目.比较方便) 给注册中心项目 取上可爱的名称 第二步配置 eureka的p ...
- 【springcloud alibaba】注册中心之nacos
1.为什么需要注册中心 1.1 没有注册中心会怎么样 1.2 注册中心提供什么功能以及解决什么问题 2.常用的微服务注册中心对比 3.案例项目父工程 4.nacos作为注册中心的使用 4.1 单机版的 ...
- SpringCloud注册中心(Eureka)
注册中心的作用就是用来方便接口暴露出来的一个管理工具,如果所有的接口只是暴露出来,没有一个同一的管理工具,又有谁知道你暴露了哪些接口了,Eureka是一个springcloud的服务注册和发现模块 搭 ...
- 【架构】SpringCloud 注册中心、负载均衡、熔断器、调用监控、API网关示例
示例代码: https://github.com/junneyang/springcloud-demo 参考资料: SpringCloud系列 Eureka 一句话概括下spring框架及spring ...
- springcloud注册中心Eureka<英 [juəˈri:kə]>的基本搭建
1.http://start.spring.io搭建基本的springboot环境,版本用的是1.5.10 2.在pom文件中添加注册中心的jar包和springcloud的jar包 <!-- ...
- springcloud注册中心eureka
1.前提 springcloud的注册中心是以springboot为基础搭建起来的. 开发工具:IDEA 项目管理工具:maven 2.搭建步骤 创建一个web项目(建议使用IDEA工具构建项目) 修 ...
- SpringCloud注册中心环境搭建euraka
- 学习一下 SpringCloud (六)-- 注册中心与配置中心 Nacos、网关 Gateway
(1) 相关博文地址: 学习一下 SpringCloud (一)-- 从单体架构到微服务架构.代码拆分(maven 聚合): https://www.cnblogs.com/l-y-h/p/14105 ...
- SpringCloud Alibaba实战(7:nacos注册中心管理微服务)
源码地址:https://gitee.com/fighter3/eshop-project.git 持续更新中-- 在上一节我们已经完成了Nacos Server的本地部署,这一节我们学习如何将Nac ...
随机推荐
- MySQL如何快速获取binlog的开始时间和结束时间
之前写过一篇文章MySQL如何获取binlog的开始时间和结束时间[1],文章里面介绍了如何获取MySQL数据库二进制日志(binlog)的开始时间与结束时间的一些方法.实际应用当中,我们可能还会遇到 ...
- 扩展实现Unity协程的完整栈跟踪
现如今Unity中的协程(Coroutine)方案已显得老旧,Unitask等异步方案可以做到异常捕获等yield关键字处理起来很麻烦的问题, 并且Unity官方也在开发一套异步方案,但对于临时加入到 ...
- CMD文件内容统计程序简单版本
WordCount命令行程序通过CMD接收参数,输出统计结果到指定文件. 项目码云地址:https://gitee.com/ggtc/WordCount.git 实现的功能有: 统计文件字符数 1 u ...
- call failed:, {"errMsg": "canvasToTempFilePath:fail invalid viewId"}苹果设备保存离屏 canvas 问题
call failed:, {"errMsg": "canvasToTempFilePath:fail invalid viewId"}苹果设备保存离屏 can ...
- Clear Code for Minimal API
我在写MinimalAPI的时候,发现不能最清晰的看到每个API,原因就是:WebAPI中不断增长逻辑处理过程 于是我在想如何简化API至一行,在一点一点想办法中,发现了简化DotNET Minima ...
- FolkMq v1.4.6 发布(可以内嵌的消息中间件)
功能简表 角色 功能 生产者(客户端) 发布消息.定时消息(或叫延时).顺序消息.可过期消息.事务消息.支持 Qos0.Qos1 消费者(客户端) 订阅.取消订阅.消费-ACK(自动.手动) 服务端 ...
- 性能优化陷阱之hash真的比strcmp快吗
最近网上冲浪的时候看到有人分享了自己最近一次性能优化的经验.我向来对性能是比较敏感的,所以就点进去看了. 然而我越看越觉得蹊跷,但本着"性能问题和性能优化要靠性能测试做依据",我不 ...
- nginx源码安装步骤
1.安装依赖包 yum install -y gcc yum install -y pcre pcre-devel yum install -y zlib zlib-devel yum install ...
- RabbitMQ 进阶使用之延迟队列 → 订单在30分钟之内未支付则自动取消
开心一刻 晚上,媳妇和儿子躺在沙发上 儿子疑惑的问道:妈妈,你为什么不去上班 媳妇:妈妈的人生目标是前20年靠父母养,后40年靠你爸爸养,再往后20年就靠你和妹妹养 儿子:我可养不起 媳妇:为什么 儿 ...
- ajax 请求接口实例
通过 HTTP 请求加载远程数据. jQuery 底层 AJAX 实现.简单易用的高层实现见 $.get, $.post 等.$.ajax() 返回其创建的 XMLHttpRequest 对象.大多数 ...