How to Install Tomcat 8.0.27 on CentOS/RHEL and Ubuntu【转】
https://tecadmin.net/install-tomcat-8-on-centos-rhel-and-ubuntu/
Apache Tomcat is an opensource web hosting server for Java based web application. Tomcat is licensed under Apache License version 2. Apache has released stable version of Tomcat 8 on June 25, 2014. Which is available for download on its official site. Apache tomcat 8 has upgraded some features. Below are few details about Tomcat 8.
- Tomcat 8 requires JAVA 7 or Higher to work.
- Tomcat 8 supports Java Servlet 3.1
- Tomcat 8 supports JavaServer Pages 2.3
- Tomcat 8 supports Java Unified Expression Language 3.0
- Tomcat 8 supports Java WebSocket 1.0
This article will help you to Install Tomcat 8 on your CentOS/RHEL and Ubuntu systems. Tomcat 8 stable release is available for download. To install other version of tomcat visit Install Tomcat 7 on CentOS/RHEL or Install Tomcat 7 on Ubuntu as per your operating system used.
Step 1 – Verify JAVA
JAVA is the first requirement of Tomcat installation. Use following command to check if you have java installed already on your system.
# java -version

java version "1.8.0_60"

Java(TM) SE Runtime Environment (build 1.8.0_60-b27)

Java HotSpot(TM) 64-Bit Server VM (build 25.60-b23, mixed mode)
Tomcat 8 is designed to run on Java SE 7 and later. So make sure you have installed correct version on your system. If you don’t have Java installed on your system or installed lower version, use one of following link to install Java first.
Step 2 – Downloading Tomcat Archive
Download Apache Tomcat 8 archive file using following commands or you can visit Tomcat 8official download page for download most recent available version. After downloading extract archive file in /opt directory. You may change this location as per your setup.
# cd /opt

# wget http://www.us.apache.org/dist/tomcat/tomcat-8/v8.0.27/bin/apache-tomcat-8.0.27.tar.gz

# tar xzf apache-tomcat-8.0.27.tar.gz
Step 3 – Configure Environment Variables
Before starting Tomcat, configure CATALINA_HOME environment variable in your system using following commands.
# echo "export CATALINA_HOME="/opt/apache-tomcat-8.0.27"" >> ~/.bashrc

# source ~/.bashrc
Step 4 – Starting Tomcat
Tomcat is very easy to use, There are no need to compile its source. You simple extract the archive and start the tomcat server. Tomcat by default start on port 8080, So make sure no other application using the same port.
# cd /opt/apache-tomcat-8.0.27

# ./bin/startup.sh
[Sample Output]
Using CATALINA_BASE:   /opt/apache-tomcat-8.0.27

Using CATALINA_HOME:   /opt/apache-tomcat-8.0.27

Using CATALINA_TMPDIR: /opt/apache-tomcat-8.0.27/temp

Using JRE_HOME:        /opt/jdk1.8.0_60

Using CLASSPATH:       /opt/apache-tomcat-8.0.27/bin/bootstrap.jar:/opt/apache-tomcat-8.0.27/bin/tomcat-juli.jar

Tomcat started.
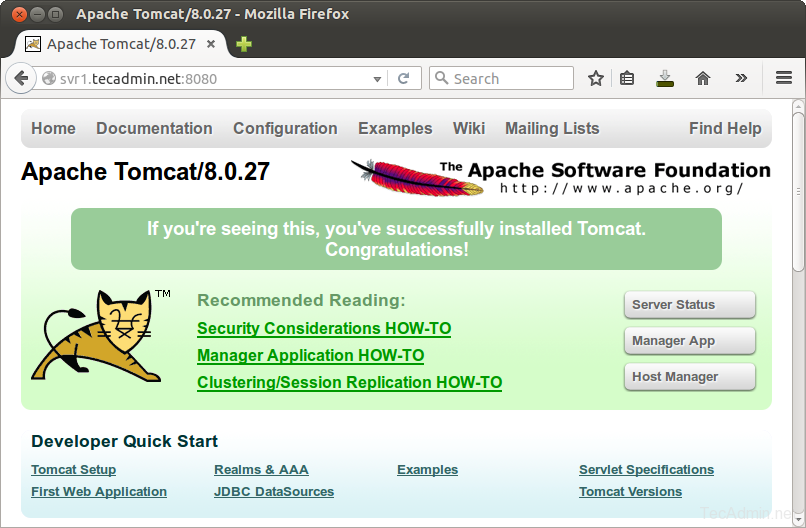
Step 5 – Access Tomcat in Browser
Tomcat server works on port 8080 default. Access tomcat on web browser by connecting your server on port 8080.
http://svr1.tecadmin.net:8080
Step 6 – Setup User Accounts
Finally we need to create user accounts to secure and access admin/manager pages. Editconf/tomcat-users.xml file in your editor and paste inside <tomcat-users> </tomcat-users> tags.
<!-- user manager can access only manager section -->

<role rolename="manager-gui" />

<user username="manager" password="_SECRET_PASSWORD_" roles="manager-gui" />

<!-- user admin can access manager and admin section both -->

<role rolename="admin-gui" />

<user username="admin" password="_SECRET_PASSWORD_" roles="manager-gui,admin-gui" />
How to Install Tomcat 8.0.27 on CentOS/RHEL and Ubuntu【转】的更多相关文章
- Install OpenCV 3.0 and Python 2.7+ on Ubuntu
为了防止原文消失或者被墙,转载留个底,最好还是去看原贴,因为随着版本变化,原贴是有人维护升级的 http://www.pyimagesearch.com/2015/06/22/install-Open ...
- Adobe Flash Player 27 on Fedora 27/26, CentOS/RHEL 7.4/6.9
This is guide, howto install Adobe Flash Player Plugin version 27 (32-bit and 64-bit) with YUM/DNF o ...
- Install Tomcat 6 on CentOS or RHEL --转载
source:http://www.davidghedini.com/pg/entry/install_tomcat_6_on_centos This post will cover installa ...
- 转: How to Install MongoDB 3.2 on CentOS/RHEL & Fedora (简单易懂)
from: http://tecadmin.net/install-mongodb-on-centos-rhel-and-fedora/ MongoDB (named from “huMONGOus ...
- Eclipse配置tomcat8.5.7报错:The Apache Tomcat installation at this directory is version 8.5.27. A Tomcat 8.0 installation is...
Eclipse配置tomcat8.5.7报错:The Apache Tomcat installation at this directory is version 8.5.27. A Tomcat ...
- Linux Tomcat 6.0安装配置实践总结
系统环境: Red Hat Enterprise Linux Server release 5.7 (Tikanga) 64位 Tomcat下载 从官方网站 http://tomcat.apache ...
- Tomcat 9.0安装配置
本文转自:http://blog.sina.com.cn/s/blog_15126e2170102w5o8.html 一.JDK的安装与配置 1.从官网下载jdk,注意是jdk不是jre.最好从官网下 ...
- tomcat之 Tomcat 7.0.78 单机多实例配置
前言:JDK(JavaDevelopment Kit)是Sun Microsystems针对Java开发员的产品.自从Java推出以来,JDK已经成为使用最广泛的javaSDK. JDK是整个Java ...
- 创建Dynamic Web Project时 显示最新Apache Tomcat 8.0 的方法
创建Dynamic Web Project时 显示最新Apache Tomcat 8.0 等的方法 解决办法如下: 第一步:eclipse菜单help->eclipse marketplac ...
随机推荐
- Static需谨慎
Static Cling Sticking Your Code To Things Unnecessarily Static Cling is a code smell used to describ ...
- Series 和 Dataframe 的 rank 方法
rank 方法返回的是当前数据的排名名次,而 sort——values() 返回的是排名之后数据的结果 rank()用法 sort_values()用法
- 图论++【洛谷p1744】特价采购商品&&【一本通1342】最短路径问题
(虽然题面不是很一样,但是其实是一个题qwq) [传送门] 算法标签: 利用Floyed的o(n3)算法: (讲白了就是暴算qwq) 从任意一条单边路径开始.所有两点之间的距离是边的权,或者无穷大,如 ...
- php 安装 redis扩展
https://segmentfault.com/a/1190000009422920 wget 源码编译
- SSH服务器拒绝了密码
一般进行到这一步,可能是sshd的设置不允许root用户远程登录首先修改一下vim /etc/sshd/ssh_config 修改成如下图:然后reboot或者service sshd res ...
- vsto-Word相关操作
//添加页码到页脚 Document doc = Globals.ThisAddIn.Application.ActiveDocument; HeaderFooter hprimary= doc.Se ...
- sql 同一个字段在查询结果中出现两次
SELECT GET .daytime, GET.data AS GET, xh.data AS xh FROM ( SELECT daytime, SUM ( get_sum ) ...
- learning makefile manner of working
- SQL DELETE 语句详解
SQL DELETE 语句详解 DELETE 语句 DELETE 语句用于删除表中的行. 语法 DELETE FROM 表名称 WHERE 列名称 = 值 Person: LastName Fir ...
- SVN客户端使用
1.在SVN服务器添加新的用户,复制SVN URL(路径/目录). 2.在客户端电脑上下载安装SVN客户端,配置hosts文件中的内容和SVN服务器的hosts文件内容一致. hosts路径:C:\W ...