基于SpringBoot从零构建博客网站 - 集成editor.md开发发布文章功能
发布文章功能里面最重要的就是需要集成富文本编辑器,目前富文本编辑器有很多,例如ueditor,CKEditor、editor.md等。这里守望博客里面是集成的editor.md,因为editor.md是markdown格式,目前markdown由于简洁好用,在各种云笔记、github等中得到了广泛使用。
1、集成editor.md
editor.md是在github上开源,开源地址为:https://github.com/pandao/editor.md,下载其发布的最新版本,即:

解压后,将相应的文章添加到系统中,即:
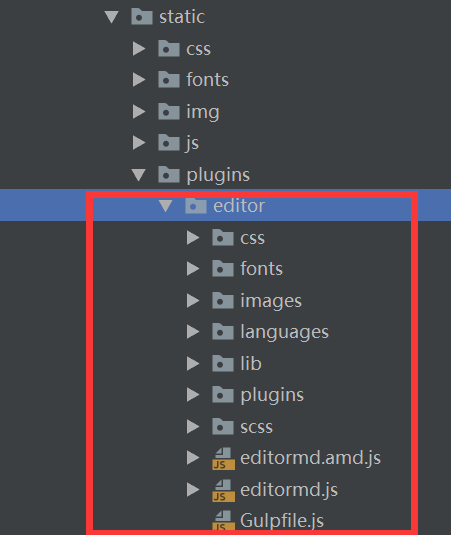
将这些docs、examples、tests文件夹是删除了的,因为这些文件夹里面的文件是不需要用到的。
页面中需要引用的文件如下:
<link href="${rc.contextPath}/static/plugins/editor/css/editormd.min.css" rel="stylesheet">

<script src="${rc.contextPath}/static/plugins/editor/editormd.min.js" type="text/javascript"></script>
页面中只需要引入editor.md中的editormd.min.css和editormd.min.js文件(注意:对于jquery相关的引用是提前就引用好的)。
页面中需要插入富文本编辑器的地方代码如下:
<div class="form-group">

    <div class="col-sm-12" id="article-editormd">

        <textarea style="display:none;"></textarea>

    </div>

</div>
注意标签中有一个id值为article-editormd,后面初始化富文本编辑器时,需要用到。
初始化富文本编辑器的代码如下:
var editor;

$(function () {

    editor = editormd("article-editormd", {

        width: "100%",

        height: 640,

        placeholder: '',

        syncScrolling: "single",

        path: "${rc.contextPath}/static/plugins/editor/lib/",

        saveHTMLToTextarea: true,

        imageUpload: true,

        imageFormats: ["jpg", "jpeg", "gif", "png", "bmp"],

        imageUploadURL: "${rc.contextPath}/upload?_distType=_articleImg",

        imageUploadFileName: "_uploadFile",

        toolbarIcons: "sw"

    });

});
注意:
其中imageUploadFileName参数名,是我扩展的,原生的editor.md是没有这个参数的。扩展这个参数的原因是因为editor.md中对于上传图片的文件名为editormd-image-file,由于守望博客中对于上传模块进行统一抽象,即上传名称统一为_uploadFile,为此就扩展了这个参数进行修改上传图片的文件名。
对于toolbarIcons参数的参数值,也是我扩展的,因为原生的editor.md工具栏的种类只有3种,即:full、simple、mini。这样导致工具栏要么太多了,要么太少了,所以就再定义一个sw,里面工具就是自己想要的工具,即:
sw : [

    "undo", "redo", "|",

    "bold", "del", "italic", "quote", "|",

    "h1", "h2", "h3", "h4", "h5", "h6", "|",

    "list-ul", "list-ol", "hr", "|",

    "link", "image", "code", "preformatted-text", "code-block", "table", "html-entities", "|",

    "watch", "preview", "clear", "search"

]
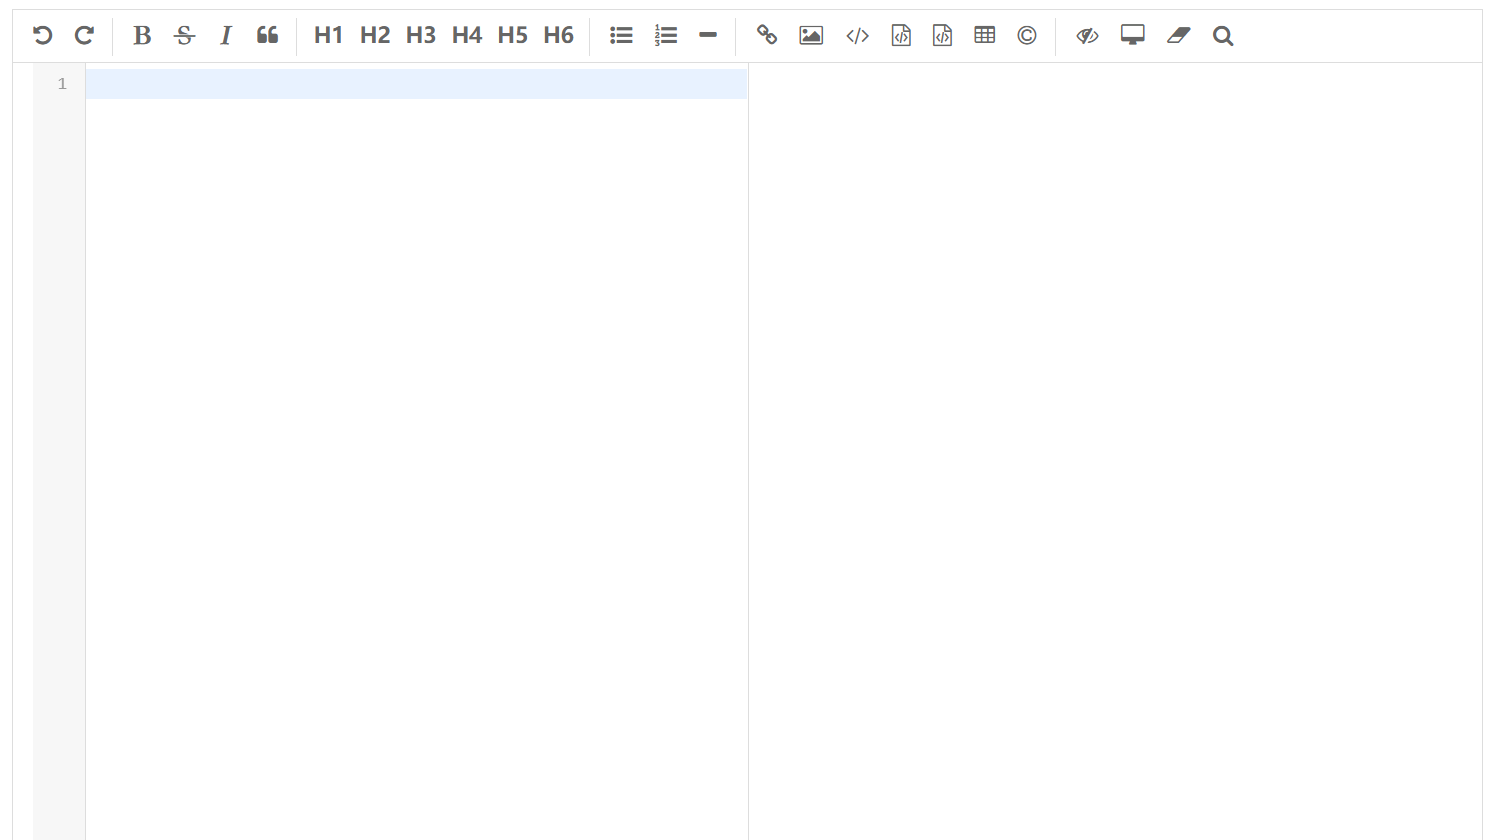
最终富文本编辑器页面效果如下:
2、开发布文章功能
处理文章图片的UploadGroupLogoHandler,内容为:
/**

 * 上传专栏Logo处理类

 *

 * @author lzj

 * @since 1.0

 * @date [2019-07-23]

 */

@Slf4j

@Component("_groupLogo")

public class UploadGroupLogoHandler implements IUploadHandler {

    @Resource(name = "configCache")

    private ICache<Config> configCache;

    @Override

    public Object upload(MultipartFile file, String distType, String userId) throws Exception {

        Map<String, Object> result = new HashMap<String, Object>();

        try {

            // 获取图片的原始名称

            String originalName = file.getOriginalFilename();

            // 判断图片的类型

            if (!(originalName.endsWith(".jpg") || originalName.endsWith(".JPG") || originalName.endsWith(".png") || originalName.endsWith(".PNG") || originalName.endsWith(".gif") || originalName.endsWith(".GIF") || originalName.endsWith(".jpeg") || originalName.endsWith(".JPEG"))) {

                throw new TipException("您上传的图片类型有误,请上传格式为jpg、png或gif");

            }

            // 获取图片的大小

            long fileSize = file.getSize();

            // 图片大小不能超过2M, 2M = 2 * 1024 * 1024B = 2097152B

            if (fileSize > 2097152L) {

                throw new TipException("您上传的图片超过2M");

            }

            Config config = configCache.get(Config.CONFIG_IMG_GROUP_LOGO_PATH);

            // 保存头像的根目录

            String basePath = config.getConfigValue();

            if (!(basePath.endsWith("/") || basePath.endsWith("\\"))) {

                basePath += "/";

            }

            // 根据当前时间构建yyyyMM的文件夹,建立到月的文件夹

            String dateDirName = DateUtil.date2Str(new Date(), DateUtil.YEAR_MONTH_FORMAT);

            basePath += dateDirName;

            File imageDir = new File(basePath);

            if (!imageDir.exists()) {

                imageDir.mkdirs();

            }

            String fileNewName = IdGenarator.guid() + originalName.substring(originalName.lastIndexOf("."));

            FileUtil.copy(file.getInputStream(), new FileOutputStream(new File(imageDir, fileNewName)));

            result.put("url", dateDirName + "/" + fileNewName);

            result.put("msg", "上传成功");

        } catch (TipException e) {

            result.put("url", "");

            result.put("msg", e.getMessage());

        } catch (Exception e) {

            log.error("上传失败", e);

            result.put("url", "");

            result.put("msg", "上传失败");

        }

        return result;

    }

    @Override

    public void download(String fileId, HttpServletResponse response) throws Exception {

    }

    @Override

    public Object list(String distType, String userId) throws Exception {

        return null;

    }

}
加载出发布文章页面核心代码为:
/**

 * 加载出新增文章页面

 *

 * @param model

 * @param request

 * @param session

 * @return

 */

@RequestMapping(value = "/user/article/add", method = RequestMethod.GET)

public String add(Model model, HttpServletRequest request, HttpSession session) {

    // 获取登录信息

    User tempUser = (User) session.getAttribute(Const.SESSION_USER);

    String userId = tempUser.getUserId();

    // 获取用户信息

    User user = userService.getById(userId);

    // 构建专栏的查询条件

    Map<String, Object> params = new HashMap<String, Object>();

    params.put("creator", user.getUserId());

    params.put("status", Group.STATUS_SUCCESS);

    List<Group> groups = groupService.list(new QueryWrapper<Group>().allEq(params).orderByDesc("createTime"));

    model.addAttribute("user", user);

    model.addAttribute("groups", groups);

    return Const.BASE_INDEX_PAGE + "blog/article/add";

}
处理发布文章的核心代码为:
/**

 * 新增文章

 *

 * @param request

 * @param session

 * @return

 */

@RequestMapping(value = "/user/article/add", method = RequestMethod.POST)

@ResponseBody

public Result add(HttpServletRequest request, HttpSession session) {

    Result result = new Result();

    try {

        // 接收参数

        String groupId = request.getParameter("groupId");

        String title = request.getParameter("title");

        String content = request.getParameter("content");

        String tag = request.getParameter("tag");

        String description = request.getParameter("description");

        String typeStr = request.getParameter("type");

        String canTopStr = request.getParameter("canTop");

        String canCommentStr = request.getParameter("canComment");

        // 校验参数

        if (StringUtils.isEmpty(title) || StringUtils.isEmpty(content) || StringUtils.isEmpty(description)) {

            throw new TipException("缺少必要参数");

        }

        int type = 0;

        int canTop = 0;

        int canComment = 1;

        try {

            type = Integer.parseInt(typeStr);

            canTop = Integer.parseInt(canTopStr);

            canComment = Integer.parseInt(canCommentStr);

        } catch (Exception e) {

            throw new TipException("参数类型错误");

        }

        // 去html相关标签

        description = StringUtil.replaceHtmlTags(description);

        // 客户端ip

        String ip = HttpUtil.getIpAddr(request);

        // 获取session中的用户信息

        User tempUser = (User) session.getAttribute(Const.SESSION_USER);

        String userId = tempUser.getUserId();

        // 封装文章信息

        Article article = new Article();

        article.setArticleId(IdGenarator.guid());

        article.setGroupId(groupId);

        article.setTitle(title);

        article.setContent(content);

        article.setDescription(description);

        article.setType(type);

        article.setCanTop(canTop);

        article.setCanComment(canComment);

        article.setViewCount(0L);

        article.setGoodNum(0L);

        article.setBadNum(0L);

        article.setCreateTime(new Date());

        article.setCreateIp(ip);

        article.setUserId(userId);

        // 保存文章

        articleService.create(article, tag);

        result.setCode(Result.CODE_SUCCESS);

        result.setMsg("发布文章成功");

    } catch (TipException e) {

        result.setCode(Result.CODE_EXCEPTION);

        result.setMsg(e.getMessage());

    } catch (Exception e) {

        log.error("新增文章失败", e);

        result.setCode(Result.CODE_EXCEPTION);

        result.setMsg("新增文章失败");

    }

    return result;

}
完整的发布文章页面如下:

关注我
以你最方便的方式关注我:
微信公众号:

基于SpringBoot从零构建博客网站 - 集成editor.md开发发布文章功能的更多相关文章
- 基于SpringBoot从零构建博客网站 - 整合ehcache和开发注册登录功能
对于程序中一些字典信息.配置信息应该在程序启动时加载到缓存中,用时先到缓存中取,如果没有命中,再到数据库中获取同时放到缓存中,这样做可以减轻数据库层的压力.目前暂时先整合ehcache缓存,同时预留了 ...
- 基于SpringBoot从零构建博客网站 - 确定需求和表结构
要确定一个系统的需求,首先需要明确该系统的用户有哪些,然后针对每一类用户,确定其需求.对于博客网站来说,用户有3大类,分别是: 作者,也即是注册用户 游客,也即非注册用户 管理员,网站维护人员 那么从 ...
- 基于SpringBoot从零构建博客网站 - 技术选型和整合开发环境
技术选型和整合开发环境 1.技术选型 博客网站是基于SpringBoot整合其它模块而开发的,那么每个模块选择的技术如下: SpringBoot版本选择目前较新的2.1.1.RELEASE版本 持久化 ...
- 基于SpringBoot从零构建博客网站 - 新增创建、修改、删除专栏功能
守望博客是支持创建专栏的功能,即可以将一系列相关的文章归档到专栏中,方便用户管理和查阅文章.这里主要讲解专栏的创建.修改和删除功能,至于专栏还涉及其它的功能,例如关注专栏等后续会穿插着介绍. 1.创建 ...
- 基于SpringBoot从零构建博客网站 - 设计可扩展上传模块和开发修改头像密码功能
上传模块在web开发中是很常见的功能也是很重要的功能,在web应用中需要上传的可以是图片.pdf.压缩包等其它类型的文件,同时对于图片可能需要回显,对于其它文件要能够支持下载等.在守望博客系统中对于上 ...
- 基于SpringBoot从零构建博客网站 - 开发设置主页标识和修改个人信息功能
由于守望博客系统中支持由用户自己设置个人主页的URL的后半段,所以必须要用户设置该标识的功能,而且是用户注册登录之后自动弹出的页面,如果用户没有设置该标识,其它的操作是不能够操作的,同时要求主页标识只 ...
- 基于SpringBoot从零构建博客网站 - 开发文章详情页面
文章详情页面是博客系统中最为重要的页面,登录用户与游客都可以浏览文章详情页面,只不过只有登录用户才能进行其它的一些操作,比如评论.点赞和收藏等等. 本次的开发任务只是将文章详情页面展示出来,至于一些收 ...
- 基于SpringBoot从零构建博客网站 - 整合lombok和mybatis-plus提高开发效率
在上一章节中<技术选型和整合开发环境>,确定了开发的技术,但是如果直接这样用的话,可能开发效率会不高,为了提高开发的效率,这里再整合lombok和mybatis-plus两个组件. 1.l ...
- 基于SpringBoot从零构建博客网站 - 分页显示文章列表功能
显示文章列表一般都是采用分页显示,比如每页10篇文章显示.这样就不用每次就将所有的文章查询出来,而且当文章数量特别多的时候,如果一次性查询出来很容易出现OOM异常. 后台的分页插件采用的是mybati ...
随机推荐
- 21 | 移动测试神器:带你玩转Appium
- 我以为我对Mysql索引很了解,直到我遇到了阿里的面试官
GitHub 4.8k Star 的Java工程师成神之路 ,不来了解一下吗? GitHub 4.8k Star 的Java工程师成神之路 ,真的不来了解一下吗? GitHub 4.8k Star 的 ...
- SpringBoot系列——Logback日志,输出到文件以及实时输出到web页面
前言 SpringBoot对所有内部日志使用通用日志记录,但保留底层日志实现.为Java Util Logging.Log4J2和Logback提供了默认配置.在不同的情况下,日志记录器都预先配置为使 ...
- Vue兄弟组件(非父子组件)状态共享与传值
前言:网上大部分文章写的有点乱,很少有讲得易懂的文章. 所以,我写了篇在我能看得懂的基础上又照顾到大家的文章 =.= 作者:X1aoYE 备注:此文原创,转载请注明~ 内容里的<br> ...
- Win10自动更新关闭方法
一.为什么很多人会选择禁用Win10自动更新? 1.win10自动更新定义: Win 10的自动更新功能,即 Windows Update.这项功能本意是为一些软件.漏洞等提供更新服务.一般来说,只要 ...
- ICC中用Tcl脚本给版图中的Port/Terminal加Label的方法
本文转自:自己的微信公众号<数字集成电路设计及EDA教程> 里面主要讲解数字IC前端.后端.DFT.低功耗设计以及验证等相关知识,并且讲解了其中用到的各种EDA工具的教程. 考虑到微信公众 ...
- C语言学习书籍推荐《明解C语言》下载
柴田望洋 (作者), 管杰 (译者), 罗勇 (译者) <明解C语言>是日本的C语言经典教材,自出版以来不断重印.修订,被誉为“C语言圣经”.作者在日本IT界家喻户晓,出版过一系列极富影响 ...
- 免费rar/zip解压缩工具BandZip
今天为大家推荐一款解压缩类软件--BandZip bandzip是我认为的最好用的解压缩软件,速度快没广告 能够秒杀其他的压缩类软件 下载地址 bandzip点我 1 BandZip简介 BandZi ...
- Tomcat配置解析
Tomcat文件配置 tomcat解压后目录 bin:可执行文件(startup.bat shutdown.bat) conf:配置文件(server.xml) lib:tomcat依赖的jar文件 ...
- Scratch3 二次开发系列
Scratch3.0来啦!!! Scratch做为图像化编程的首选语言,拖过积木块搭建实现动画游戏的制作.Scratch3添加了音乐.画笔.视频侦测.文字朗读.翻译等选择性下载扩展积木,可实现积 ...