SpringBoot配置——@PropertySource、@ImportResource、@Bean
@PropertySource:加载指定的配置文件
package com.hoje.springboot.bean; import org.springframework.beans.factory.annotation.Value;
import org.springframework.boot.context.properties.ConfigurationProperties;
import org.springframework.boot.context.properties.EnableConfigurationProperties;
import org.springframework.context.annotation.PropertySource;
import org.springframework.stereotype.Component;
import org.springframework.validation.annotation.Validated; import javax.validation.constraints.Email;
import java.util.Date;
import java.util.List;
import java.util.Map; /**
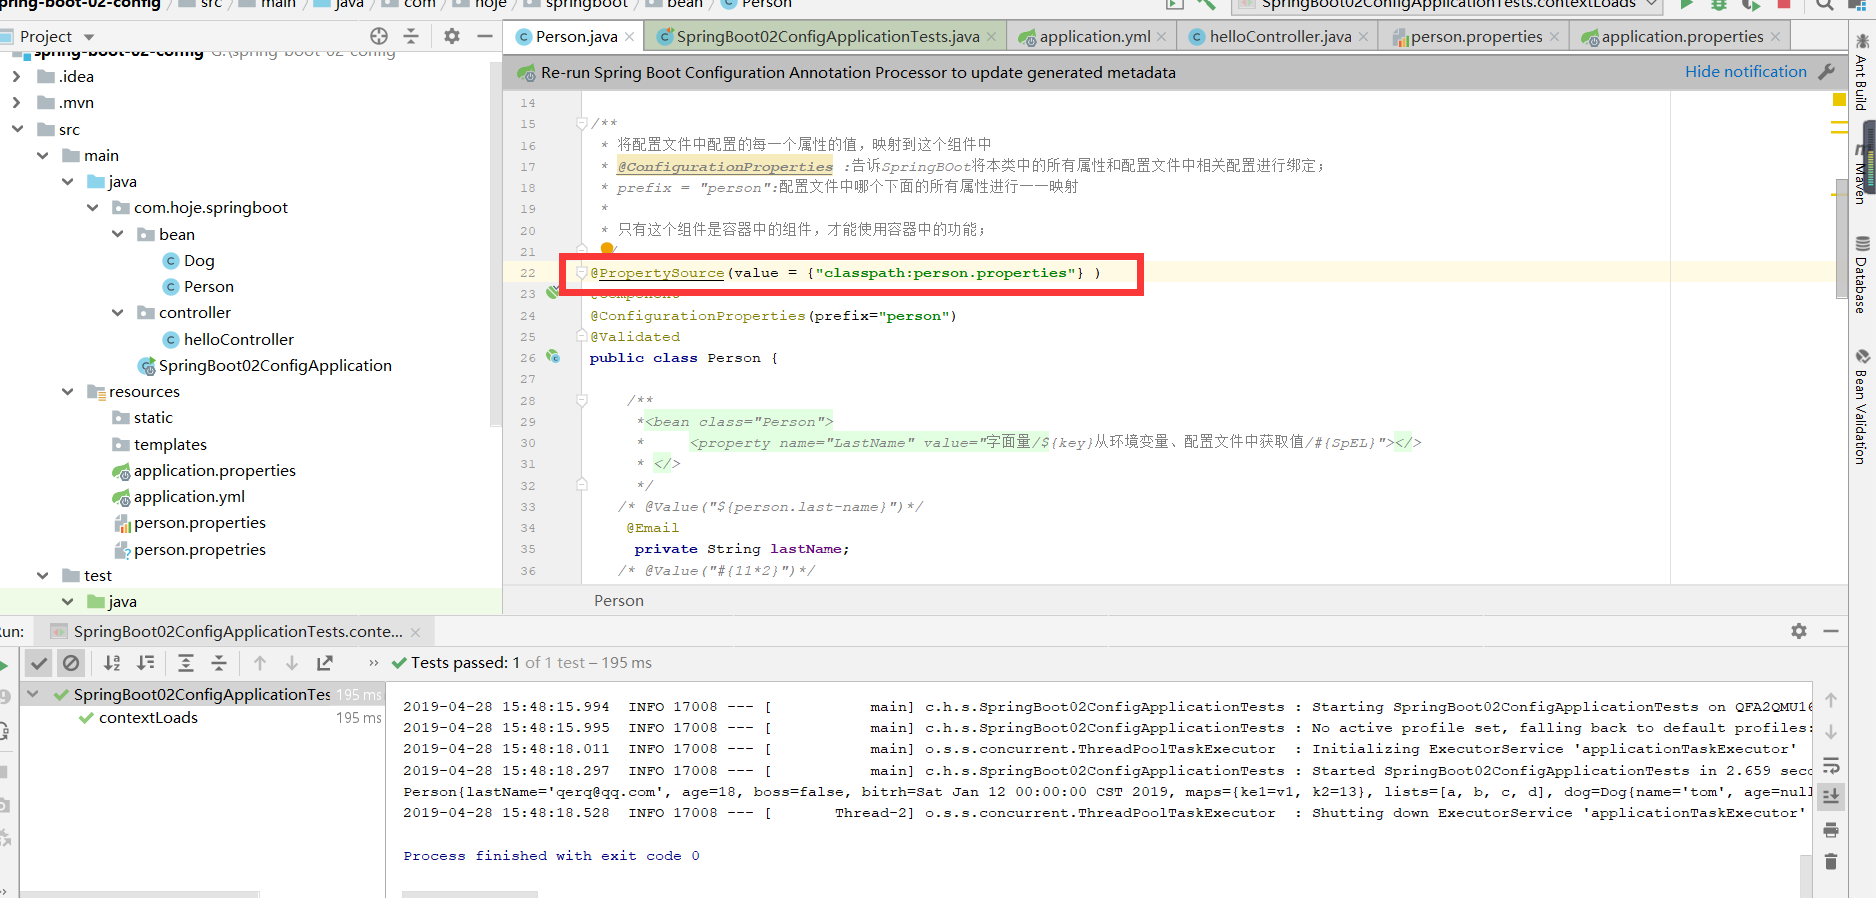
* 将配置文件中配置的每一个属性的值,映射到这个组件中
* @ConfigurationProperties :告诉SpringBOot将本类中的所有属性和配置文件中相关配置进行绑定;
* prefix = "person":配置文件中哪个下面的所有属性进行一一映射
*
* 只有这个组件是容器中的组件,才能使用容器中的功能;
*/
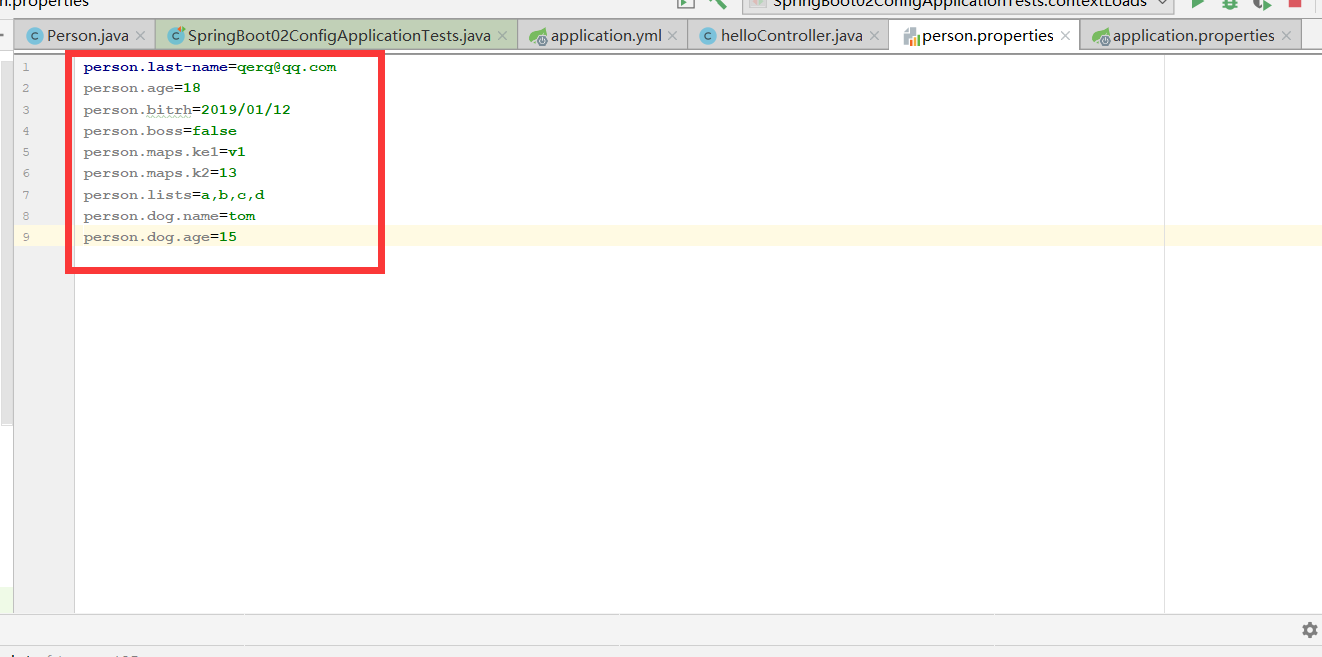
@PropertySource(value = {"classpath:person.properties"} )
@Component
@ConfigurationProperties(prefix="person")
@Validated
public class Person { /**
*<bean class="Person">
* <property name="LastName" value="字面量/${key}从环境变量、配置文件中获取值/#{SpEL}"></>
* </>
*/
/* @Value("${person.last-name}")*/
private String lastName;
/* @Value("#{11*2}")*/
private Integer age;
/* @Value("true")*/
private Boolean boss;
private Date bitrh;
private Map<String,Object> maps;
private List<Object> lists;
private Dog dog; @Override
public String toString() {
return "Person{" +
"lastName='" + lastName + '\'' +
", age=" + age +
", boss=" + boss +
", bitrh=" + bitrh +
", maps=" + maps +
", lists=" + lists +
", dog=" + dog +
'}';
} public String getLastName() {
return lastName;
} public void setLastName(String lastName) {
this.lastName = lastName;
} public Integer getAge() {
return age;
} public void setAge(Integer age) {
this.age = age;
} public Boolean getBoss() {
return boss;
} public void setBoss(Boolean boss) {
this.boss = boss;
} public Date getBitrh() {
return bitrh;
} public void setBitrh(Date bitrh) {
this.bitrh = bitrh;
} public Map<String, Object> getMaps() {
return maps;
} public void setMaps(Map<String, Object> maps) {
this.maps = maps;
} public List<Object> getLists() {
return lists;
} public void setLists(List<Object> lists) {
this.lists = lists;
} public Dog getDog() {
return dog;
} public void setDog(Dog dog) {
this.dog = dog;
}
}
@ImportResource:导入Spring的配置文件,让配置文件里面的内容生效
 <?xml version="1.0" encoding="UTF-8"?>

 <beans xmlns="http://www.springframework.org/schema/beans"

        xmlns:xsi="http://www.w3.org/2001/XMLSchema-instance"

        xsi:schemaLocation="http://www.springframework.org/schema/beans http://www.springframework.org/schema/beans/spring-beans.xsd">

     <bean id="helloService" class="com.hoje.springboot.service.HelloService" ></bean>

 </beans>
beans.xml
package com.hoje.springboot.service;

public class HelloService {

}
package com.hoje.springboot;

import com.hoje.springboot.bean.Person;

import org.junit.Test;

import org.junit.runner.RunWith;

import org.springframework.beans.factory.annotation.Autowired;

import org.springframework.boot.test.context.SpringBootTest;

import org.springframework.context.ApplicationContext;

import org.springframework.test.context.junit4.SpringRunner;

@RunWith(SpringRunner.class)

@SpringBootTest

public class SpringBoot02ConfigApplicationTests {

    @Autowired

    Person person;

    @Autowired

    ApplicationContext ioc;

    @Test

    public void testHelloService(){

        boolean b = ioc.containsBean("helloService");

        System.out.println(b);

    }

    @Test

    public void contextLoads() {

        System.out.println(person);

    }

}

Spring Boot里面没有Spring的配置文件,我们自己编写的配置文件,也不能自动识别;
想让Spring的配置文件生效,加载进来;@ImportResource标注在一个配置类上
package com.hoje.springboot;

import org.springframework.boot.SpringApplication;

import org.springframework.boot.autoconfigure.SpringBootApplication;

import org.springframework.context.annotation.ImportResource;

@ImportResource(locations = {"classpath:beans.xml"})

@SpringBootApplication

public class SpringBoot02ConfigApplication {

    public static void main(String[] args) {

        SpringApplication.run(SpringBoot02ConfigApplication.class, args);

    }

}

导入Spring的配置文件使其生效
@ImportResource(locations = {"classpath:beans.xml"})
该方式比较麻烦
SpringBoot推荐给容器中添加组件的方式
1、配置类(Spring配置文件)
不编写Spring的配置文件
<?xml version="1.0" encoding="UTF-8"?>

<beans xmlns="http://www.springframework.org/schema/beans"

       xmlns:xsi="http://www.w3.org/2001/XMLSchema-instance"

       xsi:schemaLocation="http://www.springframework.org/schema/beans http://www.springframework.org/schema/beans/spring-beans.xsd">

    <bean id="helloService" class="com.hoje.springboot.service.HelloService" ></bean>

</beans>
2、使用@Bean给容器中添加组件
推荐使用全注解的方式
package com.hoje.springboot.config;

import com.hoje.springboot.service.HelloService;

import org.springframework.context.annotation.Bean;

import org.springframework.context.annotation.Configuration;

/**

 *@Configuration:指明当前类是一个配置类,就是来替代Spring之前的配置文件

 * 在配置文件中用<bean><bean/>标签添加组件

 */

@Configuration

public class MyAppConfig {

    //将方法的返回值添加到容器;容器中默认组件的id就是方法名

    @Bean

    public HelloService helloService(){

        System.out.println("配置类@Bean给容器添加组件了");

     return new HelloService();

    }

}

SpringBoot配置——@PropertySource、@ImportResource、@Bean的更多相关文章
- Spring学习(三)——@PropertySource,@ImportResource,@Bean注解
@PropertySource注解是将配置文件中 的值赋值给POJO 项目结构如下 一.创建一个Person.Java文件: import org.springframework.boot.conte ...
- SpringBoot 配置 @PropertySource、@ImportResource、@Bean
一.@PropertySource @PropertySource:加载指定的配置文件 @PropertySource(value = {"classpath:person.properti ...
- Spring boot @PropertySource, @ImportResource, @Bean
@PropertySource:加载指定的配置文件 /** * 将配置文件中配置的每一个属性的值,映射到这个组件中 * @ConfigurationProperties:告诉SpringBoot将本类 ...
- @PropertySource&@ImportResource&@Bean
@**PropertySource**:加载指定的配置文件: ```java /** * 将配置文件中配置的每一个属性的值,映射到这个组件中 * @ConfigurationProperties:告诉 ...
- SpringBoot配置(1) 配置文件application&yml
SpringBoot配置(1) 配置文件application&yml 一.配置文件 1.1 配置文件 SpringBoot使用一个全局的配置文件,配置文件名是固定的. application ...
- JAVAEE——SpringBoot配置篇:配置文件、YAML语法、文件值注入、加载位置与顺序、自动配置原理
转载 https://www.cnblogs.com/xieyupeng/p/9664104.html @Value获取值和@ConfigurationProperties获取值比较 @Confi ...
- springBoot配置分析(属性和结构化)
使用idea自带插件创建项目 一直下一步到完成 application.properties local.ip.addr = 192.168.2.110 redis.host = 192.168.3. ...
- springboot用@Autowired和@PostConstruct注解把config配置读取到bean变成静态方法
springboot用@Autowired和@PostConstruct注解把config配置读取到bean变成静态方法 @SpringBootApplication public class Sen ...
- SpringBoot集成MyBatis的Bean配置方式
SpringBoot集成MyBatis的Bean配置方式 SpringBoot是一款轻量级开发的框架,简化了很多原先的xml文件配置方式,接下来就介绍一下如何不适用XML来配置Mybatis spri ...
随机推荐
- 给XCode安装Alcatraz(包管理工具)!!
Alcatraz官方描述: Alcatraz is an open-source package manager for Xcode. It lets you discover and instal ...
- Swift 里字符串(二)创建
 最终都要走到__StringStorage 的 create(realCodeUnitCapacity,countAndFlags) 方法里去. 默认实现是 UTF8 internal stati ...
- 自定义android ProgressDialog
Android系统自己提供的UI的都是比较难看的,开发中经常用到自定义对话框,下面分享个最近项目中使用的加载框. 下面是源代码,主要的原理就是准备几个图片,然后循环播放. MainActivity ...
- CentOS7搭建FastDFS V5.11分布式文件系统-第三篇
1.测试 前面两篇博文已对FastDFS的安装和配置,做了比较详细的讲解.FastDFS的基础模块都搭好了,现在开始测试下载. 1.1 配置客户端 同样的,需要修改客户端的配置文件: /etc/fdf ...
- yii2之ActiveForm表单使用
因目前项目并非前后端分离模式,且用到PHP的yii2框架(所有html代码,js较多内嵌在.php文件内多少采用同步提交[喷墨中...]),遂对于前端面上需要用到的yii2小组件一些整理(因是前端若涉 ...
- POJ 1160
#include <iostream> #define MAXN 305 #define inf 123456789 using namespace std; int _m[MAXN][M ...
- (转)权威支持: 选择正确的 WebSphere 诊断工具
权威支持: 选择正确的 WebSphere 诊断工具 原文:https://www.ibm.com/developerworks/cn/websphere/techjournal/0807_supau ...
- 模拟登陆+数据爬取 (python+selenuim)
以下代码是用来爬取LinkedIn网站一些学者的经历的,仅供参考,注意:不要一次性大量爬取会被封号,不要问我为什么知道 #-*- coding:utf-8 -*- from selenium impo ...
- Disconf 学习系列之Disconf 的模块架构图
不多说,直接上干货! Disconf 的模块架构主要包括: Disconf-Tools . Disconf-Web. Disconf-client 和 Disconf-Core. 每个模块的简单介 ...
- 图解安卓-c++开发-通过java 调用c++ jni的使用
接着上一节 ,很多事情用java做,效率要差一点(尤其是游戏),所以要用c++来实现,那么java如何调用c++ 首先建议一个工程 HelloJni如下图: 按照默认的配置下一步,直到完成 . 如下图 ...