pixijs shader 案例
pixijs shader 案例
const app = new PIXI.Application({ transparent: true });
document.body.appendChild(app.view);
// Create background image
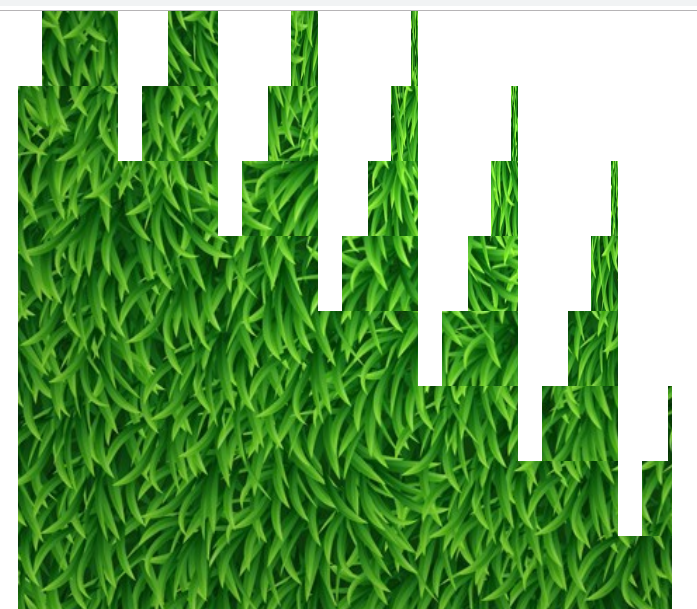
const background = PIXI.Sprite.from('/moban/bg_grass.jpg');
background.width = app.screen.width;
background.height = app.screen.height;
app.stage.addChild(background);
// Stop application wait for load to finish
app.stop();
app.loader.add('shader', '/moban/shader.frag')
.load(onLoaded);
let filter;
// Handle the load completed
function onLoaded(loader, res) {
// Create the new filter, arguments: (vertexShader, framentSource)
filter = new PIXI.Filter(null, res.shader.data, {
customUniform: 0.0,
});
// === WARNING ===
// specify uniforms in filter constructor
// or set them BEFORE first use
// filter.uniforms.customUniform = 0.0
// Add the filter
background.filters = [filter];
// Resume application update
app.start();
}
var i=;
// Animate the filter
app.ticker.add((delta) => {
i+=0.03;
filter.uniforms.customUniform = i;
});
precision mediump float;

varying vec2 vTextureCoord;

varying vec4 vColor;

uniform sampler2D uSampler;

uniform float customUniform;

const float n = .;                              // number boxes

const float s = . / n;                          // box size in texels

const float pi = 3.14159265358979;

const float _90 = 0.5 * pi;                      // 90 degrees

#define unDuration 10.0

void main(void)

{

    vec2  p = vTextureCoord;

    p.y = . - p.y; // Shader Toy

//  float t = min( 1., 2. *     unTime                 / unDuration); // one-time

    float t = min( ., . * mod(customUniform,0.5*unDuration) / unDuration); // repeat

    vec2  b = mod( p, s );                       // offset in box

    vec2  i = floor( p / s );                    // box#

    float cells = (.*n - .);

    float delay = (i.x + i.y) / cells;

    t -= 0.5*delay;

    float a = _90*t;                             // 90 degrees * t

    float rate = (cells - (i.x + i.y)) / cells;

    rate *= n/.;                                // how fast first cell turns

    rate += n/.;                                // how fast last cell turns: min 2.0

    a *= rate;

    a = min( _90, a );

    a = max( 0.0, a );

    float ca = cos(a);

    float sa = sin(a);

    const float w = 0.5*s;                       // half box size in world space

    vec2 l = vec2( -w,  w );                     // pre top-left

    vec2 m = vec2(  w,  w );                     // pre top-right

    vec2 r = vec2(  w, -w );                     // pre bot-right

    vec2 L = vec2( l.x*ca - l.y*sa, l.x*sa+ l.y*ca );// post top-left

    vec2 M = vec2( m.x*ca - m.y*sa, m.x*sa+ m.y*ca );// post top-right

    vec2 R = vec2( r.x*ca - r.y*sa, r.x*sa+ r.y*ca ); // post bot-right

    float Fx = b.x - w;

    if( Fx < M.x ) {

        float dx = Fx - L.x;

        float dy = tan(a)*dx;                    // y1-y0=m(x1-x0)

        float d = sqrt( (dx*dx) + (dy*dy) );

        p.x = i.x*s + d;

        gl_FragColor = vec4(.,.,.,.);

    } else {                                     // image2 rotating towards

        float ex = Fx - M.x;

        float ey = tan(a + _90)*ex;

        float e = sqrt( (ex*ex) + (ey*ey) );

        p.x = i.x*s + e;

        gl_FragColor = texture2D(uSampler,p);

    }

}
pixijs shader 案例的更多相关文章
- pixijs shader 贴图溶解效果教程
pixijs shader 贴图溶解效果教程 我直接贴代码了 没什么好讲解了 稍微有点基础的人应该能看懂 const app = new PIXI.Application({ transparent: ...
- pixijs shader fade 从左到有右淡入 从下到上淡入效果
pixijs shader fade 从左到有右淡入 从下到上淡入效果 const app = new PIXI.Application({ transparent: true }); doc ...
- pixijs shader颗粒化显示贴图
pixijs shader颗粒化显示贴图 const app = new PIXI.Application({ transparent: true }); document.body.appendCh ...
- pixijs shader 扫光加强版
pixijs shader 扫光加强版 const app = new PIXI.Application({ transparent: true }); document.body.appendChi ...
- pixijs shader贴图扫光效果
pixijs shader贴图扫光效果 直接贴代码 const app = new PIXI.Application({ transparent: true }); document.body.app ...
- pixijs shader 制作百叶窗效果
pixijs shader 制作百叶窗效果 直接贴代码了 const app = new PIXI.Application({ transparent: true }); document.body. ...
- pixijs shader教程
pixijs 写shader 底层都封装好了 只要改改片段着色器就行了 pxijs一定刚要设置支持透明 不然 颜色不支持透明度了 const app = new PIXI.Application({ ...
- pixijs shader 实现图片波浪效果
const app = new PIXI.Application({ transparent: true }); document.body.appendChild(app.view); // Cre ...
- 有意思的shader案例
屏幕水波效果 https://blog.csdn.net/puppet_master/article/details/52975666
随机推荐
- 剑指Offer-38.平衡二叉树(C++/Java)
题目: 输入一棵二叉树,判断该二叉树是否是平衡二叉树. 分析: 可以从根节点开始遍历每一个节点,求得节点左右子树的最大高度,判断是不是平衡二叉树.这样做的问题在于会重复遍历节点,造成不必要的浪费. 所 ...
- PHPStorm 初遇 Xdebug (xdebug代码调试及性能分析)
centos 7 下PHP7安装xdebug # 下载xdebug wget https://xdebug.org/files/xdebug-2.7.2.tgz # 解压 tar -xf xdebug ...
- str函数之不同变量之间如何连接,外加浮点运算注意事项
最近看书了解到不同字符串之间可以用“+”号来连接,遂思考如何将不同变量连接起来,思考试验并上网查询后得出了结果,在此将所学分享给在阅读的各位. 数据类型的转换 常识可知,在python中,不同的数 ...
- 为什么 Go 标准库中有些函数只有签名,没有函数体?
如果你看过 Go 语言标准库,应该有见到过,有一些函数只有签名,没有函数体.你有没有感觉到很奇怪?这到底是怎么回事?我们自己可以这么做吗?本文就来解密它. 首先,函数肯定得有实现,没有函数体,一定是在 ...
- HelloDjango 第 11 篇:自动生成文章摘要
作者:HelloGitHub-追梦人物 文中涉及的示例代码,已同步更新到 HelloGitHub-Team 仓库 博客文章的模型有一个 excerpt 字段,这个字段用于存储文章的摘要.目前为止,还只 ...
- Mybatis中返回Map
在Mybatis中,我们通常会像下边这样用: 返回一个结果 User selectOne(User user); <select id="selectOne" paramet ...
- Java入门系列之StringBuilder、StringBuffer(三)
前言 上一节我们讲解了字符串的特性,除了字符串类外,还有两个我们也会经常用到的类,那就是StringBuffer和StringBuilder.因为字符串不可变,所以我们每次对字符串的修改比如通过连接c ...
- git worktree 使用笔记
一 worktree 的基本概念和操作 再也不用克隆多个仓库啦!git worktree 一个 git 仓库可以连接多个工作目录 - walterlv的专栏 - CSDN博客 再也不用克隆多个仓库啦! ...
- django简单密码加密和效验
通过django自带的类库,来加密解密很方便,下面来简单介绍下: 导入包: from django.contrib.auth.hashers import make_password, check_p ...
- css字体标签相关
斜体: i:斜体em:斜体,强调的意思,有特殊含义,尽量用i或者cssfont-style:字体风格 normal默认值,italic斜体,oblique倾斜的字体 粗体: b,strong:粗体fo ...