SpringCloud第二弹(高可用Eureka+Ribbon负载均衡)
先建立父工程
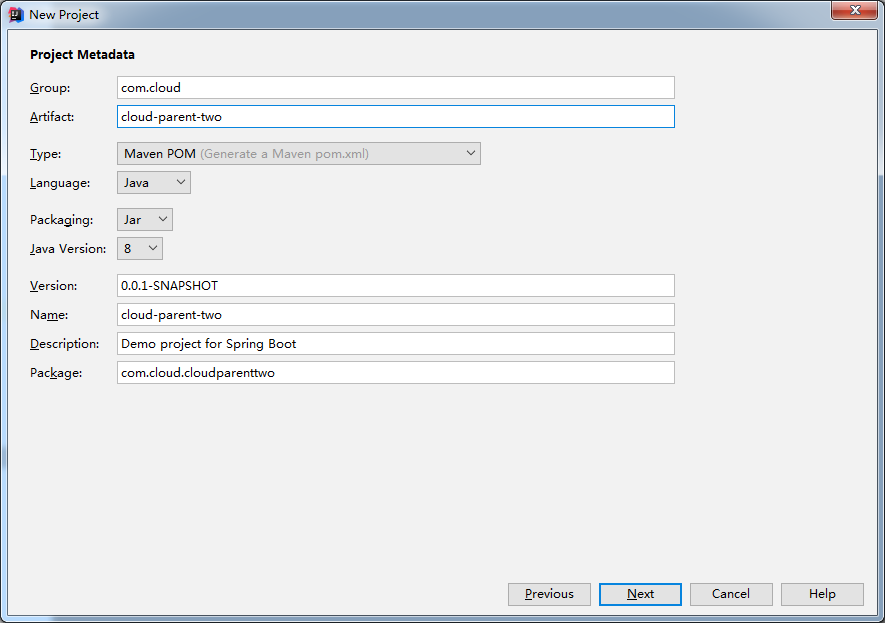
..
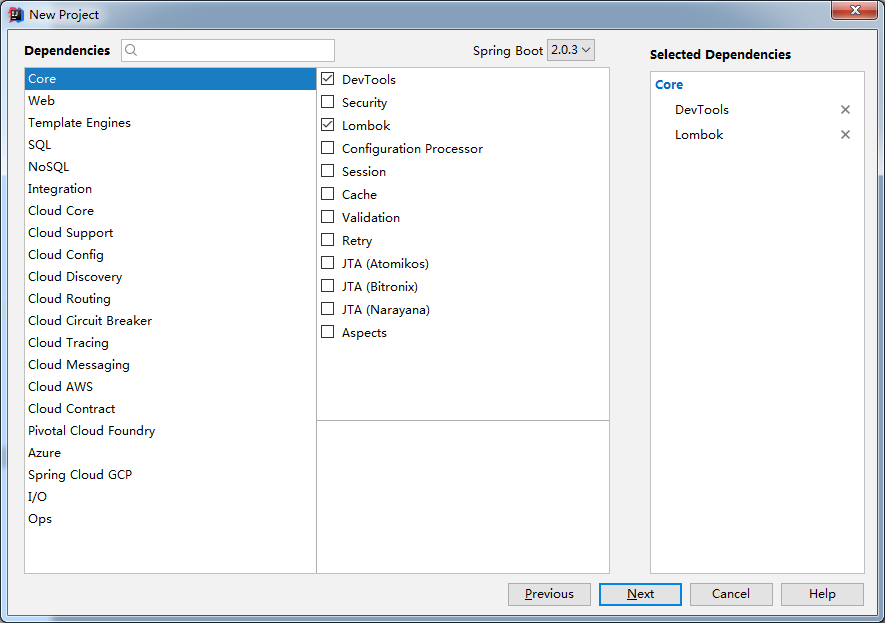
..一路next
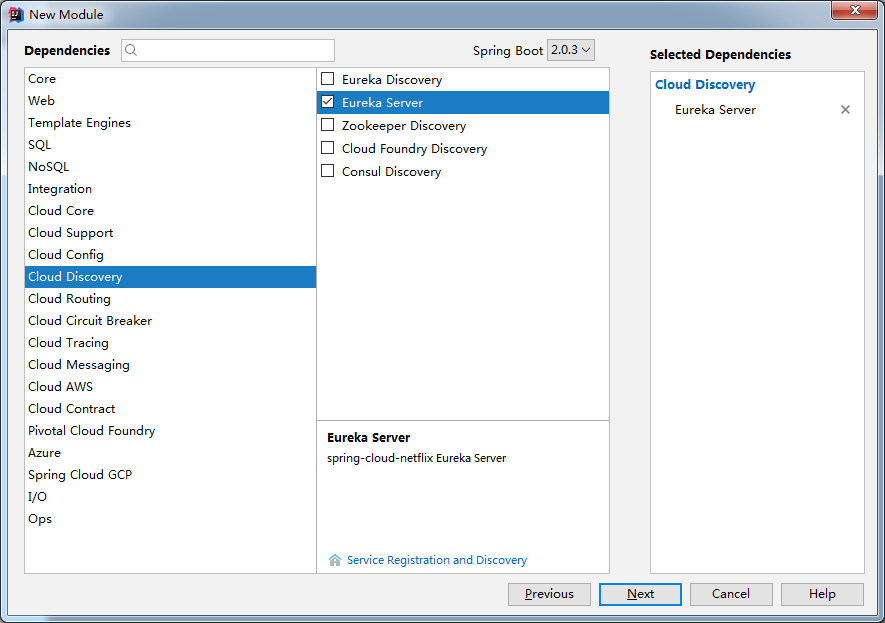
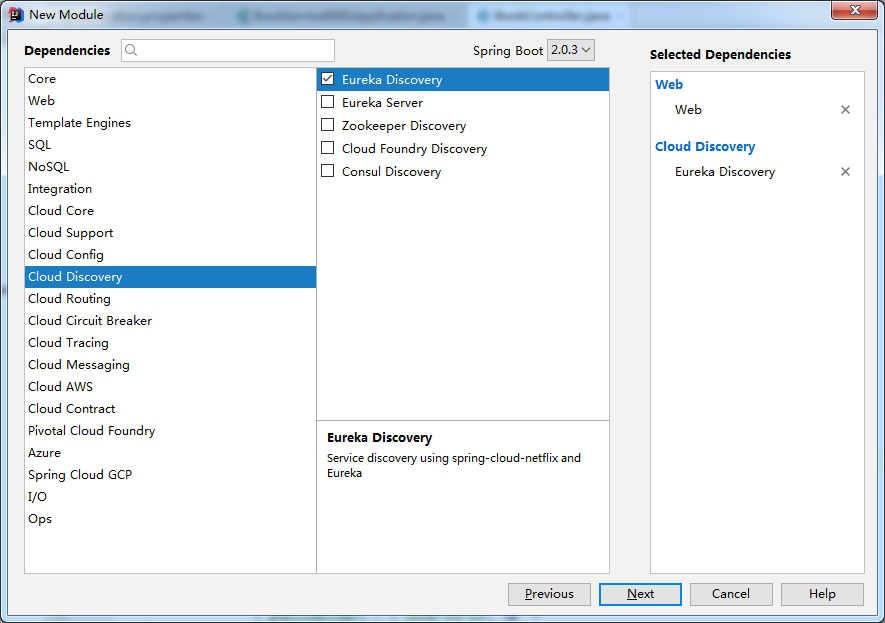
搭建注册中心(需要建立三个工程,端口不一样)
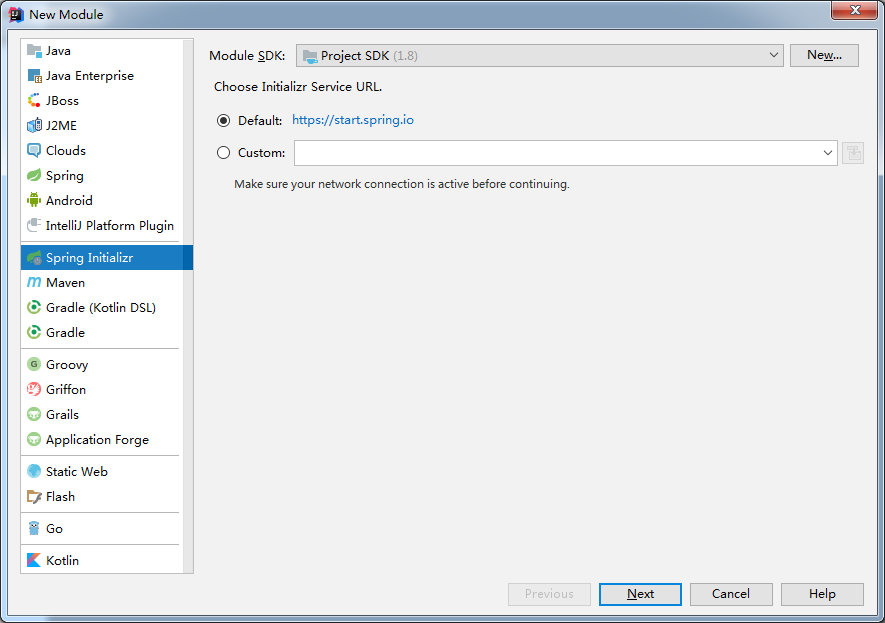
..
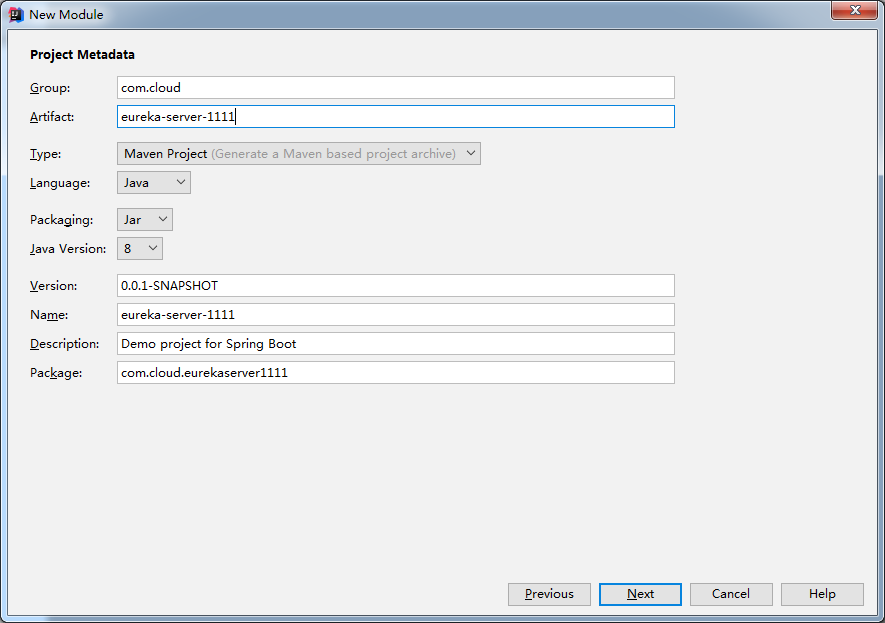
..
..
修改入口类
package com.cloud.eurekaserver1111;

import org.springframework.boot.SpringApplication;

import org.springframework.boot.autoconfigure.SpringBootApplication;

import org.springframework.cloud.netflix.eureka.server.EnableEurekaServer;

@SpringBootApplication

@EnableEurekaServer

public class EurekaServer1111Application {

    public static void main(String[] args) {

        SpringApplication.run(EurekaServer1111Application.class, args);

    }

}
修改属性文件(一共建立三个Eureka-Server服务,端口分别为1111,2222,3333)
server.port=1111

eureka.instance.hostname=server.one.com

eureka.client.fetch-registry=false

eureka.client.register-with-eureka=false

eureka.client.service-url.defaultZone=http://server.two.com:2222/eureka,http://server.three.com:3333/eureka
..
server.port=2222

eureka.instance.hostname=server.two.com

eureka.client.fetch-registry=false

eureka.client.register-with-eureka=false

eureka.client.service-url.defaultZone=http://server.one.com:1111/eureka,http://server.three.com:3333/eureka
..
server.port=3333

eureka.instance.hostname=server.three.com

eureka.client.fetch-registry=false

eureka.client.register-with-eureka=false

eureka.client.service-url.defaultZone=http://server.one.com:1111/eureka,http://server.two.com:2222/eureka
..

修改hosts文件(C:\Windows\System32\drivers\etc)
127.0.0.1 server.one.com

127.0.0.1 server.two.com

127.0.0.1 server.three.com
修改pom文件,把parent改成父工程
    <parent>

        <groupId>com.cloud</groupId>

        <artifactId>cloud-parent-two</artifactId>

        <version>0.0.1-SNAPSHOT</version>

    </parent>
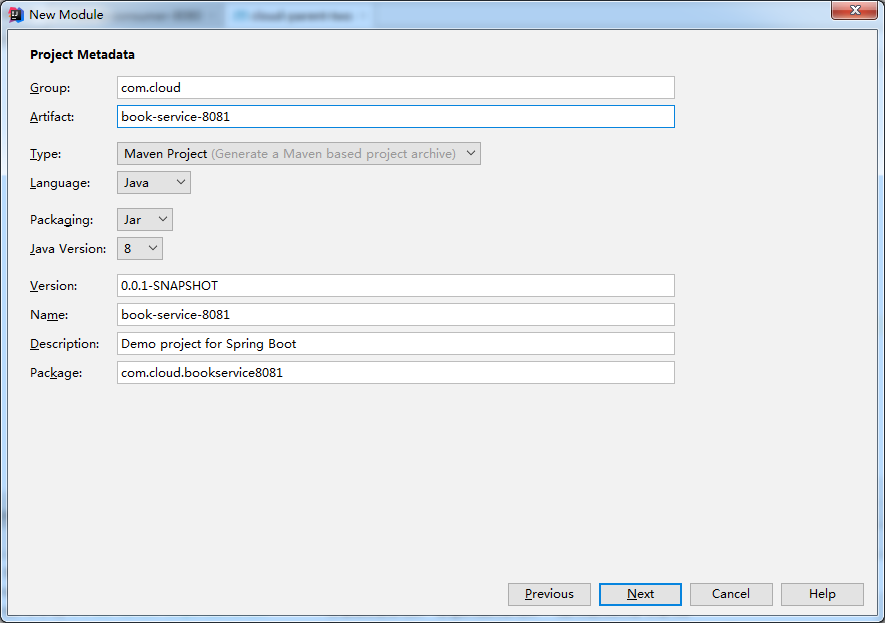
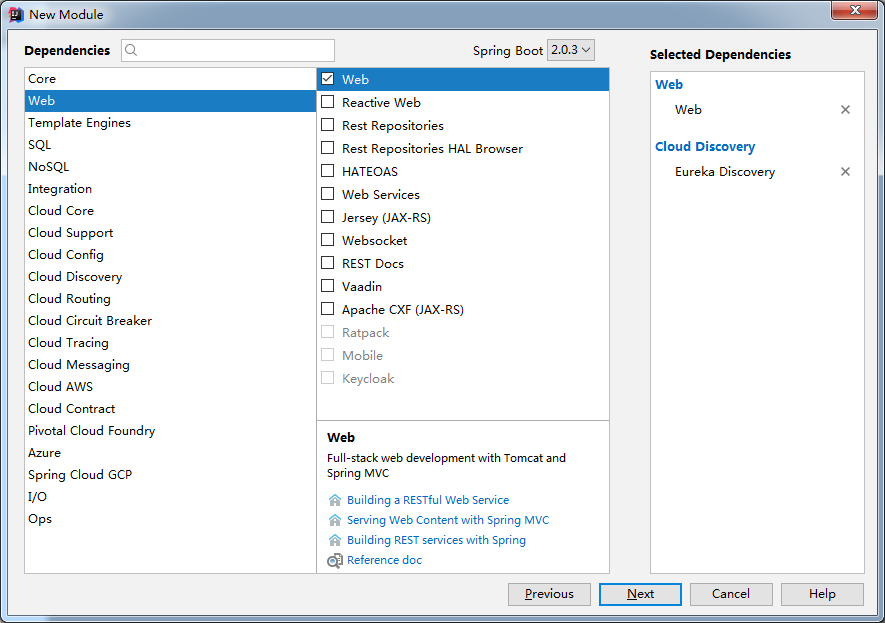
建立服务提供者-8081

..
..
..
修改pom
    <parent>

        <groupId>com.cloud</groupId>

        <artifactId>cloud-parent-two</artifactId>

        <version>0.0.1-SNAPSHOT</version>

    </parent>
修改入口类:
package com.cloud.bookservice8081;

import org.springframework.boot.SpringApplication;

import org.springframework.boot.autoconfigure.SpringBootApplication;

import org.springframework.cloud.client.discovery.EnableDiscoveryClient;

import org.springframework.cloud.netflix.eureka.EnableEurekaClient;

@SpringBootApplication

@EnableEurekaClient

@EnableDiscoveryClient

public class BookService8081Application {

    public static void main(String[] args) {

        SpringApplication.run(BookService8081Application.class, args);

    }

}
修改属性文件
server.port=8081

# 服务名

spring.application.name=BookService

# 注册地址

eureka.client.service-url.defaultZone=http://server.one.com:1111/eureka,http://server.two.com:2222/eureka,http://server.three.com:3333/eureka

# 注册名

eureka.instance.instance-id=book-service:8081

eureka.instance.prefer-ip-address=true
新建controller
package com.cloud.bookservice8081.controller;

import lombok.extern.slf4j.Slf4j;

import org.springframework.beans.factory.annotation.Autowired;

import org.springframework.cloud.client.ServiceInstance;

import org.springframework.cloud.client.discovery.DiscoveryClient;

import org.springframework.web.bind.annotation.RequestMapping;

import org.springframework.web.bind.annotation.RestController;

import java.util.List;

@Slf4j

@RestController

public class BookController {

    @Autowired

    private DiscoveryClient discoveryClient;

    @RequestMapping("/book")

    public String index(){

        List<String> services = discoveryClient.getServices();

        services.forEach(e -> log.info("book-service:8081:" + e));

        List<ServiceInstance> list = discoveryClient.getInstances("BOOKSERVICEPROVIDER");

        list.forEach(e -> {

            log.info("book-service:8081:" + e.getServiceId() + "," + e.getHost() + "," + e.getPort() + "," + e.getUri());

        });

        return "{\n" +

                "  \"bookName\": \"Apache Kafka实战\",\n" +

                "  \"bookSize\": \"16开\",\n" +

                "  \"pack\": \"平装\",\n" +

                "  \"isbn\": \"9787121337765\",\n" +

                "  \"publisher\": \"电子工业出版社\",\n" +

                "  \"publishTime\": \"2018-05-01\",\n" +

                "  \"service\": \"book-service:8081\"\n" +

                "}";

    }

}
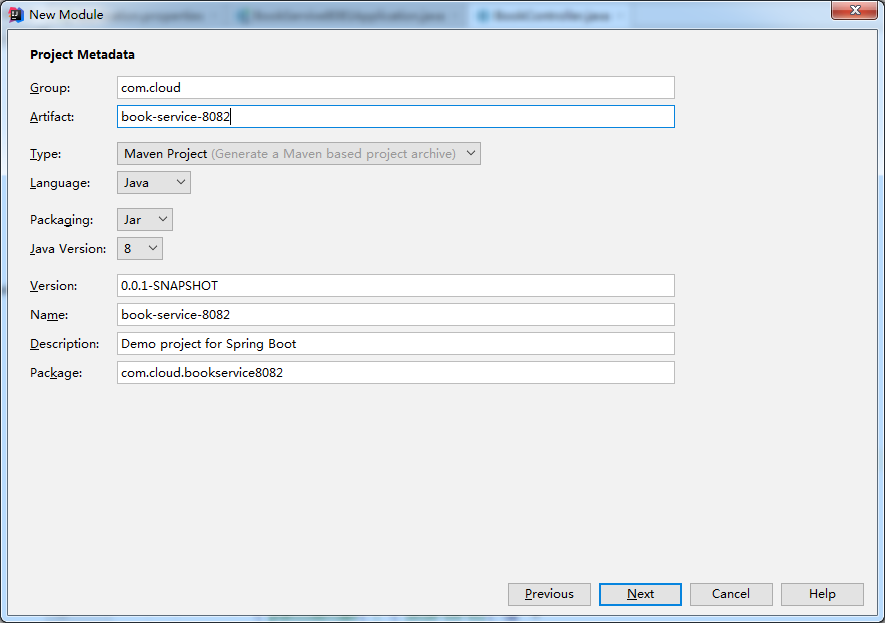
建立服务提供者-8082
..
..
修改pom
    <parent>

        <groupId>com.cloud</groupId>

        <artifactId>cloud-parent-two</artifactId>

        <version>0.0.1-SNAPSHOT</version>

    </parent>
修改入口类
package com.cloud.bookservice8082;

import org.springframework.boot.SpringApplication;

import org.springframework.boot.autoconfigure.SpringBootApplication;

import org.springframework.cloud.client.discovery.EnableDiscoveryClient;

import org.springframework.cloud.netflix.eureka.EnableEurekaClient;

@SpringBootApplication

@EnableEurekaClient

@EnableDiscoveryClient

public class BookService8082Application {

    public static void main(String[] args) {

        SpringApplication.run(BookService8082Application.class, args);

    }

}
修改属性文件
server.port=8082

# 服务名

spring.application.name=BookService

# 注册地址

eureka.client.service-url.defaultZone=http://server.one.com:1111/eureka,http://server.two.com:2222/eureka,http://server.three.com:3333/eureka

# 注册名

eureka.instance.instance-id=book-service:8082

eureka.instance.prefer-ip-address=true
增加controller
package com.cloud.bookservice8082.controller;

import lombok.extern.slf4j.Slf4j;

import org.springframework.beans.factory.annotation.Autowired;

import org.springframework.cloud.client.ServiceInstance;

import org.springframework.cloud.client.discovery.DiscoveryClient;

import org.springframework.web.bind.annotation.RequestMapping;

import org.springframework.web.bind.annotation.RestController;

import java.util.List;

@Slf4j

@RestController

public class BookController {

    @Autowired

    private DiscoveryClient discoveryClient;

    @RequestMapping("/book")

    public String index(){

        List<String> services = discoveryClient.getServices();

        services.forEach(e -> log.info("book-service:8082:" + e));

        List<ServiceInstance> list = discoveryClient.getInstances("BOOKSERVICEPROVIDER");

        list.forEach(e -> {

            log.info("book-service:8082:" + e.getServiceId() + "," + e.getHost() + "," + e.getPort() + "," + e.getUri());

        });

        return "{\n" +

                "  \"bookName\": \"Apache Kafka实战\",\n" +

                "  \"bookSize\": \"16开\",\n" +

                "  \"pack\": \"平装\",\n" +

                "  \"isbn\": \"9787121337765\",\n" +

                "  \"publisher\": \"电子工业出版社\",\n" +

                "  \"publishTime\": \"2018-05-01\",\n" +

                "  \"service\": \"book-service:8082\"\n" +

                "}";

    }

}
最后建立消费者-8080

..
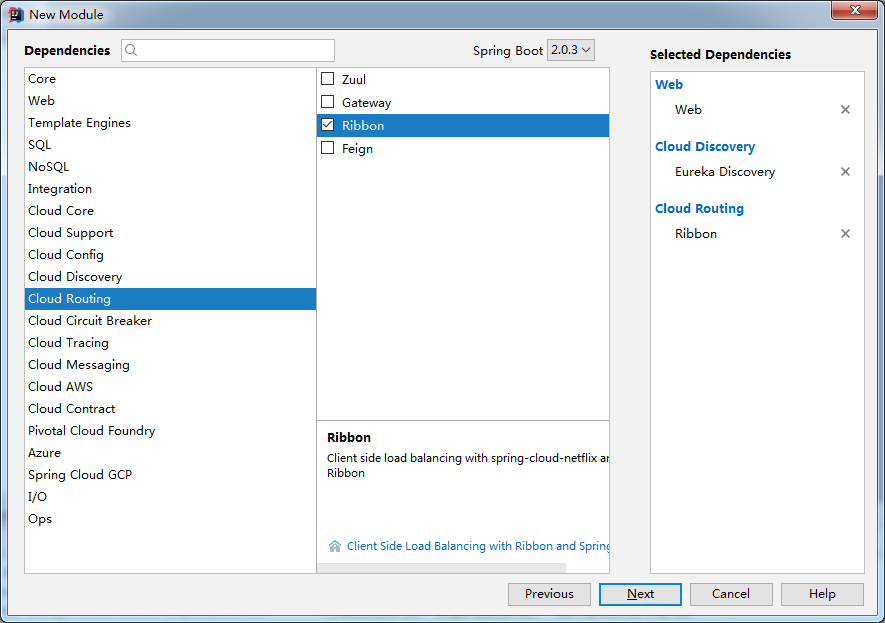
..
修改pom
    <parent>

        <groupId>com.cloud</groupId>

        <artifactId>cloud-parent-two</artifactId>

        <version>0.0.1-SNAPSHOT</version>

    </parent>
修改入口类(配置了@LoadBalanced注解的Bean)
package com.cloud.bookconsumer8080;

import org.springframework.boot.SpringApplication;

import org.springframework.boot.autoconfigure.SpringBootApplication;

import org.springframework.cloud.client.discovery.EnableDiscoveryClient;

import org.springframework.cloud.client.loadbalancer.LoadBalanced;

import org.springframework.cloud.netflix.eureka.EnableEurekaClient;

import org.springframework.context.annotation.Bean;

import org.springframework.web.client.RestTemplate;

@SpringBootApplication

@EnableDiscoveryClient

@EnableEurekaClient

public class BookConsumer8080Application {

    @Bean

    @LoadBalanced

    public RestTemplate restTemplate(){

        return new RestTemplate();

    }

    public static void main(String[] args) {

        SpringApplication.run(BookConsumer8080Application.class, args);

    }

}
属性文件
server.port=8080

eureka.client.register-with-eureka=false

eureka.client.service-url.defaultZone=http://server.one.com:1111/eureka,http://server.two.com:2222/eureka,http://server.three.com:3333/eureka
controller
package com.cloud.bookconsumer8080.controller;

import org.springframework.beans.factory.annotation.Autowired;

import org.springframework.web.bind.annotation.RequestMapping;

import org.springframework.web.bind.annotation.RestController;

import org.springframework.web.client.RestTemplate;

@RestController

public class BookController {

    private static final String PREFIX = "http://BOOKSERVICE";  // 微服务名字

    @Autowired

    private RestTemplate restTemplate;

    @RequestMapping("consumeBook")

    public String index(){

        return restTemplate.getForEntity(PREFIX + "/book",String.class).getBody();

    }

}
与上一节不同,这次指向的是服务名
目录结构
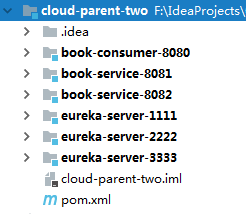
下面开始运行

访问 http://server.one.com:1111/ 出现
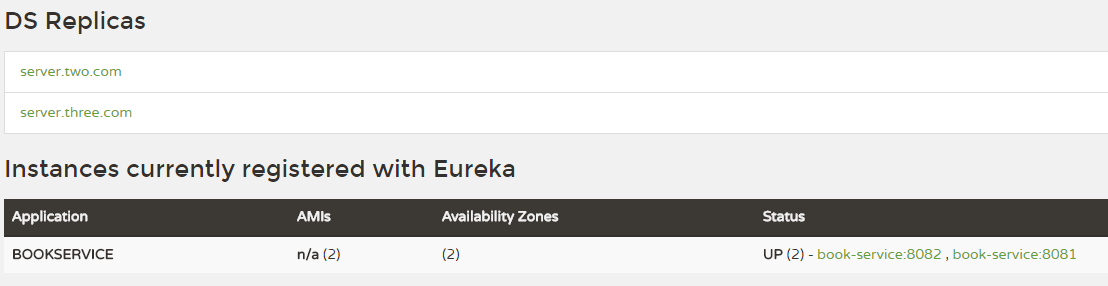
可以看见当前Eureka连接另外两个Eureka,证明注册中心高可用集群搭建成功。
再看下面的服务,有两个,证明服务已经注册进来了
下面访问消费者 http://localhost:8080/consumeBook

刷新

证明负载均衡也成功了
SpringCloud第二弹(高可用Eureka+Ribbon负载均衡)的更多相关文章
- 高性能Linux服务器 第11章 构建高可用的LVS负载均衡集群
高性能Linux服务器 第11章 构建高可用的LVS负载均衡集群 libnet软件包<-依赖-heartbeat(包含ldirectord插件(需要perl-MailTools的rpm包)) l ...
- 高可用 & 七层负载均衡与四层负载均衡
内容概要 高可用 七层负载均衡 和 四层负载均衡 内容详细 一.高可用 1.什么是高可用 一般是指2台机器启动着完全相同的业务系统,当有一台机器down机了,另外一台服务器就能快速的接管,对于访问的用 ...
- SpringCloud无废话入门02:Ribbon负载均衡
1.白话负载均衡 在上一篇的介绍中,我们创建了两个一模一样的服务提供者:Provider1和Provider2,然后它们提供的服务也一模一样,都叫Hello-Service.为什么一样的服务我们要部署 ...
- SpringCloud学习笔记(2):使用Ribbon负载均衡
简介 Spring Cloud Ribbon是基于Netflix Ribbon实现的一套客户端负载均衡工具,在注册中心对Ribbon客户端进行注册后,Ribbon可以基于某种负载均衡算法,如轮询(默认 ...
- SpringCloud微服务实现生产者消费者+ribbon负载均衡
一.生产者springcloud_eureka_provider (1)目录展示 (2)导入依赖 <dependency> <groupId>org.springframewo ...
- keepalived+nginx实现HA高可用的web负载均衡
Keepalived 是一种高性能的服务器高可用或热备解决方案, Keepalived 可以用来防止服务器单点故障的发生,通过配合 Nginx 可以实现 web 前端服务的高可用.Keepalived ...
- Keepalived高可用、四层负载均衡
目录 Keepalived高可用 高可用简介 常用的工具 问题 名称解释 VRRP协议 部署keepalived 下载安装 Keepalived配置 保证nginx配置一样 解决keepalived的 ...
- nginx与keepalived实现高可用+Apache实现负载均衡
nginx与keepalived实现高可用 本实验使用了四台虚拟机 两台需要安装nginx及keepalived 两台安装Apache nginx可以源码安装也可以用yum安装nginx yum安装n ...
- SpringCloud系列五:Ribbon 负载均衡(Ribbon 基本使用、Ribbon 负载均衡、自定义 Ribbon 配置、禁用 Eureka 实现 Ribbon 调用)
1.概念:Ribbon 负载均衡 2.具体内容 现在所有的服务已经通过了 Eureka 进行了注册,那么使用 Eureka 注册的目的是希望所有的服务都统一归属到 Eureka 之中进 行处理,但是现 ...
随机推荐
- 在IWMS中的分页效果
第一步,你需要在后台修改你所要显示的新闻数目: 第二步,你需要把这段代码加到你需要分页的列表里边 代码: <%=config.TopAd%><asp:Literal id=" ...
- python工具使用笔记
1.pip pip是Python官方推荐的包管理工具,在doc界面直接使用pip或者pip3命令即可,例如安装gensim: C:\Users\kayan.sjc>pip3 install -- ...
- solr部署tomcat 访问HTTP Status 403 – Access to the requested resource has been denied
-----------解决403错误看这里!!-----------打开****\Tomcat 8.5\webapps\solr\WEB-INF里面的web.xml,把下面这段配置注释掉!!!如下所示 ...
- easy install 与pip
easy_insall的作用和perl中的cpan, ruby中的gem类似,都提供了在线一键安装模块的傻瓜方便方式,而pip是easy_install的改进版, 提供更好的提示信息,删除packag ...
- linux利用CMakeLists编译cuda程序
文件目录: cudaTest |--utils.cu |--utils.h |--squaresum.cu |--squaresum.h |--test.cpp |--CMakeLists.txt 编 ...
- spring事务 将多个connection放到一个线程中
spring事务 将多个connection放到一个线程中
- 吉哥系列故事――恨7不成妻 HDU - 4507 数位dp
思路 和普通的DP不一样的是 这里求的是满足条件的数的平方的和 而数位DP只跟数每位是什么密切相关 所以要开一个结构 (多加一个 数的和sum 和平方和qsum)存一下各个状态的和的情况 dp[p ...
- CH0802 占卜DIY
模拟 没怎么看题..直接deque模拟水过了.. 但是后来回过头看了下题意..如果再次拿到正面朝上的牌,应该是废操作..可能是数据太水了... #include <bits/stdc++.h&g ...
- Matplotlib学习---用matplotlib和sklearn画拟合线(line of best fit)
在机器学习中,经常要用scikit-learn里面的线性回归模型来对数据进行拟合,进而找到数据的规律,从而达到预测的目的.用图像展示数据及其拟合线可以非常直观地看出拟合线与数据的匹配程度,同时也可用于 ...
- IDEA修改module的名字
首先右键module名,选择[Refactor]-[Rename...] 然后选择[Rename module] 只修改这些对于当前开发是没有问题了 但是刚开始把module添加成maven项目的时候 ...