
django系列 1 :python+django环境搭建 +mac提示找不到manage.py命令
1.安装python3
2.设置python3的环境变量
3.进入命令行模式,输入
pip install django 1.10.3
4.验证是否安装完成
pip show django
5.django官网
https://docs.djangoproject.com/en/2.1/intro/tutorial01/
mac安装可能出现的问题:
有些mac上默认有安装的python2.7版本,如果你自己安装了python3,使用python3安装django,使用manage.py时可能会提示命令不存在;
解决办法,把安装在python3下面的那些django的.py挪到python2.7下面,或者去安装好的django的目录下面。
来源:https://docs.djangoproject.com/en/2.1/intro/tutorial01/
该教程是创建一个用于投票的网页。
1.使用命令创建site
进入要创建site的目录,输入命令:
$ django-admin startproject mysite
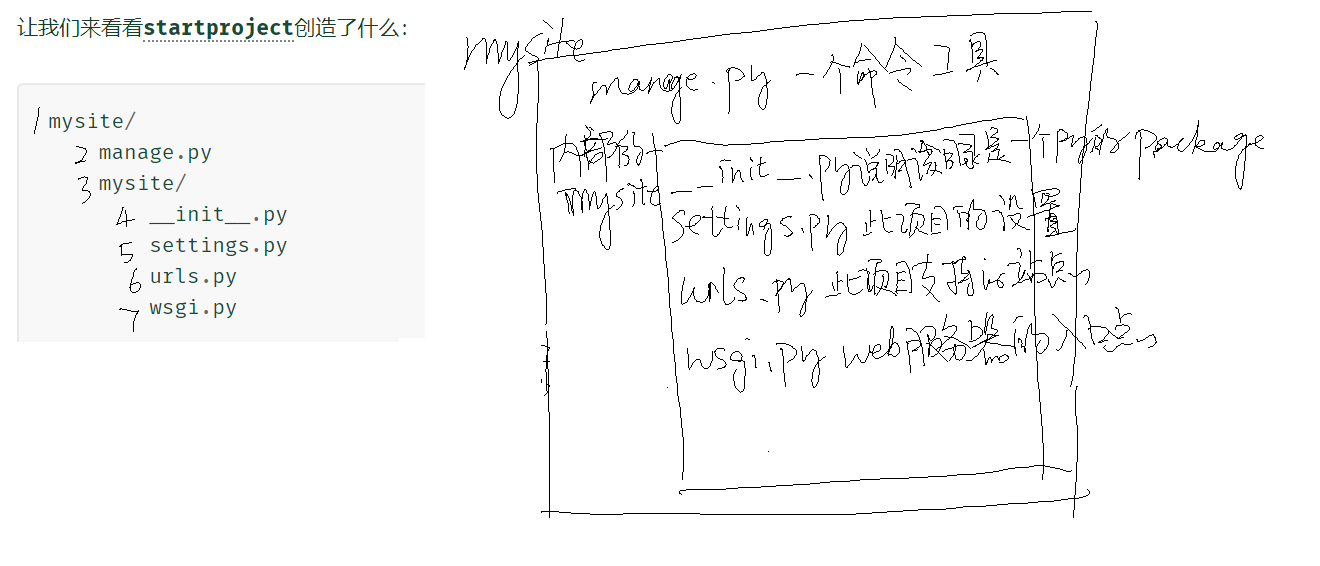
2.让我们来看看startproject创造了什么:
mysite/

    manage.py

    mysite/

        __init__.py

        settings.py

        urls.py

        wsgi.py
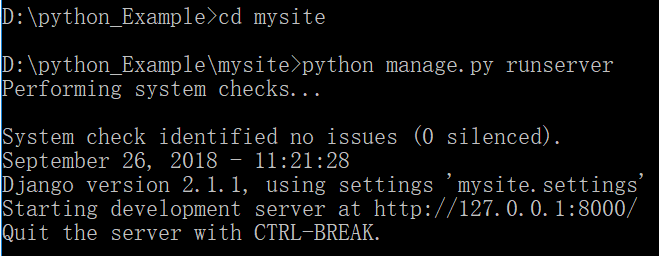
3.步骤1已经创建了一个site,现在启动验证一下:
$ python manage.py runserver
4.创建投票模块
$ python manage.py startapp polls
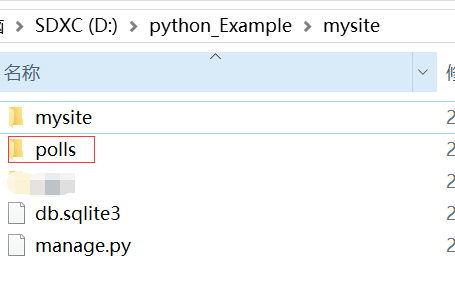
polls的目录如下:
polls/

    __init__.py

    admin.py

    apps.py

    migrations/

        __init__.py

    models.py

    tests.py

    views.py
编辑polls页面的内容:

from django.http import HttpResponse

def index(request):

    return HttpResponse("Hello, world. You're at the polls index.")
polls/urls.py
from django.urls import path

from . import views

urlpatterns = [

    path('', views.index, name='index'),

]
mysite/urls.py
from django.contrib import admin

from django.urls import include, path

urlpatterns = [

    path('polls/', include('polls.urls')),

    path('admin/', admin.site.urls),

]
mysite/settings.py 设置当地时区
TIME_ZONE = 'Asia/Shanghai'
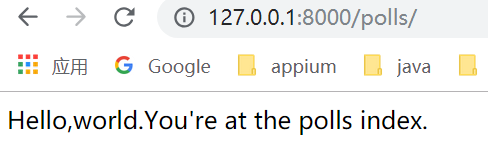
重新启动,查看polls页面是否生效:
$ python manage.py runserver
在Django中,网页和其他内容由视图提供。每个视图都由一个简单的Python函数(或基于类的视图的方法)表示。Django将通过检查所请求的URL(确切地说,是域名后面的URL部分)来选择视图。
在我们的民意调查申请中,我们将有以下四种view:
- 问题“索引”页面 - 显示最新的几个问题。
- 问题“详细信息”页面 - 显示问题文本,没有结果,但有一个表单可以投票。
- 问题“结果”页面 - 显示特定问题的结果。
- 投票行动 - 处理特定问题中特定选择的投票。
为了从URL到视图,Django使用所谓的“URLconfs”。URLconf将URL模式映射到视图。
原理:
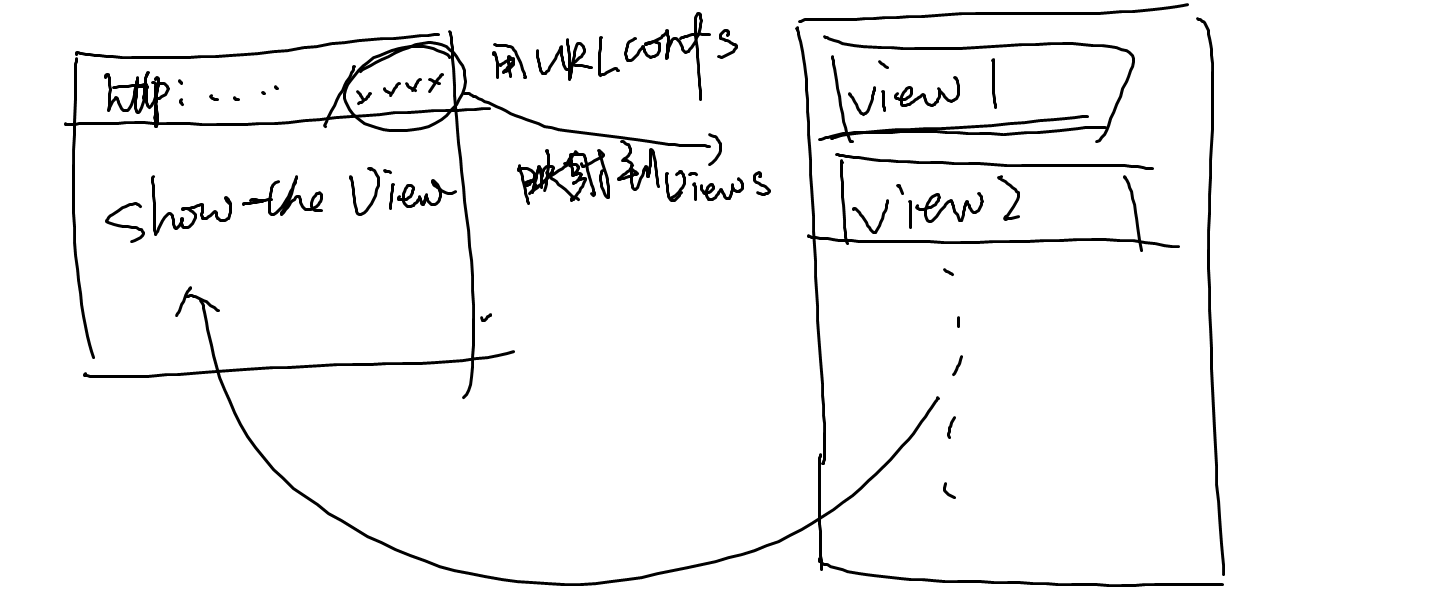
实现步骤:
1.编辑polls/views.python的内容
from django.http import HttpResponse

from .models import Question

def index(request):

    output=','.join([q.question_text for q in last_question_list])

    return HttpResponse(output)

def detail(request,question_id):

    response="You're looking at question %s."

    return HttpResponse(response % question_id)

def results(request,question_id):

    response="You're looking at the results of question %s."

    return HttpResponse(response % question_id)

def vote(request,question_id):

    return HttpResponse("You're voting on question %s." % question_id)
2.编辑urlConf的映射 polls/urls.py
from django.urls import path

from . import views

urlpatterns = [

    # ex: /polls/

    path('', views.index, name='index'),

    # ex: /polls/5/

    path('<int:question_id>/', views.detail, name='detail'),

    # ex: /polls/5/results/

    path('<int:question_id>/results/', views.results, name='results'),

    # ex: /polls/5/vote/

    path('<int:question_id>/vote/', views.vote, name='vote'),

]
测试一下
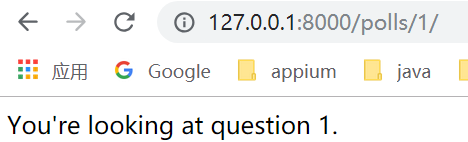
当前编辑的django页面,是默认的UI,如果想要改变页面展示,就需要用到模板。
模板的原理是这样的:
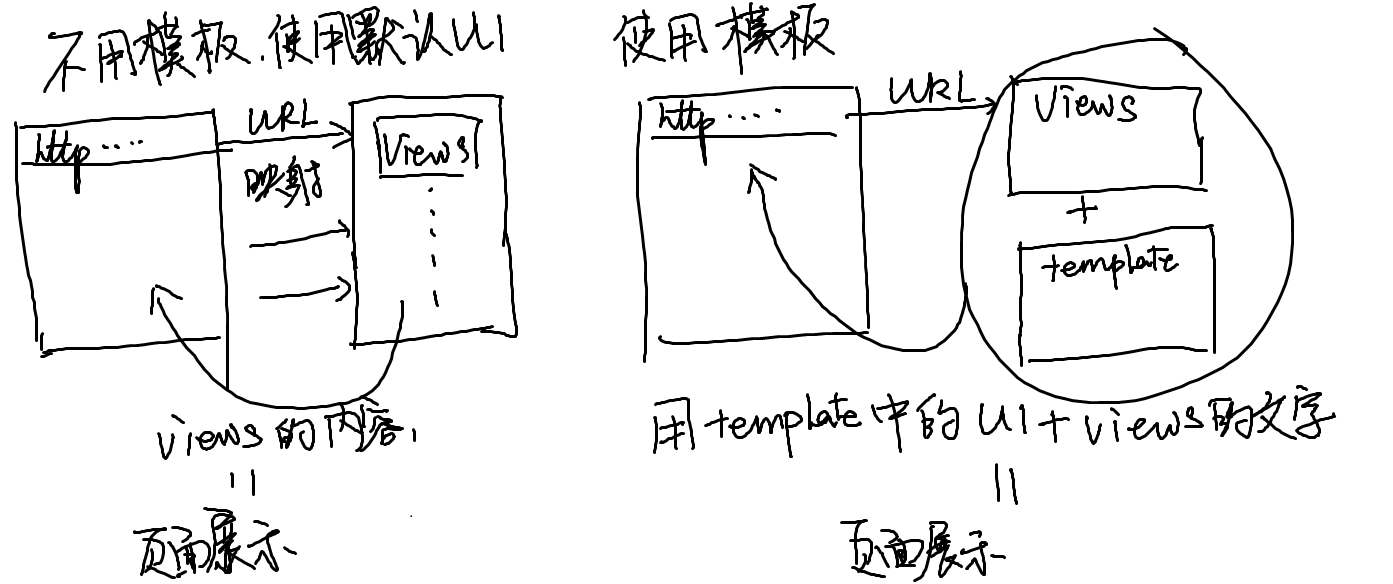
实际步骤:
1.编辑views.py,将template和content做好映射
from django.shortcuts import render

from django.http import HttpResponse

from django.template import loader

from .models import Question

def index(request):

    latest_question_list=Question.objects.order_by('-pub_date')[:5]

    context={'latest_question_list':latest_question_list,}

    return render(request,'polls/index.html',context)

    '''

    #template的另一种显示方法

    template=loader.get_template('polls/index.html')

    context={'latest_question_list':latest_question_list,}

    return HttpResponse(template.render(context,request))

    '''

    '''

    #不使用template的写法

    output=','.join([q.question_text for q in last_question_list])

    return HttpResponse(output)

    '''
2.编写template的内容
创建文件夹和文件
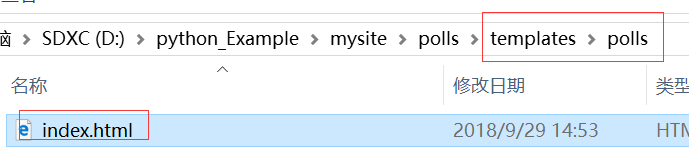
编辑index.html
{% if latest_question_list %}

    <ul>

    {% for question in latest_question_list %}

        <li><a href="/polls/{{ question.id }}/">{{ question.question_text }}</a></li>

    {% endfor %}

    </ul>

{% else %}

    <p>No polls are available.</p>

{% endif %}
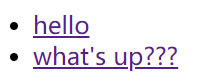
查看结果:
django系列 1 :python+django环境搭建 +mac提示找不到manage.py命令的更多相关文章
- Python之Django环境搭建(MAC+pycharm+Django++postgreSQL)
Python之Django环境搭建(MAC+pycharm+Django++postgreSQL) 转载请注明地址:http://www.cnblogs.com/funnyzpc/p/7828614. ...
- Django + Apache + wsgi配置和环境搭建(ubuntu)
上一篇写了Django + nginx + uwsgi配置和环境搭建(ubuntu) 由于公司服务器环境问题,又配置了apache的环境.记录例如以下: 一. 安装环境: #apache sudo a ...
- Eclipse Kepler SR2 + Python 3.4 + JDK7+Pydev3.4 搭建 python 开发环境(MAC)
Eclipse Kepler SR2 + Python 3.4 + JDK7+Pydev3.4 搭建 python 开发环境(MAC) 此为mac开发环境 一:下载所需软件: Eclipse Kepl ...
- (干货分享)mac python+appium环境搭建
因为mac本自带python2.x(不建议卸载,因为本本本身有很多依赖与此),所以装python3的过程极其坎坷,勉强装好后也总是各种报错.这次装appium环境,直接把原来的python3卸了,用h ...
- Python的环境搭建——万丈高楼平地起
Python的环境搭建,远程连接,端口映射,虚拟机 写在正文之前 python语言的开发环境还是相对比较简单的,但是也是有很多需要注意的地方,对于初次接触python或者以前很少用到虚拟环境的朋友来说 ...
- python开发环境搭建
虽然网上有很多python开发环境搭建的文章,不过重复造轮子还是要的,记录一下过程,方便自己以后配置,也方便正在学习中的同事配置他们的环境. 1.准备好安装包 1)上python官网下载python运 ...
- python后台架构Django教程——manage.py命令
一.manage.py命令选项 manage.py是每个Django项目中自动生成的一个用于管理项目的脚本文件,需要通过python命令执行.manage.py接受的是Django提供的内置命令. 内 ...
- Eclipse中Python开发环境搭建
Eclipse中Python开发环境搭建 目 录 1.背景介绍 2.Python安装 3.插件PyDev安装 4.测试Demo演示 一.背景介绍 Eclipse是一款基于Java的可扩展开发平台. ...
- python学习之python开发环境搭建
Python简介 Python是一种面向对象.解释型计算机程序设计语言.Python语法简洁而清晰,具有丰富和强大的类库等等众多的特性,这是来自百度百科的介绍,在百度百科还能看到它的更详细的介绍信息, ...
随机推荐
- orcale三表连接查询
SELECT w.ZDBH,w.HEATINGANDAIRCONDITIONERID, w.ZDMC, w.CZBH, w.CZMC, w.CNXS, w.ND, w.KTJF, w.K ...
- 搭建Hexo博客(一)-创建Hexo环境
Hexo配合github,可以创建自己的博客.基本原理是使用Hexo生成静态页面,发布到github上.在本地需要搭建Hexo环境. 1.安装nodejs 下载并安装NodeJS,官网地址:https ...
- Android组件化、模块化、插件化
组件:指的是单一的功能组件,如地图组件(MapSDK).扫码组件(QRCode).支付组件(AnjukePay).路由组件(Router)等等: 模块:指的是独立的业务模块,如新房模块(NewHous ...
- @ControllerAdvice+@ExceptionHandler处理架构异常捕获
1.注解引入 1) @ControllerAdvice - 控制器增强 @Target({ElementType.TYPE}) @Retention(RetentionPolicy.RUNTIME) ...
- VM下安装Kali虚拟机
VM下Kali虚拟机安装 下载kali Linux系统镜像 下载地址:http://mirrors.hust.edu.cn/kali-images/ 网页如下: kali官网:http://www.k ...
- BZOJ2342[Shoi2011]双倍回文——回文自动机
题目描述 输入 输入分为两行,第一行为一个整数,表示字符串的长度,第二行有个连续的小写的英文字符,表示字符串的内容. 输出 输出文件只有一行,即:输入数据中字符串的最长双倍回文子串的长度,如果双倍回文 ...
- 基准对象object中的基础类型----列表 (四)
object有如下子类: CLASSES object basestring str unicode buffer bytearray classmethod complex dict enumera ...
- LOJ2251 [ZJOI2017] 树状数组【线段树】【树套树】
题目分析: 对于一个$add$操作,它的特点是与树状数组的查询相同,会给$1$到它自己产生影响,而$query$操作则会途径所有包含它的树状数组点.现在$add$操作具有前向性(不会影响之后的点).所 ...
- Matplotlib学习---用matplotlib画误差线(errorbar)
误差线用于显示数据的不确定程度,误差一般使用标准差(Standard Deviation)或标准误差(Standard Error). 标准差(SD):是方差的算术平方根.如果是总体标准差,那么用σ表 ...
- Codeforces Round #530 (Div. 2) A,B,C,D
A. Snowball 链接:http://codeforces.com/contest/1099/problem/A 思路:模拟 代码: #include<bits/stdc++.h> ...