
Spring通过注解装配Bean
通过注解实现ServiceImpl业务
一、使用@Component装配Bean
1、 定义类:User
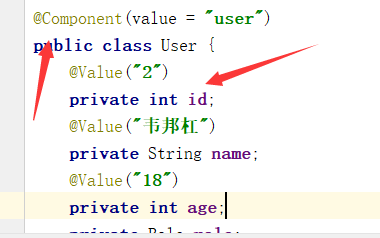
在类上面加@Component注解,在属性上面加@Value值
package com.wbg.springxmlbean.entity;

import org.springframework.beans.factory.annotation.Value;

import org.springframework.stereotype.Component;

@Component(value = "user")

public class User {

    @Value("2")

    private int id;

    @Value("韦邦杠")

    private String name;

    @Value("18")

    private int age;

    private Role role;

    @Override

    public String toString() {

        return "User{" +

                "id=" + id +

                ", role=" + role +

                ", name='" + name + '\'' +

                ", age=" + age +

                '}';

    }

    public Role getRole() {

        return role;

    }

    public void setRole(Role role) {

        this.role = role;

    }

    public int getId() {

        return id;

    }

    public void setId(int id) {

        this.id = id;

    }

    public String getName() {

        return name;

    }

    public void setName(String name) {

        this.name = name;

    }

    public int getAge() {

        return age;

    }

    public void setAge(int age) {

        this.age = age;

    }

}
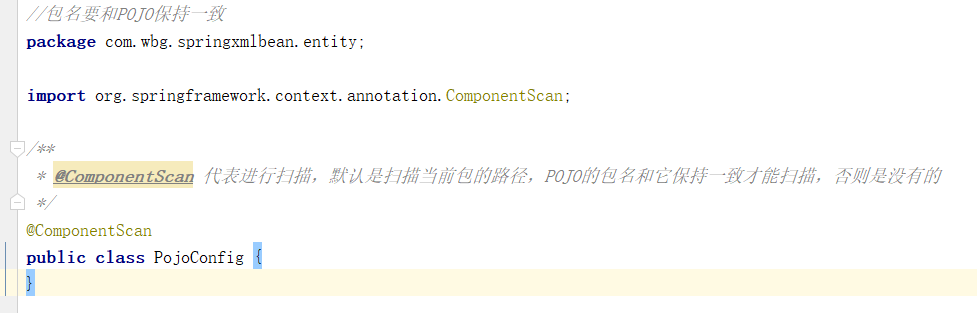
2、使用@ComponentScan注解进行扫描包的路径
创建一个类,类上面加@CompontScan注解
测试:
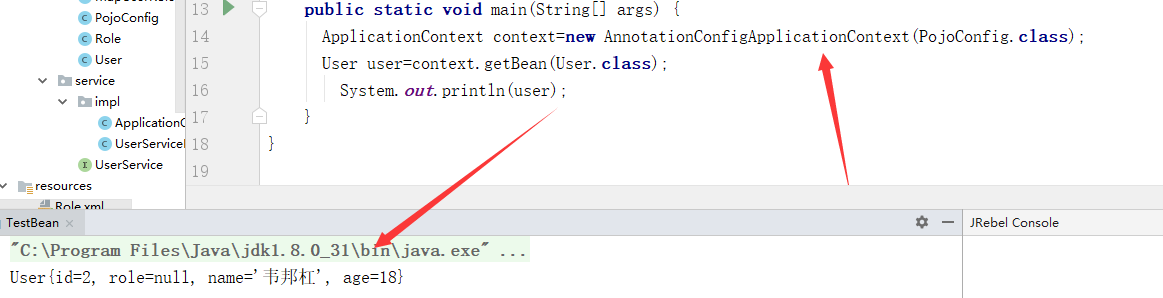
 ApplicationContext context=new AnnotationConfigApplicationContext(PojoConfig.class);

      User user=context.getBean(User.class);

        System.out.println(user);
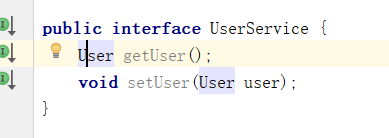
3、创建UserService接口
public interface UserService {

    User getUser();

    void setUser(User user);

}
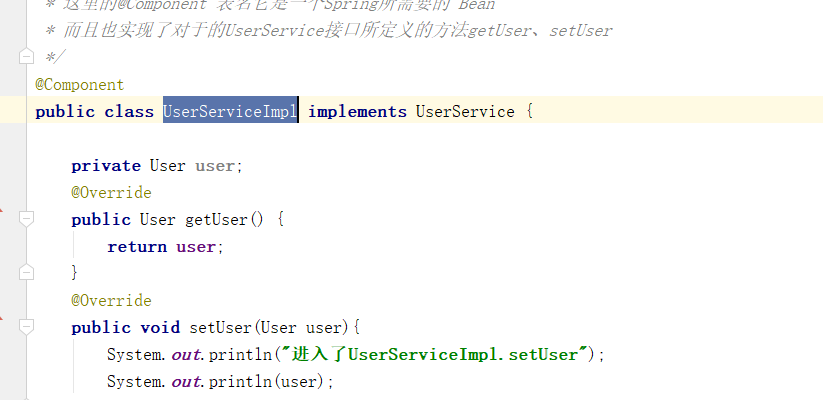
4、创建实现类UserServiceImpl,在该类上面使用@Component注解
package com.wbg.springxmlbean.service.impl;

import com.wbg.springxmlbean.entity.User;

import com.wbg.springxmlbean.service.UserService;

import org.springframework.stereotype.Component;

/**

 * 这里的@Component 表名它是一个Spring所需要的 Bean

 * 而且也实现了对于的UserService接口所定义的方法getUser、setUser

 */

@Component

public class UserServiceImpl implements UserService {

    private User user;

    @Override

    public User getUser() {

        return user;

    }

    @Override

    public void setUser(User user){

        System.out.println("进入了UserServiceImpl.setUser");

        System.out.println(user);

    }

}
5、配置@ComponentScan制定包扫描
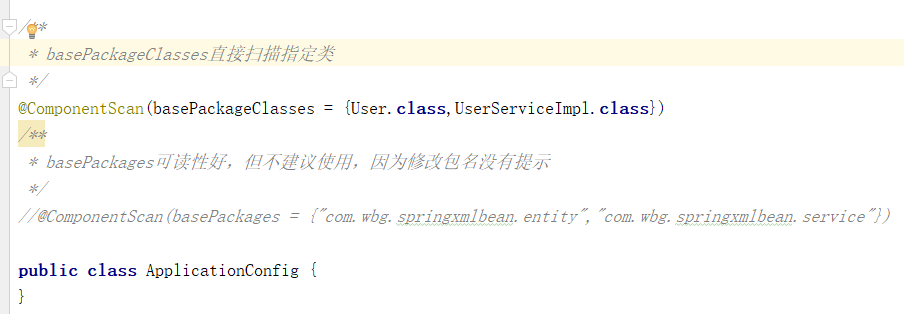
创建一个ApplicationConfig类,该类上面使用@ComponentScan注解
package com.wbg.springxmlbean.service.impl;

import com.wbg.springxmlbean.entity.User;

import org.springframework.context.annotation.ComponentScan;

/**

 * basePackageClasses直接扫描指定类

 */

@ComponentScan(basePackageClasses = {User.class,UserServiceImpl.class})

/**

 * basePackages可读性好,但不建议使用,因为修改包名没有提示

 */

//@ComponentScan(basePackages = {"com.wbg.springxmlbean.entity","com.wbg.springxmlbean.service"})

public class ApplicationConfig {

}
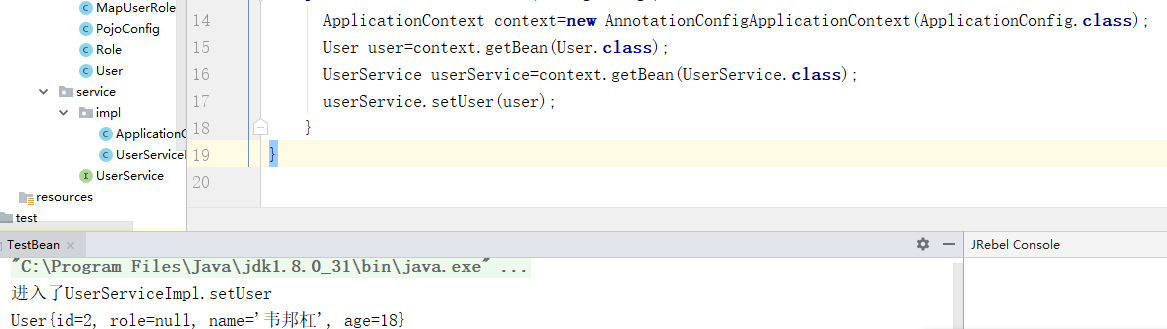
测试:
 ApplicationContext context=new AnnotationConfigApplicationContext(ApplicationConfig.class);

      User user=context.getBean(User.class);

      UserService userService=context.getBean(UserService.class);

      userService.setUser(user)
二、自动装配-@Autowired
eneity的Role类:
package com.wbg.springxmlbean.entity;

import org.springframework.beans.factory.annotation.Value;

import org.springframework.stereotype.Component;

@Component

public class Role {

    @Value("1")

    private int id;

    @Value("roleName_1")

    private String roleName;

    @Value("note_1")

    private String note;

    @Override

    public String toString() {

        return "Role{" +

                "id=" + id +

                ", roleName='" + roleName + '\'' +

                ", note='" + note + '\'' +

                '}';

    }

    public int getId() {

        return id;

    }

    public void setId(int id) {

        this.id = id;

    }

    public String getRoleName() {

        return roleName;

    }

    public void setRoleName(String roleName) {

        this.roleName = roleName;

    }

    public String getNote() {

        return note;

    }

    public void setNote(String note) {

        this.note = note;

    }

}
service创建接口:RoleService
package com.wbg.springxmlbean.service;

public interface RoleService {

    void printRoleInfo();

}
impl实现类:RoleServiceImpl
@Component

public class RoleServiceImpl implements RoleService {

    @Autowired

    private Role role;

    @Override

    public void printRoleInfo() {

        System.out.println(role);

    }

}
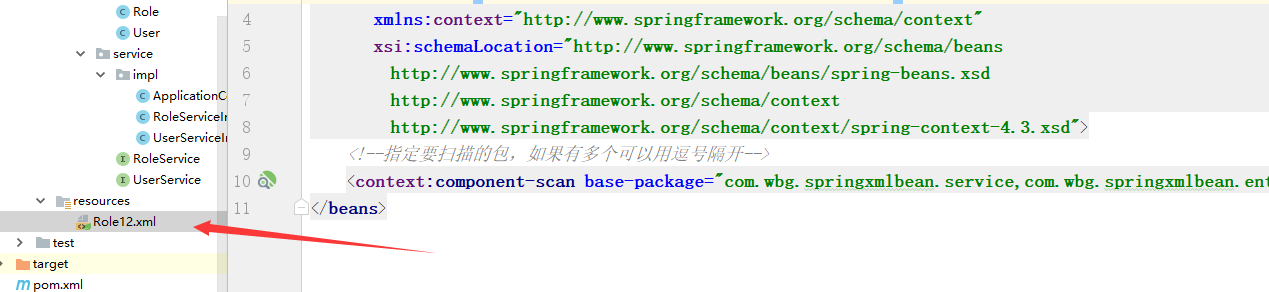
创建xml扫描:
<?xml version="1.0" encoding="UTF-8"?>

<beans xmlns="http://www.springframework.org/schema/beans"

       xmlns:xsi="http://www.w3.org/2001/XMLSchema-instance"

       xmlns:context="http://www.springframework.org/schema/context"

       xsi:schemaLocation="http://www.springframework.org/schema/beans

        http://www.springframework.org/schema/beans/spring-beans.xsd

        http://www.springframework.org/schema/context

        http://www.springframework.org/schema/context/spring-context-4.3.xsd">

    <!--指定要扫描的包,如果有多个可以用逗号隔开-->

    <context:component-scan base-package="com.wbg.springxmlbean.service,com.wbg.springxmlbean.entity"/>

</beans>
测试:
 ApplicationContext context=new ClassPathXmlApplicationContext("Role12.xml");

        RoleService userService=context.getBean(RoleService.class);

        userService.printRoleInfo();
当有注解的时候
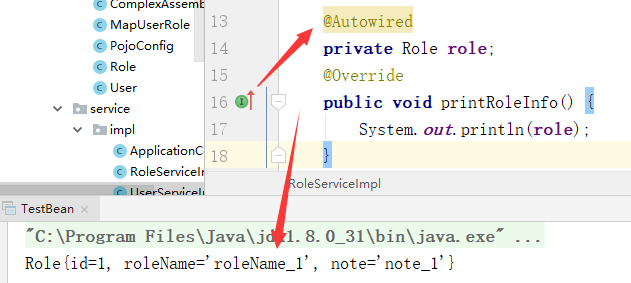
当没有的时候

三、注解@Primary
上面类:RoleServiceImpl实现了RoleService接口
再创建一个类RoleServiceImpl2进行实现RoleService接口
则RoleService接口就有两个实现类,但Spring ioc不知道采用哪个注入,然后就会出错
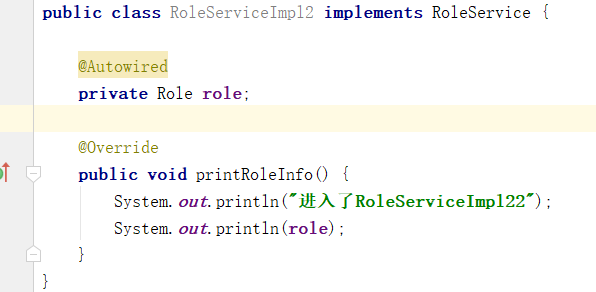
@Component

public class RoleServiceImpl2 implements RoleService {

    @Autowired

    private Role role;

    @Override

    public void printRoleInfo() {

        System.out.println("进入了RoleServiceImpl22");

        System.out.println(role);

    }

}
在启动的时候报错
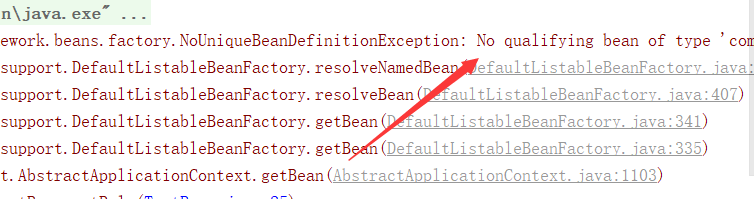
org.springframework.beans.factory.NoUniqueBeanDefinitionException: No qualifying bean of type 'com.wbg.springxmlbean.service.RoleService' available: expected single matching bean but found 2: roleServiceImpl,roleServiceImpl2
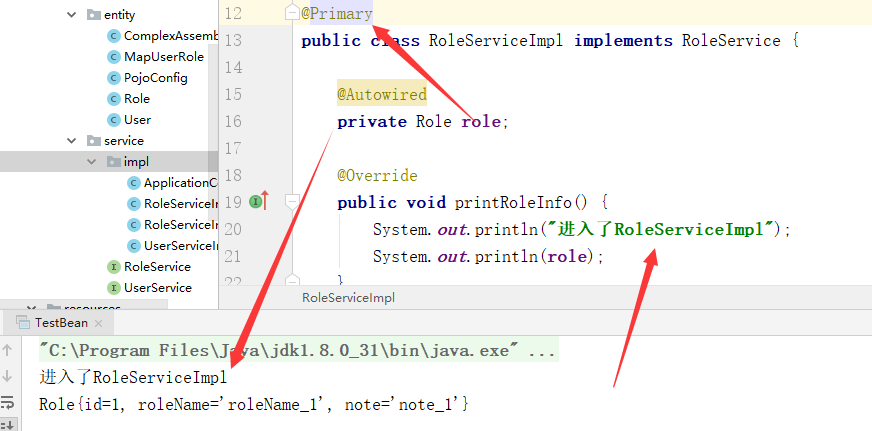
通过@Primary注解告诉Sring ioc
测试:
1、RoleServiceImpl2

去掉RoleServiceImpl2上面的@primary注解
测试RoleServiceImpl
四、注解@Qualifier
把上面的@Primary注解去掉,然后在Controller进行使用
现在接口AdminService有两个实现类
AdminServiceImpl

AdminServiceImpl2
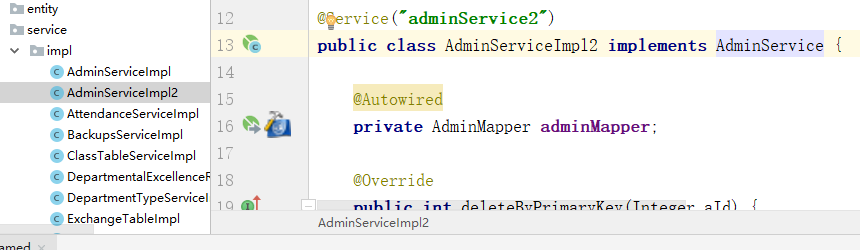
然后在Controller进行实现
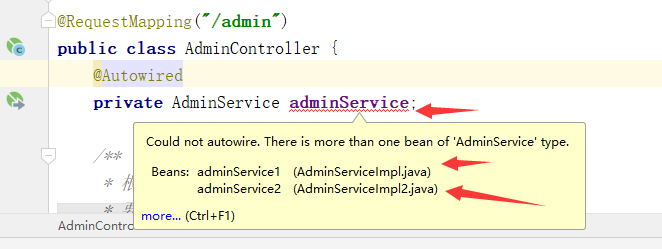

五、使用@Bean装配Bean
@Bean的配置项中包含4个配置
name:是一个字符中数组,允许多个
autowire:标识是否是一个引用Bean对象,默认值:Autowire.NO
initMethd:自定义初始化方法
destroyMethod:自定义销毁方法
代码:
package com.wbg.springxmlbean.spring;

import com.mchange.v2.c3p0.ComboPooledDataSource;

import org.springframework.context.annotation.Bean;

import org.springframework.context.annotation.Configuration;

import javax.sql.DataSource;

import java.beans.PropertyVetoException;

@Configuration

public class ConfigDataSource {

    @Bean(name = "dataSource")

    public DataSource getDataSource() throws PropertyVetoException {

        ComboPooledDataSource dataSource=new ComboPooledDataSource();

        dataSource.setDriverClass("org.mariadb.jdbc.Driver");

        dataSource.setJdbcUrl("jdbc:mariadb://localhost:3306/wbg_logistics");

        dataSource.setUser("root");

        dataSource.setPassword("123456");

        dataSource.setMaxPoolSize(30);

        return dataSource;

    }

}
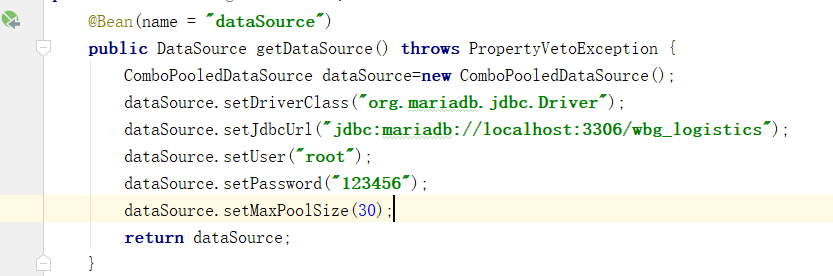
实现:
接口:
public interface RoleDataSourceService {

    Role getRole(int id);

}
实现接口
package com.wbg.springxmlbean.service.impl;

import com.wbg.springxmlbean.entity.Role;

import com.wbg.springxmlbean.service.RoleDataSourceService;

import com.wbg.springxmlbean.spring.ConfigDataSource;

import org.springframework.beans.factory.annotation.Autowired;

import org.springframework.stereotype.Component;

import java.beans.PropertyVetoException;

import java.sql.Connection;

import java.sql.PreparedStatement;

import java.sql.ResultSet;

import java.sql.SQLException;

@Component

public class RoleDataSourceServiceImpl implements RoleDataSourceService {

    @Autowired

    ConfigDataSource dataSource=null;

    @Override

    public Role getRole(int id) {

        Connection con=null;

        ResultSet rs=null;

        PreparedStatement ps=null;

        Role role=null;

        try {

            con=dataSource.getDataSource().getConnection();

            ps=con.prepareStatement("select * from role where id = ?");

            ps.setInt(1,id);

            rs=ps.executeQuery();

            while (rs.next()){

                role=new Role();

                role.setId(rs.getInt(1));

                role.setNote(rs.getString(2));

                role.setNote(rs.getString(3));

            }

        } catch (PropertyVetoException e) {

            e.printStackTrace();

        } catch (SQLException e) {

            e.printStackTrace();

        }

        return role;

    }

}
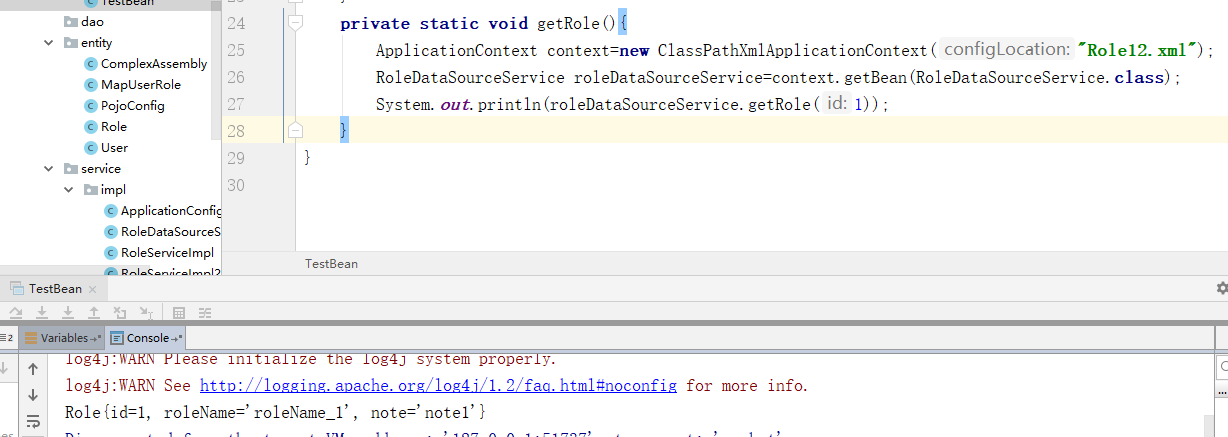
这里Role12.xml需要扫描:
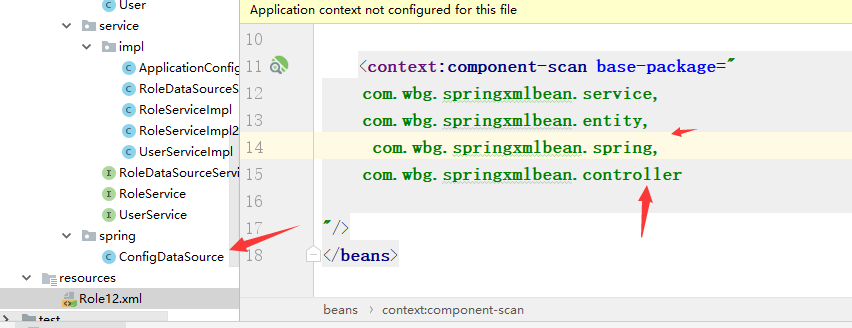
测试:
 ApplicationContext context=new ClassPathXmlApplicationContext("Role12.xml");

        RoleDataSourceService roleDataSourceService=context.getBean(RoleDataSourceService.class);

        System.out.println(roleDataSourceService.getRole(1));
六、装配的混合使用
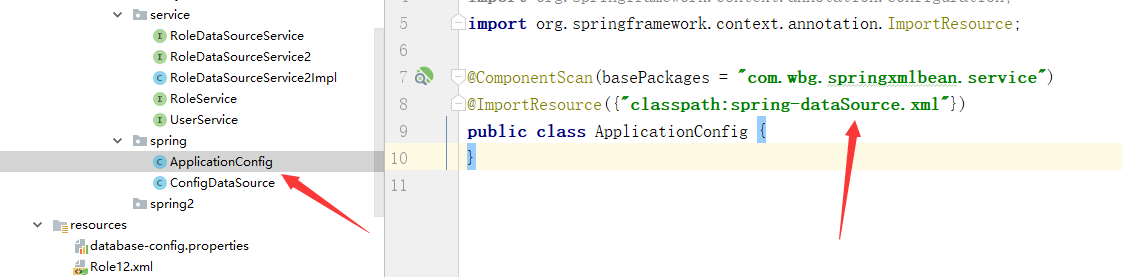
创建一个配置类:
@ComponentScan(basePackages = "com.wbg.springxmlbean.service")

@ImportResource({"classpath:spring-dataSource.xml"})

public class ApplicationConfig {

}
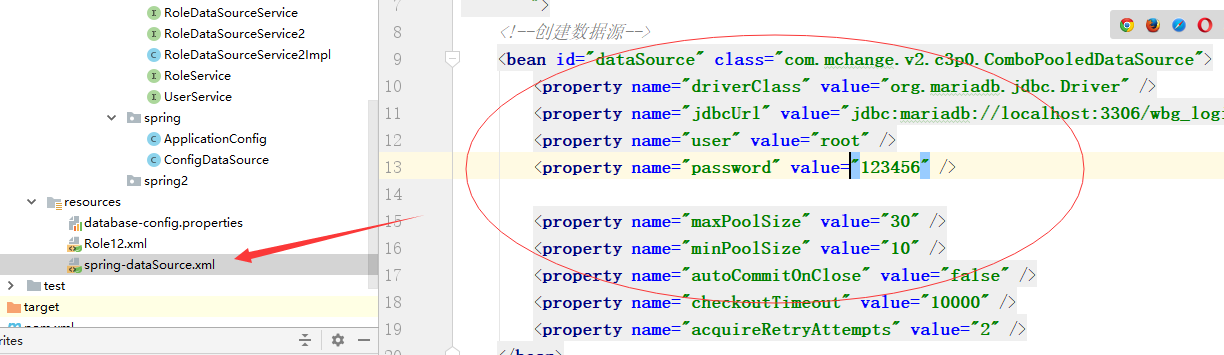
创建xml文件:
spring-dataSource.xml
<?xml version="1.0" encoding="UTF-8"?>

<beans xmlns="http://www.springframework.org/schema/beans"

       xmlns:xsi="http://www.w3.org/2001/XMLSchema-instance"

       xmlns:context="http://www.springframework.org/schema/context"

       xsi:schemaLocation="http://www.springframework.org/schema/beans

        http://www.springframework.org/schema/beans/spring-beans.xsd

       ">

    <!--创建数据源-->

    <bean id="dataSource" class="com.mchange.v2.c3p0.ComboPooledDataSource">

        <property name="driverClass" value="org.mariadb.jdbc.Driver" />

        <property name="jdbcUrl" value="jdbc:mariadb://localhost:3306/wbg_logistics" />

        <property name="user" value="root" />

        <property name="password" value="123456" />

        <property name="maxPoolSize" value="30" />

        <property name="minPoolSize" value="10" />

        <property name="autoCommitOnClose" value="false" />

        <property name="checkoutTimeout" value="10000" />

        <property name="acquireRetryAttempts" value="2" />

    </bean>

</beans>
创建接口:RoleDataSourceService2

创建实现类:
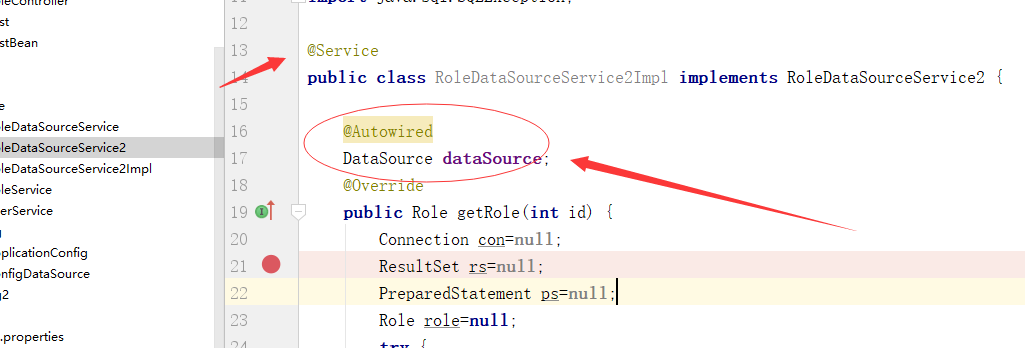
使用注解@Autowired
package com.wbg.springxmlbean.service;

import com.wbg.springxmlbean.entity.Role;

import org.springframework.beans.factory.annotation.Autowired;

import org.springframework.stereotype.Service;

import javax.sql.DataSource;

import java.sql.Connection;

import java.sql.PreparedStatement;

import java.sql.ResultSet;

import java.sql.SQLException;

@Service

public class RoleDataSourceService2Impl implements RoleDataSourceService2 {

    @Autowired

    DataSource dataSource;

    @Override

    public Role getRole(int id) {

        Connection con=null;

        ResultSet rs=null;

        PreparedStatement ps=null;

        Role role=null;

        try {

            con= dataSource.getConnection();

            ps=con.prepareStatement("select * from role where id = ?");

            ps.setInt(1,id);

            rs=ps.executeQuery();

            while (rs.next()){

                role=new Role();

                role.setId(rs.getInt(1));

                role.setRoleName(rs.getString(2));

                role.setNote(rs.getString(3));

            }

        }  catch (SQLException e) {

            e.printStackTrace();

        }

        return role;

    }

}
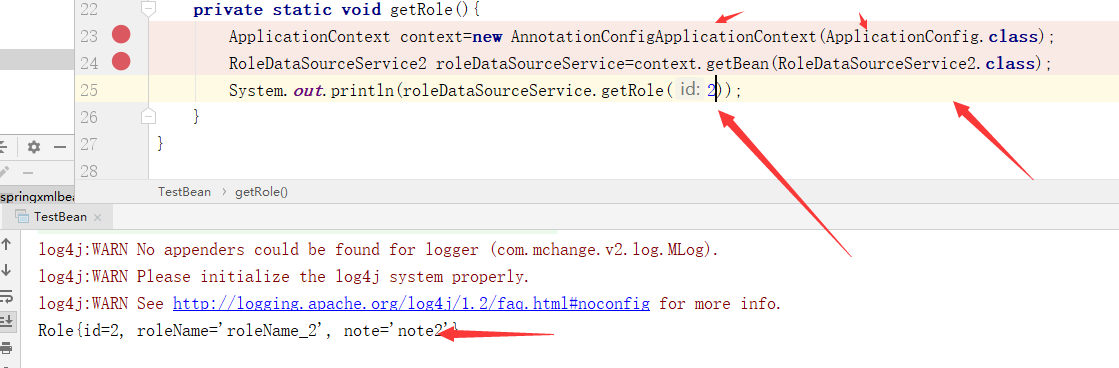
测试:
ApplicationContext context=new AnnotationConfigApplicationContext(ApplicationConfig.class);

        RoleDataSourceService2 roleDataSourceService=context.getBean(RoleDataSourceService2.class);

        System.out.println(roleDataSourceService.getRole(2));
demo:https://github.com/weibanggang/springAnnotation.git
Spring通过注解装配Bean的更多相关文章
- spring 通过注解装配Bean
使用注解的方式可以减少XML的配置,注解功能更为强大,它既能实现XML的功能,也提供了自动装配的功能,采用了自动装配后,程序员所需要做的决断就少了,更加有利于对程序的开发,这就是“约定优于配置”的开发 ...
- (转)java之Spring(IOC)注解装配Bean详解
java之Spring(IOC)注解装配Bean详解 在这里我们要详细说明一下利用Annotation-注解来装配Bean. 因为如果你学会了注解,你就再也不愿意去手动配置xml文件了,下面就看看 ...
- Spring学习(六)bean装配详解之 【通过注解装配 Bean】【基础配置方式】
通过注解装配 Bean 1.前言 优势 1.可以减少 XML 的配置,当配置项多的时候,XML配置过多会导致项目臃肿难以维护 2.功能更加强大,既能实现 XML 的功能,也提供了自动装配的功能,采用了 ...
- Spring总结 1.装配bean
本随笔内容要点如下: 依赖注入 Spring装配bean的方式 条件化装配 一.依赖注入 我理解的依赖注入是这样的:所谓的依赖,就是对象所依赖的其他对象.Spring提供了一个bean容器,它负责创建 ...
- Spring 之自动化装配 bean 尝试
[Spring之自动化装配bean尝试] 1.添加dependencies如下所示(不是每一个都用得到 <dependencies> <dependency> <grou ...
- spring中自动装配bean
首先用@Component注解类: package soundsystem: import org.springframework.stereotype.Component; @Component p ...
- spring的自动装配Bean与自动检测Bean
spring可以通过编写XML来配置Bean,也可以通过使用spring的注解来装配Bean. 1.自动装配与自动检测: 自动装配:让spring自动识别如何装配bean的依赖关系,减少对<pr ...
- SpringBoot(14)—注解装配Bean
SpringBoot(14)-注解装配Bean SpringBoot装配Bean方式主要有两种 通过Java配置文件@Bean的方式定义Bean. 通过注解扫描的方式@Component/@Compo ...
- java之Spring(IOC)注解装配Bean详解
在这里我们要详细说明一下利用Annotation-注解来装配Bean. 因为如果你学会了注解,你就再也不愿意去手动配置xml文件了,下面就看看Annotation的魅力所在吧. 先来看看之前的bean ...
随机推荐
- javaweb之jsp的属性范围
1.什么是jsp的属性范围? 所谓的属性范围就是一个属性设置之后,可以经过多少个其他页面后仍然可以保存并继续使用.jsp提供了四种属性范围,如下: 当前页,对应的jsp对象为pageContext,属 ...
- Class.forName之坑
今天遇到个问题 找不到类,最后发现 Class.forName中要完整的类名
- 一 NIO的概念
Java NIO由下列几个核心部分组成: Channels(通道) Buffers(缓冲区) Asynchronous IO(异步IO) Channel 和 Buffer 基本上所有的IO在NIO中都 ...
- 为My97DatePicker日期插件设置默认日期
datepicker.zip 为My97DatePicker日期插件设置默认日期,开始日期为系统日期的前一个月,结束日期为系统日期: 开始日期不能大于结束日期,且都不能大于今天: 开始日期-maxDa ...
- PHP+Xdebug实现远程调试
以前以为php调试时服务器端和IDE必须在同一台机子上,无意发现xdebug其实是支持远程调试的. 尝试之后发现可以配置成功,还是可以调试代码的感觉爽啊! php所在Ubuntu服务器 ...
- C语言--清理getchar缓存
getchar()采用了缓冲区,而getch()才是立即获取,所以要想再用getchar()获取正确的值必须先清空缓冲区,如果是windows操作系统,用fflush(stdin)函数或rewind( ...
- Java的Final和C#的Const,Readonly比较分析(转载)
Java里面没有readonly关键字,预留了const的关键字,目前还没有实际用途,在Java中,跟这两个关键字比较接近的是final; C#中,两者都存在并可用.两者修饰的全局变量或局部变量都不能 ...
- Flink Flow
1. Create environment for stream computing StreamExecutionEnvironment env = StreamExecutionEnvironme ...
- springboot 使用webflux响应式开发教程(一)
什么是webFlux 左侧是传统的基于Servlet的Spring Web MVC框架,右侧是5.0版本新引入的基于Reactive Streams的Spring WebFlux框架,从上到下依次是R ...
- 【Python】Sublime text 3 搭建Python IDE
背景: 最经遇到一件很苦恼的事情,就是在Sublime text 3中写的Python代码直接挪到python原生的ide中老是报格式的错误(有时让人讨厌的缩进),没有办法,看到Sublime tex ...