
其他综合-CentOS 7 rsync+nginx实现公网yum源
CentOS 7 rsync+nginx实现公网yum源
1、实验描述
镜像同步公网 yum 源上游 yum 源必须要支持 rsync 协议,否则不能使用 rsync 进行同步。CentOS 7.6 默认已经安装了,当然,还需要能够上网才行。这里同步的是 6.10 和 7.6.1810,所以,虚拟机硬盘要给100G左右。
2、实验环境
【你可能需要】【CentOS 7 搭建模板机】点我快速打开文章
【你可能需要】【VMware 从模板机快速克隆多台】点我快速打开文章
【你可能需要】【CentOS 7 命令行显示优化】点我快速打开文章
【你可看需要】【CentOS 7 配置yum源】点我快速打开文章
虚拟机:
- 系统:CenOS 7.6
- 内存:2G+
- 数量:2台
- 硬盘:100G+
使用软件的版本:
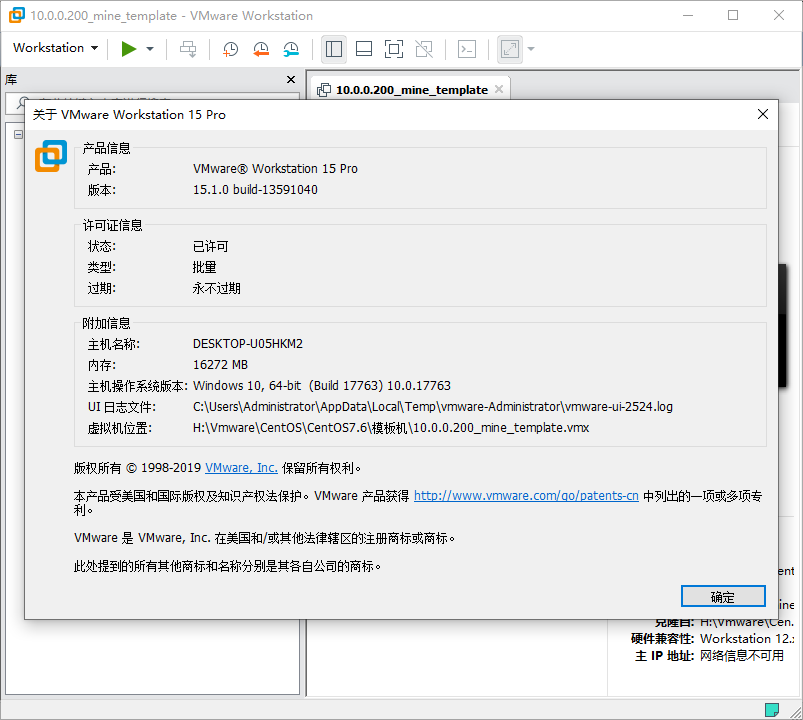
VMware 15 Pro
3、实验工具
【VMware12&15】【001-VMware 12&15】点我快速打开分享(若异常,请私信,万分感谢) 【提取码:0rb9 】
【CentOS7.6】【002-CentOS 7.6】点我快速打开分享(若异常,请私信,万分感谢) 【提取码:9tri 】
4、实验步骤
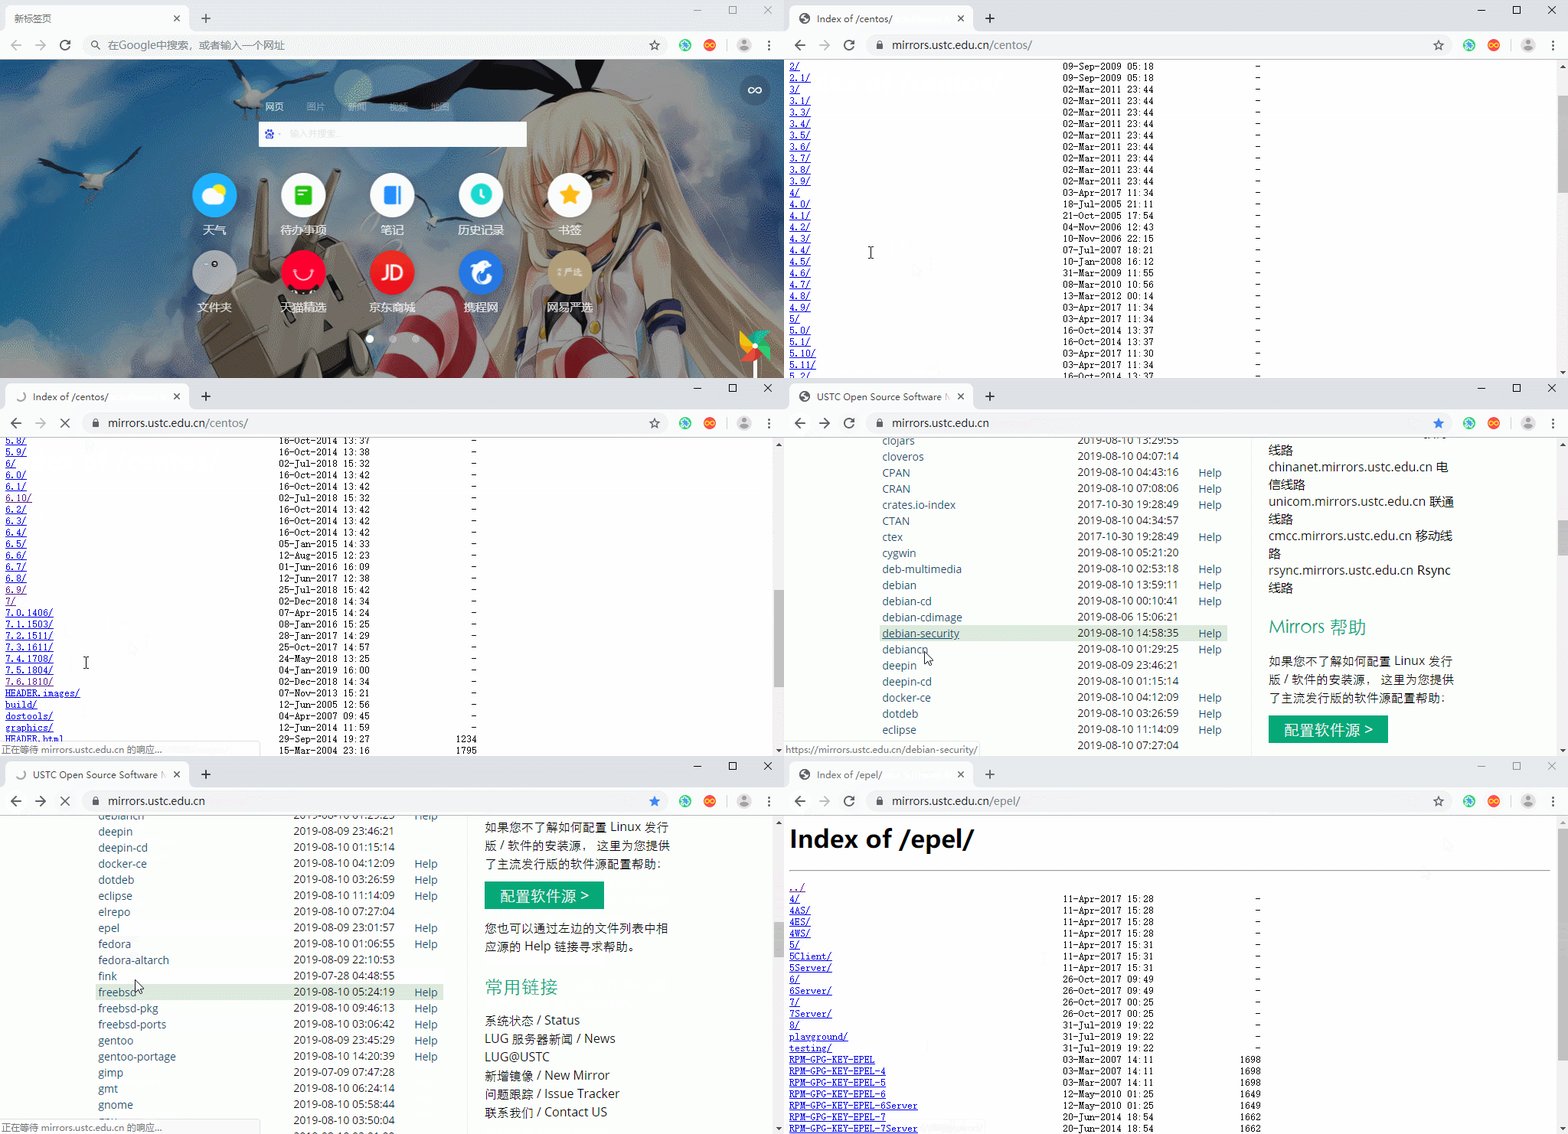
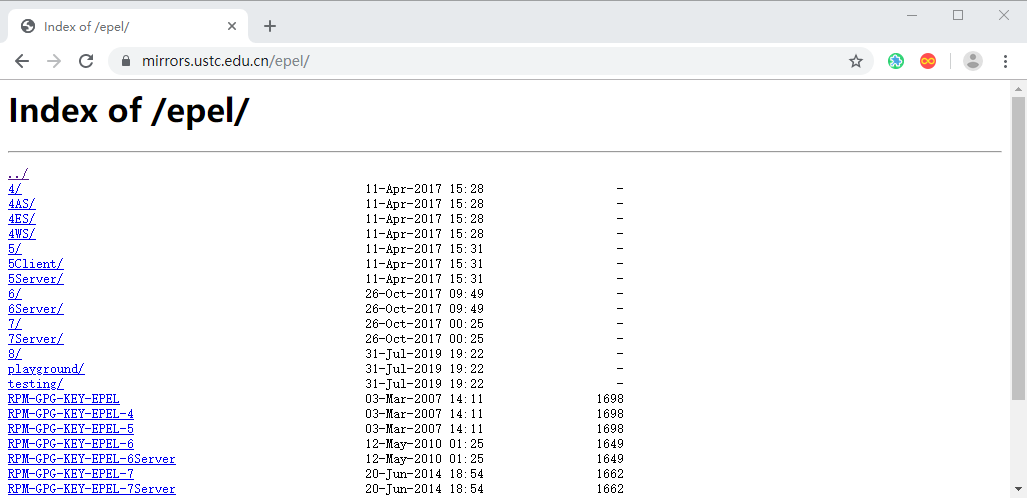
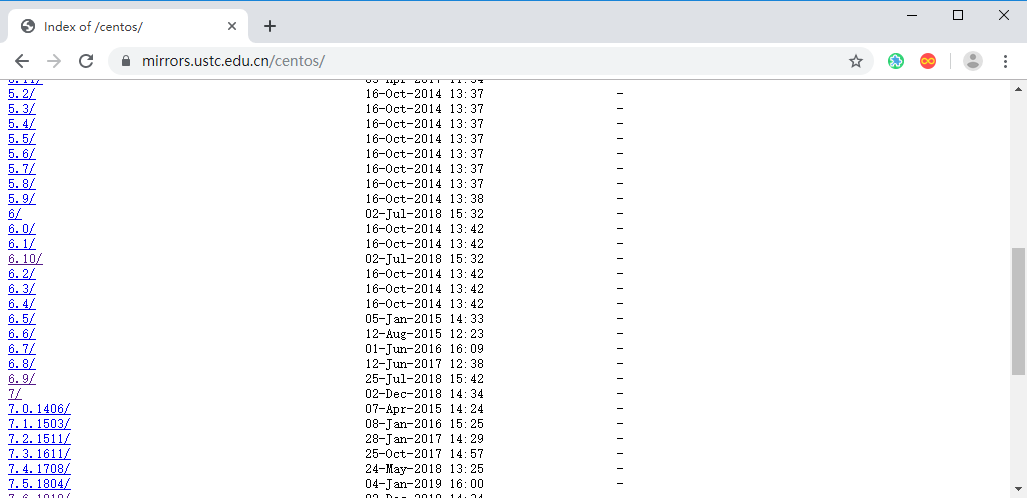
【公网源官方地址】点我快速打开文章
4.1 安装nginx服务
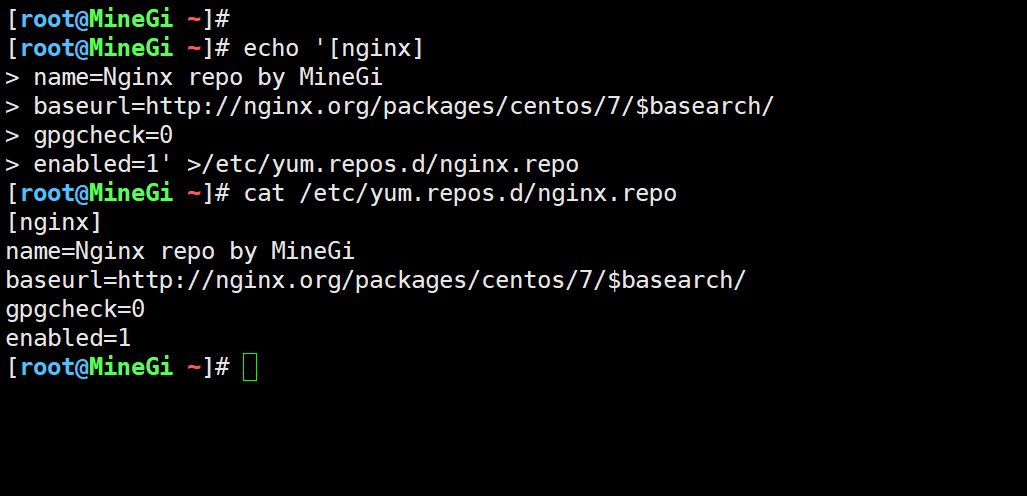
1. 配置官方源
echo '[nginx]
name=Nginx repo by MineGi
baseurl=http://nginx.org/packages/centos/7/$basearch/
gpgcheck=0
enabled=1' >/etc/yum.repos.d/nginx.repo

cat /etc/yum.repos.d/nginx.repo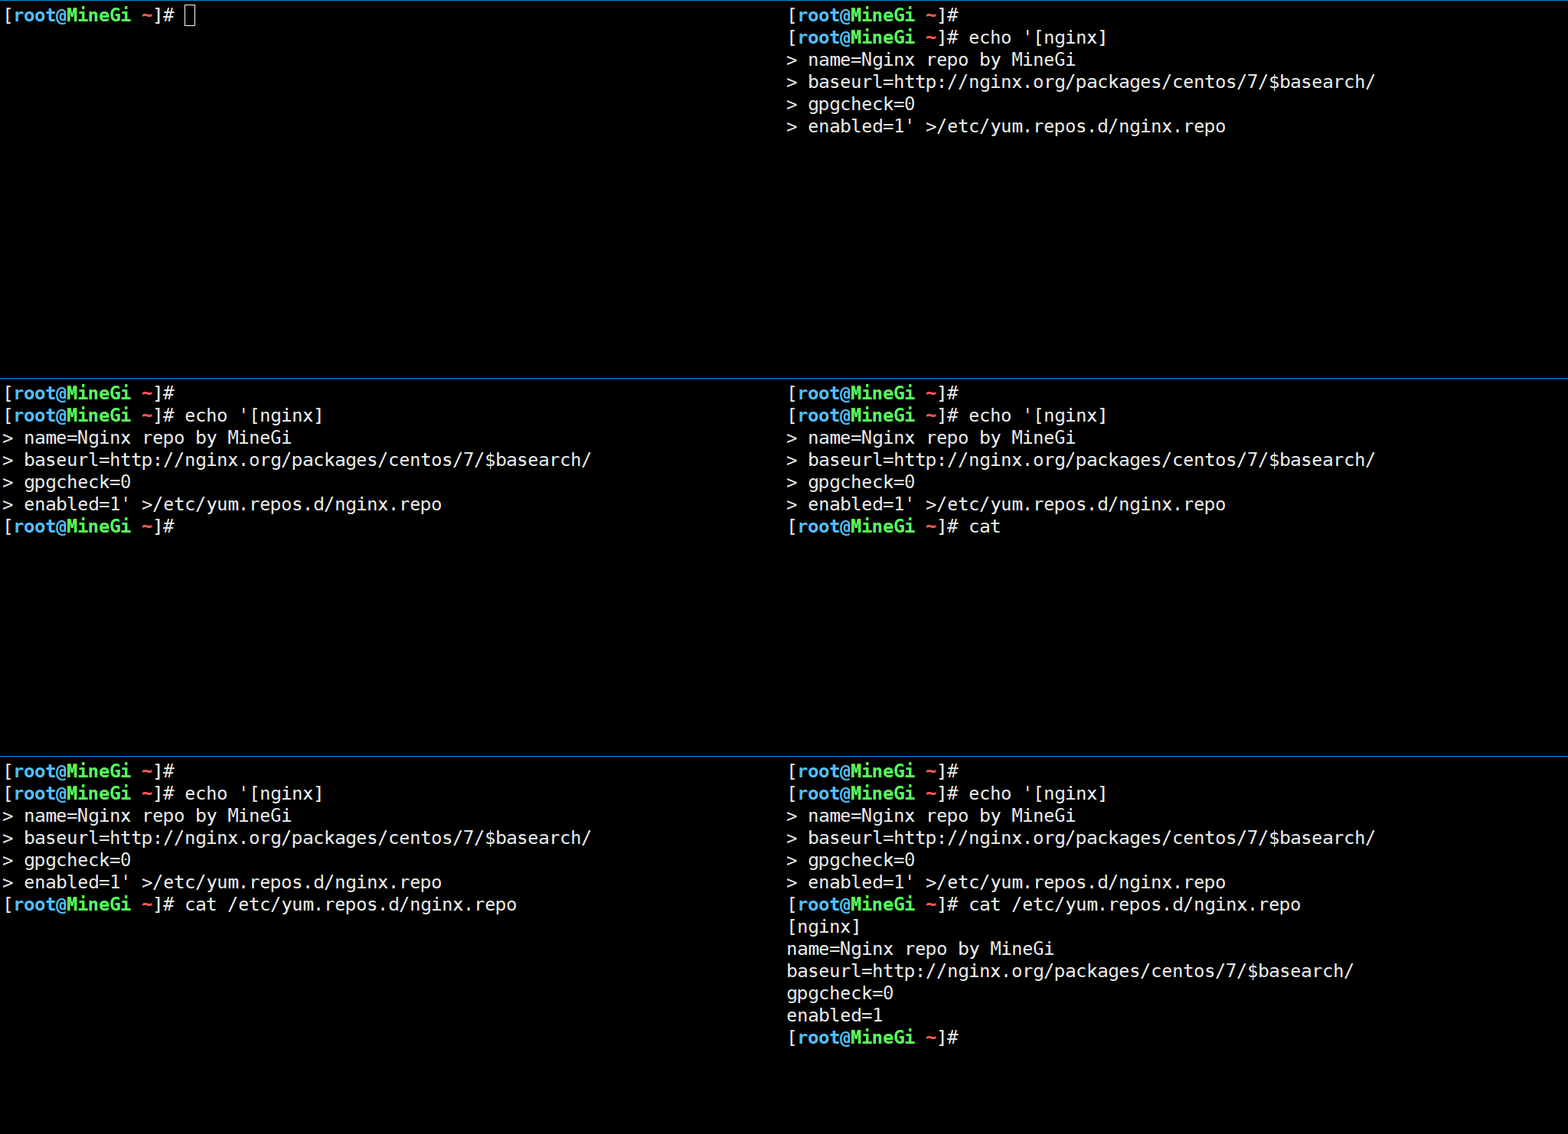
2. 安装与配置
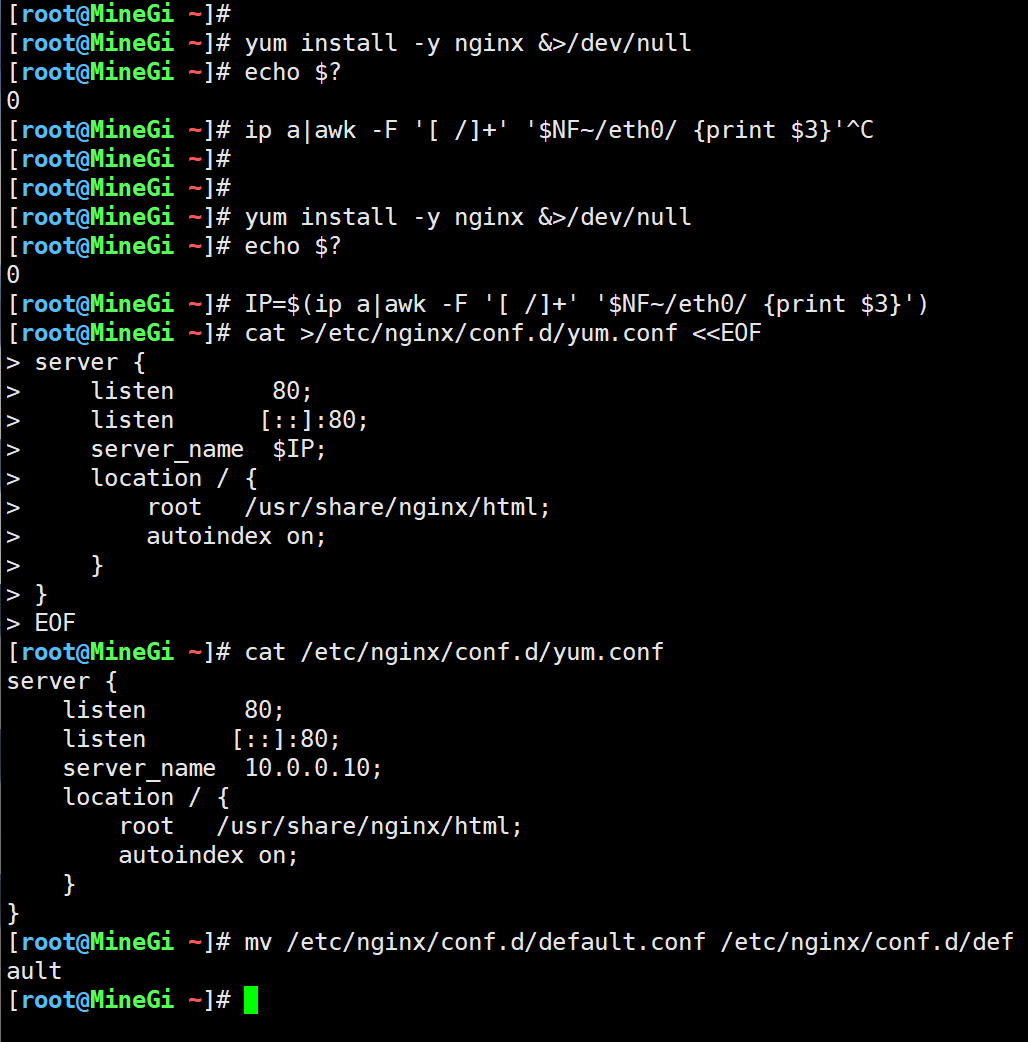
yum install -y nginx &>/dev/null
echo $?

IP=$(ip a|awk -F '[ /]+' '$NF~/eth0/ {print $3}')
cat >/etc/nginx/conf.d/yum.conf <<EOF
server {
    listen       80;
    listen      [::]:80;
    server_name  $IP;
    location / {
        root   /usr/share/nginx/html;
        autoindex on;
    }
}
EOF

cat /etc/nginx/conf.d/yum.conf

mv /etc/nginx/conf.d/default.conf /etc/nginx/conf.d/default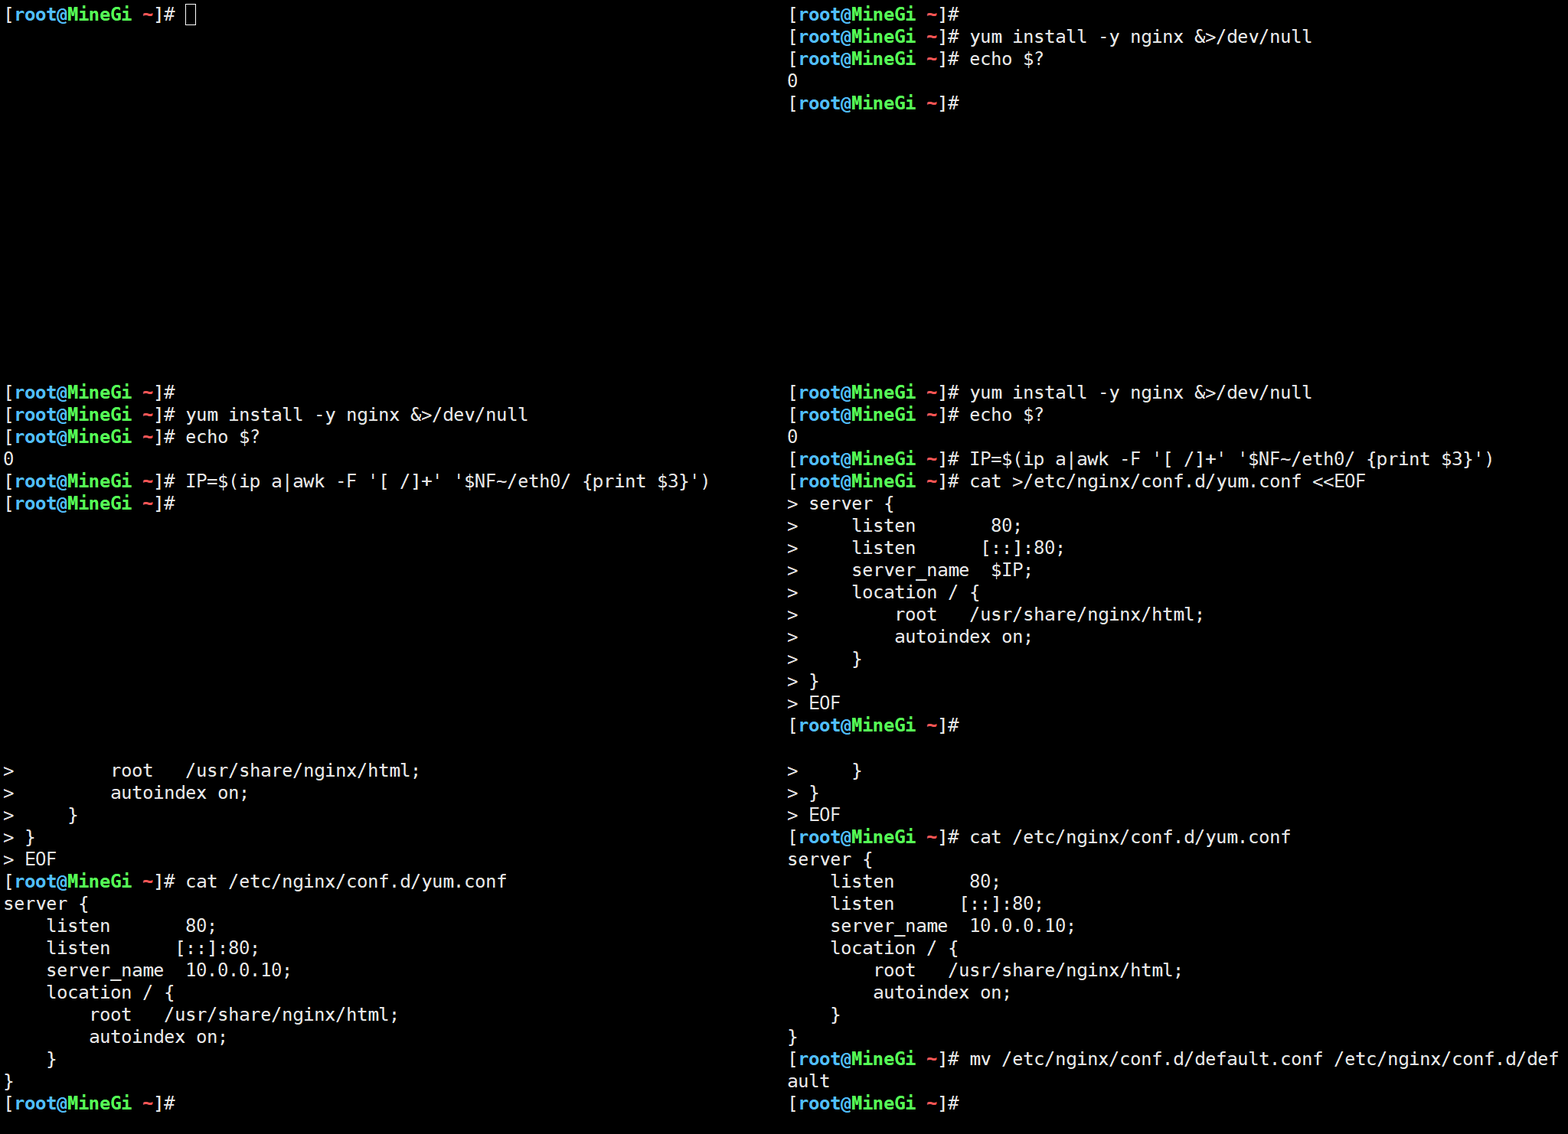
3. 启动自启动
nginx -t

systemctl enable nginx

systemctl start nginx

netstat -lntup|grep -c nginx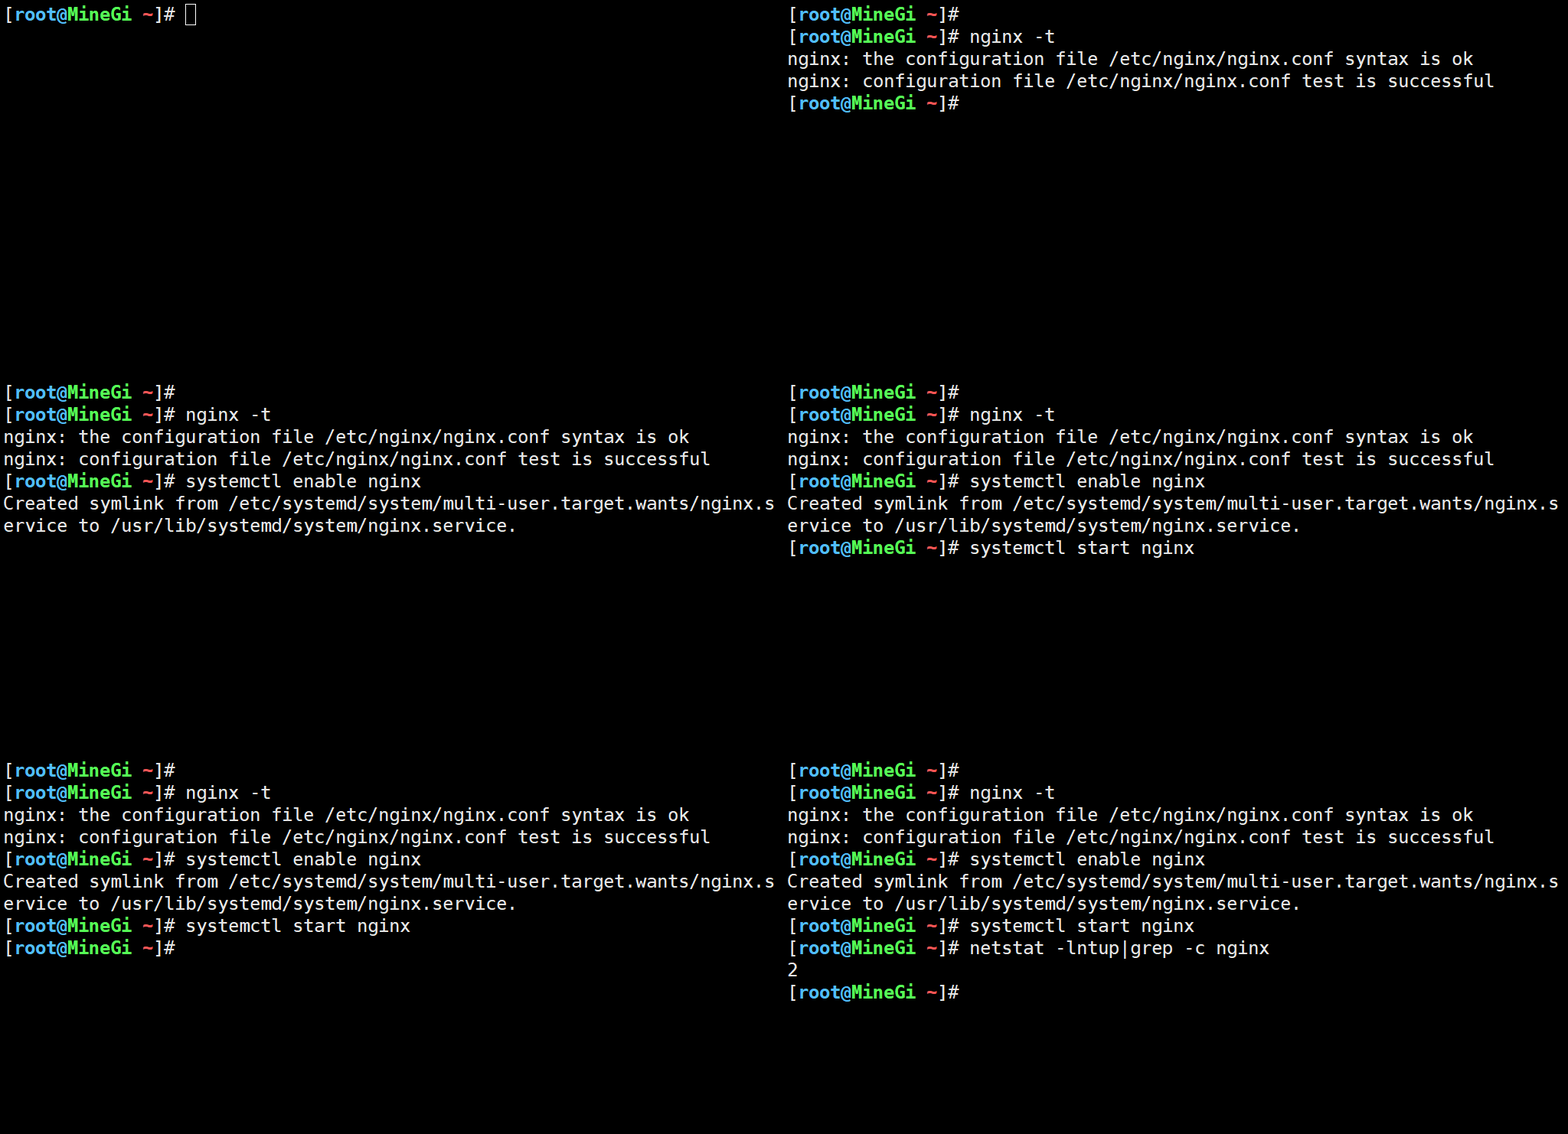

4.2 同步公网yum源
1. 创建排除文件
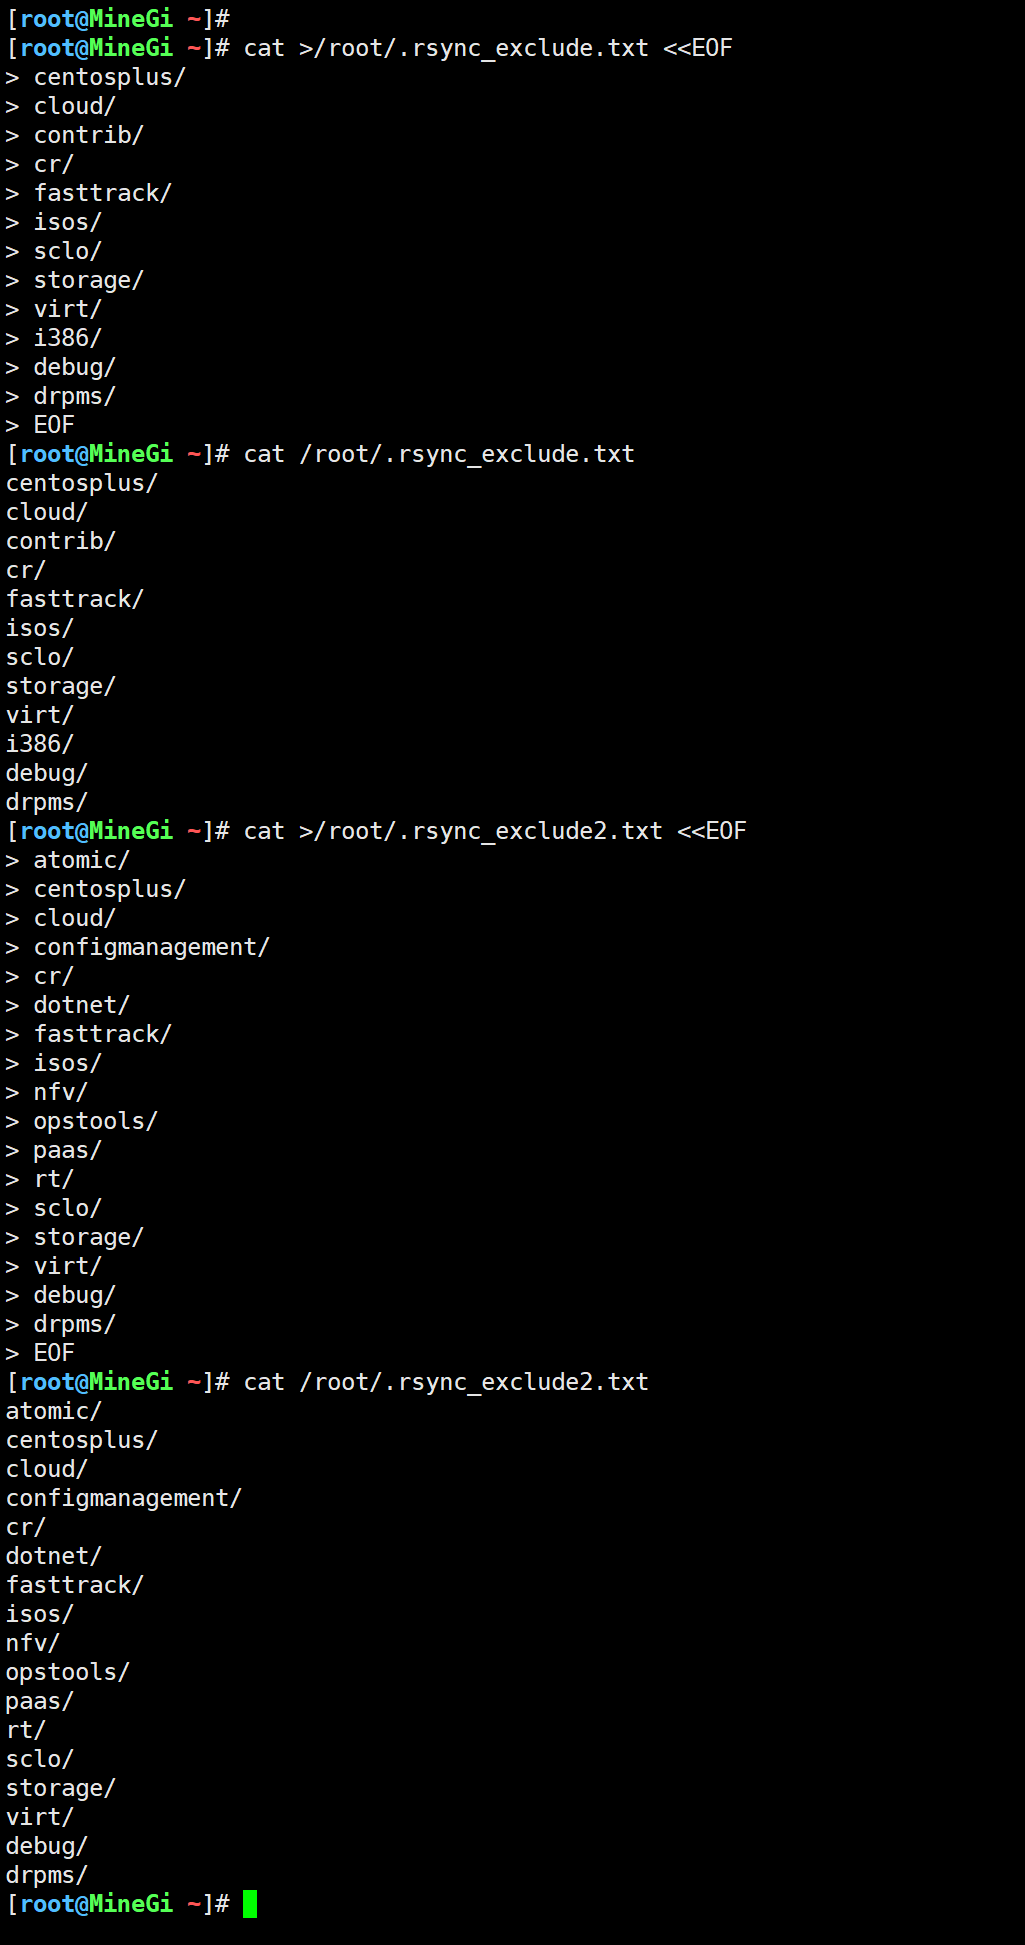
cat >/root/.rsync_exclude.txt <<EOF
centosplus/
cloud/
contrib/
cr/
fasttrack/
isos/
sclo/
storage/
virt/
i386/
debug/
drpms/
EOF

cat /root/.rsync_exclude.txt

cat >/root/.rsync_exclude2.txt <<EOF
atomic/
centosplus/
cloud/
configmanagement/
cr/
dotnet/
fasttrack/
isos/
nfv/
opstools/
paas/
rt/
sclo/
storage/
virt/
debug/
drpms/
EOF

cat /root/.rsync_exclude2.txt 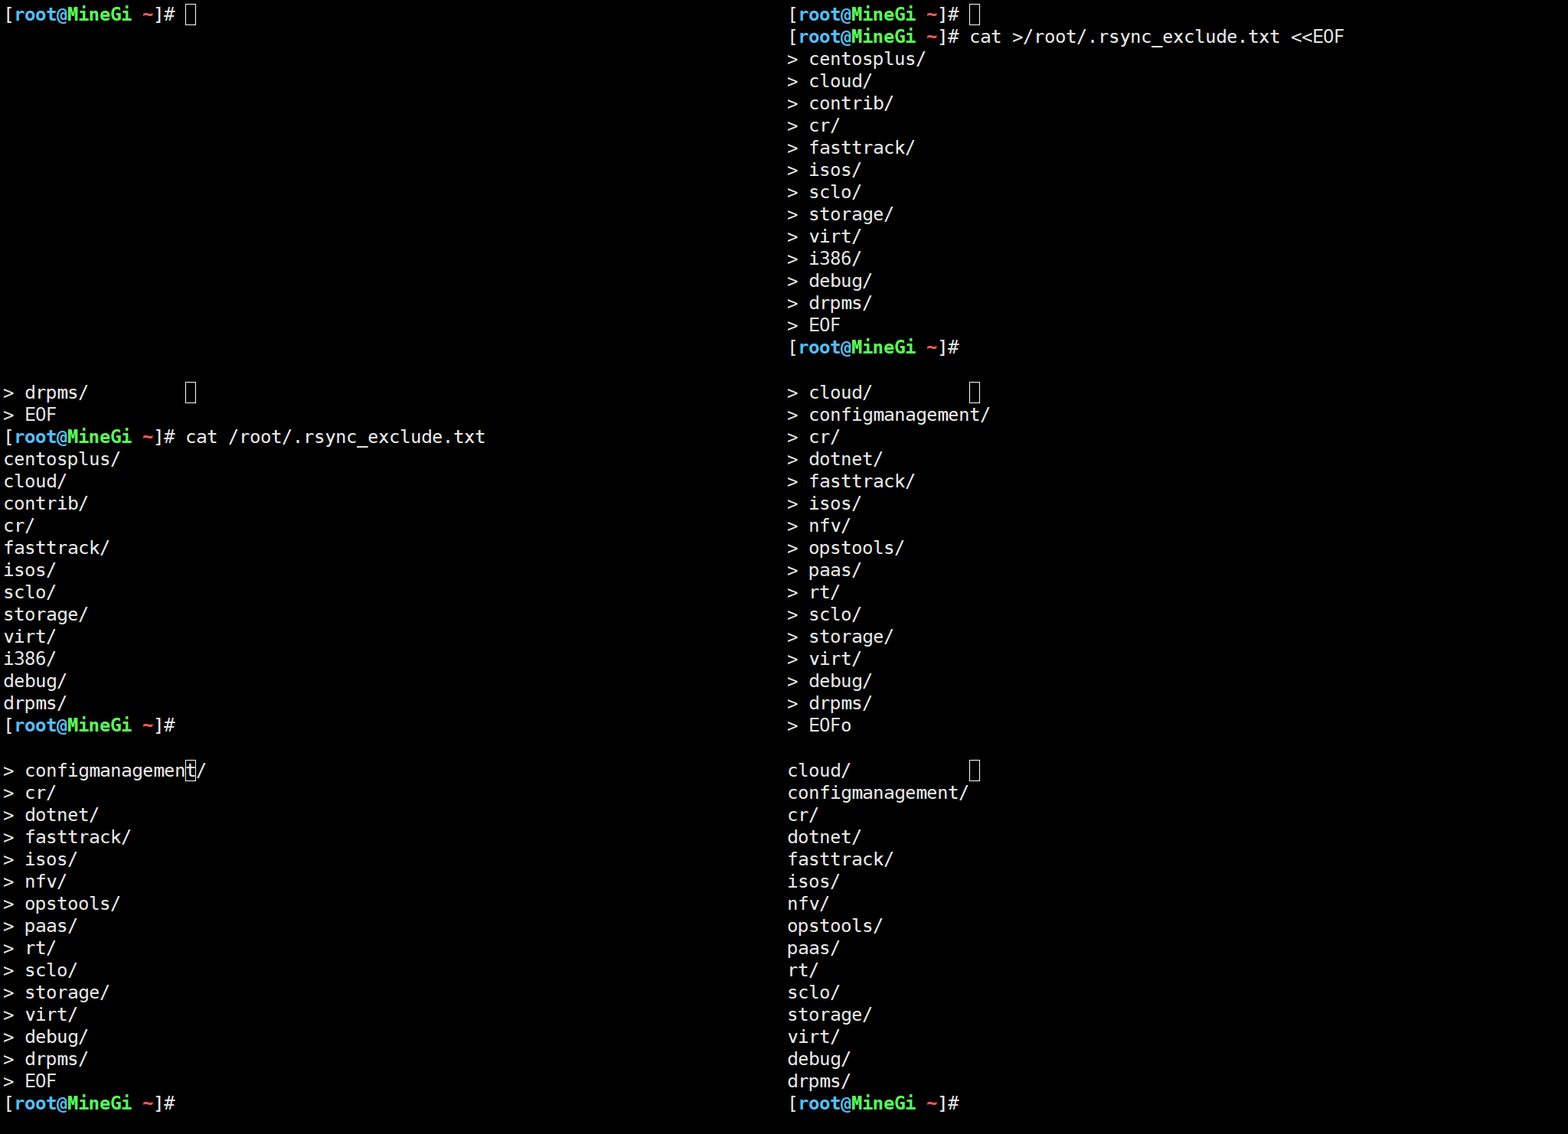
2. 手动执行
/usr/bin/rsync -zaP --exclude-from /root/.rsync_exclude2.txt \
  rsync://rsync.mirrors.ustc.edu.cn/centos/7.6.1810 /usr/share/nginx/html/centos

/usr/bin/rsync -zaP --exclude-from /root/.rsync_exclude.txt \
  rsync://rsync.mirrors.ustc.edu.cn/centos/6.10 /usr/share/nginx/html/centos

/usr/bin/rsync -zaP --exclude-from /root/.rsync_exclude.txt \
  rsync://rsync.mirrors.ustc.edu.cn/epel/7/x86_64 /usr/share/nginx/html/epel/7/

/usr/bin/rsync -zaP --exclude-from /root/.rsync_exclude.txt \
  rsync://rsync.mirrors.ustc.edu.cn/epel/6/x86_64 /usr/share/nginx/html/epel/6/

/usr/bin/rsync -zaP --exclude-from /root/.rsync_exclude2.txt \
  rsync://rsync.mirrors.ustc.edu.cn/centos/7 /usr/share/nginx/html/centos

/usr/bin/rsync -zaP --exclude-from /root/.rsync_exclude.txt \
  rsync://rsync.mirrors.ustc.edu.cn/centos/6 /usr/share/nginx/html/centos
由于需要时间很长,我只演示第一条,提示,后面两条是做软连接的。
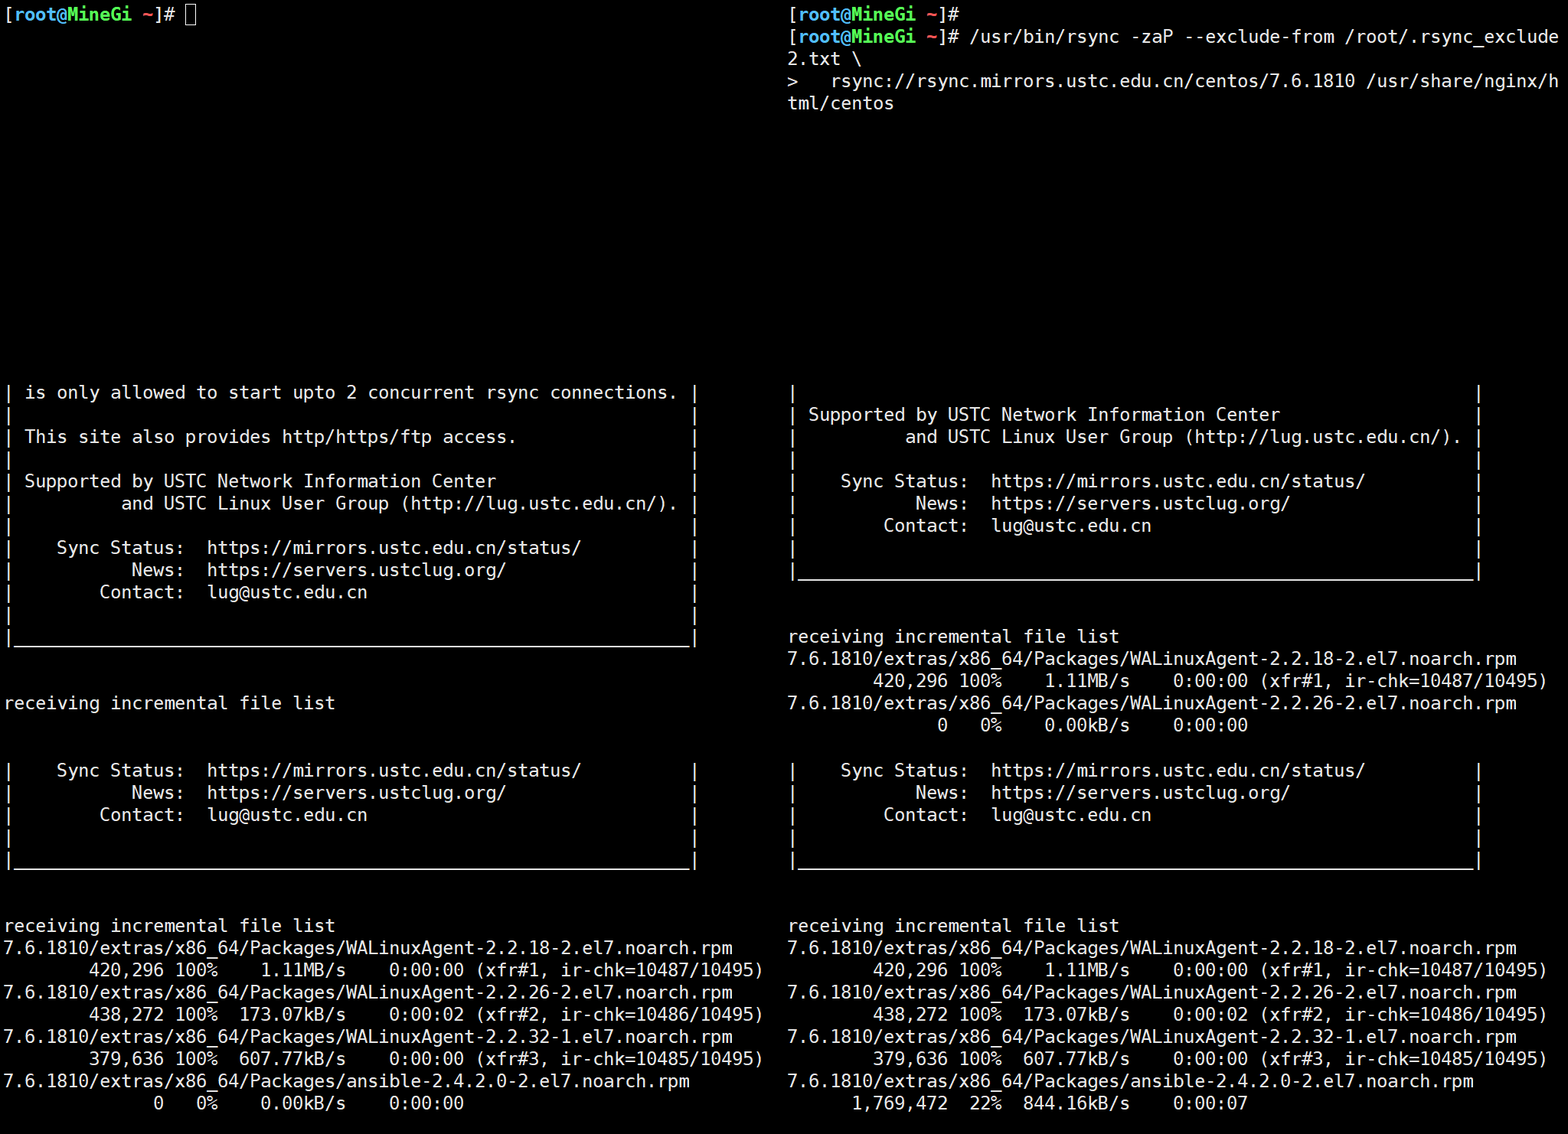

由于网络原因,可能失败,多试几次即可

3. 定时任务
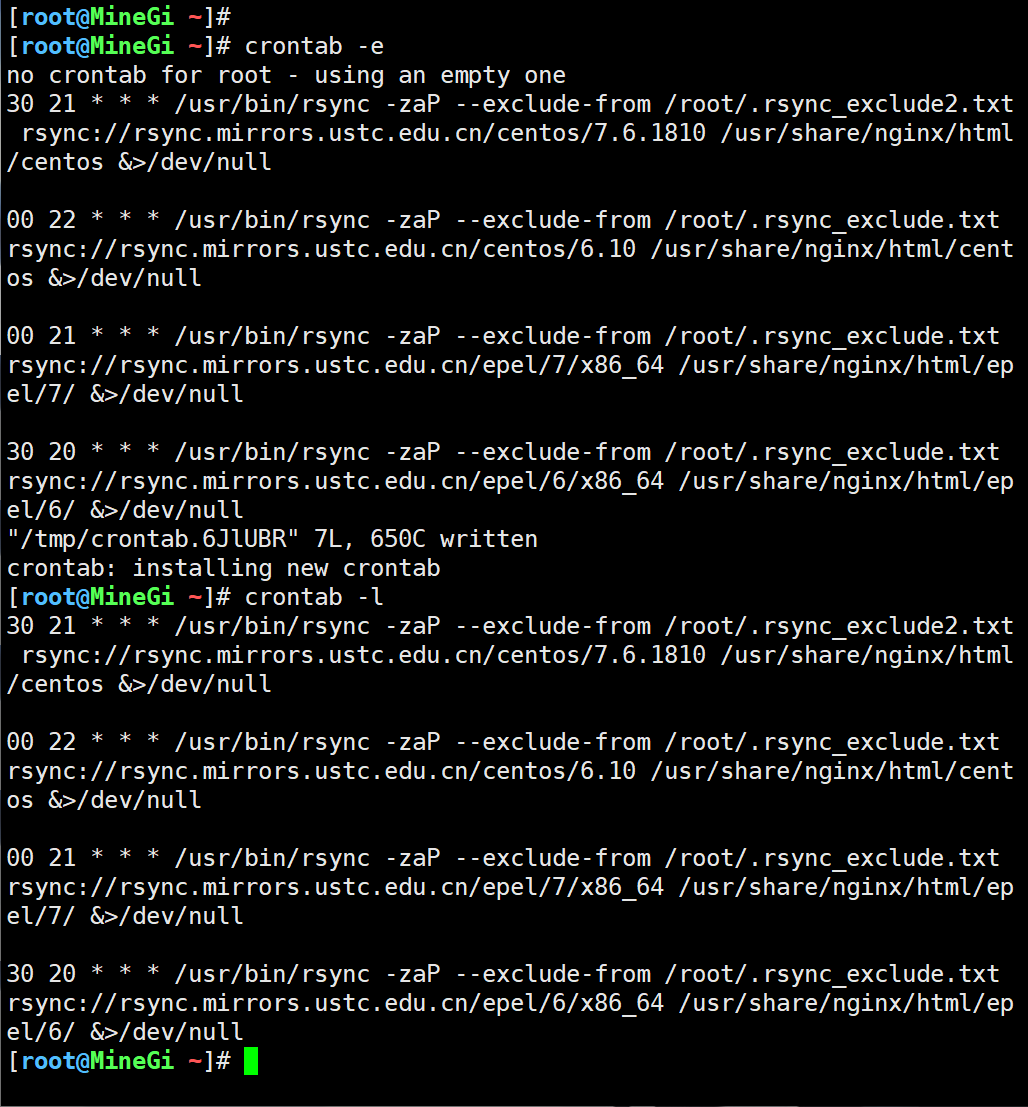
crontab -e

30 21 * * * /usr/bin/rsync -zaP --exclude-from /root/.rsync_exclude2.txt rsync://rsync.mirrors.ustc.edu.cn/centos/7.6.1810 /usr/share/nginx/html/centos &>/dev/null

00 22 * * * /usr/bin/rsync -zaP --exclude-from /root/.rsync_exclude.txt rsync://rsync.mirrors.ustc.edu.cn/centos/6.10 /usr/share/nginx/html/centos &>/dev/null

00 21 * * * /usr/bin/rsync -zaP --exclude-from /root/.rsync_exclude.txt rsync://rsync.mirrors.ustc.edu.cn/epel/7/x86_64 /usr/share/nginx/html/epel/7/ &>/dev/null

30 20 * * * /usr/bin/rsync -zaP --exclude-from /root/.rsync_exclude.txt rsync://rsync.mirrors.ustc.edu.cn/epel/6/x86_64 /usr/share/nginx/html/epel/6/ &>/dev/null

crontab -l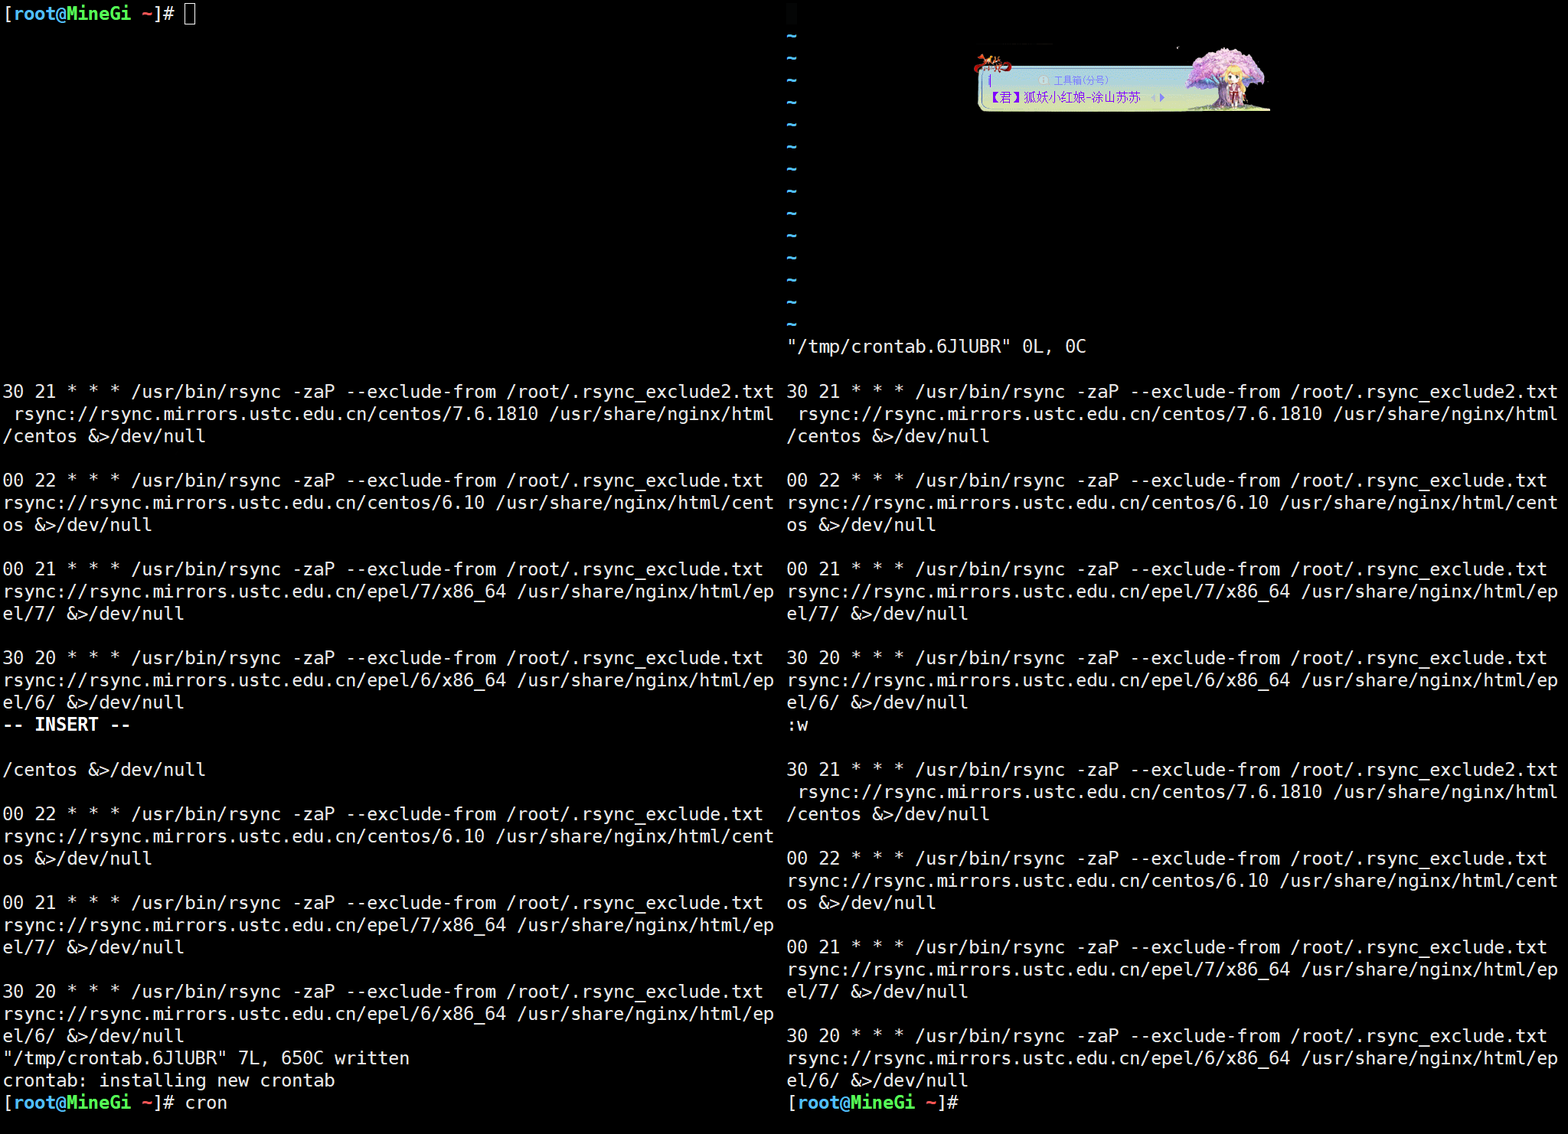
4. 验证结果
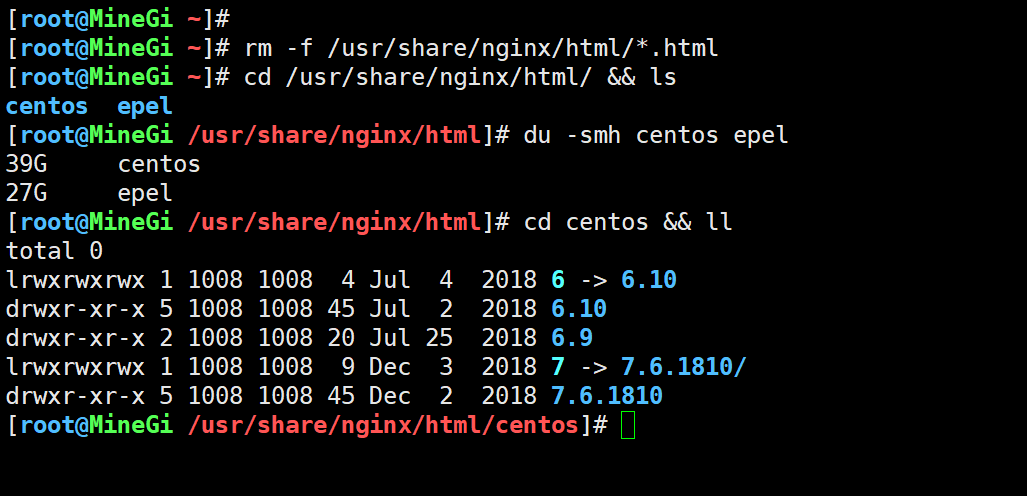
1. 文件
rm -f /usr/share/nginx/html/*.html

cd /usr/share/nginx/html/ && ls

du -smh centos epel

cd centos && ll
2. 结果
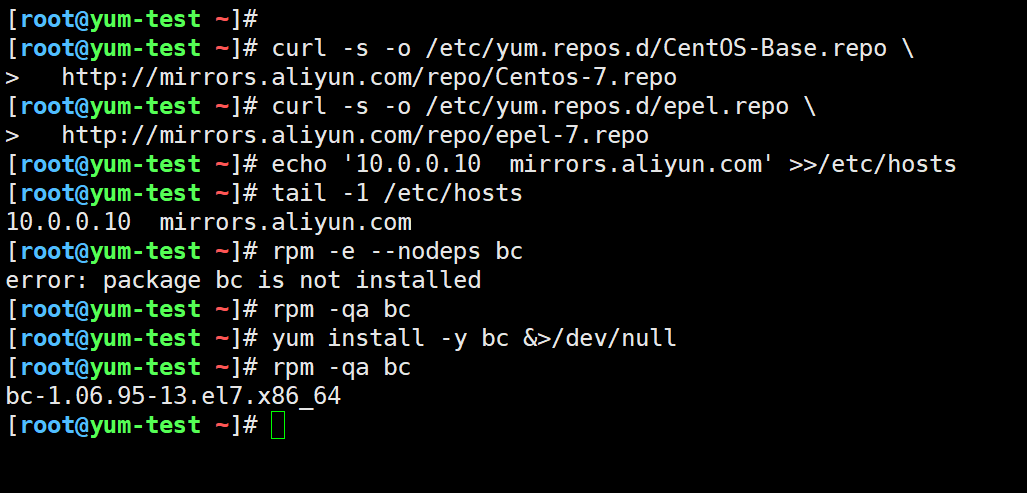
在其它局域网机器进行测试
curl -s -o /etc/yum.repos.d/CentOS-Base.repo \
  http://mirrors.aliyun.com/repo/Centos-7.repo

curl -s -o /etc/yum.repos.d/epel.repo \
  http://mirrors.aliyun.com/repo/epel-7.repo

echo '10.0.0.10  mirrors.aliyun.com' >>/etc/hosts

tail -1 /etc/hosts

rpm -e --nodeps bc

rpm -qa bc

yum install -y bc &>/dev/null

rpm -qa bc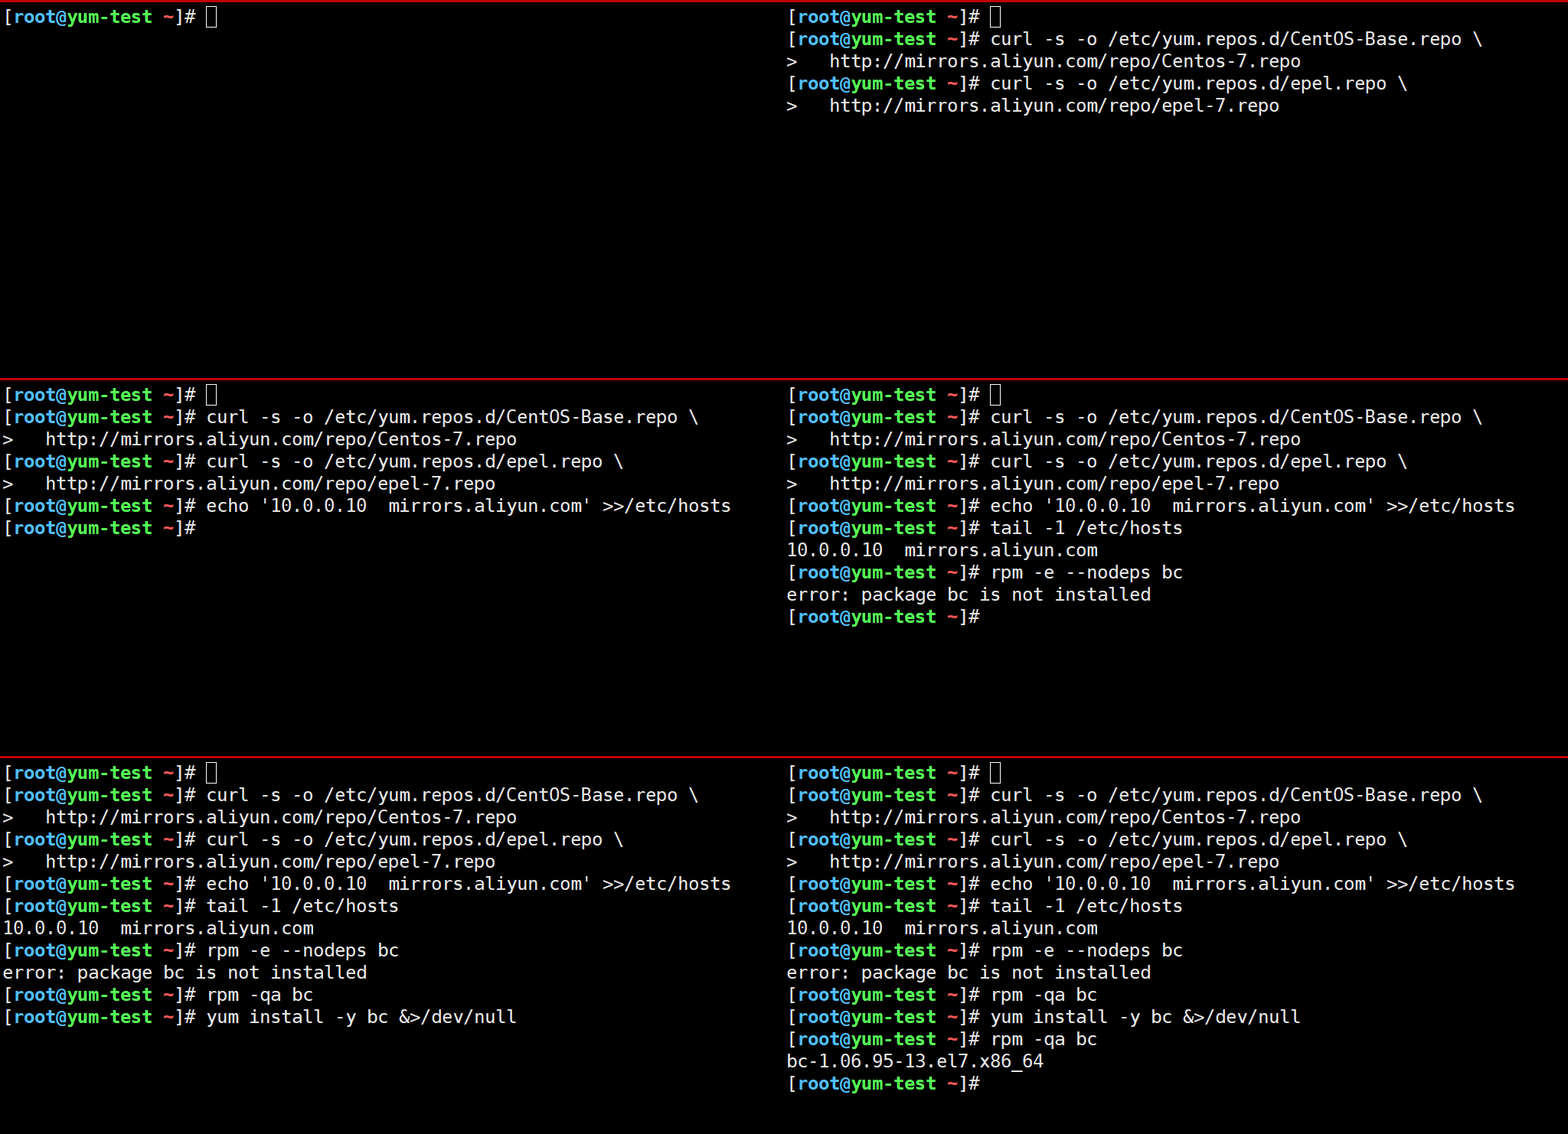
4.3 开启下游同步
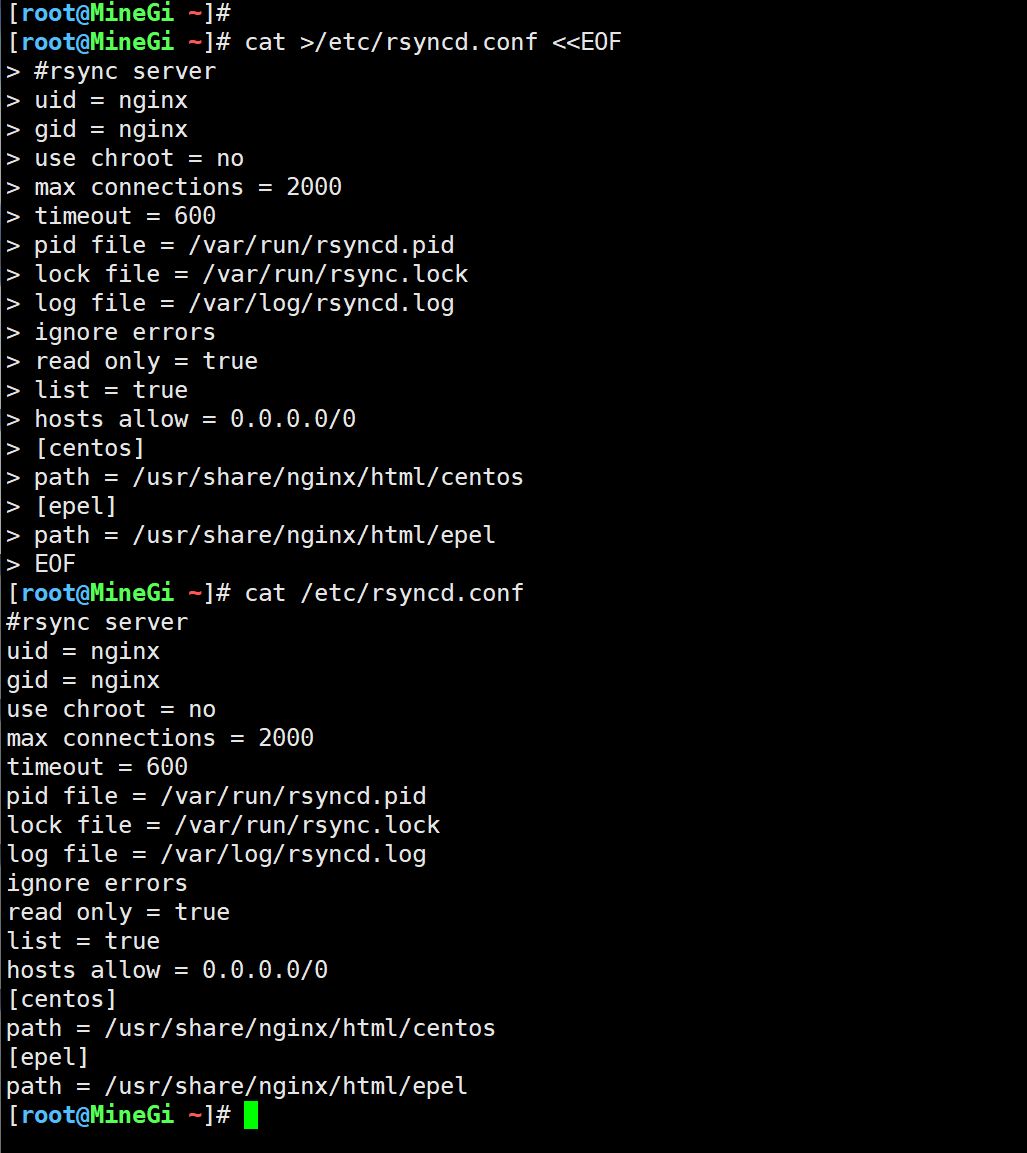
cat >/etc/rsyncd.conf <<EOF
#rsync server
uid = nginx
gid = nginx
use chroot = no
max connections = 2000
timeout = 600
pid file = /var/run/rsyncd.pid
lock file = /var/run/rsync.lock
log file = /var/log/rsyncd.log
ignore errors
read only = true
list = true
hosts allow = 0.0.0.0/0
[centos]
path = /usr/share/nginx/html/centos
[epel]
path = /usr/share/nginx/html/epel
EOF

cat /etc/rsyncd.conf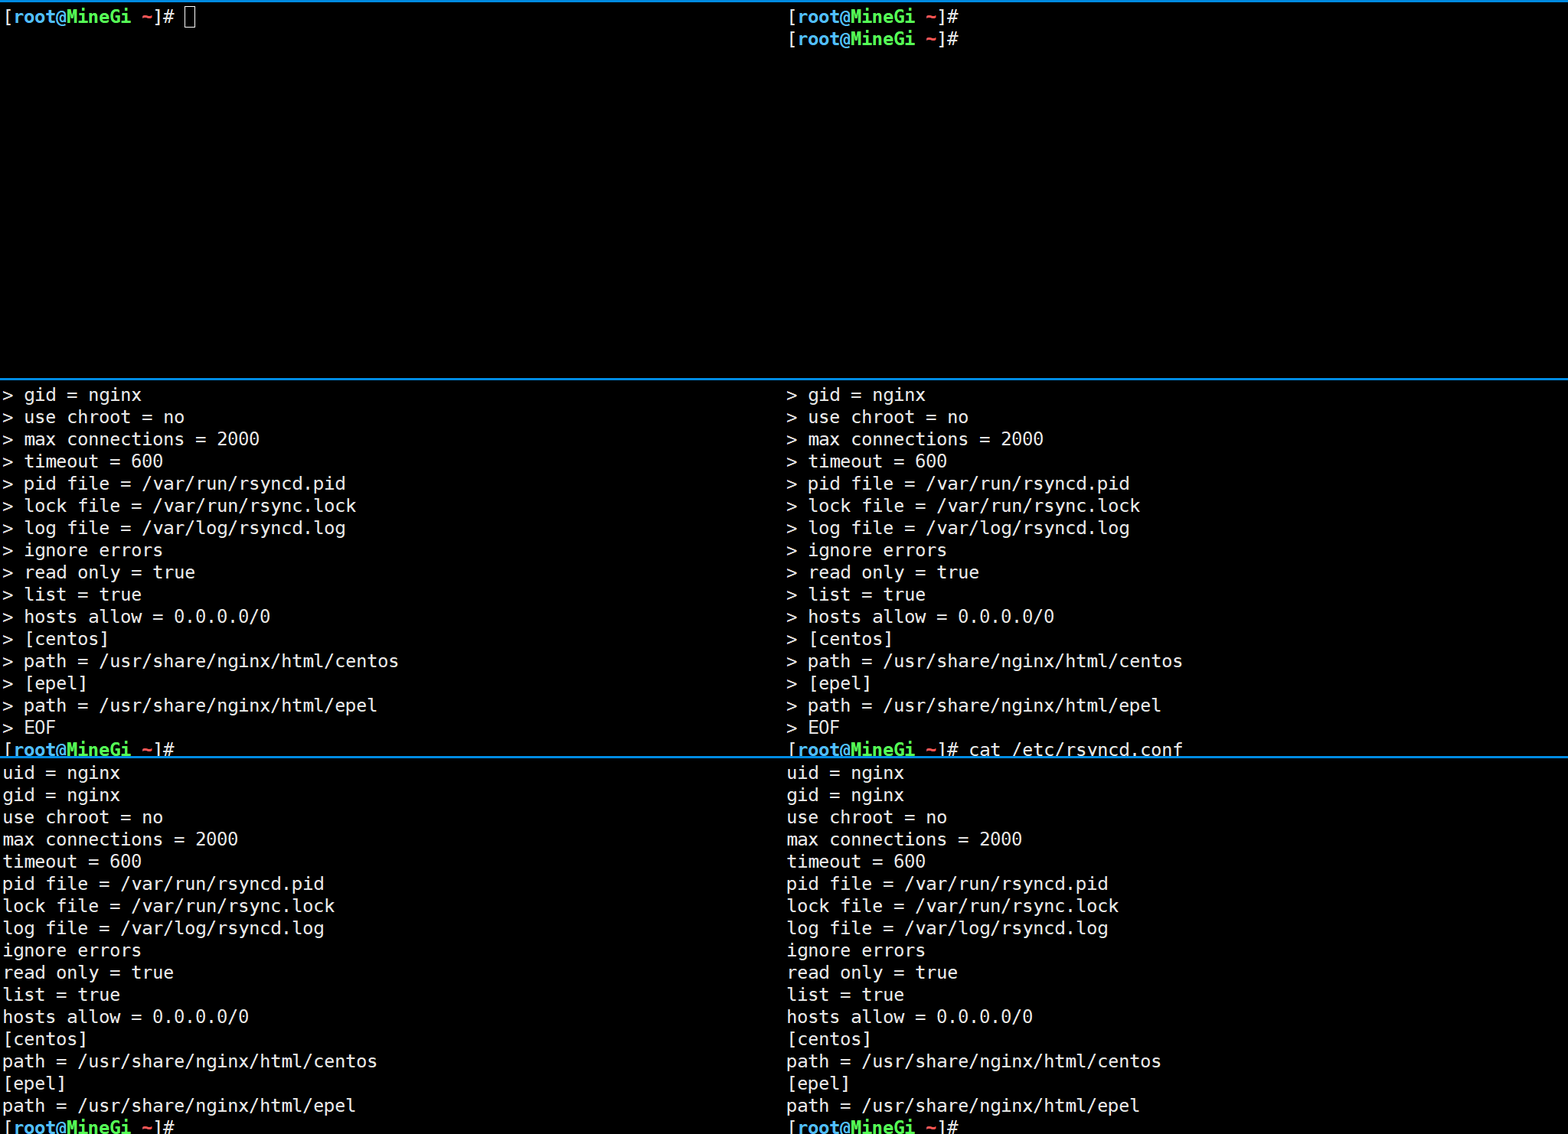
【本文图片下载地址】【021-公网yum】点我快速打开分享(若异常,请私信,万分感谢) 【提取码:nu5c 】
今天你学习了吗?若有疑问,请留言、私信或加QQ群:647033350,大家一起进步吧!
其他综合-CentOS 7 rsync+nginx实现公网yum源的更多相关文章
- rsync同步公网yum源搭建本地yum仓库
镜像同步公网yum源上游yum源必须要支持rsync协议,否则不能使用rsync进行同步. centos源:rsync://rsync.mirrors.ustc.edu.cn/centos/ epel ...
- CentOS 5/6.X 使用 EPEL YUM源
参考:http://www.linuxidc.com/Linux/2013-08/88523.htm 大纲 一.什么是EPEL? 二.与163 YUM源比较 三.CentOS 5.X 安装使用EPEL ...
- Centos 6.5将光盘作为yum源的设置方法
Centos 6.5将光盘作为yum源的设置方法 在使用Centos 的时候,用yum来安装软件包是再方便不过了,但是如果在无法连接互联网的情况下,yum就不好用了. 下面介绍一种方式,就是将Cent ...
- nginx+rsync实现本地yum源以及公网yum源
1.配置nginx的autoindex模块,开启目录浏览功能 2.使用rsync同步公网源上的软件包,至本地目录中 3.配置客户端指向即可 1.nginx提供目录浏览功能 [root@xuliangw ...
- CentOS配置Nginx官方的Yum源
由于yum源中没有我们想要的nginx,那么我们就需要创建一个"/etc/yum.repos.d/nginx.repo"的文件,其实就是新增一个yum源. [root@niaoyu ...
- 【nginx】利用yum源安装nginx
先安装nginx的yum源 http://nginx.org/en/linux_packages.html#stable 找到链接,安装: rpm -ivh http://nginx.org/pack ...
- 配置nginx官网yum源
由于yum源中没有我们想要的nginx,那么我们就需要创建一个“/etc/yum.repos.d/nginx.repo”的文件,其实就是新增一个yum源 二.添加nginx.repo 文件: [roo ...
- Centos 6.0将光盘作为yum源的设置方法
在使用Centos 的时候,用yum来安装软件包是再方便不过了,但是如果在无法连接互联网的情况下,yum就不好用了. 下面介绍一种方式,就是将Centos安装光盘作为yum源,然后使用yum来安装软件 ...
- Centos 6.5 搭建阿里云yum源
Linux系统下yum源配置(Centos 6) 1.备份 mv /etc/yum.repos.d/CentOS-Base.repo /etc/yum.repos.d/CentOS-Base.repo ...
随机推荐
- 爬虫---Beautiful Soup 初始
我们在工作中,都会听说过爬虫,那么什么是爬虫呢? 什么是网络爬虫 爬虫基本原理 所谓网络爬虫就是一个自动化数据采集工具,你只要告诉它要采集哪些数据,丢给它一个 URL,就能自动地抓取数据了.其背后的基 ...
- Pwn-TestYourMemory
题目地址 https://dn.jarvisoj.com/challengefiles/memory.838286edf4b832fd482d58ff1c217561 32位的程序,有NX保护,拖到I ...
- Linux 目录详细介绍
[常见目录说明] 目录 /bin 存放二进制可执行文件(ls,cat,mkdir等),常用命令一般都在这里. /etc 存放系统管理和配置文件 /home 存放所有用户文件的根目录,是用户主目录的基点 ...
- PHP常用数字函数以及排序函数
一:数字函数 .ceil() 进一取整 示例:ceil(0.9) 结果为1 .abs() 绝对值 示例:abs(-1) 结果为1 .rand() 随机数 示例:rand(1. 100) 1到100 以 ...
- Mac操作:Mac系统移动鼠标显示桌面(移动鼠标到角落)
很多朋友都发现,有的人在用Mac的时候,鼠标一划就可以显示桌面,或者显示Launchpad.其实很简单,下面就介绍这个方法. 首先打开系统偏好设置: 然后点击红色圈中的图标:MissionContro ...
- 一些 Java 和 Android 的参考资料
1. .net程序员转战android第三篇---登录模块之静态登录 2. .net程序员转战android第二篇---牛刀小试 3. .net程序员转战android第一篇---环境部署 4. 一些 ...
- skeleton在心意web上的实践
通过手动编写skeleton,在fetch数据时显示skeleton loading,数据拉取成功隐藏skeleton 先看下效果图 在component下创建页面对应的skeleton,然后通过在i ...
- Spring Cloud Eureka 服务注册中心(二)
序言 Eureka 是 Netflix 开发的,一个基于 REST 服务的,服务注册与发现的组件 它主要包括两个组件:Eureka Server 和 Eureka Client Eureka Clie ...
- vue中使用的一些问题(IE不兼容,打包样式不生效)
通过脚手架快速创建的项目,使用了swiper组件,项目中使用了es6语法,使用了babel-polyfill转化依旧不行,仔细排查项目中的使用组件,最后找到问题所在 swiper4.5.0版本太高,不 ...
- 【UOJ#48】【UR #3】核聚变反应强度(质因数分解)
[UOJ#48][UR #3]核聚变反应强度(质因数分解) 题面 UOJ 题解 答案一定是\(gcd\)除掉\(gcd\)的最小质因子. 而\(gcd\)的最小值因子一定是\(a_1\)的质因子. 所 ...