优化 Ubuntu
优化Ubuntu
1. 更换 apt 源
echo 'deb http://mirrors.aliyun.com/ubuntu/ bionic main restricted universe multiverse

deb-src http://mirrors.aliyun.com/ubuntu/ bionic main restricted universe multiverse

deb http://mirrors.aliyun.com/ubuntu/ bionic-security main restricted universe multiverse

deb-src http://mirrors.aliyun.com/ubuntu/ bionic-security main restricted universe multiverse

deb http://mirrors.aliyun.com/ubuntu/ bionic-updates main restricted universe multiverse

deb-src http://mirrors.aliyun.com/ubuntu/ bionic-updates main restricted universe multiverse

deb http://mirrors.aliyun.com/ubuntu/ bionic-backports main restricted universe multiverse

deb-src http://mirrors.aliyun.com/ubuntu/ bionic-backports main restricted universe multiverse

deb http://mirrors.aliyun.com/ubuntu/ bionic-proposed main restricted universe multiverse

deb-src http://mirrors.aliyun.com/ubuntu/ bionic-proposed main restricted universe multiverse' >/etc/apt/sources.list
2. 系统更新
sudo apt update

sudo apt upgrade
3. 安装搜狗输入法
3.1 安装 fcitx 输入框架
sudo apt install fcitx
3.2 下载 linux 版本搜狗输入法
wget http://cdn2.ime.sogou.com/dl/index/1524572264/sogoupinyin_2.2.0.0108_amd64.deb
3.3 安装
sudo dpkg -i sogoupinyin_2.2.0.0108_amd64.deb
如果出现依赖包的问题执行
sudo apt --fix-broken install
3.4 进入设置
- 根据提示安装输入法
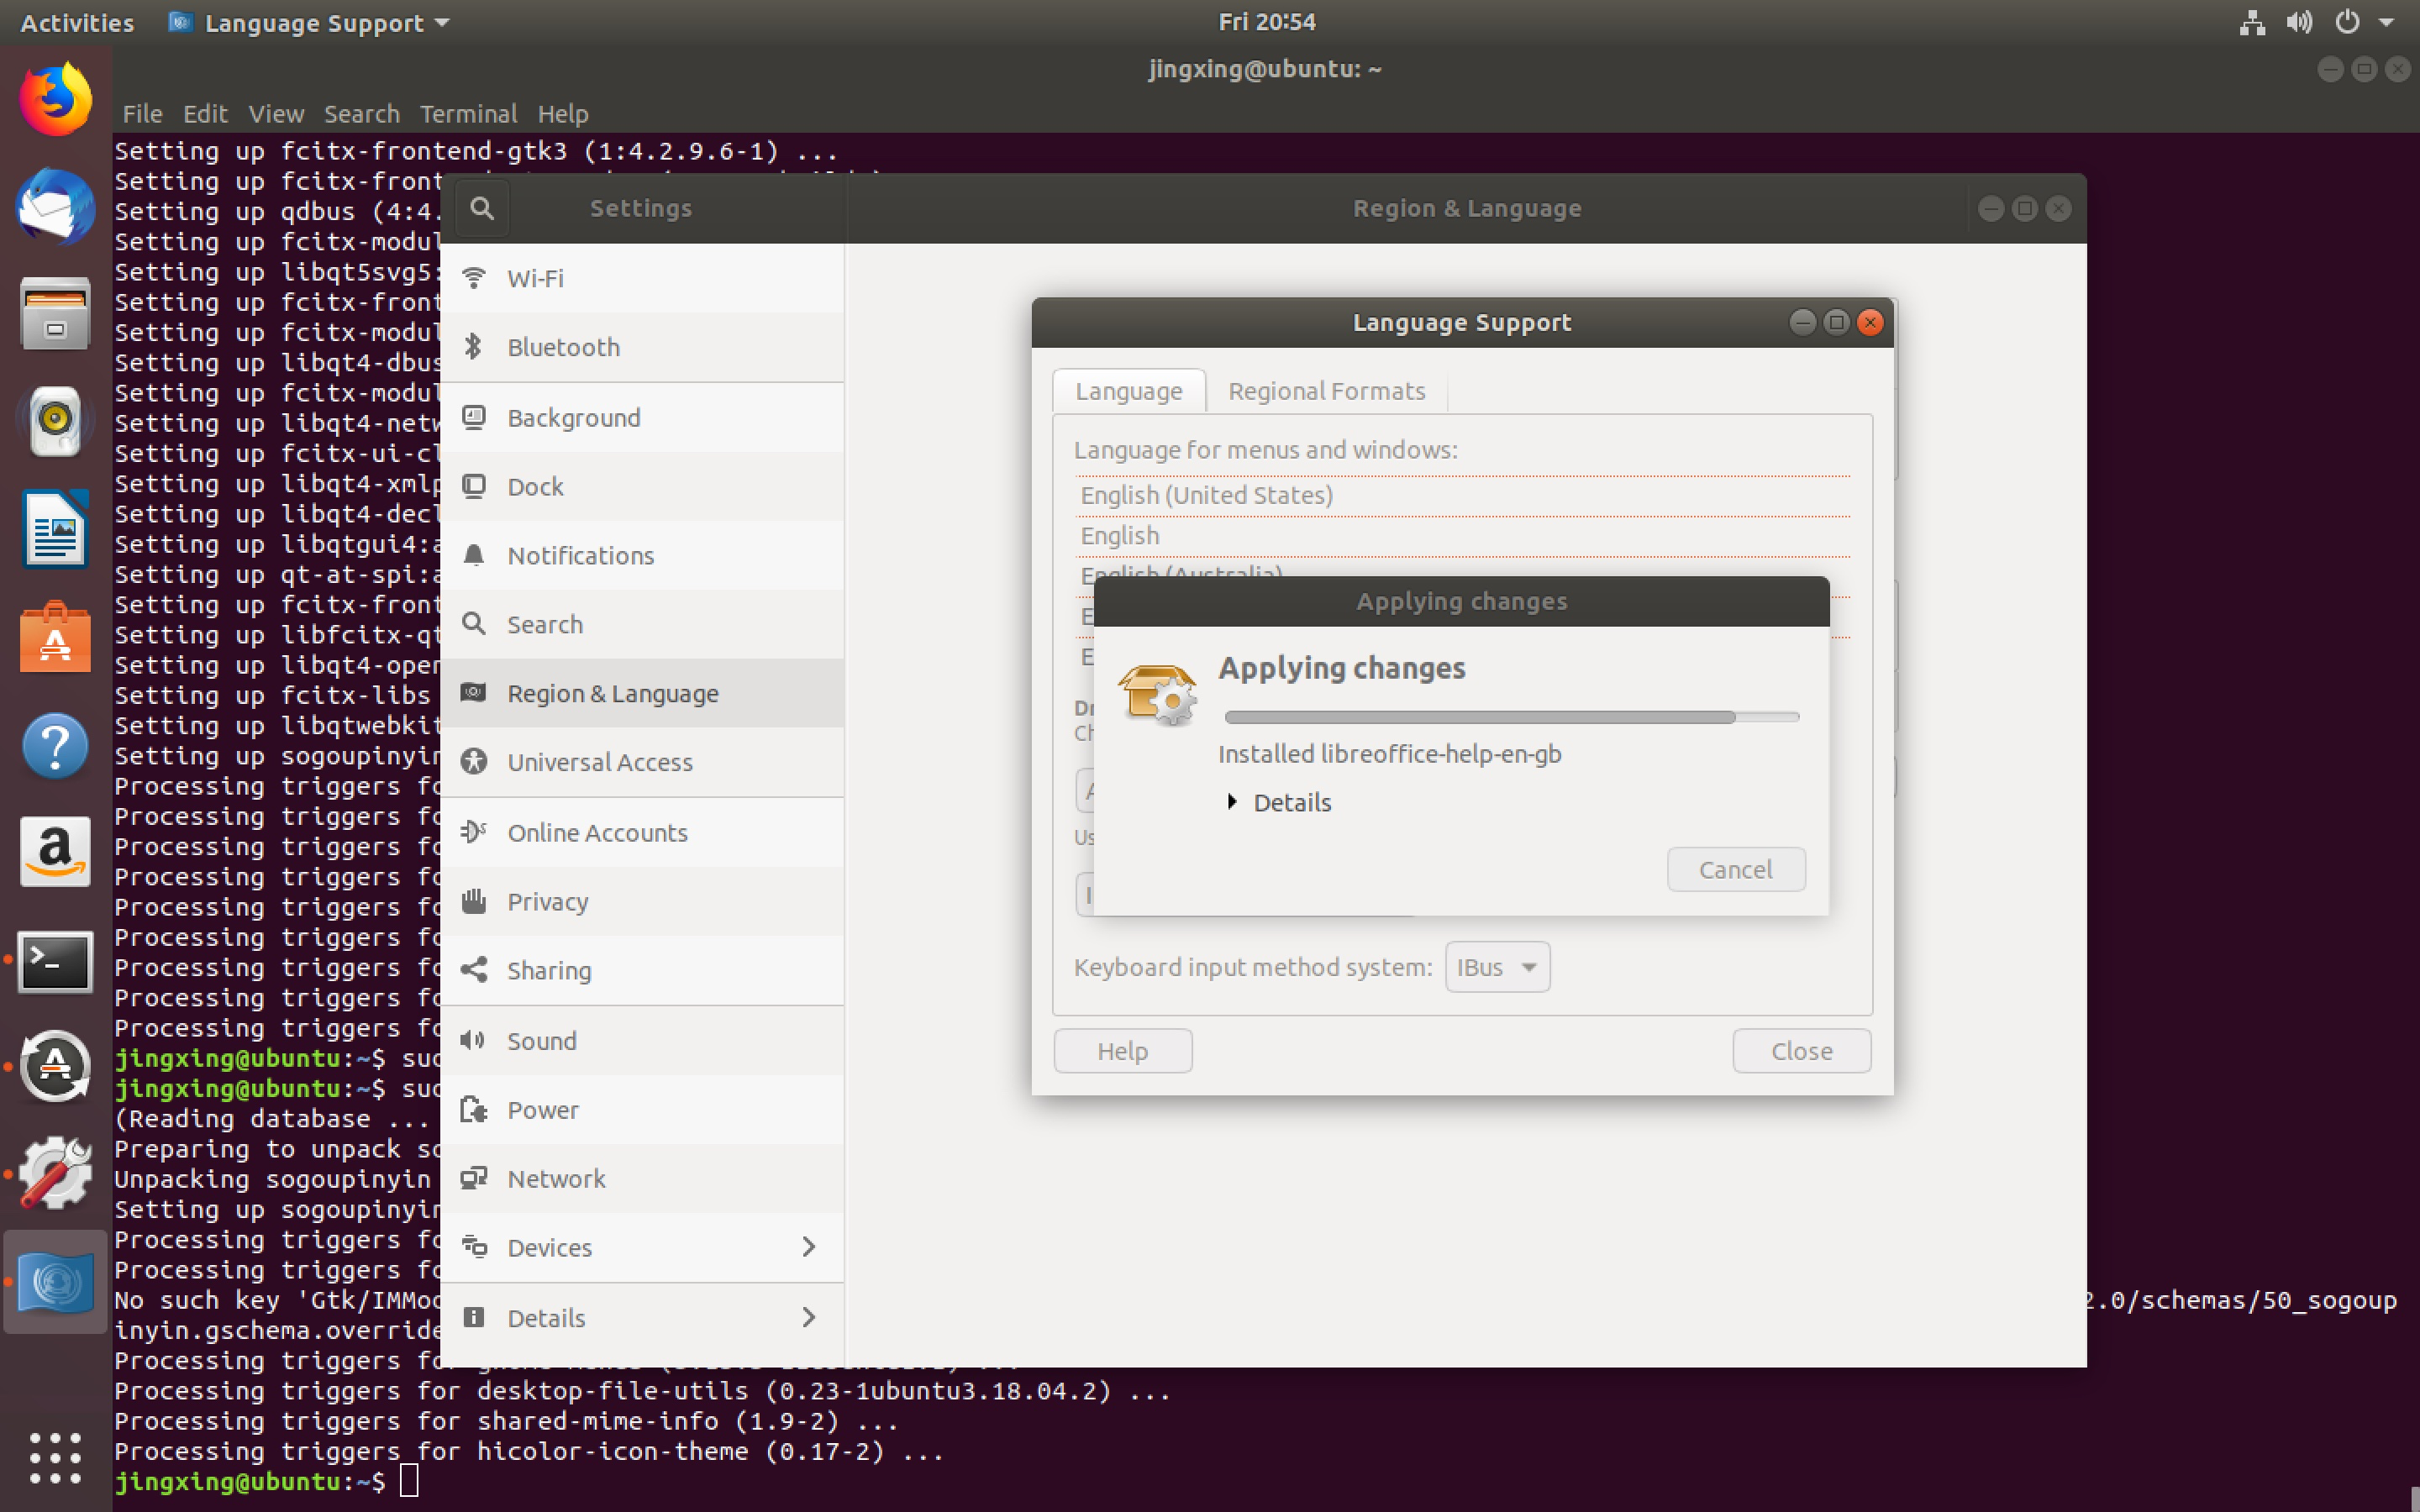
- 将输入框架改为 fcitx
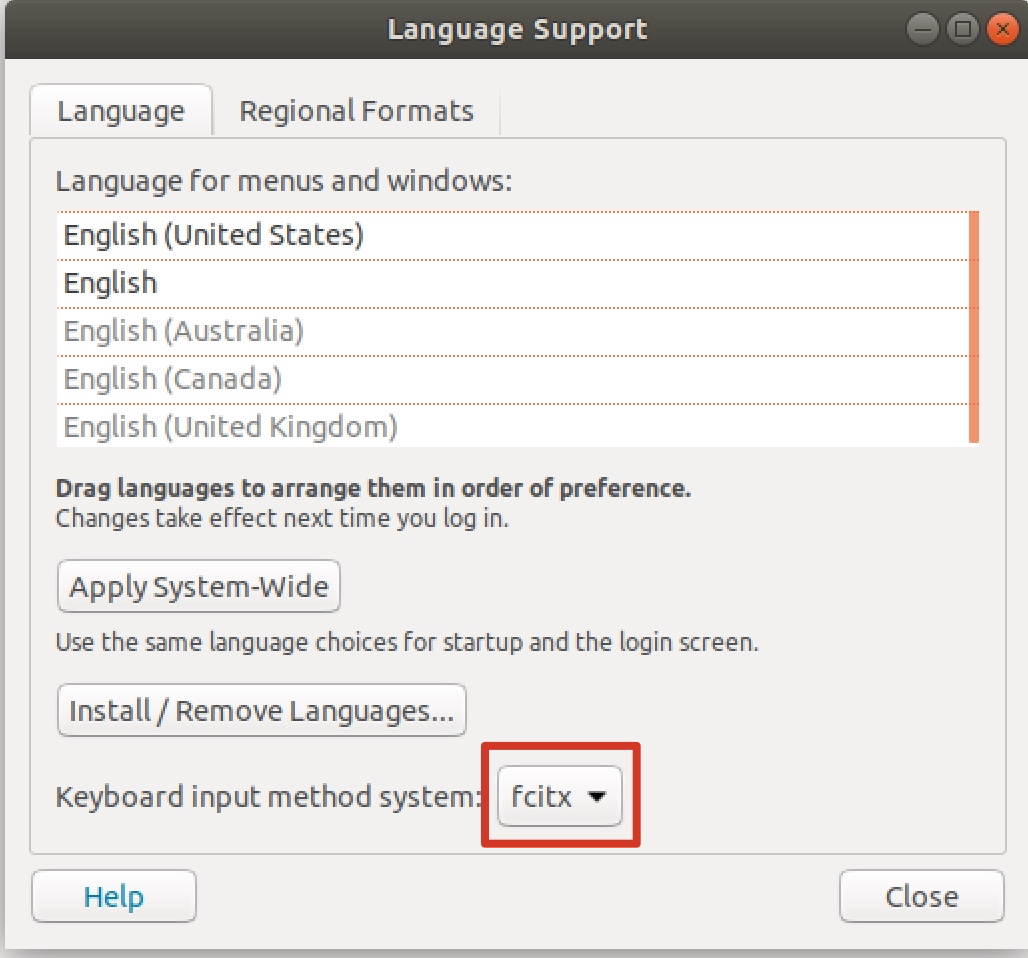
点击Apply System-Wide后将用户注销,如果注销没有效果那么就重启吧。
- 登陆后右上角出现小键盘
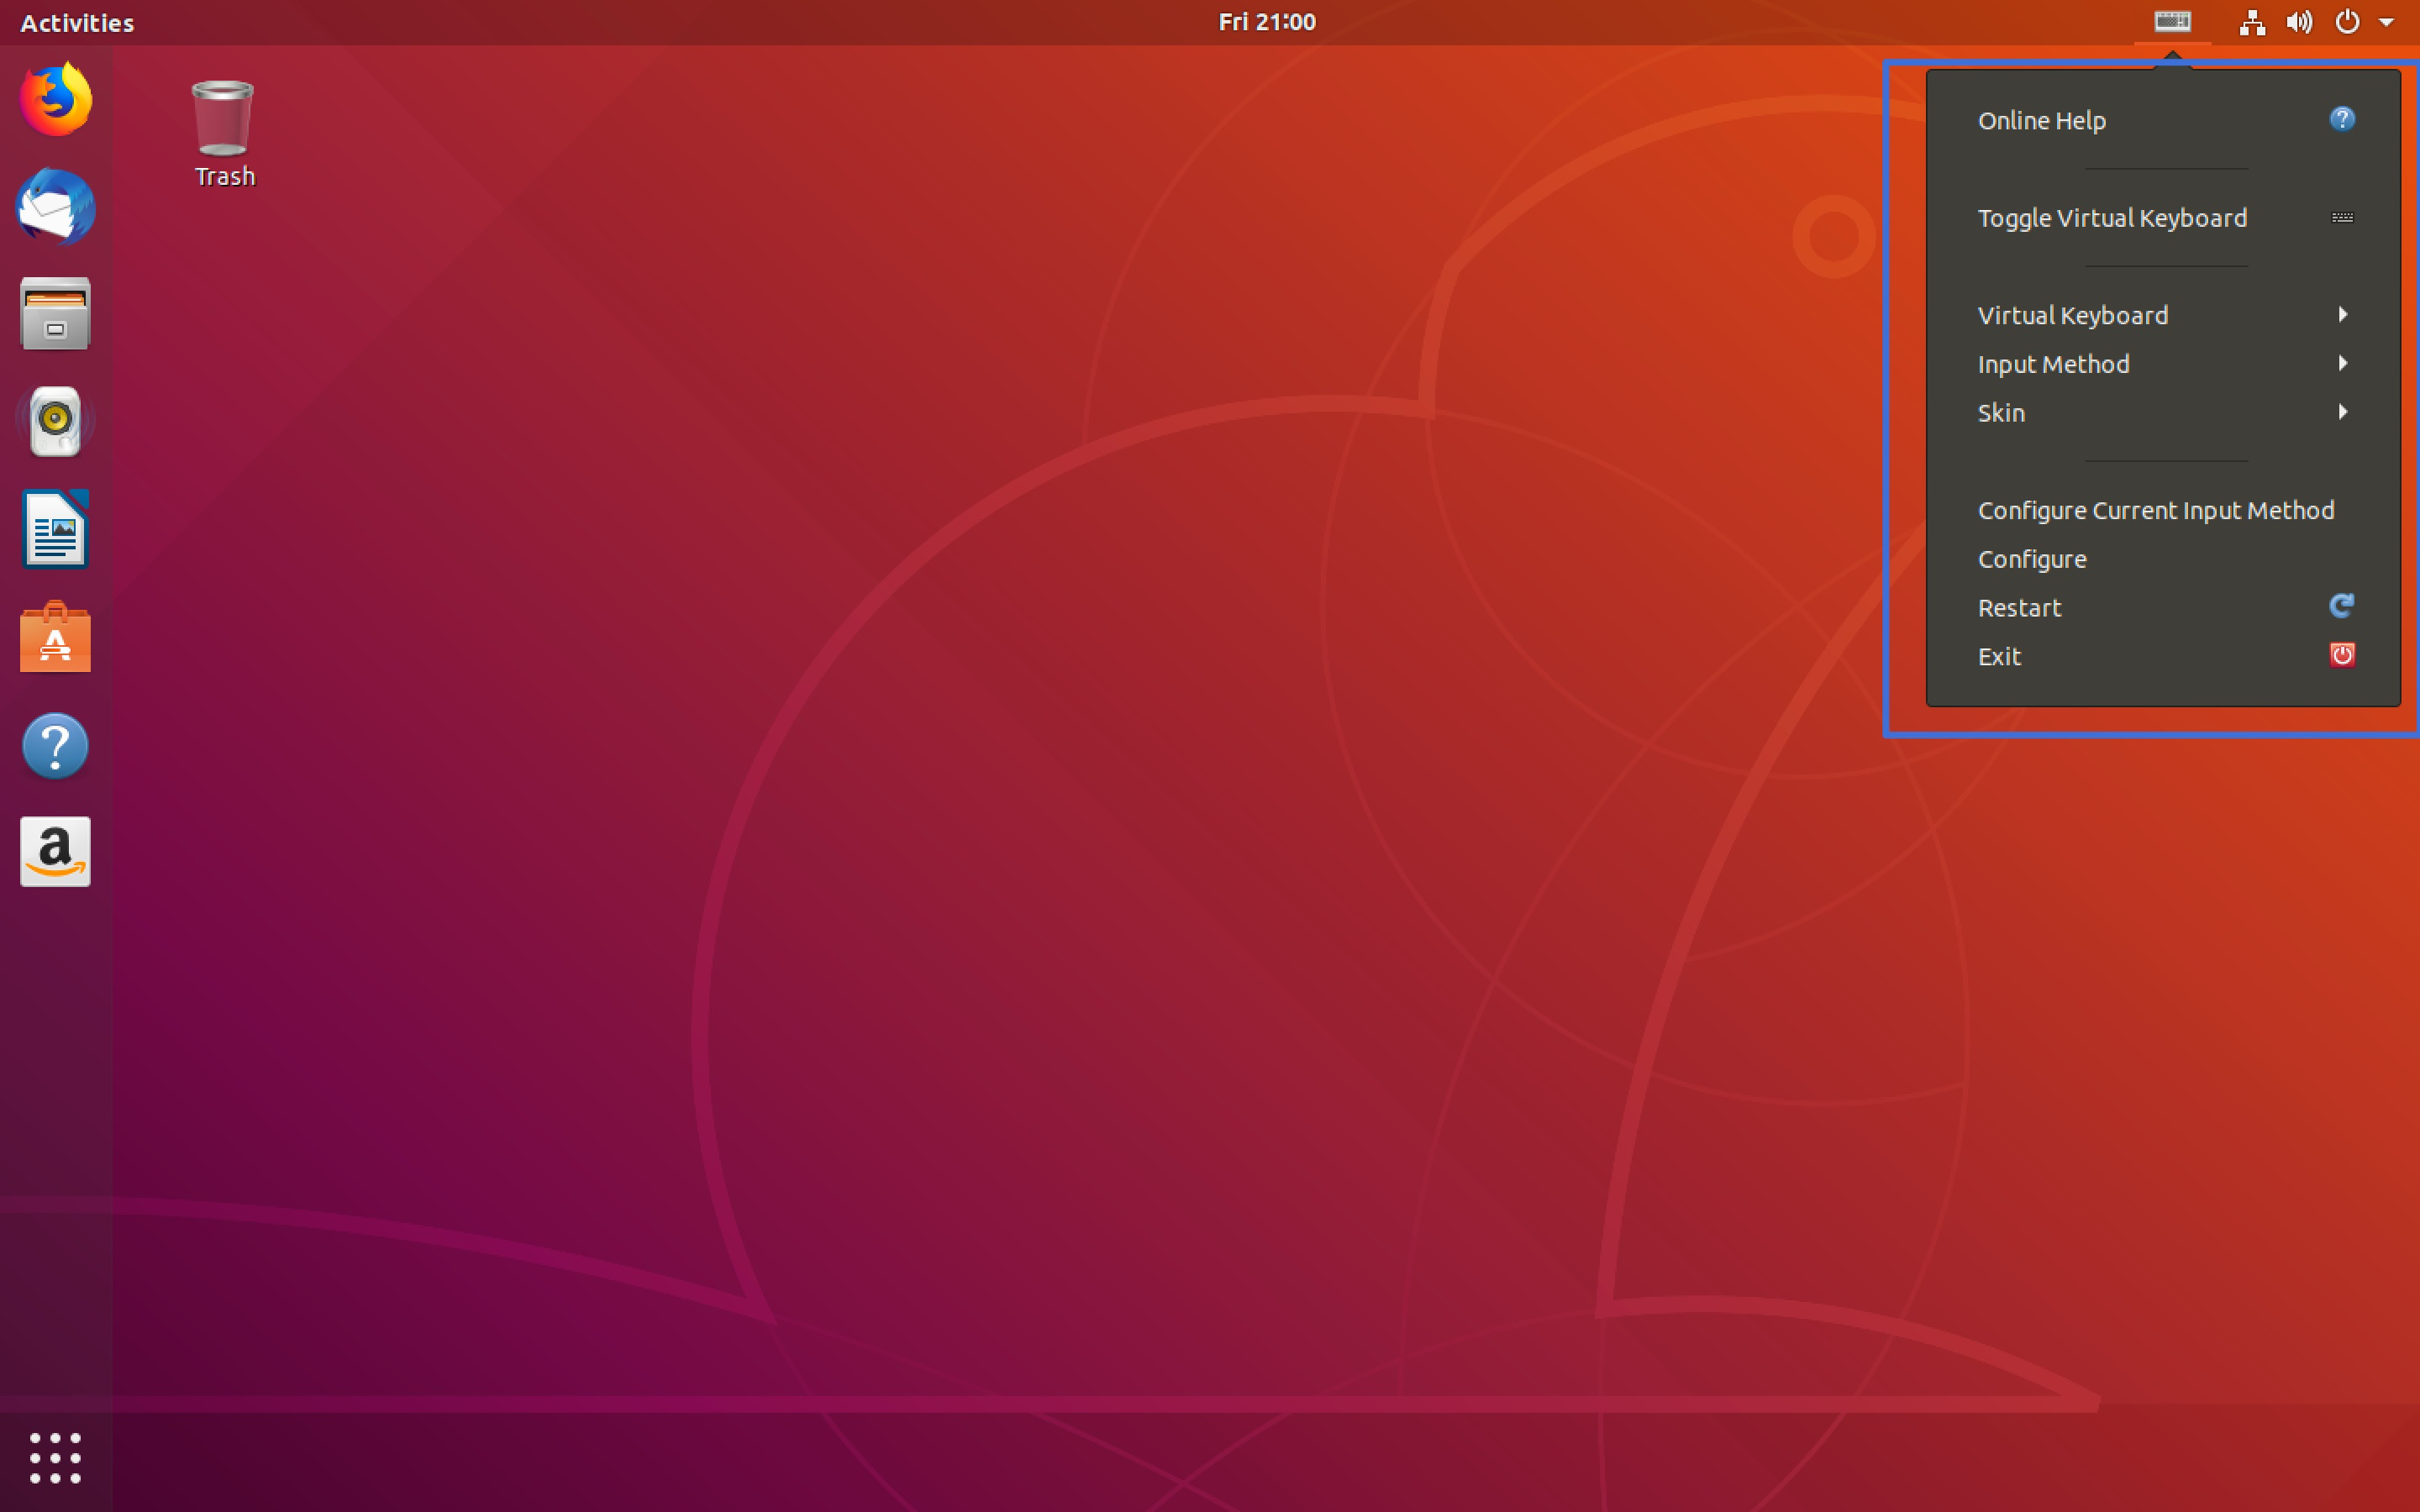
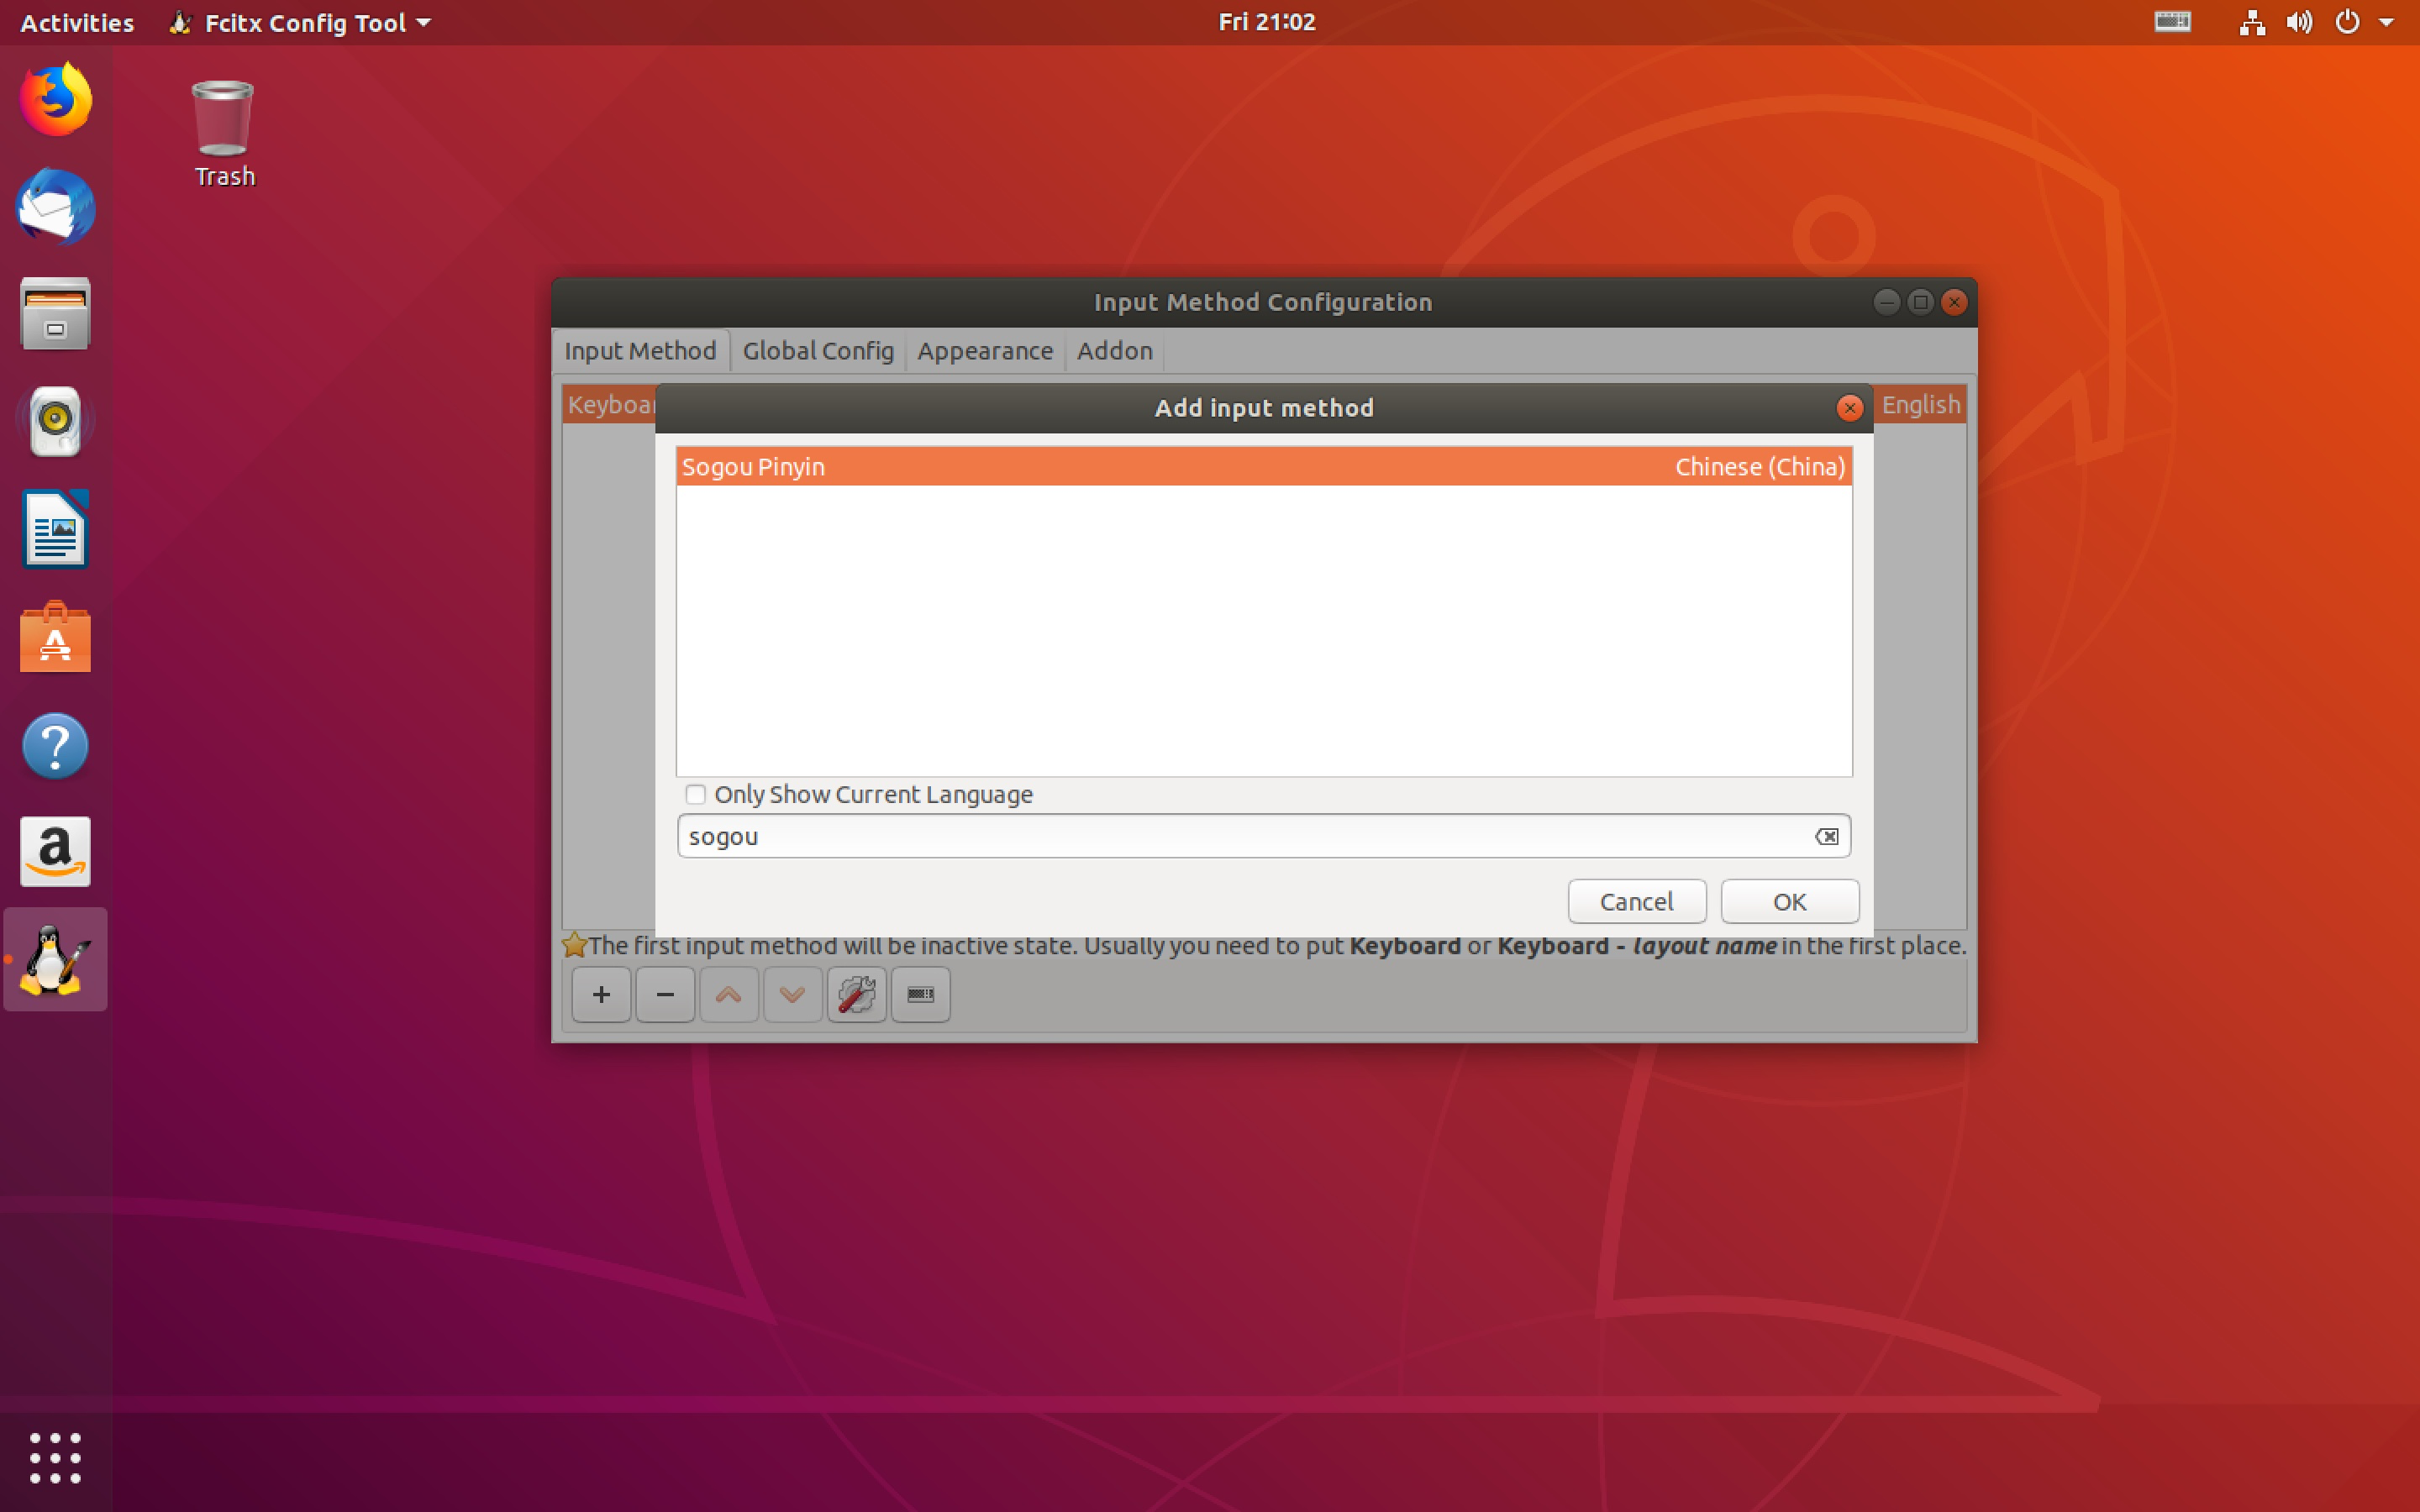
点击Configure Current Input Method,进入Input Method界面,选择加号添加搜狗输入法。
4. 软件卸载、安装
4.1 卸载 libreOffice 安装 wps
sudo apt remove libreoffice-common
4.2 安装 wps
wget https://wdl1.cache.wps.cn/wps/download/ep/Linux2019/8722/wps-office_11.1.0.8722_amd64.deb

sudo dpkg -i wps-office_11.1.0.8722_amd64.deb
4.3 卸载 firefox 安装 chrome
sudp apt remove firefox

wget https://dl.google.com/linux/direct/google-chrome-stable_current_amd64.deb

sudo dpkg -i google-chrome-stable_current_amd64.deb
5. vim 配置
5.1 下载 vim
sudo apt install vim
5.2 编辑 vim 配置文件
sudo vim /etc/vim/vimrc
添加如下代码:
配置还在更新
6. 美化 ubuntu
6.1 安装 unity-tweak-tool
sudo apt intall unity-tweak-tool
6.2 下载 flatabulous 主题
# 按照官方教程使用 add-apt-repository 方法定位不到 flatabulous 包,改用手动安装

sudo add-apt-repository ppa://noobslab/themes

sudo apt update

sudo apt install flatabulous-theme
wget https://github.com/anmoljagetia/Flatabulous/archive/master.zip

mkdir .theme

mv ./master.zip ~/.theme

unzip master.zip
6.3 下载 flat icons
sudo add-apt-repository ppa://noobslab/icons

sudo apt update

sudo apt install ultra-flat-icons
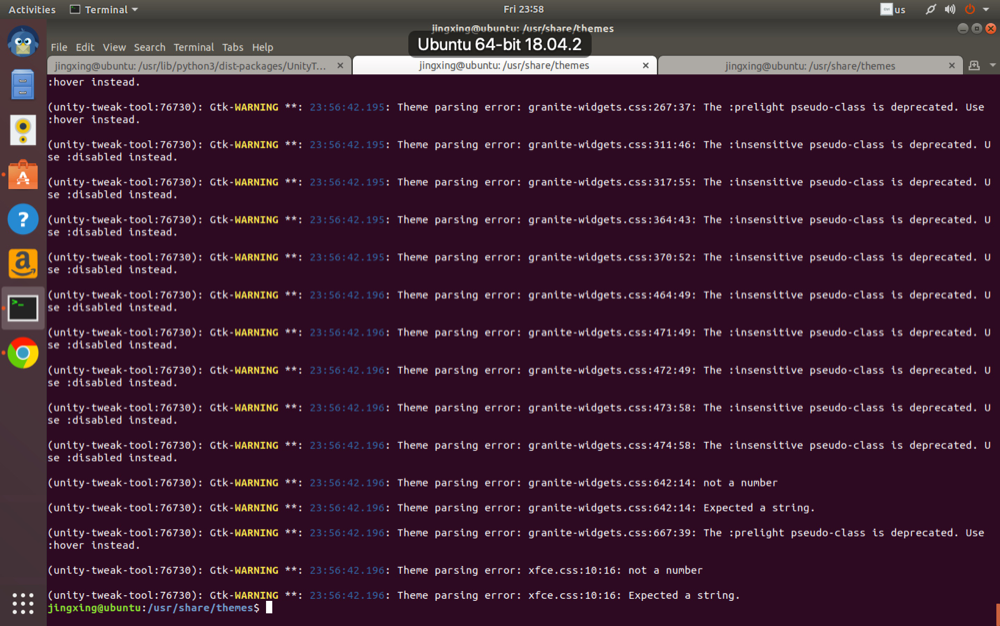
6.4 打开 unity-tweak-tool
再打开 unity-tweak-tool 时出现:
 Gtk was imported without specifying a version first. Use gi.require_version('Gtk', '3.0') before import to ensure that the right version gets loaded.

  from gi.repository import Gtk

Error: schema com.canonical.notify-osd not installed
解决办法如下:
sudo apt install notify-osd

sudo apt install overlay-scrollbar
图标配置好了,但是主题因为 GTK 的原因没有成功,记录如下:
6.5 下载字体
在 monaco-font 库中下载 zip 包
unzip monaco-font-master.zip

sudo ./install-font-ubuntu.sh https://github.com/todylu/monaco.ttf/blob/master/monaco.ttf?raw=true
下载完成后使用unity-tweak-tool设置字体。
7. 终端
这个才是重头戏。
因为很多 linux 默认的终端 shell 都是 bash,但是不太好用,所以改为 zsh。
7.1 下载 zsh
sudo apt install zsh
7.2 下载 oh-my-zsh
sh -c "$(wget -O- https://raw.githubusercontent.com/robbyrussell/oh-my-zsh/master/tools/install.sh)"
7.3 修改默认 shell
sudo usermod --shell /bin/zsh $USERNAME
修改后记得 log_out 重新登录用户。
7.4 修改皮肤
vim ~/.zshrc

# 修改皮肤

ZSH_THEME="robbyrussell"
8. 插件安装
8.1 autojump
- 下载
sudo apt install aotujump
- 配置 autojump
vim /usr/share/doc/autojump/README.Debian

echo '. /usr/share/autojump/autojump.sh' >> ~/.zshrc

source ~/.zshrc
8.2 zsh-syntax-highlighting
- 安装
git clone https://github.com/zsh-users/zsh-syntax-highlighting.git ${ZSH_CUSTOM:-~/.oh-my-zsh/custom}/plugins/zsh-syntax-highlighting
- 配置
plugins=(zsh-syntax-highlighting)

source ~/.zshrc
8.3 zsh-autosuggestions
- 安装
git clone git://github.com/zsh-users/zsh-autosuggestions $ZSH_CUSTOM/plugins/zsh-autosuggestions
- 配置
plugins=(zsh-autosuggestions)

source ~/.zshrc
8.4 git-open
- 下载
git clone https://github.com/paulirish/git-open.git $ZSH_CUSTOM/plugins/git-open
- 配置
plugins=(git-open)

source ~/.zshrc
8.5 修改查看 history 格式
HIST_STAMPS="yyyy-mm-dd"
优化 Ubuntu的更多相关文章
- 优化Ubuntu 16.04系统的几件事
安装完Ubuntu 16.04后,要更换为国内的软件源: sudo gedit /etc/apt/sources.list #用文本编辑器打开源列表 在文件开头添加下面的阿里云的软件源: deb ht ...
- 优化ubuntu桌面
---恢复内容开始--- 此博主写的很全 http://blog.csdn.net/terence1212/article/details/52270210 使用安装Unity Tweak Tool ...
- 对Ubuntu操作系统进行彻底优化
在安装Linux系统之初,就应该考虑怎样使Linux系统得到最好的性能.Linux本身也设计成可以良好扩展的形态,比如在Linux系统中,我们可以随心所欲地组织磁盘分区,有些朋友喜欢一个/,一个swa ...
- 更换ubuntu apt-get 源
为了优化ubuntu软件安装/更新速度,我测试了国内几家apt源的速度,发现北京交大的apt源速度相对最快,然后可以通过以下步骤更新ubuntu源 1) 备份默认的apt源 $ cd /etc/apt ...
- SQL Server on Ubuntu——Ubuntu上的SQL Server(全截图)
本文从零开始一步一步介绍如何在Ubuntu上搭建SQL Server 2017,包括安装系统.安装SQL等相关步骤和方法(仅供测试学习之用,基础篇). 一. 创建Ubuntu系统(Create U ...
- Ubuntu基于zsh自定义设置shell主题
为优化Ubuntu命令行页面效果,Google一番选择github上开源项目zsh,以自定义Shell主题,注:本机系统为Ubuntu 14.04 1.安装zsh sudo apt-get insta ...
- 更换ubuntu apt-get源
原文地址:http://www.cnblogs.com/zhangpengshou/p/3591387.html 为了优化ubuntu软件安装/更新速度,我测试了国内几家apt源的速度,发现北京交大的 ...
- SQL Server on Ubuntu
本文从零开始一步一步介绍如何在Ubuntu上搭建SQL Server 2017,包括安装系统.安装SQL等相关步骤和方法(仅供测试学习之用,基础篇). 一. 创建Ubuntu系统(Create U ...
- linux安装、使用优化、常用软件
定制自己的ubuntu桌面系统 一.安装ubuntu 1.下载ubuntu镜像Iso文件 ubuntu官网下载:https://cn.ubuntu.com/download 2.u盘写入 (1)下载U ...
随机推荐
- vue的checkbox或多选的select的代码例子
另外一种实现checkbox的vue绑定方法代码: 给v-model绑定一个相同的数组类型的属性: <div id="app"> <label>jack&l ...
- MySQL解决存入数据库和取出数据库时间格式问题
我们在往数据库里存数据时,时间格式正是我们想要的,然而取数据时去出现了这种情况 这明显不是我们想要的! 解决办法: 在我们配置mysql时添加一行代码: timezone:"08:00&qu ...
- java基础知识总结(一)
满满的干货=-= (一)环境变量的作用: 每个人刚开始学习java的时候,肯定都是安装JDK,配置环境变量,怎么配置网上教程很多很多,但是为什么这么配置呢? 我配置的环境变量: JAVA_HOME:C ...
- tar命令压缩和解压
https://www.cnblogs.com/jyaray/archive/2011/04/30/2033362.html tar命令详解 -c: 建立压缩档案 -x:解压 -t:查看内容 -r:向 ...
- Ajax出现error常见情况(详细版)-火狐浏览器(Firefox)兼容性问题
作为一个程序员,遇到兼容性问题真的很苦恼,尤其是对我这种前端小菜鸡来说遇到了甚是凄惨.一般来说兼容性问题出现率Chrome < IE < Firefox (╯°Д°)╯︵┴┴ . 言归正 ...
- .NET Core IdentityServer4实战 第Ⅴ章-单点登录
OiDc可以说是OAuth的改造版,在最初的OAuth中,我们需要先请求一下认证服务器获取下Access_token,然后根据Access_token去Get资源服务器, 况且OAuth1 和 2 完 ...
- JavaScript面向对象之对象的声明、遍历和存储
一.对象的声明方式 1. 字面式(json格式)声明对象 var obj={ 属性名:属性值, 方法名:function(){ //函数执行体 } } 2. new 操作符+Object 声明对象 v ...
- 利用mapWithState实现按照首字母统计的有状态的wordCount
最近在做sparkstreaming整合kafka的时候遇到了一个问题: 可以抽象成这样一个问题:有状态的wordCount,且按照word的第一个字母为key,但是要求输出的格式为(word,1)这 ...
- JDK源码分析系列---String,StringBuilder,StringBuffer
JDK源码分析系列---String,StringBuilder,StringBuffer 1.String public final class String implements java.io. ...
- java-基础语法01
一.变量 1. 何为变量?:在数学中变量就是一个不确定的量,随时都会改变,在java中变量也是这样,只不过它是内存中装载数据的小盒子,你只能用它来存数据和取数据. 2. 变量的基本类型(四类八种),见 ...