React Native 之 createBottomTabNavigator,createMaterialTopTabNavigator
icon第三方库

yarn add react-native-vector-icons

react-native link react-native-vector-icons
在上次的代码中添加:
AppNavigators.js
import React from 'react'; //只要在页面中使用了基础组件 都需要导入这句话 不然会报错

import {Button,Platform} from 'react-native';

import { createStackNavigator,createAppContainer,createBottomTabNavigator,createMaterialTopTabNavigator } from 'react-navigation';

import HomePage from '../pages/HomePage';

import Page1 from '../pages/Page1';

import Page2 from '../pages/Page2';

import Page3 from '../pages/Page3';

import Page4 from '../pages/Page4';

import Page5 from '../pages/Page5';

import Ionicons from 'react-native-vector-icons/Ionicons'

const AppTopNavigator=createMaterialTopTabNavigator(

  {

  Page1:{

     screen:Page1,

     navigationOptions:{

       tabBarLabel: 'All'

     }

  },

  Page2:{

     screen:Page2,

     navigationOptions:{

       tabBarLabel: 'iOS'

     }

  },

  Page3:{

     screen:Page3,

     navigationOptions:{

       tabBarLabel: 'Android'

     }

  },

  Page4:{

     screen:Page4,

     navigationOptions:{

       tabBarLabel: 'React-Native'

     }

  },

},

  {

  tabBarOptions:{

    tabStyle:{mindWidth: 50},

    upperCaseLabel:false,//是否使标签大写 默认true

    scrollEndabled:true,//是否支持选项卡滚动 默认false

    style:{

      backgroundColor:'#678'//TabBar背景色

    },

    indicatorStyle:{

      height:2,

      backgroundColor:'white'

    },//标签指示器样式

    labelStyle:{

      fontSize:13,

      marginTop:6,

      marginBottom:6

    },// 文字的样式

  }

}

);

const AppBottomNavigator=createBottomTabNavigator(

  {

    Page1:{

       screen:Page1,

       navigationOptions:{

         tabBarLabel: '最热',

         tabBarIcon:({tintColor,focused})=>(<Ionicons

            name={'ios-home'}

            size={26}

            style={{color:tintColor}}

         />)

       }

    },

    Page2:{

       screen:Page2,

       navigationOptions:{

         tabBarLabel: '趋势',

         tabBarIcon:({tintColor,focused})=>(<Ionicons

            name={'ios-appstore'} // 全部小写

            size={26}

            style={{color:tintColor}}

         />)

       }

    },

    Page3:{

       screen:Page3,

       navigationOptions:{

         tabBarLabel: '收藏',

         tabBarIcon:({tintColor,focused})=>(<Ionicons

            name={'ios-people'}

            size={26}

            style={{color:tintColor}}

         />)

       }

    },

    Page4:{

       screen:Page4,

       navigationOptions:{

         tabBarLabel: '我的',

         tabBarIcon:({tintColor,focused})=>(<Ionicons

            name={'ios-aperture'}

            size={26}

            style={{color:tintColor}}

         />)

       }

    },

  },

  {

    tabBarOptions:{

      activeTintColor: Platform.OS === 'ios' ? '#e91e63' : '#fff',

    }

  }

);

const AppStackNavigator = createStackNavigator({

    HomePage: {

        screen: HomePage

    },

    Page1: {

        screen: Page1,

        navigationOptions: ({navigation}) => ({

            title: `${navigation.state.params.name}页面名`//动态设置navigationOptions

        })

    },

    Page2: {

        screen: Page2,

        navigationOptions: {//在这里定义每个页面的导航属性,静态配置

            title: "This is Page2.",

        }

    },

    Page3: {

        screen: Page3,

        navigationOptions: (props) => {//在这里定义每个页面的导航属性,动态配置

            const {navigation} = props;

            const {state, setParams} = navigation;

            const {params} = state;

            return {

                title: params.title ? params.title : 'This is Page3',

                headerRight: (

                    <Button

                        title={params.mode === 'edit' ? '保存' : '编辑'}

                        onPress={()=>{setParams({mode: params.mode === 'edit' ? '' : 'edit'})}

                            }

                    />

                ),

            }

        }

    },

    Bottom:{

      screen:AppBottomNavigator,

      navigationOptions:{

        title:'BottomNavigator'

      }

    },

    Top:{

      screen:AppTopNavigator,

      navigationOptions:{

        title:'TopNavigator'

      }

    }

},

 {

    defaultNavigationOptions: {

        // header: null,// 可以通过将header设为null 来禁用StackNavigator的Navigation Bar

    }

  }

);

const App = createAppContainer(AppStackNavigator)

export default App
HomePage.js
/**

 * Sample React Native App

 * https://github.com/facebook/react-native

 *

 * @format

 * @flow

 */

 import React, {Fragment,Component} from 'react';

 import {

   StyleSheet,

   View,

   Text,

   Button,

 } from 'react-native';

type Props = {};

 export default class HomePage extends Component<Props> {

   //修改Back按钮

   static navigationOptions={

     title:'Home',

     headerBackTitle:'返回哈哈'

   }

   render(){

     const {navigation}=this.props;

     return (

       <View style={styles.container}>

         <Text style={styles.welcome}>欢迎来到HomePage</Text>

         <Button

           title={'去 Page1'}

           onPress={()=>{

             navigation.navigate('Page1',{name:'动态的'});

           }}

         />

         <Button

           title={'去 Page2'}

           onPress={()=>{

             navigation.navigate('Page2');

           }}

         />

         <Button

           title={'去 Page3'}

           onPress={()=>{

             navigation.navigate('Page3',{name:'Dev iOS'});

           }}

         />

         <Button

           title={'去 Bottom Navigator'}

           onPress={()=>{

             navigation.navigate('Bottom');

           }}

         />

         <Button

           title={'去 Top Navigator'}

           onPress={()=>{

             navigation.navigate('Top');

           }}

         />

       </View>

       );

   }

 }

 const styles=StyleSheet.create({

   container:{

     flex:1,

   },

   welcome:{

     fontSize:20,

     textAlign: 'center',

   }

 });
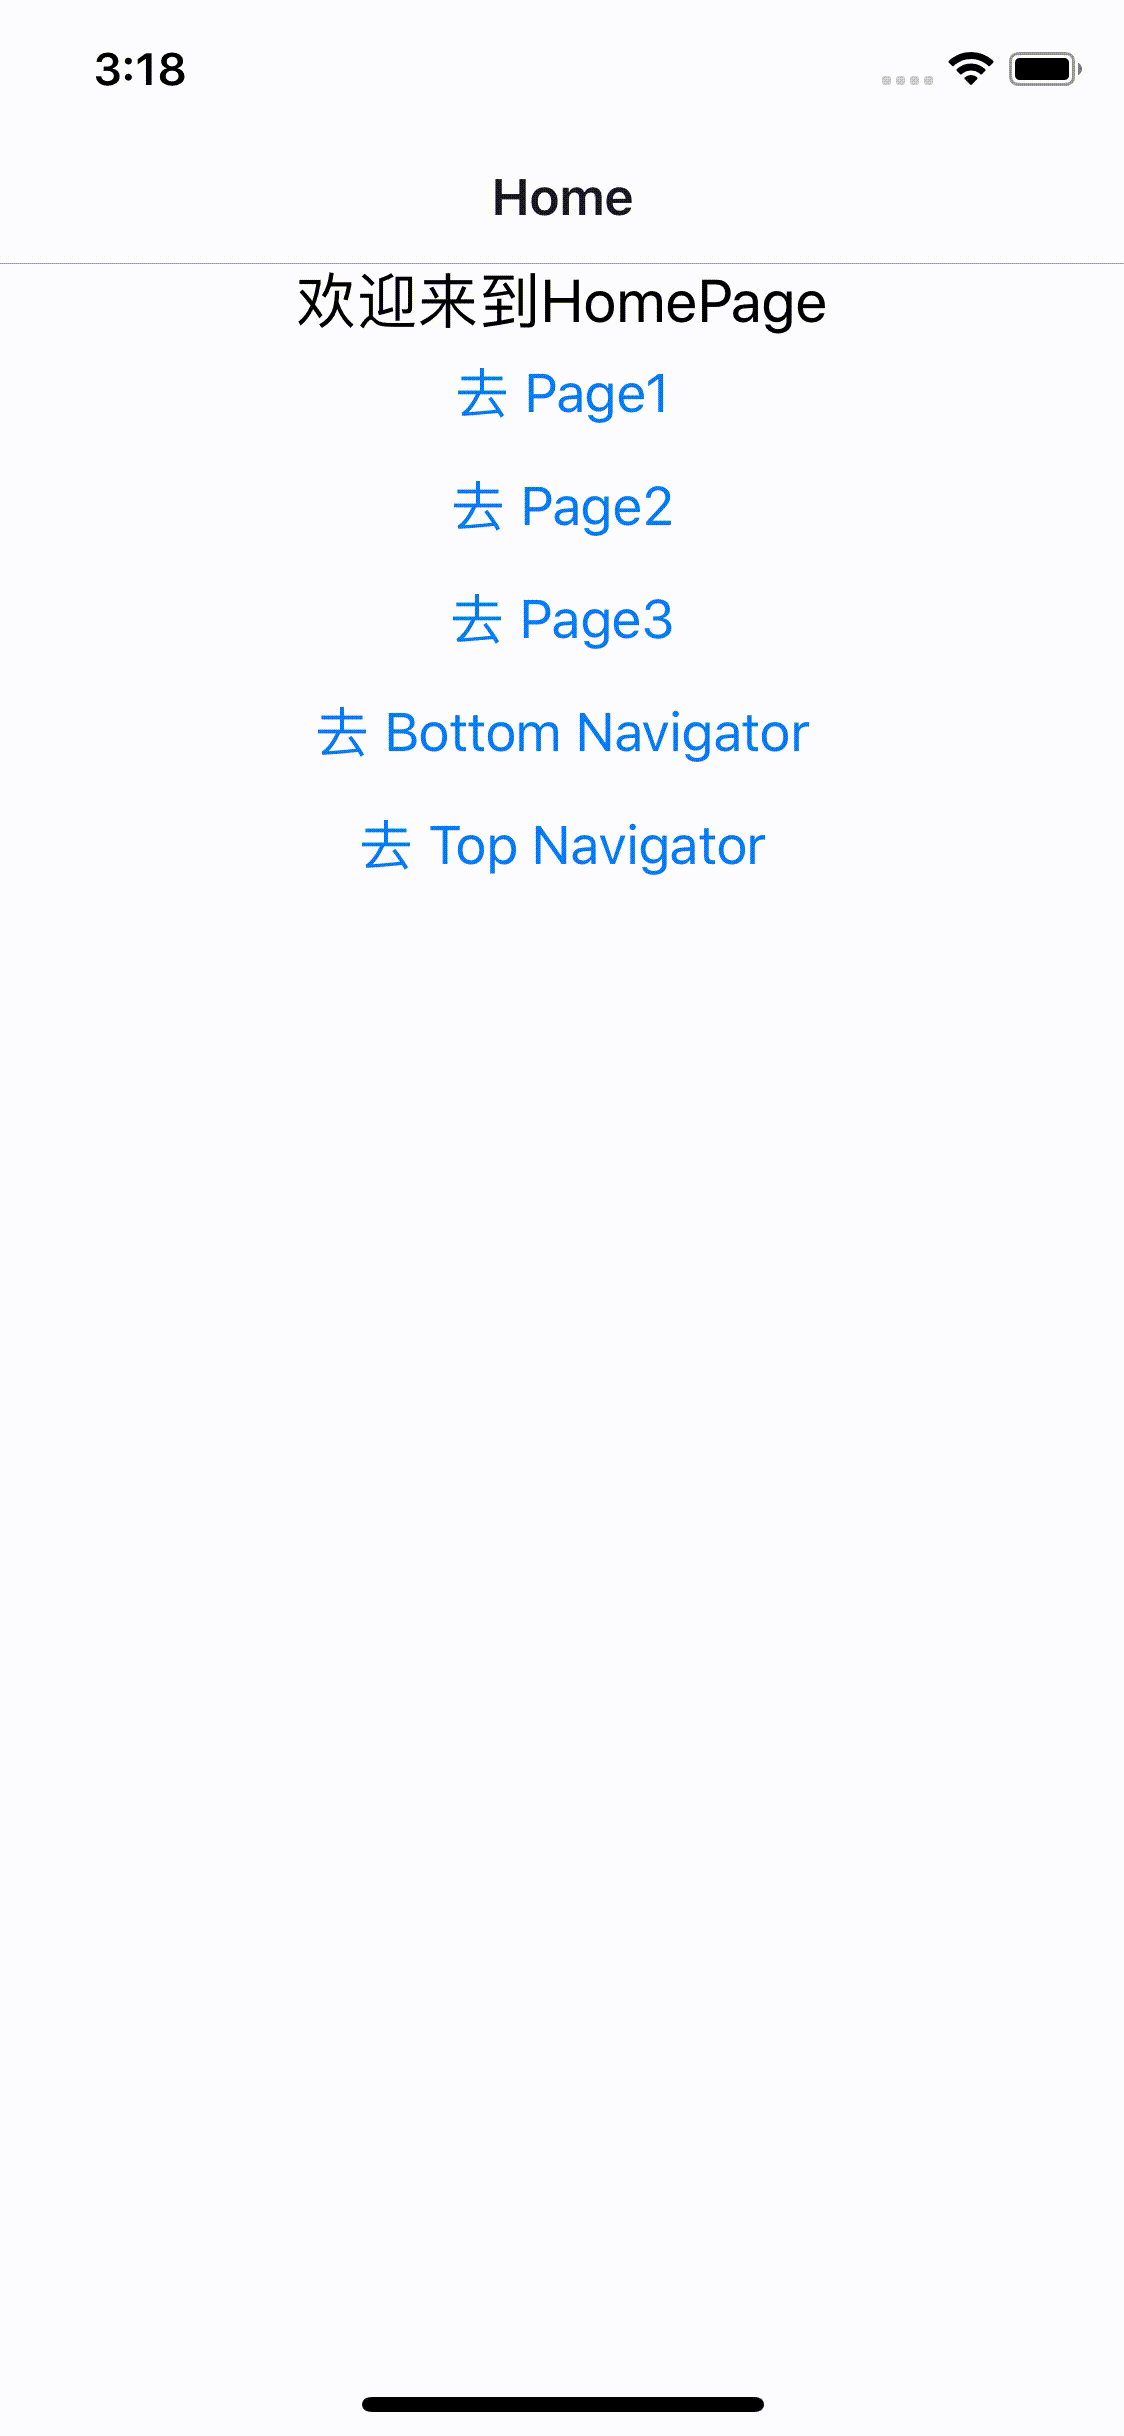
效果图
https://zamarrowski.github.io/react-ionicons/ 图标网址
https://reactnavigation.org/docs/en/tab-based-navigation.html 导航栏指导文档
--------------------------分界线--------------------------
如果AppNavigators.js做如下配置,那么每个Page都能拥有底部切换Bar了
import React from 'react'; //只要在页面中使用了基础组件 都需要导入这句话 不然会报错

import {Button} from 'react-native';

import { createStackNavigator,createAppContainer,createBottomTabNavigator } from 'react-navigation';

import HomePage from '../pages/HomePage';

import Page1 from '../pages/Page1';

import Page2 from '../pages/Page2';

import Page3 from '../pages/Page3';

import Page4 from '../pages/Page4';

import Page5 from '../pages/Page5';

import Ionicons from 'react-native-vector-icons/Ionicons'

const AppBottomNavigator=createBottomTabNavigator({

  Page1:{

       screen:Page1,

       navigationOptions:{

         tabBarLabel: '最热',

         tabBarIcon:({tintColor,focused})=>(<Ionicons

            name={'ios-home'}

            size={26}

            style={{color:tintColor}}

         />)

       }

    },

    Page2:{

       screen:Page2,

       navigationOptions:{

         tabBarLabel: '趋势',

         tabBarIcon:({tintColor,focused})=>(<Ionicons

            name={'ios-appstore'} // 全部小写

            size={26}

            style={{color:tintColor}}

         />)

       }

    },

}

);

//HomePage Page1 Page2 这些是页面名,到时候导航器就接收这个参数进行界面跳转

const AppStackNavigator = createStackNavigator({

    HomePage: {

        screen: HomePage

    },

    Page1: {

        screen: AppBottomNavigator,

        navigationOptions: ({navigation}) => ({

            title: `${navigation.state.params.name}页面名`//动态设置navigationOptions

        })

    },

    Page2: {

        screen: AppBottomNavigator,

        navigationOptions: {//在这里定义每个页面的导航属性,静态配置

            title: "This is Page2.",

        }

    },

    Page3: {

        screen: Page3,

        navigationOptions: (props) => {//在这里定义每个页面的导航属性,动态配置

            const {navigation} = props;

            const {state, setParams} = navigation;

            const {params} = state;

            return {

                title: params.title ? params.title : 'This is Page3',

                headerRight: (

                    <Button

                        title={params.mode === 'edit' ? '保存' : '编辑'}

                        onPress={()=>{setParams({mode: params.mode === 'edit' ? '' : 'edit'})}

                            }

                    />

                ),

            }

        }

    },

    Bottom:{

      screen:AppBottomNavigator,

      navigationOptions:{

        title:'BottomNavigator'

      }

    },

}, {

    defaultNavigationOptions: {

        // header: null,// 可以通过将header设为null 来禁用StackNavigator的Navigation Bar

    }

});

const App = createAppContainer(AppStackNavigator)

export default App

React Native 之 createBottomTabNavigator,createMaterialTopTabNavigator的更多相关文章
- [翻译]Review——24 tips for React Native you probably want to know
Post author: Albert Gao Post link: http://www.albertgao.xyz/2018/05/30/24-tips-for-react-native-you- ...
- React Native 之createDrawerNavigator和createSwitchNavigator
其他代码接上篇文章 createDrawerNavigator 抽屉 createSwitchNavigator 模拟登录=>主界面 index.js /** * @format */ impo ...
- React Native常用组件之TabBarIOS、TabBarIOS.Item组件、Navigator组件、NavigatorIOS组件、React Navigation第三方
以下内容为老版本React Native,faceBook已经有了新的导航组件,请移步其他博客参考>>[我是传送门] 参考资料:React Navigation react-native ...
- 【React Native】React Native项目设计与知识点分享
闲暇之余,写了一个React Native的demo,可以作为大家的入门学习参考. GitHub:https://github.com/xujianfu/ElmApp.git GitHub:https ...
- [RN] React Native 下实现底部标签(支持滑动切换)
上一篇文章 [RN] React Native 下实现底部标签(不支持滑动切换) 总结了不支持滑动切换的方法,此篇文章总结出 支持滑动 的方法 准备工作之类的,跟上文类似,大家可点击上文查看相关内容. ...
- there is no route defined for key Agreement(react native bug记录)
调试react native的项目有一个报错: there is no route defined for key XXXX 它发生在我调试TabNavigator选项卡路由器的时候,我把如下代码的A ...
- react native 之 redux 使用套路
redux是什么?他是一个state容器 redux的运作方式是怎样的? 接入方式: 1. npm install 下列内容: npm install --save redux npm install ...
- React Native超简单完整示例-tabs、页面导航、热更新、用户行为分析
初学React Native,如果没有人指引,会发现好多东西无从下手,但当有人指引后,会发现其实很简单.这也是本人写这篇博客的主要原因,希望能帮到初学者. 本文不会介绍如何搭建开发环境,如果你还没有搭 ...
- React Native 之 Text的使用
前言 学习本系列内容需要具备一定 HTML 开发基础,没有基础的朋友可以先转至 HTML快速入门(一) 学习 本人接触 React Native 时间并不是特别长,所以对其中的内容和性质了解可能会有所 ...
随机推荐
- 【Linux开发】【Qt开发】QT 同时支持鼠标和触摸屏
QT 同时支持鼠标和触摸屏 现在 如果我要使用鼠标 导入环境变量 export QWS_MOUSE_PROTO=MouseMan:/dev/input/mice 使用触摸屏,导入环境变量 export ...
- Golang基本类型整理
总是用的用的就模糊了,不知道基本的类型有哪些,看来要反反复复弄几次. Golang基本类型整理 基本类型以及定义变量需要注意的 对于基本类型的介绍,感觉这个博客讲的比较透彻,基本上都是从源码的角度来入 ...
- input标签内容改变时触发事件
1. onchange事件与onpropertychange事件的区别: onchange事件在内容改变(两次内容有可能相等)且失去焦点时触发: onpropertychange事件是实时触发,每增加 ...
- Python_ONLINE_习题集_02 函数封装
2.1 封装函数实现如下要求 例如:输入2,5 则求:2 + 22+222 + 2222+22222的和 参考答案: https://www.bilibili.com/read/cv4185619 d ...
- Java第一周总结
通过两周的Java学习最深刻的体会就是Java好像要比C要简单一些. 然后这两周我学习到了很多东西,李老师第一次上课就给我们介绍了Java的发展历程,同时还有Java工具jdk的发展历程. Java语 ...
- [Git] 026 config 命令的补充
少废话,上例子 1. 让命令更醒目 $ git config --global color.ui true 2. 偷懒 $ git config --global alias.st status 使用 ...
- nrm安装与配置
nrm安装与配置:https://blog.csdn.net/anway12138/article/details/79455224
- 逆序单词 HIhoCoder 1366 字典树
逆序单词 HIhoCoder 1366 字典序 题意 在英文中有很多逆序的单词,比如dog和god,evil和live等等. 现在给出一份包含N个单词的单词表,其中每个单词只出现一次,请你找出其中有多 ...
- ECMAScript 6 学习笔记(二)
ECMAScript 6 let和const命令 let命令 基本用法 ES6新增了let命令,用来声明变量.它的用法类似于var,但是所声明的变量,只在let命令所在的代码块内有效. { let a ...
- winform 自定义控件(高手)
高手推荐:https://www.cnblogs.com/bfyx/p/11364884.html c#Winform自定义控件-目录 前提 入行已经7,8年了,一直想做一套漂亮点的自定义控件 ...