Nuxt使用高德地图
事先准备
注册账号并申请Key
1. 首先,注册开发者账号,成为高德开放平台开发者
2. 登陆之后,在进入「应用管理」 页面「创建新应用」
3. 为应用添加 Key,「服务平台」一项请选择「 Web 端 ( JSAPI ) 」
一、安装
1.npm安装(推荐)
通过 npm install --save vue-amap 来安装
2.CDN
目前可通过 unpkg.com/vue-amap 获取最新版本的资源。
通过script引入 <script src="https://unpkg.com/vue-amap/dist/index.js"></script>
二、使用
1.在插件目录plugins下,新建一个vue-map.js文件
import Vue from 'vue';

import VueAMap from 'vue-amap';

Vue.use(VueAMap);

// 初始化vue-amap

if (!Vue.prototype.$isServer) {

  VueAMap.initAMapApiLoader({

    // 高德的key

    key: 'your key',

    // 插件集合

    plugin: ['AMap.Geolocation', 'AMap.Marker', 'AMap.ToolBar', 'AMap.Circle', 'AMap.PolyLine'],

    uiVersion: '1.0',

    // 高德 sdk 版本,默认为 1.4.4

    v: '1.4.8'

  });

}
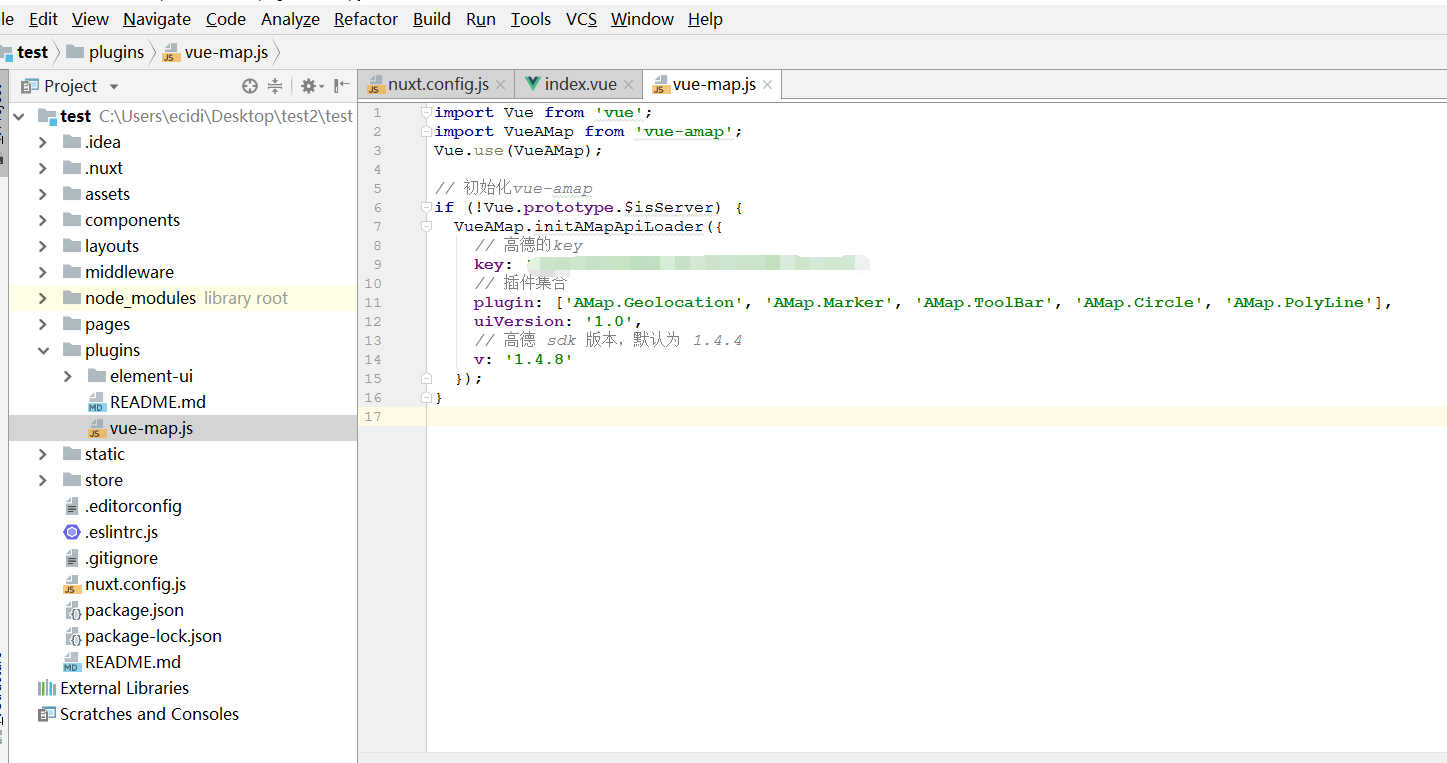
这里的key为事先准备时候注册的key值,填到这里就可以了,如下图所示
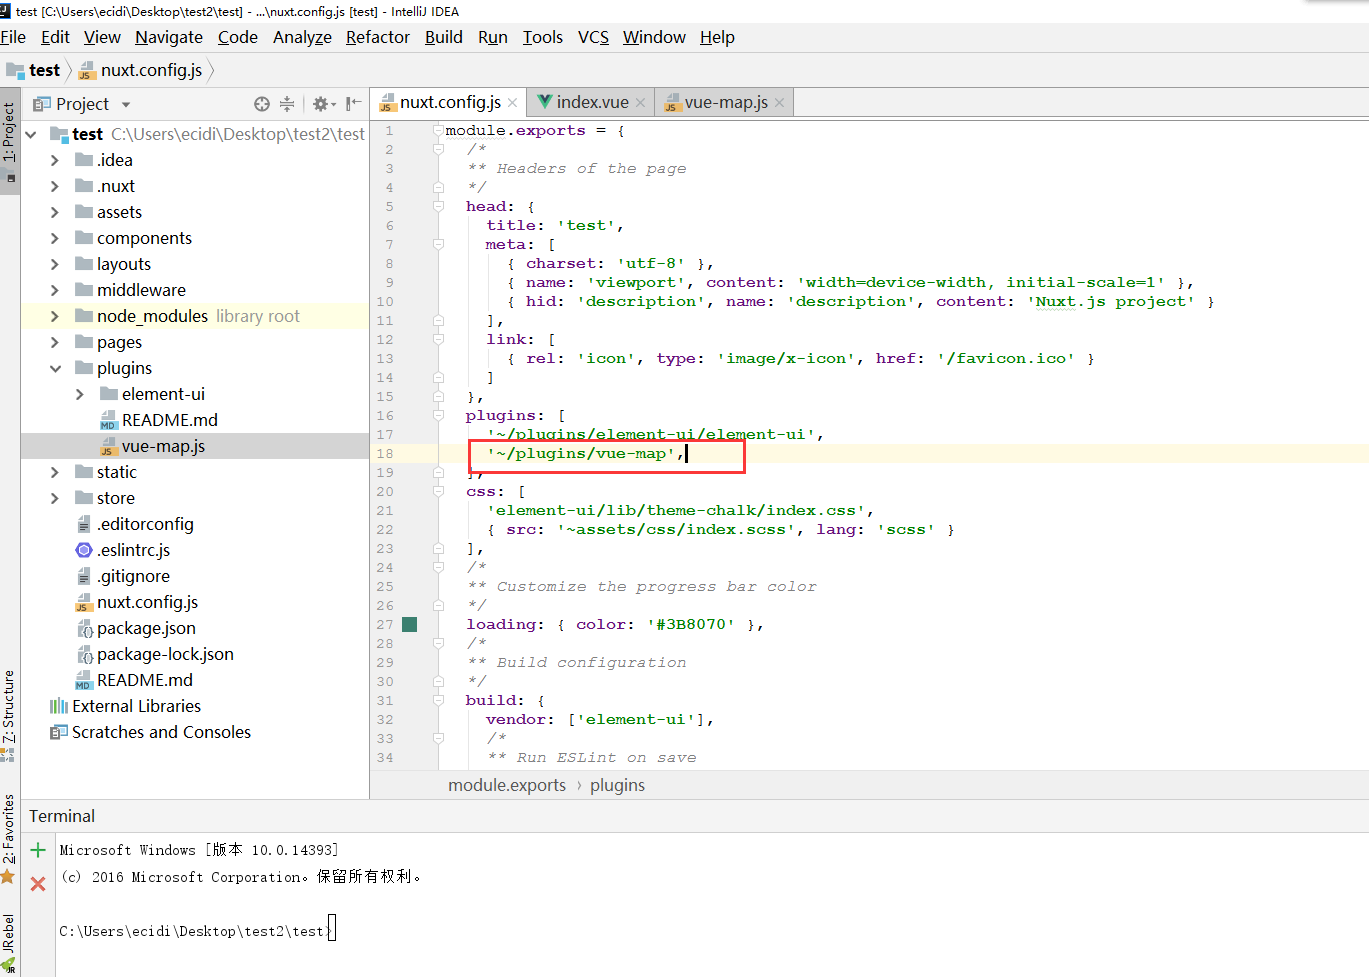
2.在配置文件nuxt.cofig.js中的plugins里添加刚才写的vue-map.js文件,如下图所示
3.然后在页面就可以使用el-map来使用地图了,地图的属性通过页面的值来赋予
<template>

  <section style="width: 1000px; height: 800px;">

    <no-ssr>

      <el-amap vid="amap" :plugin="plugin" class="amap-demo" :center="center" :events="events">

        <el-amap-marker v-for="(marker, index) in markers" :position="marker.position"

                        :key="index" :vid="index" :events="marker.events"></el-amap-marker>

        <el-amap-circle :center="circle.center" :radius="circle.radius"

                        :fill-opacity="0.5" fill-color="#ffb5b3" stroke-color="#ffb5b3"></el-amap-circle>

        <el-amap-polyline :path="polyline.path"></el-amap-polyline>

      </el-amap>

    </no-ssr>

  </section>

</template>

<script>

  import * as _ from 'lodash';

export default {

  data() {

    let self = this;

    return {

      center: [121.59996, 31.197646],

      events: {

        init(map) {

          let markers = _.cloneDeep(self.markers);

          markers.forEach((item, index) => {

            AMapUI.loadUI(['overlay/SimpleMarker'], function (SimpleMarker) {

              item = new SimpleMarker({

                iconLabel: {

                  innerHTML: index,

                  style: {

                    color: '#fff'

                  }

                },

                iconStyle: '#1995f5',

                map: map,

                position: item.position

              });

            });

          });

        }

      },

      lng: 0,

      lat: 0,

      plugin: [{

        pName: 'Geolocation',

        events: {

          click: (o) => {

            o.getCurrentPosition((status, result) => {

              if (result && result.position) {

                self.lng = result.position.lng;

                self.lat = result.position.lat;

                self.center = [self.lng, self.lat];

                self.$nextTick();

              }

            });

          }

        },

        buttonPosition: 'LT'

      }],

      markers: [

        {

          position: [121.59996, 31.197646],

          events: {

            click: () => {

              this.$router.push({path: '/single/250'});

            }

          },

          visible: true,

          clickable: true

        },

        {

          position: [122.59996, 32.197646],

          events: {

            click: () => {

              this.$router.push({path: '/single/250'});

            }

          },

          visible: true,

          clickable: true

        }

      ],

      circle: {

        center: [121.59996, 31.197646],

        radius: 6000

      },

      polyline: {

        path: [[121.59996, 31.1976461], [121.5389385, 31.197646]]

      }

    };

  },

  methods: {

  },

  mounted() {

  },

  beforeDestroy() {

  }

};

</script>
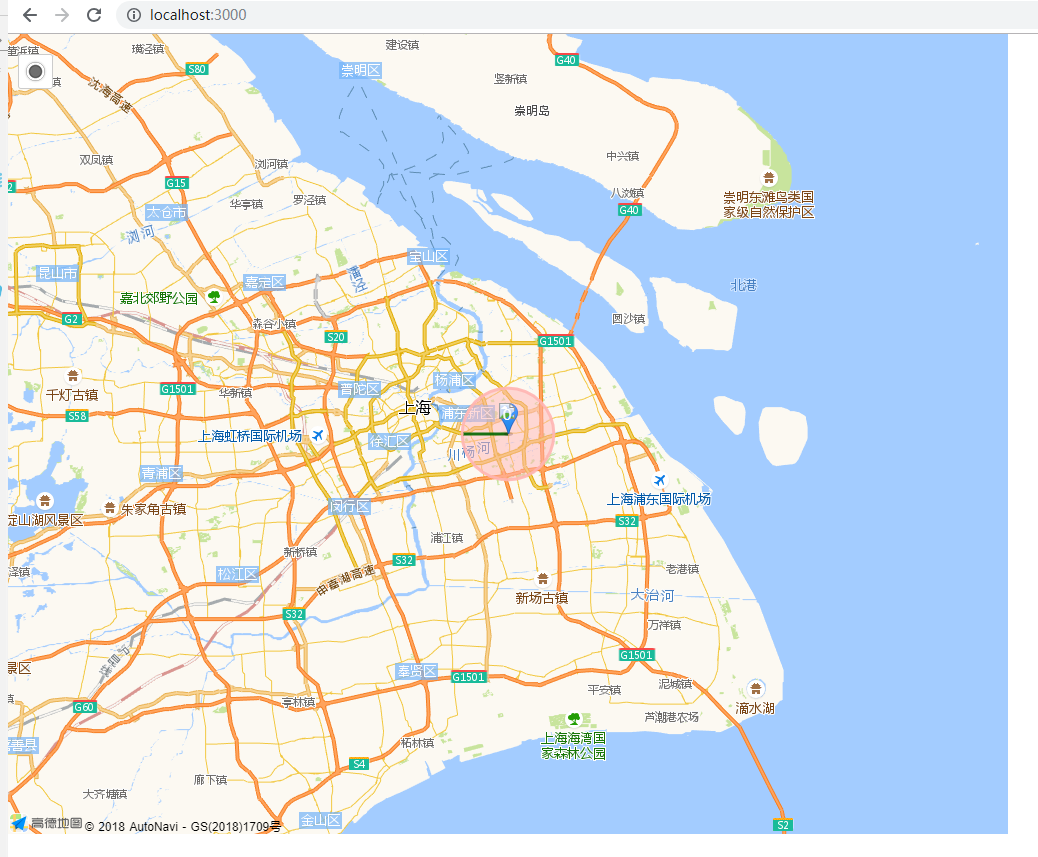
然后 npm run dev 运行程序即可看到效果
注意事项:
1.两个参考文档
https://elemefe.github.io/vue-amap/#/zh-cn/introduction/install (amap)
https://lbs.amap.com/api/javascript-api/guide/abc/prepare(高德)
2.vue-amap 能够抛开高德原生 SDK 覆盖大多数场景,但对于部分定制化程度较高的场景而言,可能还是需要引入高德原生 SDK 来支持。
对于大多数 vue-amap 组件,都有 init 这个 event,参数为高德的实例,通过这样暴露高德实例的方式,开发者能够非常自由地将原生 SDK 和 vue-amap 结合起来使用。
若涉及到高德原生 AMap 需要注意的点:
- 确保
vue-amap的导入名不是AMap,推荐import VueAMap from 'vue-amap'避免和高德全局的AMap冲突。 - 若
eslint报错AMap is undefined之类的错误。请将AMap配置到.eslintrc的globals中。
<template>

    <div class="amap-page-container">

      <el-amap vid="amapDemo"  :center="center" :amap-manager="amapManager" :zoom="zoom" :events="events" class="amap-demo">

      </el-amap>

      <div class="toolbar">

        <button @click="add()">add marker</button>

      </div>

    </div>

  </template>

  <style>

    .amap-demo {

      height: 300px;

    }

  </style>

  <script>

    // NPM 方式

    // import { AMapManager } from 'vue-amap';

    // CDN 方式

    let amapManager = new VueAMap.AMapManager();

    module.exports = {

      data: function() {

        return {

          zoom: 12,

          center: [121.59996, 31.197646],

          amapManager,

          events: {

            init(o) {

              let marker = new AMap.Marker({

                position: [121.59996, 31.197646]

              });

              marker.setMap(o);

            }

          }

        };

      },

      methods: {

        add() {

          let o = amapManager.getMap();

          let marker = new AMap.Marker({

            position: [121.59996, 31.177646]

          });

          marker.setMap(o);

        }

      }

    };

</script>
<template>

  <section style="width: 1000px; height: 800px;">

    <no-ssr>

      <el-amap vid="amap" :plugin="plugin" class="amap-demo" :center="center" :events="events">

        <div  class="map-range map-icon bg-white map-border text-center cursor-pointer">

          <i class="el-icon-rank text-22 icon-state"></i>

        </div>

        <div class="map-enlarge map-icon map-border bg-white text-center cursor-pointer">

          <p class="icon-state"><i class="iconfont icon-fangda text-22"></i></p>

        </div>

        <el-amap-marker v-for="(marker, index) in markers" :position="marker.position"

                        :key="index" :vid="index" :events="marker.events"></el-amap-marker>

        <el-amap-circle :center="circle.center" :radius="circle.radius"

                        :fill-opacity="0.5" fill-color="#ffb5b3" stroke-color="#ffb5b3"></el-amap-circle>

        <el-amap-polyline :path="polyline.path"></el-amap-polyline>

      </el-amap>

    </no-ssr>

  </section>

</template>

<script>

  import * as _ from 'lodash';

export default {

  data() {

    let self = this;

    return {

      center: [121.59996, 31.197646],

      events: {

        init(map) {

          let markers = _.cloneDeep(self.markers);

          markers.forEach((item, index) => {

            AMapUI.loadUI(['overlay/SimpleMarker'], function (SimpleMarker) {

              item = new SimpleMarker({

                iconLabel: {

                  innerHTML: index,

                  style: {

                    color: '#fff'

                  }

                },

                iconStyle: '#1995f5',

                map: map,

                position: item.position

              });

            });

          });

        }

      },

      lng: 0,

      lat: 0,

      plugin: [{

        pName: 'Geolocation',

        events: {

          click: (o) => {

            o.getCurrentPosition((status, result) => {

              if (result && result.position) {

                self.lng = result.position.lng;

                self.lat = result.position.lat;

                self.center = [self.lng, self.lat];

                self.$nextTick();

              }

            });

          }

        },

        buttonPosition: 'LT'

      }],

      markers: [

        {

          position: [121.59996, 31.197646],

          events: {

            click: () => {

              this.$router.push({path: '/single/250'});

            }

          },

          visible: true,

          clickable: true

        },

        {

          position: [122.59996, 32.197646],

          events: {

            click: () => {

              this.$router.push({path: '/single/250'});

            }

          },

          visible: true,

          clickable: true

        }

      ],

      circle: {

        center: [121.59996, 31.197646],

        radius: 6000

      },

      polyline: {

        path: [[121.59996, 31.1976461], [121.5389385, 31.197646]]

      }

    };

  },

  methods: {

  },

  mounted() {

  },

  beforeDestroy() {

  }

};

</script>

<style lang="scss">

  .map-icon {

    height: 35px;

    width: 35px;

    position: absolute;

    top: 20px;

    border-radius: 5px;

    overflow: hidden;

    line-height: 20px;

    z-index: 99;

  .icon-state {

    margin-top: 8px;

  }

  }

  .map-enlarge {

    left: 105px;

  }

  .map-border {

    border: 1px solid #b5b9b7;

  }

  .map-range {

    left: 55px;

  }

</style>
4.动态修改数据以后,地图不会立刻根据数据进行重新渲染,这时候我们需要加一个判断,更新数据前把地图隐藏起来,更新以后通过this.$nextTick(() => {xxx})再显示地图,这样可以解决这个问题
5.如果把地图这部分写成一个组件,不同页面根据传入的不同数据来渲染不同的地图的话,进入页面的时候也会出现上面的数据更新导致错误地图的问题,此时可以先不显示地图,然后设置一个定时器,500毫秒后在渲染地图,这样可以避免这个问题,如果使用了定时器,页面销毁前记得清除定时器哦~
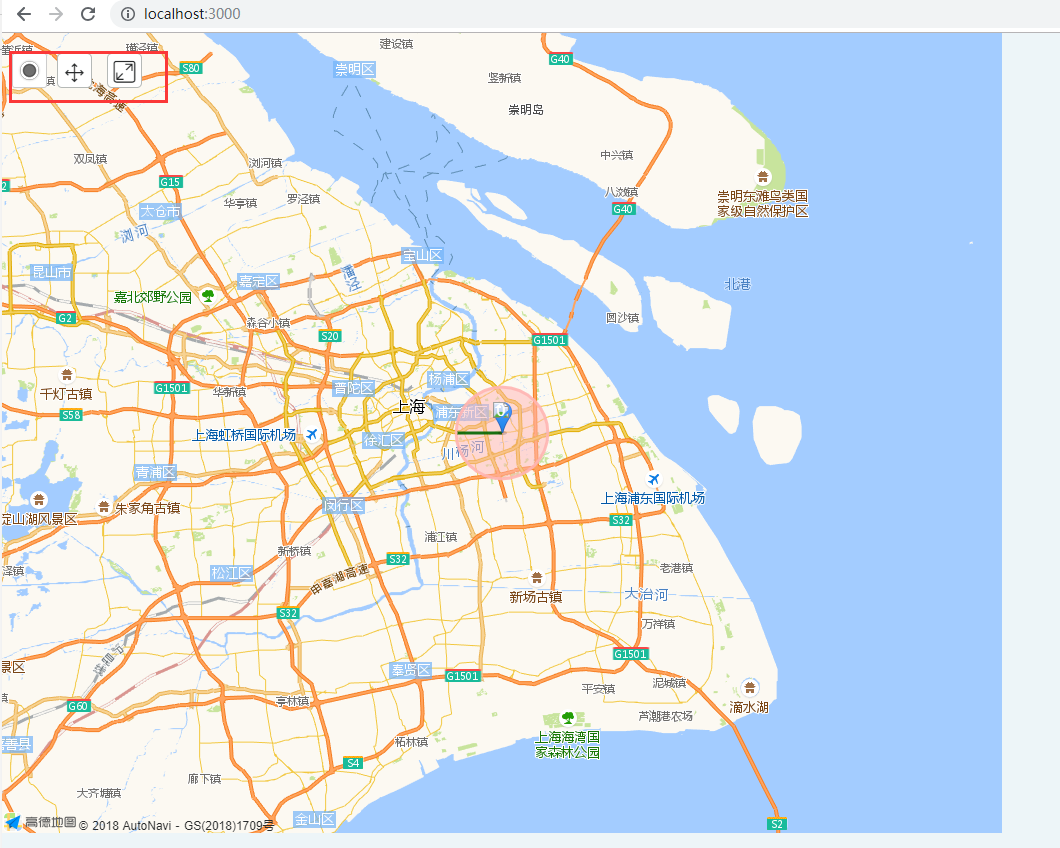
6.关于坐标点标注,遮挡物样式什么的,可以通过高德地图的UI组件库来进行自定义修改
https://lbs.amap.com/api/javascript-api/reference-amap-ui/other/positionpicker
如果大佬们有更好的方法和建议,可以在下面回复交流一下哦~
嗯,就酱~~
Nuxt使用高德地图的更多相关文章
- nuxt+高德地图实现多边形区域检索
我已经放弃百度地图了,为什么呢? 原因一: 百度地图api太乱不容易查阅 原因二: 百度给出的案例太少,可参考项太少 第三点也是最重要的,百度地图花钱,百度地图花钱,百度地图花钱, 很荣幸,作为国内唯 ...
- 高德地图api实现地址和经纬度的转换(python)
利用高德地图web服务api实现地理/逆地址编码 api使用具体方法请查看官方文档 文档网址:http://lbs.amap.com/api/webservice/guide/api/georegeo ...
- IOS原生地图与高德地图
原生地图 1.什么是LBS LBS: 基于位置的服务 Location Based Service 实际应用:大众点评,陌陌,微信,美团等需要用到地图或定位的App 2.定位方式 1.GPS定位 ...
- 【原创】web端高德地图javascript API的调用
关于第三放地图的使用,腾讯.百度.高德 具体怎么选择看你自己怎么选择了. 高德地图开放平台:http://lbs.amap.com/ 本次使用的是高德的javascript API http://lb ...
- 高德地图-搜索服务-POI搜索
高德地图-搜索服务-POI搜索 之前公司项目收货地址仿饿了么的收货地址,结果发现自己实现的关键字搜索和周边搜索,搜索到的poi列表跟饿了么的并不完全一样,后来考虑了下,应该是搜索的范围.类型之类的设置 ...
- 【krpano】高德地图导航插件(源码+介绍+预览)
简介 krpano可以利用js调用第三方网页版地图,因此可以实现导航效果,用来帮助用户导航到我们全景所在的位置. 效果截图如下,在手机端点击左侧按钮,便会对用户进行定位,跳转至高德地图进行导航 ...
- C# GMap下提供一个高德地图
using System; using GMap.NET.Internals; using GMap.NET.Projections; namespace GMap.NET.MapProviders ...
- [OC][地图] 高德地图之定位初探(一)
使用前的说明 高德地图开放平台的iOS定位模块网址-->http://lbs.amap.com/api/ios-location-sdk/summary/ 高德地图有Web端.android平台 ...
- Android学习十一:高德地图使用
写这篇文章主要有三个目的: 1.使用高德地图api定位 2.获取天气数据 3.编程练手 文件结构 清单文件信息说明: <?xml version="1.0" encoding ...
随机推荐
- PHP-深入理解Opcode缓存
1.什么是opcode缓存? 当解释器完成对脚本代码的分析后,便将它们生成可以直接运行的中间代码,也称为操作码(Operate Code,opcode).Opcode cache的目地是避免重复编译, ...
- .net服务器端发起请求封装
写一个静态类封装类似客户端的请求 public static class HttpHelper { #region Get public static string HttpGet(string ur ...
- Android apktool反编译资源文件为空解决办法(测试天猫、淘宝等apk成功)
1 Exception in thread main brut.androlib.androlibexception multiple resources 解决办法:下载最新的apktool,在goo ...
- TCP/IP ---封装与分用
封装 当应用程序用T C P传送数据时,数据被送入协议栈中,然后逐个通过每一层直到被当作一串比特流送入网络.其中每一层对收到的数据都要增加一些首部信息(有时还要增加尾部信息),该过程如图1 - 7所示 ...
- Silverlight实例教程 - Validation客户端同步数据验证(转载)
摘要:在Silverlight 4中,Silverlight Validation有相对的改进,本篇将介绍Silverlight 4中新加入的验证机制功能,IDataErrorInfo客户端同步验证机 ...
- atitit.解决struts2 SpringObjectFactory.getClassInstance NullPointerException v2 q31
atitit.解决struts2 SpringObjectFactory.getClassInstance NullPointerExceptionv2 q31 1. #--现象 java.lang. ...
- 谱聚类python实践
聚类后: # -*- coding: utf-8 -*-"""Created on 09 05 2017 @author: similarface"" ...
- form表单右边弹窗提示不能为空
if (key == null || key == "") { layer.tips('流程标识key不能为空', $('#search_input'), { tips: [3, ...
- 转:C++ 关键字 inline详细介绍
1. 内联函数 在C++中我们通常定义以下函数来求两个整数的最大值: int max(int a, int b) { return a > b ? a : b; } 为这么一个小的操作定义一个 ...
- 深入Redis漏斗限流
漏斗限流是最常用的限流方法之一,漏斗流水的速率大于灌水的速率,漏斗就永远装不满,反之水就会溢出. 所以漏斗的剩余空间就代表当前行为可以持续进行的数量,水流出的速率代表系统允许该行为的最大频率. imp ...