iOS菜单滚动联动内容区域功能实现
平时开发APP中关于此功能还是比较经常碰到,本实例借用三个开源的插件,并对其中一个进行修改调整实现出想要的效果;本文重点介绍修改的内容跟三个插件的运用,这三个插件还可以各自扩展到其它项目的运用;
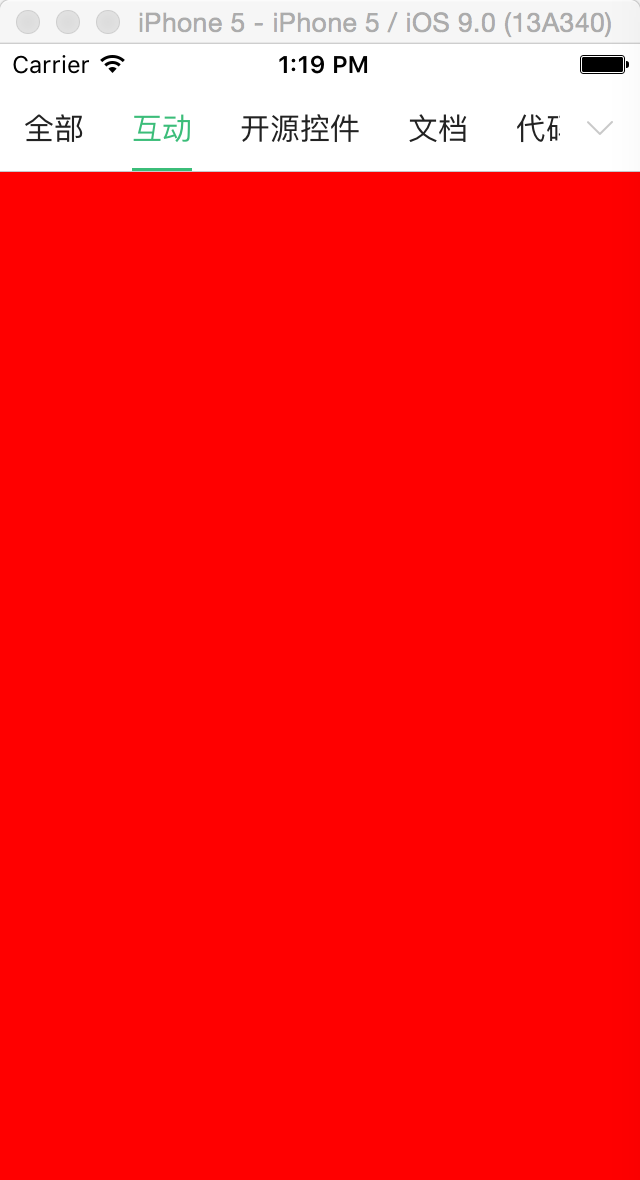
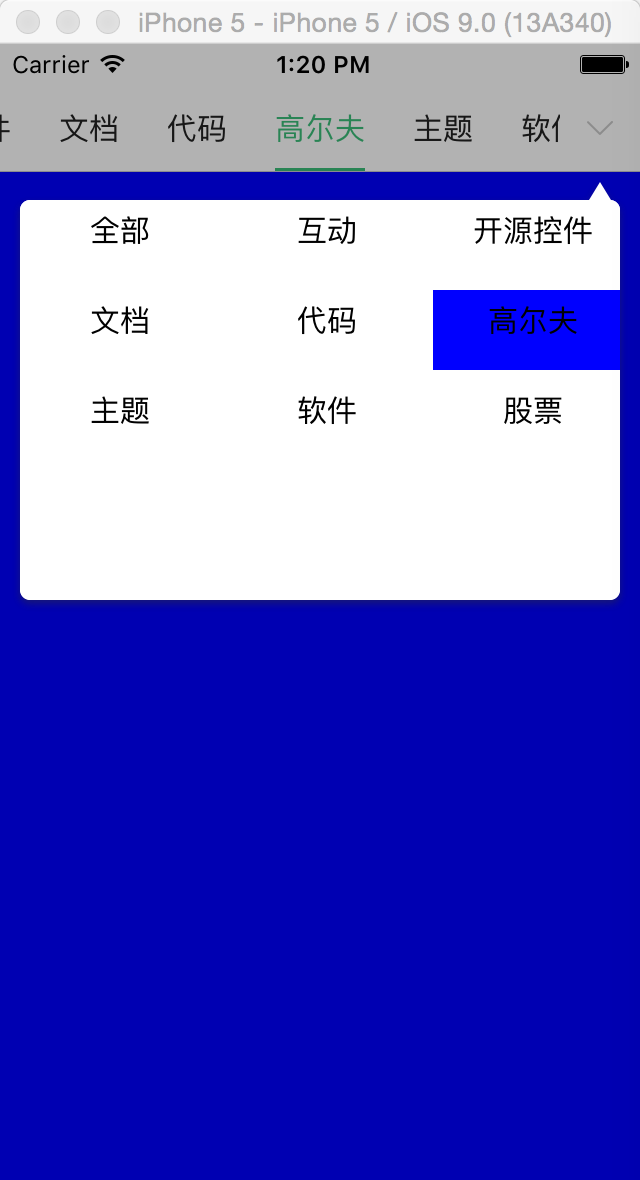
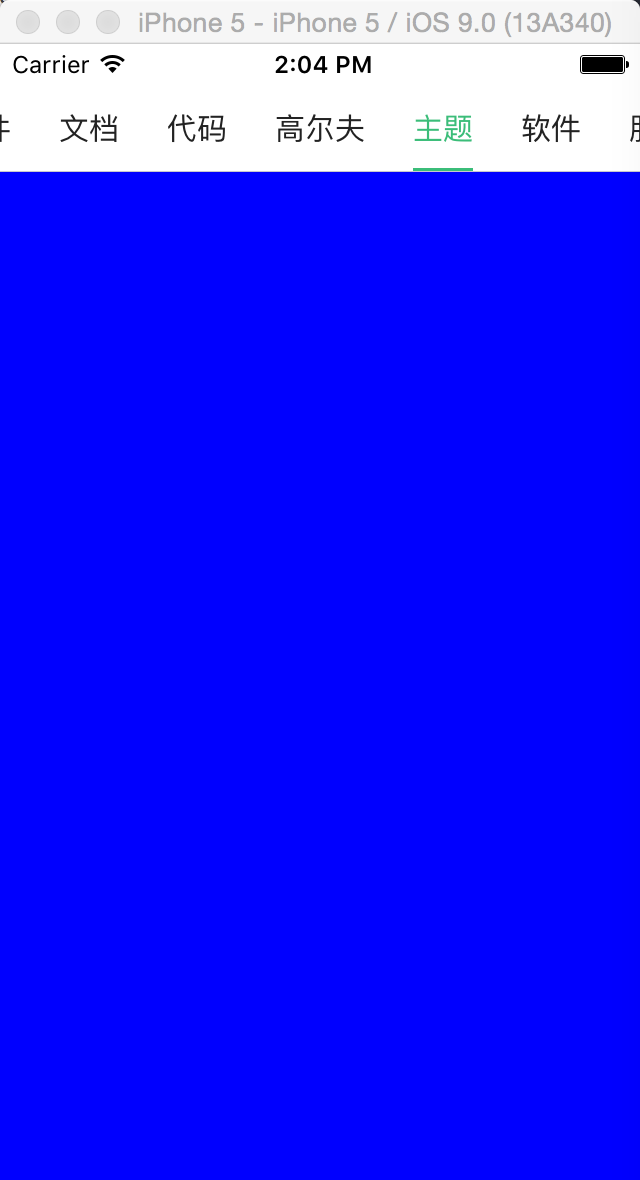
效果图:
 |
 |
 |
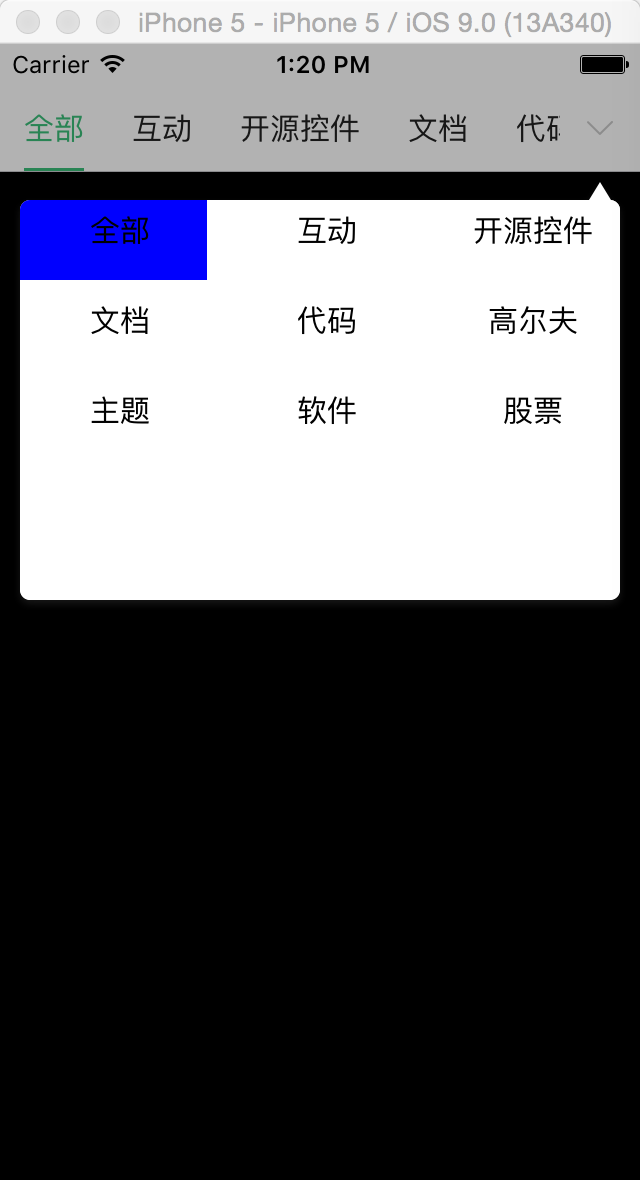 |
本实例实现的效果:顶部的滚动菜单显示出所有的类型,每个类型都对应一种展示,可以在顶部的菜单进行滚动,内容区域也会跟着改变,或者是内容区域左右滑动,则顶部的滚动菜单也会跟着更改,顶部菜单的最右边有一个展示更多菜单的效果,用于弹出一个带箭头的窗;(源代码下载)
带箭头的弹出视图插件 :https://github.com/xiekw2010/DXPopover
内容区域滑动插件:https://github.com/nicklockwood/iCarousel
及Codint.Net开源项目中的XTSegmentControl菜单滚动效果,此实例对它进行的修改
1:插件及页面的初始化
#import "ViewController.h"

#import "oldChildVewController.h"

#import "ChildViewController.h"

#import "newChildVewController.h"

#import "XTSegmentControl.h"

#import "iCarousel.h"

#import "Masonry.h"

#import "menuCollectionViewCell.h"

#import "DXPopover.h"

#define kScreen_Height [UIScreen mainScreen].bounds.size.height

#define kScreen_Width [UIScreen mainScreen].bounds.size.width

#define kMySegmentControl_Height 44.0

@interface ViewController ()<UICollectionViewDataSource, UICollectionViewDelegate,iCarouselDataSource, iCarouselDelegate>

@property (strong, nonatomic) XTSegmentControl *mySegmentControl;

@property (strong, nonatomic) NSArray *titlesArray;

@property (strong, nonatomic) iCarousel *myCarousel;

@property(assign,nonatomic)NSInteger curSelectIndex;

@property (nonatomic, strong) DXPopover *popover;

@property(assign,nonatomic)CGFloat popoverWidth;

@property (strong, nonatomic) UICollectionView *myCollectionView;

@end

@implementation ViewController

- (void)viewDidLoad {

    [super viewDidLoad];

    self.view.backgroundColor=[UIColor whiteColor];

    //初始化一个popover 用于弹窗效果的展示

    self.popover = [DXPopover new];

    _popoverWidth = kScreen_Width-;

    __weak typeof(self) weakSelf = self;

    CGRect frame=self.view.bounds;

    //内容区滚动效果插件

    self.myCarousel = ({

        iCarousel *icarousel = [[iCarousel alloc] initWithFrame:frame];

        icarousel.dataSource = self;

        icarousel.delegate = self;

        icarousel.decelerationRate = 1.0;

        icarousel.scrollSpeed = 1.0;

        icarousel.type = iCarouselTypeLinear;

        icarousel.pagingEnabled = YES;

        icarousel.clipsToBounds = YES;

        icarousel.bounceDistance = 0.2;

        [self.view addSubview:icarousel];

        [icarousel mas_makeConstraints:^(MASConstraintMaker *make) {

            make.edges.equalTo(self.view).insets(UIEdgeInsetsMake(, , , ));

        }];

        icarousel;

    });

    //添加滑块

    __weak typeof(_myCarousel) weakCarousel = _myCarousel;

    self.mySegmentControl = [[XTSegmentControl alloc] initWithFrame:CGRectMake(, , kScreen_Width, ) Items:self.titlesArray showRightButton:YES selectedBlock:^(NSInteger index) {

        weakSelf.curSelectIndex=index;

        weakCarousel.currentItemIndex=index;

        [weakSelf.myCollectionView reloadData];

    }];

    //当有右边键时 其响应的事件

    self.mySegmentControl.rightButtonBlock= ^(CGRect rightButtomRect)

    {

        //弹出插件的运用

        [weakSelf updateMyViewFrame];

        CGPoint startPoint =

        CGPointMake(CGRectGetMidX(rightButtomRect), CGRectGetMaxY(rightButtomRect) + );

        [weakSelf.popover showAtPoint:startPoint

                   popoverPostion:DXPopoverPositionDown

                  withContentView:weakSelf.myCollectionView

                           inView:weakSelf.view];

    };

    [self.view addSubview:self.mySegmentControl];

    //用于展示弹出效果里面的列表

    if (!_myCollectionView) {

        UICollectionViewFlowLayout *layout = [[UICollectionViewFlowLayout alloc] init];

        self.myCollectionView = [[UICollectionView alloc] initWithFrame:CGRectMake(,,kScreen_Width-, ) collectionViewLayout:layout];

        self.myCollectionView.backgroundColor=[UIColor whiteColor];

        self.myCollectionView.showsHorizontalScrollIndicator=NO;

        self.myCollectionView.showsVerticalScrollIndicator=NO;

        [self.myCollectionView registerClass:[menuCollectionViewCell class] forCellWithReuseIdentifier:NSStringFromClass([menuCollectionViewCell class])];

        self.myCollectionView.dataSource = self;

        self.myCollectionView.delegate = self;

    }

}
其中XTSegmentControl为顶部菜单的创建,其中showRightButton是为了扩展是否显示右边更多菜单的事件,并把事件的响应Block到页面进行实现,此事例就是响应弹出窗的效果展现,iCarousel为内容区域的滑动效果,DXPopover弹出窗的效果,UICollectionView则用于弹出窗里面的菜单列表
//popver一些属性的设置

-(void)updateMyViewFrame

{

    CGRect tableViewFrame = self.myCollectionView.frame;

    tableViewFrame.size.width = _popoverWidth;

    self.myCollectionView.frame = tableViewFrame;

    self.popover.contentInset = UIEdgeInsetsZero;

    self.popover.backgroundColor = [UIColor whiteColor];

}

#pragma mark - Getter/Setter

- (NSArray*)titlesArray

{

    if (nil == _titlesArray) {

            _titlesArray = @[@"全部", @"互动", @"开源控件", @"文档", @"代码", @"高尔夫",@"主题",@"软件",@"股票"];

    }

    return _titlesArray;

}
2插件iCarouselDataSource, iCarouselDelegate代码实现
#pragma mark iCarousel M

- (NSUInteger)numberOfItemsInCarousel:(iCarousel *)carousel{

    return [self.titlesArray count];

}

//滚动时内容视图的加载

- (UIView *)carousel:(iCarousel *)carousel viewForItemAtIndex:(NSUInteger)index reusingView:(UIView *)view{

    [_mySegmentControl setScrollOffset:index];

    UIViewController *childContrll=[[ChildViewController alloc]init];

    UIView *my=childContrll.view;

    switch (index) {

        case :

        {

            my.backgroundColor=[UIColor blackColor];

            break;

        }

        case :

        {

            my.backgroundColor=[UIColor redColor];

            break;

        }

        default:

            childContrll=[[newChildVewController alloc]init];

            break;

    }

    return childContrll.view;

}

//滚动时 下划线的位置更新

- (void)carouselDidScroll:(iCarousel *)carousel{

    if (_mySegmentControl) {

        [_mySegmentControl moveIndexWithProgress];

    }

}

//更新滚动其它两个控件的位置

- (void)carouselCurrentItemIndexDidChange:(iCarousel *)carousel{

    self.curSelectIndex=carousel.currentItemIndex;

    [self.myCollectionView reloadData];

    if (_mySegmentControl) {

        _mySegmentControl.currentIndex = carousel.currentItemIndex;

    }

}
注意:内容区域的视图加载,及其滑动所响应的事件处理,原来的XTSegmentControl对于菜单字数不同时下划线会出现一些异常,本实例对它进行修改了;
3:列表UICollectionViewDataSource, UICollectionViewDelegate功能的实现
- (NSInteger)collectionView:(UICollectionView *)collectionView numberOfItemsInSection:(NSInteger)section{

    return self.titlesArray.count;

}

- (UICollectionViewCell *)collectionView:(UICollectionView *)collectionView cellForItemAtIndexPath:(NSIndexPath *)indexPath{

    menuCollectionViewCell *ccell = [collectionView dequeueReusableCellWithReuseIdentifier:NSStringFromClass([menuCollectionViewCell class]) forIndexPath:indexPath];

    NSString *model=[self.titlesArray objectAtIndex:indexPath.row];

    ccell.curMenuModel=model;

    if (self.curSelectIndex==indexPath.row) {

        ccell.backgroundColor=[UIColor blueColor];

    }

    else

    {

        ccell.backgroundColor=[UIColor whiteColor];

    }

    return ccell;

}

- (CGSize)collectionView:(UICollectionView *)collectionView layout:(UICollectionViewLayout*)collectionViewLayout sizeForItemAtIndexPath:(NSIndexPath *)indexPath{

    return CGSizeMake((kScreen_Width-)/, );

}

- (UIEdgeInsets)collectionView:(UICollectionView *)collectionView layout:(UICollectionViewLayout*)collectionViewLayout insetForSectionAtIndex:(NSInteger)section{

    return UIEdgeInsetsZero;

}

- (CGFloat)collectionView:(UICollectionView *)collectionView layout:(UICollectionViewLayout*)collectionViewLayout minimumLineSpacingForSectionAtIndex:(NSInteger)section{

    return ;

}

- (CGFloat)collectionView:(UICollectionView *)collectionView layout:(UICollectionViewLayout*)collectionViewLayout minimumInteritemSpacingForSectionAtIndex:(NSInteger)section{

    return ;

}

- (void)collectionView:(UICollectionView *)collectionView didSelectItemAtIndexPath:(NSIndexPath *)indexPath{

    self.curSelectIndex=indexPath.row;

    //两个滚动的位置更新

    _myCarousel.currentItemIndex=self.curSelectIndex;

    [_mySegmentControl selectIndex:self.curSelectIndex];

    //隐藏弹出窗

    [self.popover dismiss];

}
注意:主要是在实现点击时滚动位置跟内容的区域要进行调整,并把弹出窗进行收缩的操作;
4:XTSegmentControl下划线调整
- (void)moveIndexWithProgress

{

    CGRect origionRect = [_itemFrames[_currentIndex] CGRectValue];

    CGRect origionLineRect = CGRectMake(CGRectGetMinX(origionRect) + XTSegmentControlHspace, CGRectGetHeight(origionRect) - XTSegmentControlLineHeight, CGRectGetWidth(origionRect) -  * XTSegmentControlHspace, XTSegmentControlLineHeight);

    //增加下划线滚动的效果

    [UIView animateWithDuration:0.5 animations:^{

        _lineView.frame = origionLineRect;

    } completion:^(BOOL finished) {

    }];

}
5:扩展XTSegmentControl没有右边更多菜单的效果
    self.mySegmentControl = [[XTSegmentControl alloc] initWithFrame:CGRectMake(, , kScreen_Width, ) Items:self.titlesArray showRightButton:NO selectedBlock:^(NSInteger index) {

        weakSelf.curSelectIndex=index;

        weakCarousel.currentItemIndex=index;

        [weakSelf.myCollectionView reloadData];

    }];
效果图:
 |
 |
6:补充关于popover这个插件的如果有模态时,它会出现整个屏幕,如果不想要这种效果,可以自个设置一个背景视图效果,把popover模态效果关掉(self.popover.maskType=DXPopoverMaskTypeNone; //设置默认是否有模态);下面是写的一个实例:
- (void)updateTableViewFrame {

    CGRect tableViewFrame = self.tableView.frame;

    tableViewFrame.size.width = _popoverWidth;

    self.tableView.frame = tableViewFrame;

    self.popover.contentInset = UIEdgeInsetsZero;

    self.popover.maskType=DXPopoverMaskTypeNone; //设置默认是否有模态

    self.popover.backgroundColor = [UIColor whiteColor];

}

- (void)showPopover {

    [self updateTableViewFrame];

    [self changeShowing];

    CGPoint startPoint =

        CGPointMake(CGRectGetMidX(self.btn.frame), CGRectGetMaxY(self.btn.frame) + );

    [self.popover showAtPoint:startPoint

               popoverPostion:DXPopoverPositionDown

              withContentView:self.tableView

                       inView:self.tabBarController.view];

    __weak typeof(self) weakSelf = self;

    self.popover.didDismissHandler = ^{

        [weakSelf bounceTargetView:weakSelf.btn];

    };

}

//自行增加一个背影层

- (UIView *)myTapBackgroundView{

    if (!_myTapBackgroundView) {

        _myTapBackgroundView = ({

            UIView *view = [[UIView alloc] initWithFrame:CGRectMake(, , [[UIScreen mainScreen] bounds].size.width, [[UIScreen mainScreen] bounds].size.height-)];

            view.backgroundColor = [UIColor clearColor];

            UITapGestureRecognizer *tap = [[UITapGestureRecognizer alloc] initWithTarget:self action:@selector(changeShowing)];

            [view addGestureRecognizer:tap];

            view;

        });

    }

    return _myTapBackgroundView;

}

- (void)changeShowing{

    if (self.isShowing) {//隐藏

        [UIView animateWithDuration:0.3 animations:^{

            self.myTapBackgroundView.backgroundColor = [UIColor colorWithWhite: alpha:];

        } completion:^(BOOL finished) {

            [self.popover dismiss];

            [self.myTapBackgroundView removeFromSuperview];

            self.isShowing = NO;

        }];

    }else{//显示

        [self.view addSubview:self.myTapBackgroundView];

        [UIView animateWithDuration:0.3 animations:^{

            self.myTapBackgroundView.backgroundColor = [UIColor colorWithWhite: alpha:0.2];

        } completion:^(BOOL finished) {

            self.isShowing = YES;

        }];

    }

}
iOS菜单滚动联动内容区域功能实现的更多相关文章
- ionic js 侧栏菜单 把主要内容区域从一边拖动到另一边,来让左侧或右侧的侧栏菜单进行切换
ionic 侧栏菜单 一个容器元素包含侧边菜单和主要内容.通过把主要内容区域从一边拖动到另一边,来让左侧或右侧的侧栏菜单进行切换. 效果图如下所示: 用法 要使用侧栏菜单,添加一个父元素<ion ...
- iOS关于菜单滚动视图实现
菜单滚动视图也是在项目开发过程中比较常用到的功能,先直接看效果图 实现的效果如下: 当菜单个数的总长度超过一个屏宽度就计算每一个的文字宽度,若没有则只进行一个屏平分,点击菜单项时,滚动的视图位置会随着 ...
- JavaScript目录菜单滚动反显组件的实现
JavaScript目录菜单滚动反显组件,有以下两个特点 每个导航菜单项(nav)对应页面一个内容区域(content) 滚动页面到特定内容区域(content)时,对应的菜单会自动切换,一般会添加一 ...
- [Tool] 插入折叠区域功能
之前写了一个 仿博客园网页端推荐的插入代码插件, 后来在总结一些技术文档时,总是想把一些属性或者方法,参数等,都用表格的形式清晰的列举出来,但是插入的表格太大的话,上下跨度就显得特别大,来回上下滚动的 ...
- input聚焦时,滚动至可视区域
这里的代码来自vux,觉得vux处理得很好,在此记录一下. 当我们在手机上填表单的时候,我们会希望正在填的input或者textarea会自动滚动至可视区域,方便我们边填写边查看内容.以前我的做法是, ...
- vue input聚焦时,滚动至可视区域
这里的代码来自vux,觉得vux处理得很好,在此记录一下.当我们在手机上填表单的时候,我们会希望正在填的input或者textarea会自动滚动至可视区域,方便我们边填写边查看内容.以前我的做法是,获 ...
- Excel技巧—开始菜单之格式刷六大功能
转: Excel技巧-开始菜单之格式刷六大功能 点赞再看,养成习惯:千里之行,始于足下. 微信搜索[亦心Excel]关注这个不一样的自媒体人. 本文 GitHub https://github.com ...
- 移动端,input、textarea滚动至可视区域
1.一般情况下 在移动端,点击input框之后,会弹出输入键盘.而内容input的内容也会自动滚动到可视区域内. 2.当父元素设置了overflow属性之后 在设置了overflow属性之后,点击in ...
- JS实现菜单滚动到一定高度后固定
在有些网页中我们会发现会有这样的现象:某个div会随着屏幕的滚动达到一定高度的时候位置就固定下来了.例如一下导航条: 那么这里就需要用到JS的逻辑方法来实现了. html <div id=&qu ...
随机推荐
- 移动审批App开发总结
公司新需求要在手机上进行审批. 现在开发完成了. 总结:1.初步把公司的工作流模块做成RPC服务,公共服务可以进行调用. 2.服务分层,每个App的页面对应一个服务端的接口,作为前端控制器,用来从更低 ...
- C中调用Lua函数
我们先来看一个简单的例子: lua_State* L = NULL; // 内部调用lua函数 double f(double x, double y) { double z; lua_getglob ...
- Linux bash - 常用操作命令
一.终端基础 本文摘录一些本人在学习Linux(CentOS 6.6) bash命令,并且会不定期保持更新. 在此先介绍一下Linux shell终端的常规命令输入格式,如下图: 上图中root是用户 ...
- Hadoop第1~2周练习—Hadoop1.X和2.X安装
练习题目 Hadoop1.X安装 2.1 准备工作 2.1.1 硬软件环境 2.1.2 集群网络环境 2.1.3 安装使用工具 2.2 环境搭建 2.2.1 安 ...
- So Easy!让开发人员更轻松的工具和资源
这篇文章给大家分享让开发人员生活更轻松的免费工具和资源.所以,如果你正在寻找一些为迅速解决每天碰到的设计和开发问题的工具和资源,不要再观望,试试这些工具吧.这些奇妙的工具不仅会加快您的生产,也让你的工 ...
- iOS-高德地图-手动环境搭建
一. 下载地图包 1. 链接地址: http://lbs.amap.com/api/ios-sdk/download/ 2.需要下载的包,并导入包 (1) MAMapKit-5.framework ...
- LeetCode-334. Increasing Triplet Subsequence
Description: Given an unsorted array return whether an increasing subsequence of length 3 exists or ...
- [linux]执行pip安装的程序:command not found
执行pip安装的程序:command not found 问题描述: 我有一台阿里云服务器,上面装的是centos系统,我用pip安装好vituralenv,都没办法直接启动.同样 我今天在部署我的t ...
- Fiddler进行手机抓包
测试设备:Windows8.1,Android 4.0.4山寨Android手机 网络环境:电信校园网,Wifi环境 测试工具:Fiddler4 完全参考了:http://www.jb51.net/s ...
- Eclipse魔法堂:任务管理器
一.前言 Eclipse的任务管理器为我们提供一个方便的入口查看工程代办事宜,并定位到对应的代码行继续之前的工作. 二.使用示例 示例1: /** * @Descripti ...