Linux安装Elasticsearch7.x
Elasticsearch下载地址:
https://artifacts.elastic.co/downloads/elasticsearch/elasticsearch-7.1.1-linux-x86_64.tar.gz
解压elasticsearch-7.1.1-linux-x86_64.tar.gz到/usr/local/目录:
tar -avxf elasticsearch-7.1.1-linux-x86_64.tar.gz -C /usr/local/
进入解压后的elasticsearch目录:
(1)新建data目录:
mkdir data
(2)修改config/elasticsearch.yml:
vim config/elasticsearch.yml
取消下列项注释并修改:
cluster.name: my-application #集群名称

node.name: node-1 #节点名称

#数据和日志的存储目录

path.data: /usr/local/elasticsearch-7.1.1/data

path.logs: /usr/local/elasticsearch-7.1.1/logs

#设置绑定的ip,设置为0.0.0.0以后就可以让任何计算机节点访问到了

network.host: 0.0.0.0

http.port: 9200 #端口

#设置在集群中的所有节点名称,这个节点名称就是之前所修改的,当然你也可以采用默认的也行,目前是单机,放入一个节点即可

cluster.initial_master_nodes: ["node-1"]
修改完毕后,:wq 保存退出vim
准备启动es
进入/bin目录执行命令:
./elasticsearch
我这里出现如下错误:
Java HotSpot(TM) 64-Bit Server VM warning: INFO: os::commit_memory(0x00000000c5330000, 986513408, 0) failed; error='Cannot allocate memory' (errno=12)

#

# There is insufficient memory for the Java Runtime Environment to continue.

# Native memory allocation (mmap) failed to map 986513408 bytes for committing reserved memory.

# An error report file with more information is saved as:

# logs/hs_err_pid22863.log
[root@VM_0_2_centos bin]#
看来是我这1G的内存太小了啊,elasticsearch使用java的jvm默认是使用1G的内存的,这里我们修改一下内存,直接把内存改到200m
cd 到es目录修改 ./config/jvm.options:
vim ./config/jvm.options
修改该内容:
-Xms200m

-Xmx200m
:wq 保存并退出vim,再次启动es
再次启动出现如下错误:
[2019-06-21T16:20:03,039][WARN ][o.e.b.ElasticsearchUncaughtExceptionHandler] [node-1] uncaught exception in thread [main]

org.elasticsearch.bootstrap.StartupException: java.lang.RuntimeException: can not run elasticsearch as root

at org.elasticsearch.bootstrap.Elasticsearch.init(Elasticsearch.java:163) ~[elasticsearch-7.1.1.jar:7.1.1]

at org.elasticsearch.bootstrap.Elasticsearch.execute(Elasticsearch.java:150) ~[elasticsearch-7.1.1.jar:7.1.1]

at org.elasticsearch.cli.EnvironmentAwareCommand.execute(EnvironmentAwareCommand.java:86) ~[elasticsearch-7.1.1.jar:7.1.1]

at org.elasticsearch.cli.Command.mainWithoutErrorHandling(Command.java:124) ~[elasticsearch-cli-7.1.1.jar:7.1.1]

at org.elasticsearch.cli.Command.main(Command.java:90) ~[elasticsearch-cli-7.1.1.jar:7.1.1]

at org.elasticsearch.bootstrap.Elasticsearch.main(Elasticsearch.java:115) ~[elasticsearch-7.1.1.jar:7.1.1]

at org.elasticsearch.bootstrap.Elasticsearch.main(Elasticsearch.java:92) ~[elasticsearch-7.1.1.jar:7.1.1]

Caused by: java.lang.RuntimeException: can not run elasticsearch as root

at org.elasticsearch.bootstrap.Bootstrap.initializeNatives(Bootstrap.java:102) ~[elasticsearch-7.1.1.jar:7.1.1]

at org.elasticsearch.bootstrap.Bootstrap.setup(Bootstrap.java:169) ~[elasticsearch-7.1.1.jar:7.1.1]

at org.elasticsearch.bootstrap.Bootstrap.init(Bootstrap.java:325) ~[elasticsearch-7.1.1.jar:7.1.1]

at org.elasticsearch.bootstrap.Elasticsearch.init(Elasticsearch.java:159) ~[elasticsearch-7.1.1.jar:7.1.1]

... 6 more
[root@VM_0_2_centos elasticsearch-7.1.1]#
这是不能使用root用户操作,添加一个其他的用户再试试:
[root@VM_0_2_centos elasticsearch-7.1.1]# adduser es
[root@VM_0_2_centos elasticsearch-7.1.1]# passwd es
Changing password for user es.

New password:

Retype new password:
passwd: all authentication tokens updated successfully.
改一下es目录所属用户:
[root@VM_0_2_centos elasticsearch-7.1.1]# chown es /usr/local/elasticsearch-7.1.1/ -R
vim 编辑 /etc/security/limits.conf,在末尾加上:
es soft nofile 65536

es hard nofile 65536

es soft nproc 4096

es hard nproc 4096
vim 编辑 vim /etc/security/limits.d/20-nproc.conf,将* 改为用户名(es):
# Default limit for number of user's processes to prevent

# accidental fork bombs.

# See rhbz #432903 for reasoning.

es soft nproc 4096

root soft nproc unlimited
vim 编辑 /etc/sysctl.conf,在末尾加上:
vm.max_map_count = 655360
执行:
[root@VM_0_2_centos ~]# sysctl -p
kernel.printk = 5

vm.max_map_count = 655360
[root@VM_0_2_centos ~]#
登录刚才新建的es用户,并启动elasticsearch,OK
[root@VM_0_2_centos elasticsearch-7.1.1]# su es
[es@VM_0_2_centos elasticsearch-7.1.1]$ ./bin/elasticsearch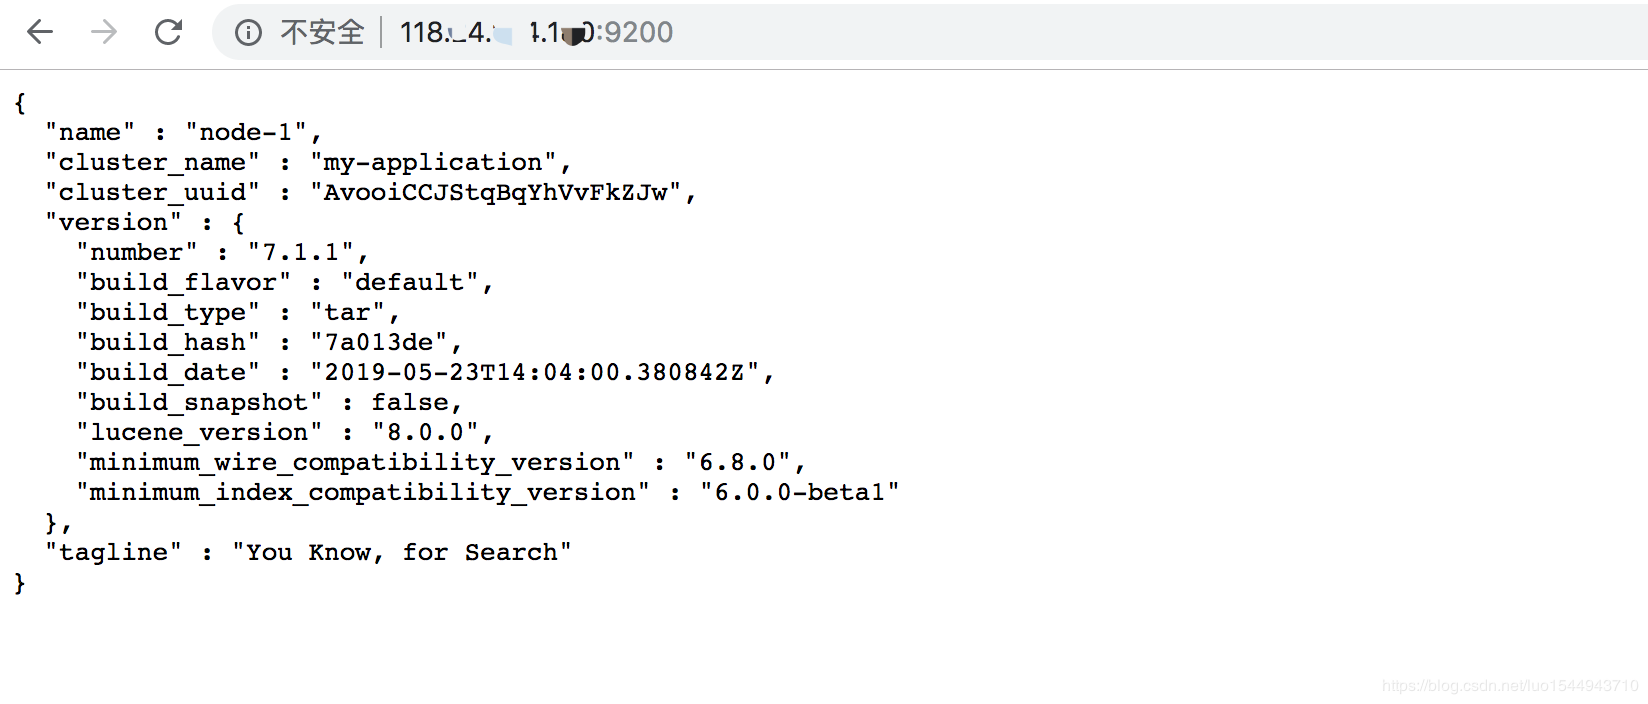
后台启动:
[es@VM_0_2_centos elasticsearch-7.1.1]$ ./bin/elasticsearch -d
[es@VM_0_2_centos elasticsearch-7.1.1]$
查看进程:
[es@VM_0_2_centos elasticsearch-7.1.1]$ ./bin/elasticsearch -d
[es@VM_0_2_centos elasticsearch-7.1.1]$ ps -ef|grep elasticsearch
es 18652 1 19 17:48 pts/2 00:00:00 /usr/local/java/jdk1.8.0_211/bin/java -Xms200m -Xmx200m -XX:+UseConcMarkSweepGC -XX:CMSInitiatingOccupancyFraction=75 -XX:+UseCMSInitiatingOccupancyOnly -Des.networkaddress.cache.ttl=60 -Des.networkaddress.cache.negative.ttl=10 -XX:+AlwaysPreTouch -Xss1m -Djava.awt.headless=true -Dfile.encoding=UTF-8 -Djna.nosys=true -XX:-OmitStackTraceInFastThrow -Dio.netty.noUnsafe=true -Dio.netty.noKeySetOptimization=true -Dio.netty.recycler.maxCapacityPerThread=0 -Dlog4j.shutdownHookEnabled=false -Dlog4j2.disable.jmx=true -Djava.io.tmpdir=/tmp/elasticsearch-182563007296674551 -XX:+HeapDumpOnOutOfMemoryError -XX:HeapDumpPath=data -XX:ErrorFile=logs/hs_err_pid%p.log -XX:+PrintGCDetails -XX:+PrintGCDateStamps -XX:+PrintTenuringDistribution -XX:+PrintGCApplicationStoppedTime -Xloggc:logs/gc.log -XX:+UseGCLogFileRotation -XX:NumberOfGCLogFiles=32 -XX:GCLogFileSize=64m -Dio.netty.allocator.type=unpooled -Des.path.home=/usr/local/elasticsearch-7.1.1 -Des.path.conf=/usr/local/elasticsearch-7.1.1/config -Des.distribution.flavor=default -Des.distribution.type=tar -Des.bundled_jdk=true -cp /usr/local/elasticsearch-7.1.1/lib/* org.elasticsearch.bootstrap.Elasticsearch -d

es 18728 8399 0 17:48 pts/2 00:00:00 grep --color=auto elasticsearch
[es@VM_0_2_centos elasticsearch-7.1.1]$
转自:https://blog.csdn.net/luo1544943710/article/details/93196147
Linux安装Elasticsearch7.x的更多相关文章
- Linux安装ElasticSearch7.X & IK分词器
前言 安装ES之前,请先检查JDK版本,es使用java编写,强依赖java环境.JDK安装过程略. 安装步骤 1.下载地址 点击这里下载7.2.0 2.解压elasticsearch-7.2.0-l ...
- 使用脚本安装elasticsearch7.3的记录
使用脚本安装elasticsearch7.3的记录 #!/bin/sh # https://www.elastic.co/guide/en/elasticsearch/reference/curren ...
- docker安装Elasticsearch7.6集群并设置密码
docker安装Elasticsearch7.6集群并设置密码 Elasticsearch从6.8开始, 允许免费用户使用X-Pack的安全功能, 以前安装es都是裸奔.接下来记录配置安全认证的方法. ...
- 在windows上安装elasticsearch7.6
在windows上安装elasticsearch7.6 安装Java1.8 下载Java1.8 提取码:yi0c 链接:https://pan.baidu.com/s/1mNd2Yg-k6ob91bO ...
- 搜狗输入法linux安装 以及 12个依赖包下载链接分享
搜狗输入法linux安装版,先安装各种依赖包,大概12个依赖,可能中途还需要其他依赖,可以效仿解决依赖问题.如图这12个文件要是手动点击下载,那也太笨点了,我们要用shell命令批量下载.命令如下:w ...
- linux安装php
接上篇:linux安装apache 一.安装php 先安装libxml2库 [root@ctxsdhy package]# yum -y install libxml2-devel 最新地址在:htt ...
- linux安装oracle11g
准备oracle安装文件 Oracle11gR2包含两个文件linux_11gR2_database_1of2.zip和linux_11gR2_database_2of2.zip,将这两个文件通过SS ...
- TODO:Linux安装PHP MongoDB驱动
TODO:Linux安装PHP MongoDB驱动 PHP利于学习,使用广泛,主要适用于Web开发领域. MongoDB的主要目标是在键/值存储方式(提供了高性能和高度伸缩性)以及传统的RDBMS系统 ...
- Symantec Backup Exec 2010 Agent For Linux安装
以前写过一篇文章介绍过Symantec Backup Exec 2012 Agent For Linux安装安装,今天介绍一下Symantec Backup Exec 2010 Agent For L ...
随机推荐
- 前端之css引入方式/长度及颜色单位/常用样式
1.css三种引入方式 <!DOCTYPE html><html><head> <meta charset="UTF-8"> < ...
- Ajax 请求参数过多导致 400 错误 and BCryptPasswordEncoder 加密判断
2019/06/19 先分享一种密码加密方式: Spring Security 提供了 BCryptPasswordEncoder类, 实现Spring的PasswordEncoder接口使用BCry ...
- 使用junit测试springMVC项目提示ServletContext找不到定义错误
原文链接:https://blog.csdn.net/liu_gan/article/details/78400627 @RunWith(SpringJUnit4ClassRunner.class) ...
- 关于apache的几个常见问题
一.安装apache的时候总是不成功,提示:failed to open the winnt service manager 原因:软件安装时与windows7的"用户账户控制"( ...
- Luogu_2878_[USACO07JAN]保护花朵Protecting the Flowers
题目描述 Farmer John went to cut some wood and left N (2 ≤ N ≤ 100,000) cows eating the grass, as usual. ...
- 吴裕雄--天生自然KITTEN编程:行走
- 前端学习之路CSS基础学习二
CSS属性相关 样式操作: (1)width:为元素设置宽度 (2)height:为元素设置高度 ps:块儿级标签才能设置长宽行内标签设置长宽没有任何影响 p{ width: 30px; height ...
- Spring学习笔记(七)模拟实际开发过程的调用过程XML版-Setter方式注入
模拟实际开发过程的调用过程XML版-Setter方式注入 源码获取github [TOC] 1.项目结构 2.jar包跟上个一样 3.重写set方法 UserServiceImpl.java 1234 ...
- Animate.css动画库,简单的使用,以及源码剖析
animate.css是什么?能做些什么? animate.css是一个css动画库,使用它可以很方便的快捷的实现,我们想要的动画效果,而省去了操作js的麻烦.同时呢,它也是一个开源的库,在GitHu ...
- IP 数据报
IP 数据报 1.IP 数据报的格式 一个 IP 数据报由首部和数据两部分组成.(数据报也可以说是数据包) 首部的前一部分是固定长度,共 20 字节,是所有 IP 数据报必须具有的. 在首部的固定部分 ...