React脚手架创建一个React应用以及项目目录结构详解
react脚手架
用来帮助程序员快速创建一个基于xxx库的模板项目,包含了所有需要的配置,指定好了所有的依赖,可以直接安装/编译/运行一个简单效果
react提供了一个专门用于创建react项目的脚手架库: create-react-app
项目的整体技术架构为: react + webpack + es6 + babel + eslint
使用脚手架开发的项目的特点: 模块化(js是一个一个模块编写的), 组件化(界面是由多个组件组合编写实现的), 工程化(实现了自动构建/运行/打包的项目)
使用react脚手架创建项目并启动
下载脚手架:npm install -g create-react-app
创建项目:create-react-app react-app
进入项目目录:cd react-app
启动项目:npm start
react脚手架创建项目目录结构

node_modules-------第三方依赖模块文件夹
public
| -- index.html------------------------主页面
src:
.gitignore-------git版本管制忽略的配置
package.jos-------应用包配置文件
README.md-------应用描述说明的readme文件
基于脚手架项目编写应用案例
实现如下的效果

使用脚手架创建项目

拆分组件
应用组件: App------state: comments/array
添加评论组件: comment-add-------state: username/string, content/string props: add/func
评论列表组件: comment-list-------- props: comment/object, delete/func, index/number
评论项组件: comment-item-------- props: comments/array, delete/func


上面是拆分的每个组件,并且将页面组件在App.js中引入
实现静态组件并且实现动态组件(组件动态化,也就是添加数据交互)
App.js中引入comment组件
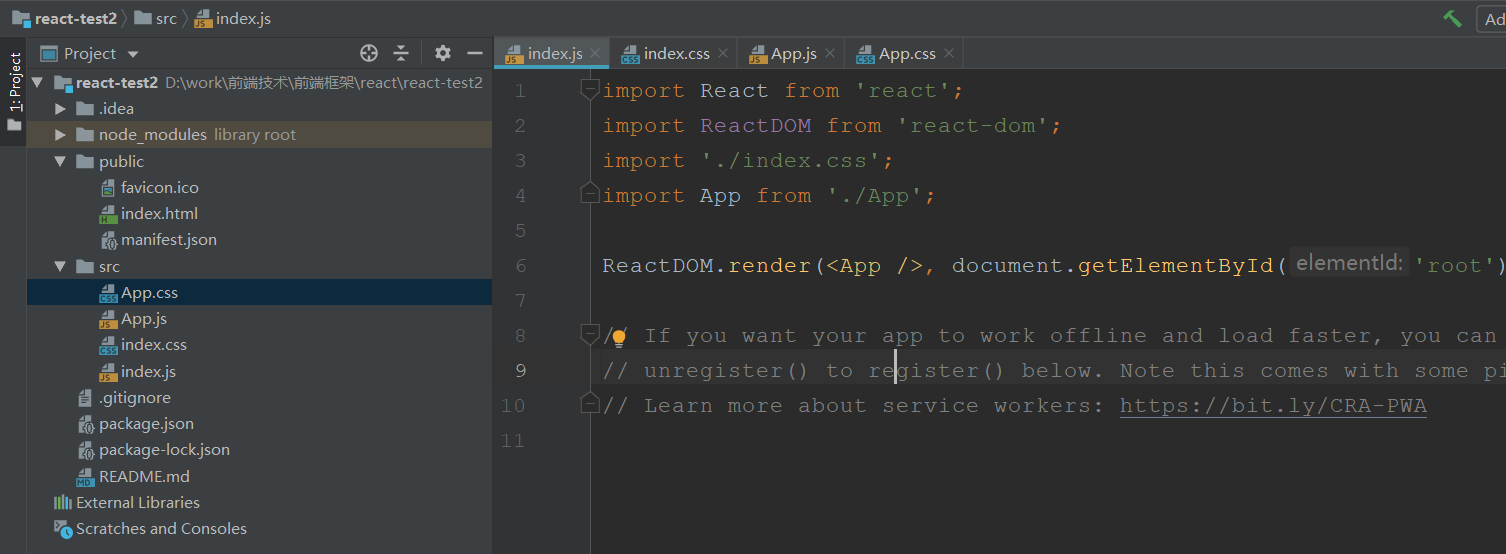
import React, { Component } from 'react';
import './App.css';

import Comment from './views/comment/comment'
class App extends Component {
  render() {
    return (
      <div className="App">
        <Comment/>
      </div>
    );
  }
}

export default App;
comment组件
组件中引入comment-add和comment-list组件
import React, { Component } from 'react';
import './comment.css';

import CommentAdd from './comment-add/comment-add'
import CommentList from './comment-list/comment-list'
class Comment extends Component {
  // 给组建对象指定state属性,可以不用constructor
  state = {
    comments: [
      {username: 'Tom', content: '一个虚拟DOM(元素)是一个一般的js对象, 准确的说是一个对象树(倒立的)'},
      {username: 'Jack', content: '虚拟DOM保存了真实DOM的层次关系和一些基本属性,与真实DOM一一对应'},
      {username: 'Jack', content: '用JS对象树表示DOM树的结构;然后用这个树构建一个真正的DOM树插到文档当中'},
      {username: 'Jack', content: '这里render不断在执行更新date数据,但是input是不会更新的'},
      {username: 'Jack', content: '拆分组件: 拆分界面,抽取组件,实现静态组件: 使用组件实现静态页面效果'},
      {username: 'Jack', content: '数据保存在哪个组件,如果是这个数据只是某个组件需要用到,那么就放在该组件,如果有两个组件需要用到'},
      {username: 'Jack', content: '子组件改变父组件的状态(状态在哪个组件,更新状态的行为就应该定义在哪个组件,父组件定义函数,传给子组件调用)'}
    ]
  }

  // 给comment-add组件调用的添加评论的方法
  addComment = (comment) => {
    const {comments} = this.state
    comments.unshift(comment)
    this.setState({comments}) // 更新状态
  }

  // 给comment-item组件调用的删除评论的方法(这里先把这个方法传个comment-list组件,再由comment-list传给comment-item)
  deleteComment = (index) => {
    const {comments} = this.state
    comments.splice(index, 1)
    this.setState({comments}) // 更新状态
  }

  render() {
    const {comments} = this.state
    return (
      <div className="comment">
        <h1 className='comment-title'>请发表对React的评论</h1>
        <div className='comment-main'>
          <div className='comment-content-left'>
            <CommentAdd addComment={this.addComment}/>
          </div>
          <div className='comment-content-right'>
            {/*<CommentList comments={comments}/>*/}
            <CommentList comments={comments} deleteComment={this.deleteComment}/>
          </div>
        </div>
      </div>
    );
  }
}

export default Comment;
.comment-list-title{
  font-size: 30px;
  height: 59px;
  border-bottom: 1px solid #cccccc;
}
.comment-list-content{
  min-height: 20px;
  max-height: 419px;
  overflow-y: auto;
  padding: 10px 0;
  box-sizing: border-box;
}
.no-comment-list{
  color: #FF4A16;
}
comment-add组件
import React, { Component } from 'react';
import './comment-add.css';
import propTypes from 'prop-types'

class CommentAdd extends Component {
  static propTypes = {
    addComment: propTypes.func.isRequired
  }
  state = {
    username: '',
    content: ''
  }

  // 一个事件需要使用bind绑定this,太麻烦,而已使用箭头函数(里面没有this,使用外围的this)
  handleSubmit = () => {
    // 收集表单数据
    const comment = this.state
    // 更新状态
    this.props.addComment(comment)

    // 清除输入框的数据
    this.setState({
      username: '',
      content: ''
    })
  }

  handleNameChange = (event) => {
    const username = event.target.value
    this.setState({username: username})
  }

  handleContentChange = (event) => {
    const content = event.target.value
    this.setState({content: content})
  }

  render() {
    const {username, content} = this.state
    return (
      <div className="comment-add">
        <div className='user-name-content'>
          <h5 className='user-name-title'>用户名</h5>
          <input className='user-name-input' type='text' value={username} onChange={this.handleNameChange}/>
        </div>
        <div className='comment-content'>
          <h5 className='comment-content-title'>评论内容</h5>
          <textarea className='comment-content-input' type='text' value={content} onChange={this.handleContentChange}/>
        </div>
        <div className='submit-btn' onClick={this.handleSubmit}>提交</div>
      </div>
    );
  }
}

export default CommentAdd;
.comment-add{
  width: 100%;
}
.user-name-content,.comment-content{
  width: 100%;
  margin-bottom: 20px;
}
.user-name-title,.comment-content-title{
  margin-bottom: 5px;
  font-size: 20px;
  color: #000000;
}
.user-name-input{
  width: 100%;
  height: 40px;
  line-height: 40px;
  padding: 0 6px;
  box-sizing: border-box;
  border-radius: 4px;
  outline: none;
  border: 1px solid #cccccc;
}
.comment-content-input{
  width: 100%;
  height: 240px;
  padding: 4px;
  box-sizing: border-box;
  border-radius: 4px;
  outline: none;
  border: 1px solid #cccccc;
}
.submit-btn{
  width: 70px;
  height: 30px;
  text-align: center;
  line-height: 30px;
  font-size: 16px;
  color: black;
  border: 1px solid #cccccc;
  border-radius: 4px;
  cursor: pointer;
  margin: 0 auto;
}
comment-list组件
组件中引入comment-item组件
import React, { Component } from 'react';
import PropTypes from 'prop-types'
import './comment-list.css';

import CommentItem from '../comment-item/comment-item'
class CommentList extends Component {
  // 子组件类指定接收数据的属性
  static propTypes = {
    comments: PropTypes.array.isRequired,
    deleteComment: PropTypes.func.isRequired
  }

  render() {
    const {comments, deleteComment} = this.props
    const display = comments.length === 0? 'block' : 'none'

    return (
      <div className="comment-list">
        <h2 className='comment-list-title'>评论回复</h2>
        <div className='comment-list-content'>
          {comments.map((comment, index) => <CommentItem comment={comment} index={index} key={index} deleteComment={deleteComment} />)}
        </div>
        <div className='no-comment-list' style={{display}}>暂无评论,在左侧添加您对React的评价!!!</div>
      </div>
    );
  }
}

export default CommentList;
.comment-list-title{
  font-size: 30px;
  height: 59px;
  border-bottom: 1px solid #cccccc;
}
.comment-list-content{
  min-height: 20px;
  max-height: 419px;
  overflow-y: auto;
  padding: 10px 0;
  box-sizing: border-box;
}
.no-comment-list{
  color: #FF4A16;
}
comment-item组件
import React, { Component } from 'react';
import './comment-item.css';
import PropTypes from "prop-types";

class CommentItem extends Component {
  // 子组件类指定接收数据的属性
  static propTypes = {
    comment: PropTypes.object.isRequired,
    index: PropTypes.number.isRequired,
    deleteComment: PropTypes.func.isRequired
  }

  handleDelete = () => {
    const {comment, index, deleteComment} = this.props
    // 提示
    if (window.confirm(`确定删除${comment.username}的评论吗`)) { // confirm方法不是全局的,需要用window来调用
      // 确定后删除
      deleteComment(index)
    }
  }

  render() {
    const {comment} = this.props

    return (
      <div className="comment-item">
        <div className='comment-item-top'>
          <h3 className='comment-item-user'>{comment.username}说:</h3>
          <div className='comment-item-delete'><p onClick={this.handleDelete}>删除</p></div>
        </div>
        <div className='comment-item-content'>{comment.content}</div>
      </div>
    );
  }
}

export default CommentItem;
.comment-item{
  width: 100%;
  border: 1px solid #cccccc;
  border-radius: 4px;
  min-height: 20px;
  padding: 0 10px;
  box-sizing: border-box;
  margin-bottom: 20px;
}
.comment-item-top{
  height: 40px;
  width: 100%;
  display: flex;
}
.comment-item-user{
  flex:;
  height: 40px;
  line-height: 40px;
}
.comment-item-delete{
  width: 80px;
  height: 40px;
}
.comment-item-delete p{
  width: 50px;
  height: 20px;
  border: 1px solid #cccccc;
  text-align: center;
  line-height: 20px;
  border-radius: 4px;
  cursor: pointer;
  margin: 10px auto 0;
  font-size: 12px;
  color: #0a25ff;
}
.comment-item-content{
  width: 100%;
  min-height: 20px;
  padding: 10px 0;
  box-sizing: border-box;
}
React脚手架创建一个React应用以及项目目录结构详解的更多相关文章
- Angular-cli新建项目目录结构详解
Angular-cli新建项目目录结构详解 在上一篇博客中我们已经通过Angular CLI命令行工具创建出来一个全新的Angular项目,要想写项目,首先我们要先搞清楚项目的目录结构是怎样的,每个文 ...
- [转]Angular项目目录结构详解
本文转自:https://blog.csdn.net/yuzhiqiang_1993/article/details/71191873 版权声明:本文为博主原创文章,转载请注明地址.如果文中有什么纰漏 ...
- vue项目目录结构详解
项目简介基于 vue.js 的前端开发环境,用于前后端分离后的单页应用开发,可以在开发时使用 ES Next.scss 等最新语言特性.项目包含: 基础库: vue.js.vue-router.vue ...
- 脚手架创建一个React项目
一.安装 1.安装node.js 官网地址 https://nodejs.org/en/ 进入后点击下载,官方网站会根据你的系统类型推荐最适合你安装的版本.(如果已经安装了node.js跳过此步)如下 ...
- react用脚手架创建一个react单页面项目,react起手式
官网地址:https://react.docschina.org/ 确保本地安装了Node.js node的版本大于8.10 npm的版本大于5.6 1.在本地的某个位置创建一个文件夹,执行以下 ...
- 应用脚手架创建一个React项目
安装脚手架,这里会自动安装到你的nodejs里面 npm install create-react-app -g 进入创建目录 我这里创建一个为 react03的项目,等待下载..... create ...
- IntelliJ IDEA创建Maven+SSM+Tomcat+Git项目【全程详解】
记录一下整个创建项目的过程,其中包括: Maven 项目创建: SSM配置文件: Tomcat配置: Git配置: Git忽略文件Ignore配置: 图文讲解,通俗易懂,易上手. 一.创建Maven ...
- Vue脚手架(vue-cli)搭建和目录结构详解
一.环境搭建 1.安装node.npm.webpack,不多说 2.安装vue-cli脚手架构建工具,打开命令行工具输入:npm install vue-cli -g,安装完成之后输入 vue -V( ...
- 自定义一个compass可编译的目录结构
在学习compass的过程中, 根绝文档说明,如果使用compass create myObject命令会创建一个标准的Compass项目目录结构,如下图: 此时如果使用compass compile ...
随机推荐
- Linux-485收发切换延迟的解决方法
[前言] 本文引用各种资料甚多,而引用出处标明并不详细,若有侵权,请联系删除. 转载请注明出处:https://www.cnblogs.com/leisure_chn/p/10381616.html ...
- 基于cookie的SSO单点登录系统
利用COOKIE实现单点登录功能 近期公司要求帮一个项目实现单点登录功能,在综合考量下决定采用cookie实现,大概的流程如下图所:
- Jquery Ajax 调用后台并返回数据
一.前台调用ajax并解析json对象. $.ajax({ url : '', type : 'POST', //GET data : '’, beforeSend : function(reques ...
- JQuery实现省市区的三级联动
JQuery实现省市区的三级联动 <!DOCTYPE html PUBLIC "-//W3C//DTD HTML 4.01 Transitional//EN" "h ...
- HDU3567
Eight II Time Limit: 4000/2000 MS (Java/Others) Memory Limit: 130000/65536 K (Java/Others)Total S ...
- HDU6216
A Cubic number and A Cubic Number Time Limit: 1000/1000 MS (Java/Others) Memory Limit: 65535/3276 ...
- HTML--SVG基础
一 SVG概述 SVG是Scalable Vector Graphics的缩写,即缩放式矢量图形; 优点: 1.使用编辑器即可编辑图形; 2.基于XML,SVG图形可以被很容易的搜索,脚本化和压缩; ...
- idea not found for the web module
intellij IDEA 的tomcat 配置项里面没有的app web:war exploded 没有配置/路径
- 2018-01-17 Antlr4实现简单语言之整数比较表达式
续上文Antlr4: 修改语法规则更接近普通BNF格式. 例程 为先=1 为先 为2 => 返回false '为'作为关键词, 与数字可以连写, 但必须与变量名用空格间隔: 变量一=1 变量二= ...
- 【读书笔记】iOS-属性
assign:简单的赋值. retain:赋值之后,会调用新的retain方法和旧值的release方法. copy:表示先将值拷贝一份,然后,将这个拷贝赋值给实例变量,这个修饰词只适用于实现了NSC ...