Spring JPA实现增删改查
1. 创建一个Spring工程
2.配置application文件
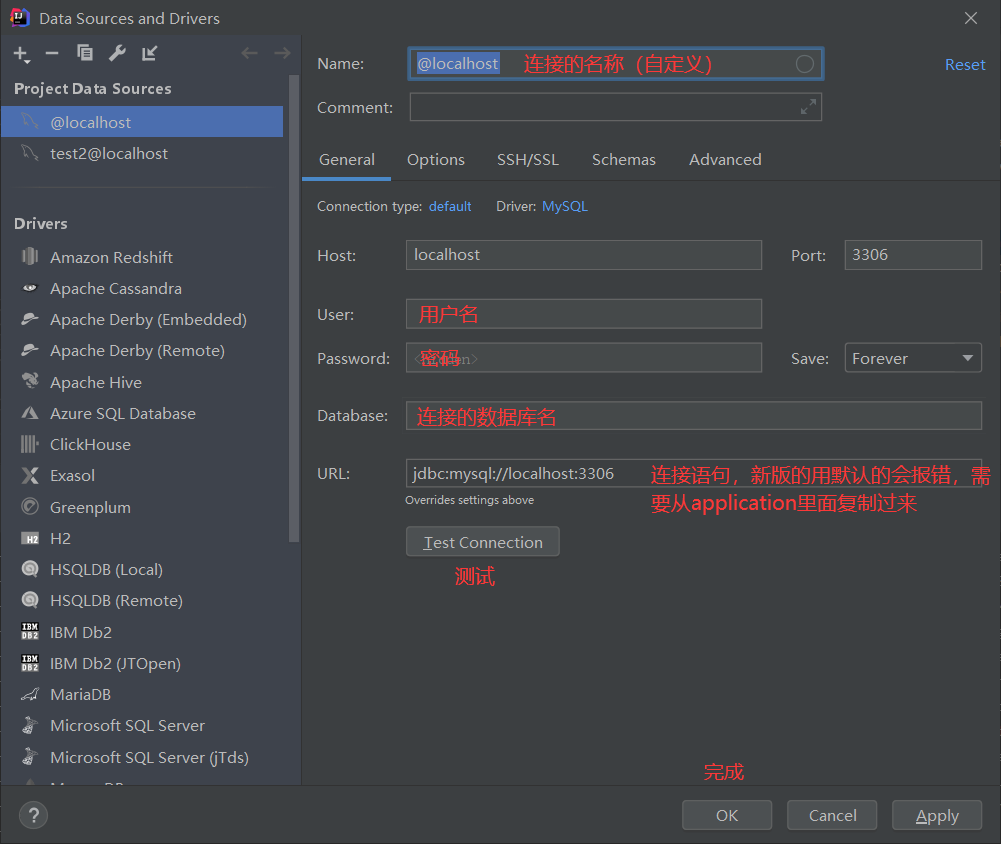
spring.datasource.driver-class-name= com.mysql.cj.jdbc.Driver

spring.datasource.url=jdbc:mysql://localhost:3306/test2?useUnicode=true&characterEncoding=UTF-8&serverTimezone=UTC

spring.datasource.username=root

spring.datasource.password=
3.创建实体类Piano
1.定义好属性并设置setget方法
2.添加@Entity && @Table(name = "piano")注解
3.添加@Id && @GeneratedValue(strategy = GenerationType.IDENTITY)
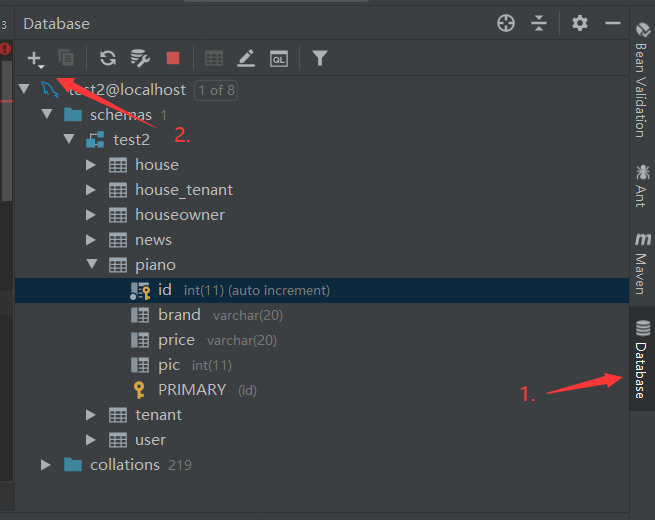
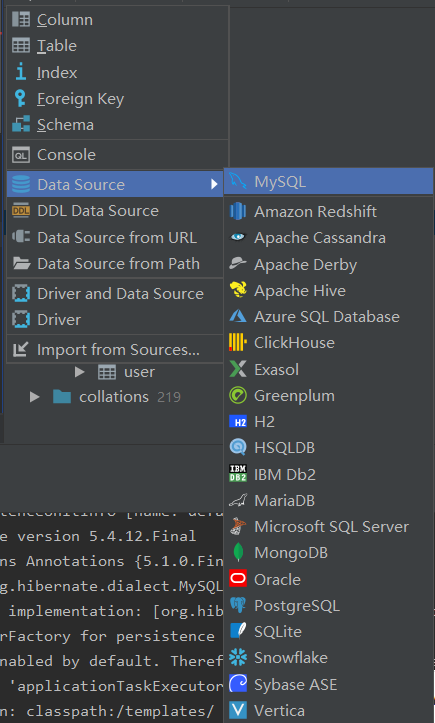
4.连接数据库

完成
package com.test.piano.entity;

import javax.persistence.*;

@Entity

@Table(name = piano)

public class piano {

    private int id;

    private String brand;

    private String price;

    private String pic;

    @Id

    @GeneratedValue(strategy = GenerationType.IDENTITY)

    public int getId() {

        return id;

    }

    public void setId(int id) {

        this.id = id;

    }

    public String getBrand() {

        return brand;

    }

    public void setBrand(String brand) {

        this.brand = brand;

    }

    public String getPrice() {

        return price;

    }

    public void setPrice(String price) {

        this.price = price;

    }

    public String getPic() {

        return pic;

    }

    public void setPic(String pic) {

        this.pic = pic;

    }

}
5.创建Dao和Service的包
6.在Dao中创建一个接口并继承JpaRepository,然后指定实体类piano和主键的类型Integer
public interface pianoRepository extends JpaRepository<piano,Integer>
7.在Service中创建类PianoService用于实现增删改查
8.添加注解
@Service表示是业务逻辑层
@Transactional(readOnly = false)
readOnly=true表明所注解的方法或类只是读取数据。
readOnly=false表明所注解的方法或类是增加,删除,修改数据。
4.创建Controller类
package com.test.piano.controller;

import com.test.piano.entity.piano;

import com.test.piano.service.PianoService;

import org.springframework.web.bind.annotation.RequestMapping;

import org.springframework.web.bind.annotation.RestController;

import javax.annotation.Resource;

import java.util.List;

/**

 * @date 2020/3/24

 * @author Charlotte

 */

@RestController

@RequestMapping("/piano")

public class PianoController {

    @Resource

    private PianoService pianoService;

    @RequestMapping("/hello")

    public String hello(){

        return "Hello World!";

    }

    @RequestMapping("/add")

    public String add(){

        return "添加成功!";

    }

    @RequestMapping("/list")

    public List<piano> findAll(){

        return this.pianoService.findAll();

    }

}
Spring JPA实现增删改查的更多相关文章
- Spring Boot(十五):spring boot+jpa+thymeleaf增删改查示例
Spring Boot(十五):spring boot+jpa+thymeleaf增删改查示例 一.快速上手 1,配置文件 (1)pom包配置 pom包里面添加jpa和thymeleaf的相关包引用 ...
- (转)Spring Boot (十五): Spring Boot + Jpa + Thymeleaf 增删改查示例
http://www.ityouknow.com/springboot/2017/09/23/spring-boot-jpa-thymeleaf-curd.html 这篇文章介绍如何使用 Jpa 和 ...
- spring boot2+jpa+thymeleaf增删改查例子
参考这遍文章做了一个例子,稍微不同之处,原文是spring boot.mysql,这里改成了spring boot 2.Oracle. 一.pom.xml引入相关模块web.jpa.thymeleaf ...
- Spring Boot + Jpa + Thymeleaf 增删改查示例
快速上手 配置文件 pom 包配置 pom 包里面添加 Jpa 和 Thymeleaf 的相关包引用 <dependency> <groupId>org.springframe ...
- Spring Boot (十五): Spring Boot + Jpa + Thymeleaf 增删改查示例
这篇文章介绍如何使用 Jpa 和 Thymeleaf 做一个增删改查的示例. 先和大家聊聊我为什么喜欢写这种脚手架的项目,在我学习一门新技术的时候,总是想快速的搭建起一个 Demo 来试试它的效果,越 ...
- Spring Date JPA实现增删改查
1.新建一个Cart类 package com.entity; public class Cart { private int id; private int userId; private int ...
- SpringBoot JPA实现增删改查、分页、排序、事务操作等功能
今天给大家介绍一下SpringBoot中JPA的一些常用操作,例如:增删改查.分页.排序.事务操作等功能.下面先来介绍一下JPA中一些常用的查询操作: //And --- 等价于 SQL 中的 and ...
- springboot(十五):springboot+jpa+thymeleaf增删改查示例
这篇文章介绍如何使用jpa和thymeleaf做一个增删改查的示例. 先和大家聊聊我为什么喜欢写这种脚手架的项目,在我学习一门新技术的时候,总是想快速的搭建起一个demo来试试它的效果,越简单越容易上 ...
- springboot+jpa+thymeleaf增删改查的示例(转)
这篇文章介绍如何使用jpa和thymeleaf做一个增删改查的示例. 先和大家聊聊我为什么喜欢写这种脚手架的项目,在我学习一门新技术的时候,总是想快速的搭建起一个demo来试试它的效果,越简单越容易上 ...
随机推荐
- 单调队列练习题解(切蛋糕&好消息,坏消息)
单调队列的练习题解 前言: 在上一篇学习记录中,单调队列给出了几道练习题,因为这两道题的算法以及思路相差无几(几乎可以算是双倍经验quq),所以就在这里集中写一下相关的题解 前置知识: 见:队列专题( ...
- redis 链接数满了
服务器上可以设置timeout参数,这样可以将限制的连接自动释放掉.
- HotSpot的启动过程
HotSpot通常会通过java.exe或javaw.exe来调用/jdk/src/share/bin/main.c文件中的main()函数来启动虚拟机,使用Eclipse进行调试时,也会调用到这个入 ...
- 基于 React 开发了一个 Markdown 文档站点生成工具
Create React Doc 是一个使用 React 的 markdown 文档站点生成工具.就像 create-react-app 一样,开发者可以使用 Create React Doc 来开发 ...
- NanoPi arm架构下的程序 ./ 运行黑屏 Qt环境可运行
首先之所以QtCreator环境下可直接运行,但是在终端下 ./ 则不能运行(黑屏但是不报错),判断肯定不是程序或者是库的问题.于是猜想是环境问题,即终端环境与QtCreator环境不同. 然后就查看 ...
- day25 作业(ATM第一版)
目录 conf.setting.py core.src.py db.db_handler.py interface.admin_interface interface.bank_interface i ...
- flask 源码专题(八):路由加载
1.示例代码 from flask import Flask app = Flask(__name__,static_url_path='/xx') @app.route('/index') def ...
- 数据可视化之powerBI基础(三)编辑交互,体验更灵活的PowerBI可视化
https://zhuanlan.zhihu.com/p/64412190 PowerBI可视化与传统图表的一大区别,就是可视化分析是动态的,通过页面上筛选.钻取.突出显示等交互功能,可以快速进行访问 ...
- 数据可视化之DAX篇(五) 使用PowerBI的这两个函数,灵活计算各种占比
https://zhuanlan.zhihu.com/p/57861350 计算个体占总体的比例是一个很常见的分析方式,它很简单,就是两个数字相除,但是当需要计算的维度.总体的范围发生动态变化时,如何 ...
- Flask 基础组件(八):message
message是一个基于Session实现的用于保存数据的集合,其特点是:使用一次就删除. from flask import Flask, flash, redirect, render_templ ...