Building Ethereum private chain on CentOS
golang安装
yum install golang
查看版本
go version
安装以太坊源代码
Building Geth (command line client)
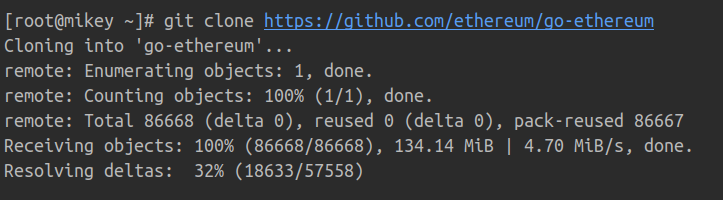
Clone the repository to a directory of your choosing:
git clone https://github.com/ethereum/go-ethereum
Install latest distribution of Go if you don't have it already.
Building geth requires Go and C compilers to be installed:
sudo apt-get install -y build-essential
Finally, build the geth program using the following command.
cd go-ethereum

make geth
由于firewall原因无法下载go相关库请使用代理
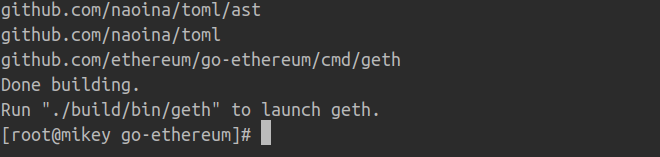
You can now run build/bin/geth to start your node.
golang <3
创世区块文件的准备
创建账号:
./geth --datadir /eth/data account new

在go-ethereum/build/bin目录下创建init.json的文本文件,内容如下:
{

  "config": {

    "chainId": 666,

    "homesteadBlock": 0,

    "eip150Block": 0,

    "eip150Hash": "0x0000000000000000000000000000000000000000000000000000000000000000",

    "eip155Block": 0,

    "eip158Block": 0,

    "byzantiumBlock": 0,

    "constantinopleBlock": 0,

    "petersburgBlock": 0,

    "istanbulBlock": 0,

    "ethash": {}

  },

  "nonce": "0x0",

  "timestamp": "0x5ddf8f3e",

  "extraData": "0x0000000000000000000000000000000000000000000000000000000000000000",

  "gasLimit": "0x47b760",

  "difficulty": "0x00002",

  "mixHash": "0x0000000000000000000000000000000000000000000000000000000000000000",

  "coinbase": "0x0000000000000000000000000000000000000000",

  "alloc": { }

  },

  "number": "0x0",

  "gasUsed": "0x0",

  "parentHash": "0x0000000000000000000000000000000000000000000000000000000000000000"

}
创世区块初始化
在go-ethereum/build/bin目录下执行以下命令以完成创世区块的创建:
./geth --datadir "/app/chain" init init.json
注意:上面命令中--datadir后面的 /app/chain可以任意指定,无需提前创建,但是一定要保证有足够的磁盘空间。init.json是我们在上一步创建的文件,注意文件名要一致。执行完成后,将会出现类似以下信息:

启动以太坊
仍然在go-ethereum/build/bin目录下执行,执行的命令是:
./geth --rpc --rpccorsdomain "*" --datadir "/eth/data" --port "30303" --rpcapi "db,eth,net,web3" --networkid 100000 console

到目前为止,我们的私有链就搭建成功了。下一次,我们会介绍账户创建,挖矿,转账等操作。
Building Ethereum private chain on CentOS的更多相关文章
- My tool chain in CentOS 7
- Git Client SmartGit http://www.linuxlinks.com/article/20120129035558195/GitClients.html candidates ...
- ethereum/EIPs-155 Simple replay attack protection 35,36
EIP 155:重放攻击保护——防止了在一个以太坊链上的交易被重复广播到另外一条链. 在看椭圆曲线时有提到,与r.s.v中的v相关 不同的共有链定义不同的chainId, 防止同一笔交易在不同的共有链 ...
- 设计模式之——Chain of Responsibility
Chain of Responsibility模式又叫做责任链模式,是将多个对象组成一条职责链,然后按照职责链上的顺序一个一个的找出是谁来负责处理. 这个模式很简单,下面就是一个实例程序,有六个处理器 ...
- List of CentOS Mirrors
From:https://www.centos.org/download/mirrors/ CentOS welcomes new mirror sites. If you are consideri ...
- EOS 资源汇总
EOS 资源汇总 A curated list of EOS Ecosystem by [SuperONE](https://superone.io/) EOS 主网 超级节点 https:/ ...
- ethereumjs/ethereumjs-common-1-简介
为了了解ethereumjs/ethereumjs-block-3-代码的使用需要了解的一个模块 https://github.com/ethereumjs/ethereumjs-common Com ...
- Openssl oscp命令
一.简介 ocsp,在线证书状态命,能够执行很多OCSP的任务,可以被用于打印请求文件和响应文件, 二.语法 openssl ocsp [-out file] [-issuer file] [-cer ...
- Openssl s_client命令
一.简介 s_client为一个SSL/TLS客户端程序,与s_server对应,它不仅能与s_server进行通信,也能与任何使用ssl协议的其他服务程序进行通信 二.语法 openssl s_cl ...
- Openssl s_server命令
一.简介 s_server是openssl提供的一个SSL服务程序.使用此程序前,需要生成各种证书.本命令可以用来测试ssl客户端,比如各种浏览器的https协议支持 二.语法 openssl s_s ...
随机推荐
- SVN提交时没有写注释
会报错: Error: Commit blocked by pre-commit hook (exit code 1) with output: Error: [Commit failed]: Emp ...
- ubuntu19.04 安装mysql,没有初始密码,重设初始密码
1.安装 在终端下输入 sudo apt-get install mysql-server mysql-client 进行安装,如果安装过程中弹出密码输入提示,则正常安装即可! 2.由于没有出现密码设 ...
- LitElement(一)概述
1.一些感悟 自从踏入编程领域开始,从html,css,JavaScript,jQuery,bootstrap开始接触前端,经常用NodeJS,ejs等模板语言来写个简单的页面,感觉蛮简单的,也不怎么 ...
- mysql数据库事务的操作与理解
--------------------事务----------------------------------------------查询mysql事务隔离级别1.查看当前会话隔离级别select ...
- [NOIP2017(TG/PJ)] 真题选做
[NOIPTG2017] 小凯的疑惑 题意 小凯有两种面值的金币,每种金币有无数个,求在无法准确支付的物品中,最贵的价值是多少金币. 分析 设两种金币面值分别为 $a$ 和 $b \; (a<b ...
- borderInterpolate()函数
官网:borderInterpolate borderInterpolate 函数原型 int borderInterpolate( int p, int len, int borderType ); ...
- IIS的部署
https://blog.csdn.net/miner_k/article/details/69388726 https://blog.csdn.net/miner_k/article/details ...
- AcWing 908. 最大不相交区间数量
//1.将每个区间按右端点从小到大排序 //2.从前往后依次枚举每个区间,如果当前区间中已经包含点,就直接跳过,否则,选择当前区间的右端点 //选右端点的话,可以尽可能的包含在多个区间里 //那么选的 ...
- day14 tar
04. 系统中如何对文件进行压缩处理 压缩的命令 tar 压缩命令语法: tar zcvf /oldboy/oldboy.tar.gz 指定要压缩的数据文件 z 压缩的方式 为zip c 创建压缩包文 ...
- koa2第一天 安装koa2
安装全局koa2:npm install -g koa2 -generator 创建一个koa2文件夹:koa2 -e koa2 进入koa2文件夹:cd koa2 安装npm模块:npm insta ...