Android使用scrollview截取整个的屏幕并分享微信
先看看截图效果图
截取scrollview的屏幕
     /**

      * 截取scrollview的屏幕

      **/

     public static Bitmap getScrollViewBitmap(ScrollView scrollView) {

         int h = 0;

         Bitmap bitmap;

         for (int i = 0; i < scrollView.getChildCount(); i++) {

             h += scrollView.getChildAt(i).getHeight();

         }

         // 创建对应大小的bitmap

         bitmap = Bitmap.createBitmap(scrollView.getWidth(), h,

                 Bitmap.Config.RGB_565);

         final Canvas canvas = new Canvas(bitmap);

         scrollView.draw(canvas);

         return bitmap;

     }
压缩图片
     /**

      * 压缩图片

      * @param image

      * @return

      */

     public static Bitmap compressImage(Bitmap image, int quality) {

         ByteArrayOutputStream baos = new ByteArrayOutputStream();

         // 质量压缩方法,这里100表示不压缩,把压缩后的数据存放到baos中

         image.compress(Bitmap.CompressFormat.JPEG, quality, baos);

         int options = 100;

         // 循环判断如果压缩后图片是否大于100kb,大于继续压缩

 //        while (baos.toByteArray().length / 1024 > 30) {

             // 重置baos

             baos.reset();

             // 这里压缩options%,把压缩后的数据存放到baos中

            image.compress(Bitmap.CompressFormat.JPEG, quality, baos);

             // 每次都减少10

 //            options -= 10;

 //        }

         // 把压缩后的数据baos存放到ByteArrayInputStream中

         ByteArrayInputStream isBm = new ByteArrayInputStream(baos.toByteArray());

         // 把ByteArrayInputStream数据生成图片

         return BitmapFactory.decodeStream(isBm, null, null);

     }
点击按钮弹窗分享dialog提示窗
     //----点分享朋友弹出PopupWindow

     private void showPopupWindow() {

         View contentView = LayoutInflater.from(GroupBulkActivity.this).inflate(R.layout.popupdow_share, null, false);

         window = new PopupWindow(contentView, ViewGroup.LayoutParams.MATCH_PARENT, ViewGroup.LayoutParams.WRAP_CONTENT, true);

         window.setOutsideTouchable(true);

         window.setOnDismissListener(new PopupWindow.OnDismissListener() {

             @Override

             public void onDismiss() {

                 backgroundAlpha(GroupBulkActivity.this, 1.0f);

             }

         });

         backgroundAlpha(GroupBulkActivity.this, 0.5f);//0.0-1.0

         iv_wx = contentView.findViewById(R.id.iv_image1);

         iv_fiend = contentView.findViewById(R.id.iv_image2);

         im_delt = contentView.findViewById(R.id.im_delt);

         rl_delt = contentView.findViewById(R.id.rl_delt);

         window.showAtLocation(LayoutInflater.from(GroupBulkActivity.this).inflate(R.layout.activity_group_bulk, null), Gravity.BOTTOM, 0, 0);

         iv_wx.setOnClickListener(new View.OnClickListener() {

             @Override

             public void onClick(View v) {

                wechatShare(0);

                 window.dismiss();

                 backgroundAlpha(GroupBulkActivity.this, 1f);

             }

         });

         iv_fiend.setOnClickListener(new View.OnClickListener() {

             @Override

             public void onClick(View v) {

                 wechatShare(1);

                 window.dismiss();

                 backgroundAlpha(GroupBulkActivity.this, 1f);

             }

         });

         rl_delt.setOnClickListener(new View.OnClickListener() {

             @Override

             public void onClick(View v) {

                 window.dismiss();

                 backgroundAlpha(GroupBulkActivity.this, 1f);

             }

         });

     }
dailog布局
 <?xml version="1.0" encoding="utf-8"?>

 <RelativeLayout xmlns:android="http://schemas.android.com/apk/res/android"

                 android:id="@+id/parent"

                 android:layout_width="match_parent"

                 android:layout_height="match_parent">

     <LinearLayout

         android:id="@+id/ll_share"

         android:layout_width="match_parent"

         android:layout_height="183dp"

         android:background="#FFFFFF"

         android:orientation="vertical">

         <TextView

             android:layout_width="match_parent"

             android:layout_height="1px"

             android:background="#e4e4e4"/>

         <RelativeLayout

             android:layout_width="match_parent"

             android:layout_height="45dp">

             <TextView

                 android:id="@+id/item_popupwindows_Photo"

                 android:layout_width="match_parent"

                 android:layout_height="55dp"

                 android:background="@drawable/bt_nobgd"

                 android:gravity="center"

                 android:text="分享给好友"

                 android:textColor="#585858"

                 android:textSize="14sp"/>

             <RelativeLayout

                 android:id="@+id/rl_delt"

                 android:layout_width="wrap_content"

               android:layout_marginLeft="320dp"

                 android:layout_height="55dp">

                 <ImageView

                     android:id="@+id/im_delt"

                     android:layout_width="14dp"

                     android:layout_height="14dp"

                     android:layout_alignParentRight="true"

                     android:layout_marginRight="21dp"

                     android:layout_marginTop="14dp"

                     android:gravity="center"

                     android:src="@drawable/down"

                     android:textColor="#585858"

                     android:textSize="12sp"/>

             </RelativeLayout>

         </RelativeLayout>

         <TextView

             android:layout_width="match_parent"

             android:layout_height="1px"

             android:background="#9e8888"/>

         <LinearLayout

             android:layout_width="match_parent"

             android:layout_height="match_parent"

             android:clipChildren="false"

             >

             <LinearLayout

                 android:layout_width="0dp"

                 android:layout_height="wrap_content"

                 android:layout_marginTop="40dp"

                 android:layout_weight="1"

                 android:gravity="center"

                 android:orientation="vertical">

                 <ImageView

                     android:id="@+id/iv_image1"

                     android:layout_width="50dp"

                     android:layout_height="50dp"

                     android:src="@drawable/weixin"/>

                 <TextView

                     android:layout_width="wrap_content"

                     android:layout_height="wrap_content"

                     android:textColor="#333333"

                     android:textSize="13sp"

                     android:layout_marginTop="5dp"

                     android:text="微信"/>

             </LinearLayout>

             <LinearLayout

                 android:layout_width="0dp"

                 android:layout_height="wrap_content"

                 android:layout_weight="1"

                 android:gravity="center"

                 android:orientation="vertical">

                 <ImageView

                     android:id="@+id/iv_image2"

                     android:layout_width="50dp"

                     android:layout_height="50dp"

                     android:layout_marginTop="40dp"

                     android:src="@drawable/pengyou"/>

                 <TextView

                     android:layout_width="wrap_content"

                     android:layout_height="wrap_content"

                     android:textColor="#333333"

                     android:textSize="13sp"

                     android:layout_marginTop="5dp"

                     android:text="朋友圈"/>

             </LinearLayout>

         </LinearLayout>

     </LinearLayout>

 </RelativeLayout>
分享图片到微信或盆友圈
     private void wechatShare(int flag) {

         String baseUrl = Cache.exist(CacheKey.BASE_URL) ? Cache.get(CacheKey.BASE_URL).toString() : URL.BASE_URL;

         // 分享图片

         Bitmap mBitmap = getScrollViewBitmap(scrollView);

 //        Bitmap mBitmap = CodeUtils.createImage(data.getCodeUrl(), 200, 200, BitmapFactory.decodeResource(getResources(), R.drawable.logo));

         //初始化WXImageObject和WXMediaMessage对象

         WXImageObject imageObject = new WXImageObject(compressImage(mBitmap, 80));

         WXMediaMessage msg = new WXMediaMessage();

         msg.mediaObject = imageObject;

 //        mBitmap = getScrollViewBitmap(scrollView);

         msg.setThumbImage(Bitmap.createScaledBitmap(mBitmap, 200, 200, true));

         mBitmap.recycle();

         //构造一个Req

         SendMessageToWX.Req req = new SendMessageToWX.Req();

         req.transaction = String.valueOf(System.currentTimeMillis());

         req.message = msg;

         req.scene = flag == 0 ? SendMessageToWX.Req.WXSceneSession : SendMessageToWX.Req.WXSceneTimeline;

         MyApp.api.sendReq(req);

     }
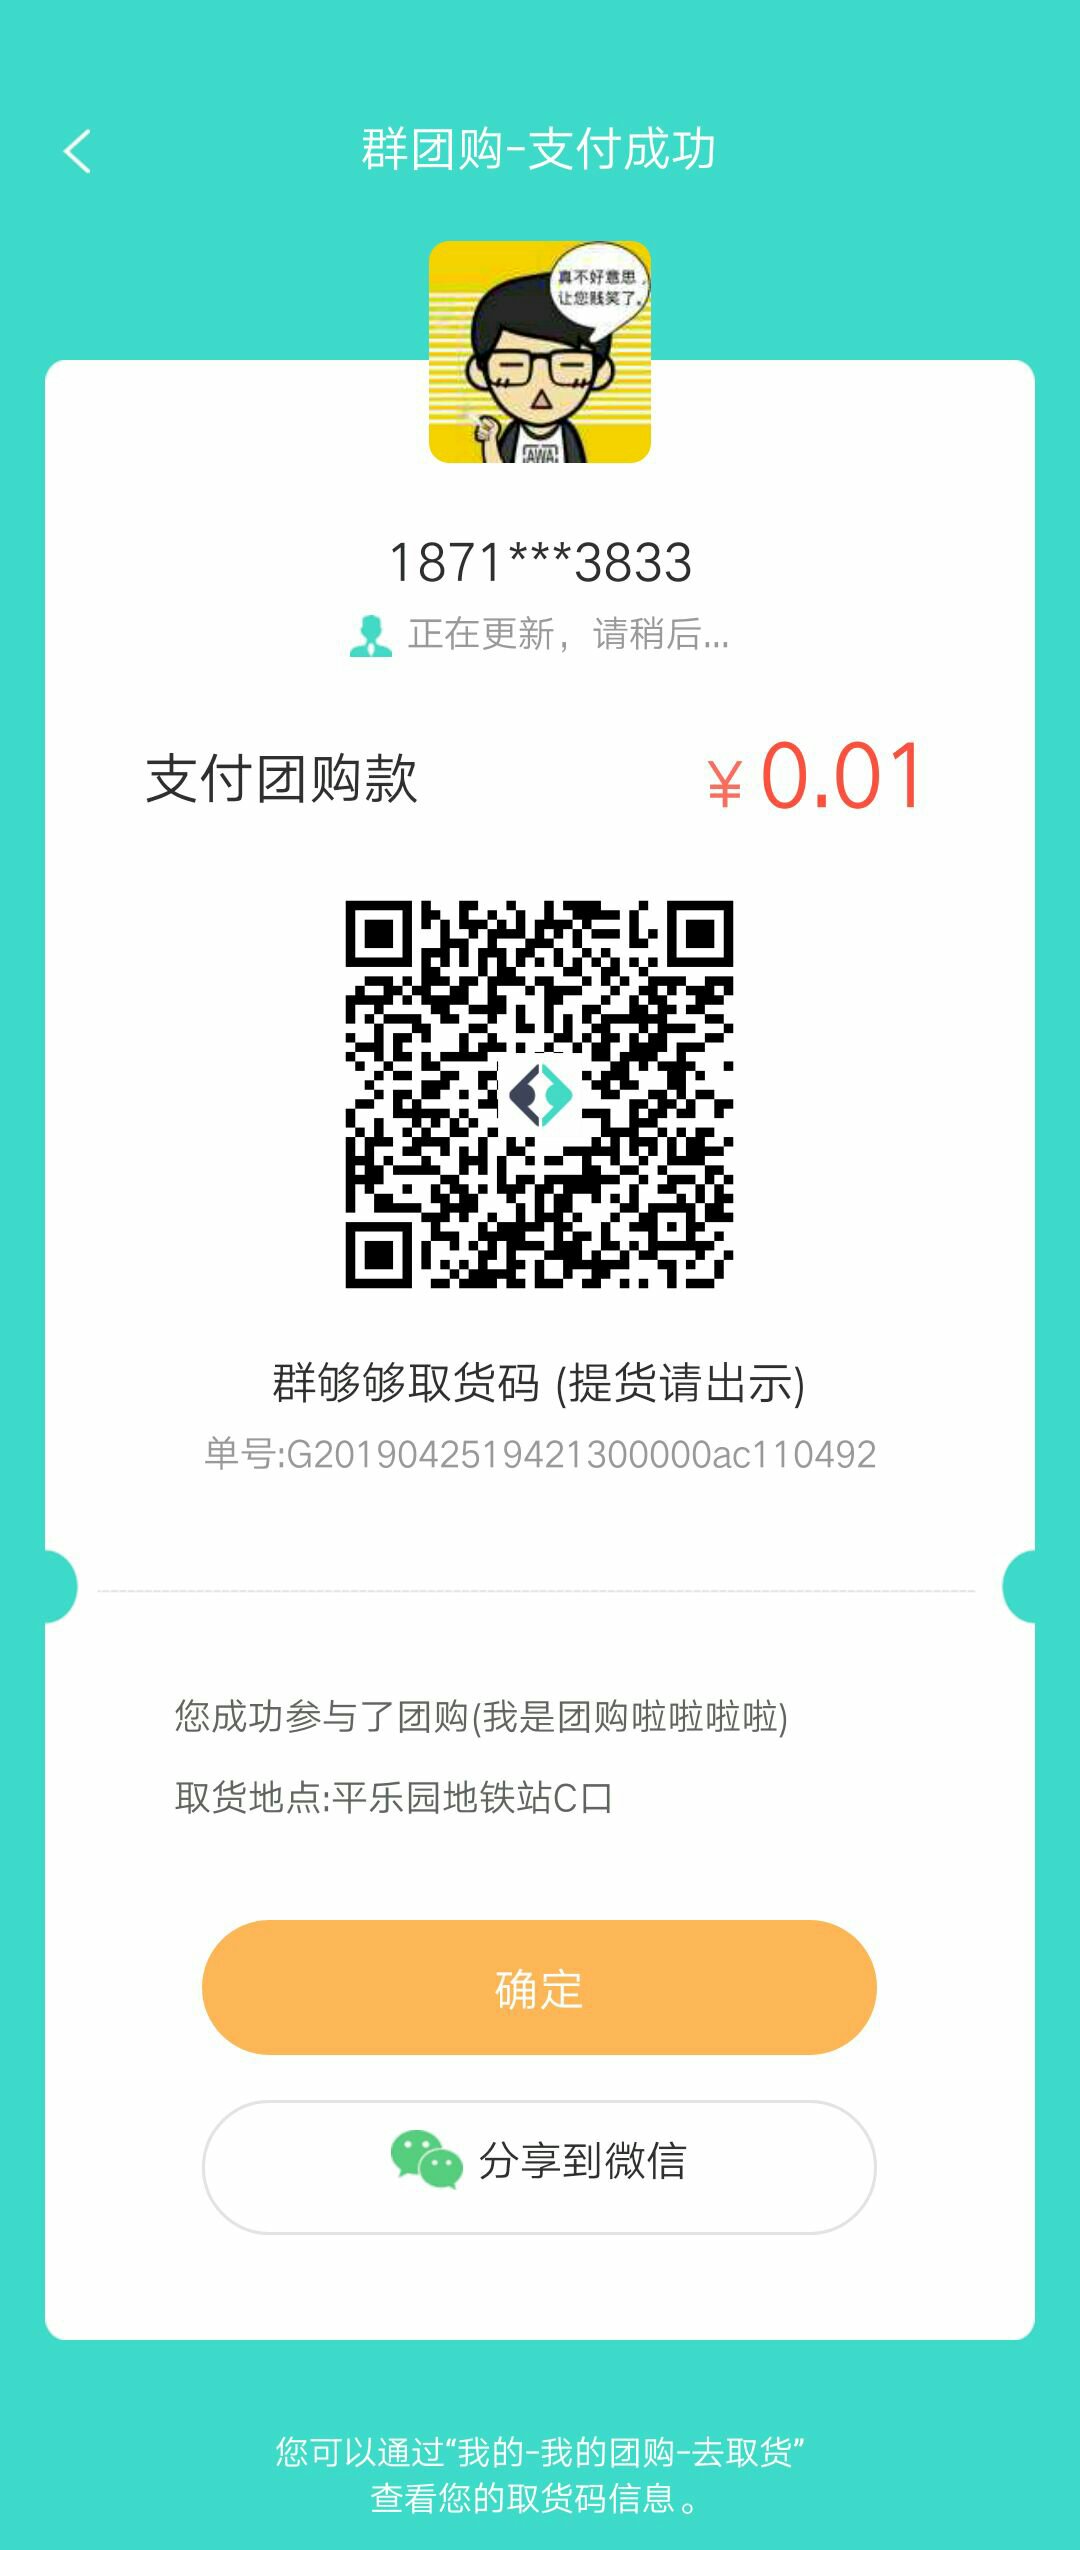
最终实现效果如图所示........
Android使用scrollview截取整个的屏幕并分享微信的更多相关文章
- Android 对ScrollView滚动监听,实现美团、大众点评的购买悬浮效果
转帖请注明本文出自xiaanming的博客(http://blog.csdn.net/xiaanming),请尊重他人的辛勤劳动成果,谢谢! 随着移动互联网的快速发展,它已经和我们的生活息息相关了,在 ...
- ScrollView控件实现屏幕滚动
滚动视图是指当拥有很多内容,屏幕显示不完全时,需要通过滚动来显示完整的视图 ScrollView的种类: (1)水平滚动视图:HorizontalScrollView (2)垂直滚动视图:Scroll ...
- Android 自定义ScrollView ListView 体验各种纵向滑动的需求
分类: [android 进阶之路]2014-08-31 12:59 6190人阅读 评论(10) 收藏 举报 Android自定义ScrollView纵向拖动 转载请标明出处:http: ...
- Android对ScrollView滚动监听,实现美团、大众点评的购买悬浮效果
转帖请注明本文出自xiaanming的博客(http://blog.csdn.net/xiaanming/article/details/17761431),请尊重他人的辛勤劳动成果,谢谢! 我之前写 ...
- 从零開始学android<ScrollView滚动视图.十八.>
因为手机屏幕的高度有限.所以假设面对组件要显示多组信息的时候,ScrollView视图(滚动视图)能够有效的安排这些组件,浏览时能够自己主动的进行滚屏的操作. android.widget.Scrol ...
- android 自定义scrollview 仿QQ空间效果 下拉伸缩顶部图片,上拉回弹 上拉滚动顶部title 颜色渐变
首先要知道 自定义scrollview 仿QQ效果 下拉伸缩放大顶部图片 的原理是监听ontouch事件,在MotionEvent.ACTION_MOVE事件时候,使用不同倍数的系数,重置布局位置[ ...
- Android自定义ScrollView分段加载大文本数据到TextView
以下内容为原创,转载时请注明链接地址:http://www.cnblogs.com/tiantianbyconan/p/3311658.html 这是我现在碰到的一个问题,如果需要在TextView中 ...
- Android自定义ScrollView实现一键置顶功能
效果图如下: (ps:动态图有太大了,上传不了,就给大家口述一下要实现的功能吧) 要实现的功能:当ScrollView向上滑动超过一定距离后,就渐变的出现一个置顶的按钮,当滑动距离小于我们指定的距离时 ...
- android 布局如何支持多种不同屏幕尺寸
android 布局如何支持多种不同屏幕尺寸 --关于dp.layout-xxx.drawable-xxx作用的小结 转载自:http://blog.csdn.net/vincent_blog/art ...
随机推荐
- git学习手记(也许仅对本人有用)
首先明白git的三种状态 commited已提交 =====>git仓库(存着各种版本)modified已修改(此时就是我们的编辑器中的未保存状态)====>工作目录staged暂存状态= ...
- [STM32F103]PWM输入捕获配置
l 初始化定时器和通道对应IO的时钟. l 初始化IO口,模式为输入: GPIO_Init(); GPIO_InitStructure.GPIO_Mode = GPIO_Mode_IPD; //PA0 ...
- DCDC电源 TPS54525
电路图: 输入电压12V,输出电压5V.不接负载可以获得5V输出,接入负载后只有4mV,且PG为低. 预计原因:可能是上电瞬间电流过大,芯片过流保护. 解决方案:SS软启动引脚的电容C331加大至1u ...
- ORACLE导出导入意外终止导致 ORACLE initialization or shutdown in progress 问题解决
由于意外情况导致 ORACLE initialization or shutdown in progress 个人理解为主要是归档日志出现问题, 首先cmd 1.sqlplus /nolog 进入s ...
- Docker笔记——Docker安装及制作镜像
1 Docker安装本文中Docker运行环境为Ubuntu 14.04.1 LTS 3.13.0-32-generic x64参考:https://docs.docker.com/v1.11/eng ...
- MySQL(基础技能)
一.概述 1.什么是数据库 ? 答:数据的仓库,如:在ATM的示例中我们创建了一个 db 目录,称其为数据库 2.什么是 MySQL.Oracle.SQLite.Access.MS SQL Serve ...
- python的str.format方法
format方法被用于字符串的格式化输出. print('{0}+{1}={2}'.format(1,2,1+2)) #in 1+2=3 #out 可见字符串中大括号内的数字分别对应着format的几 ...
- JeecgBoot版本4月份新版即将发布,抢先体验。。
JeecgBoot版本4月份新版即将发布,抢先体验.. 即将发布版本-更新日志: 1.代码生成器GUI工具 2.支持一对多代码生成器 3.支持按钮权限 4.支持数据权限 ...
- C# ConfigurationManager不存在问题解决
在做串口通信的时候,需要使用"ConfigurationManager"类,但是添加"Using System.Configuration"命名空间后编译器依旧 ...
- IAR软件的使用
STM32标准外设库下载 官网下载链接(需要ST账号登陆): http://www.st.com/content/st_com/en/products/embedded-software/mcus-e ...