Windows10内嵌Ubuntu子系统初始化设置
第一次启动
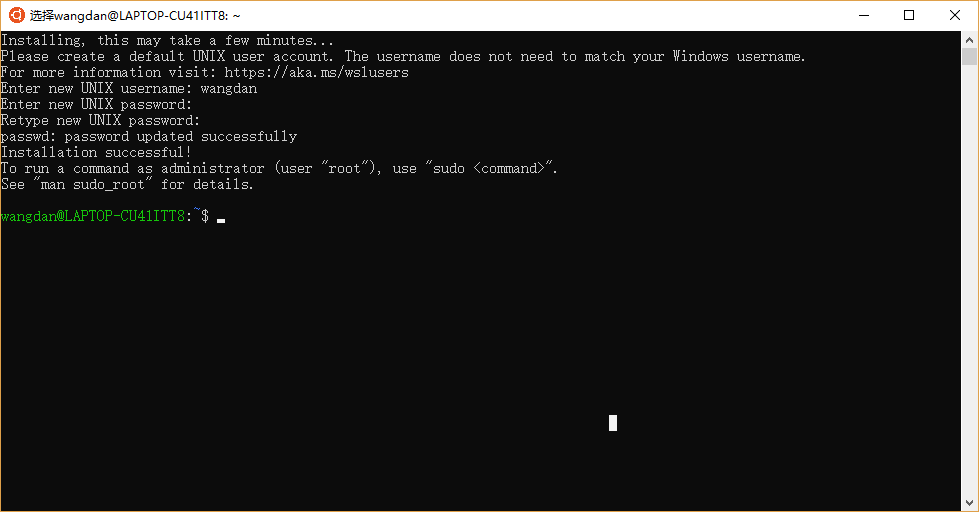
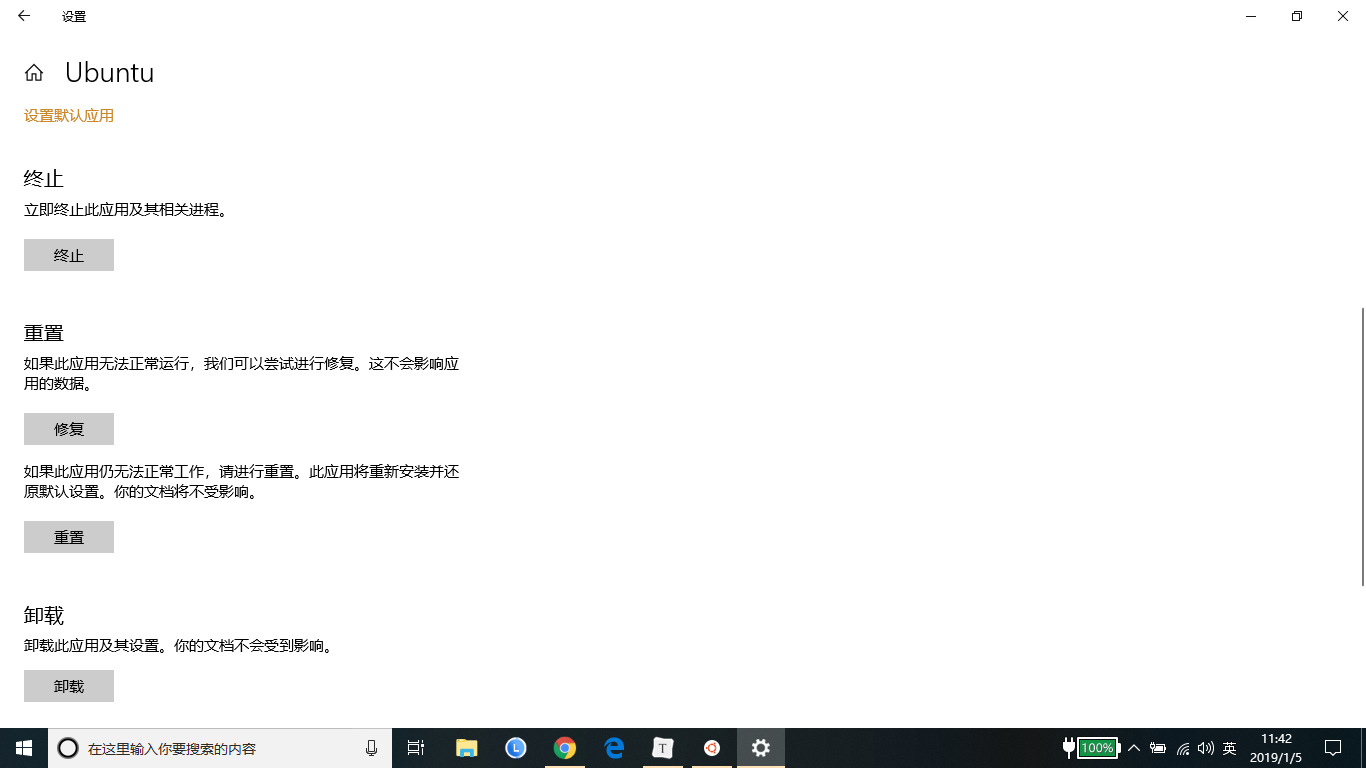
重启ubuntu
Since Windows 10 version 1803, closing all WSL terminal windows won't kill background processes by default, unless the file /var/run/reboot-required is present. This file will be automatically created by apt on Ubuntu when an update requires a reboot, but if you want to manually reboot the subsystem, you can create the file yourself:
sudo touch /var/run/reboot-required
然后关闭ubuntu的shell框就相当于关机。
I haven't tested this on other distributions available in the Microsoft Store. An alternative solution is to kill all processes yourself:
sudo killall -r '.*'
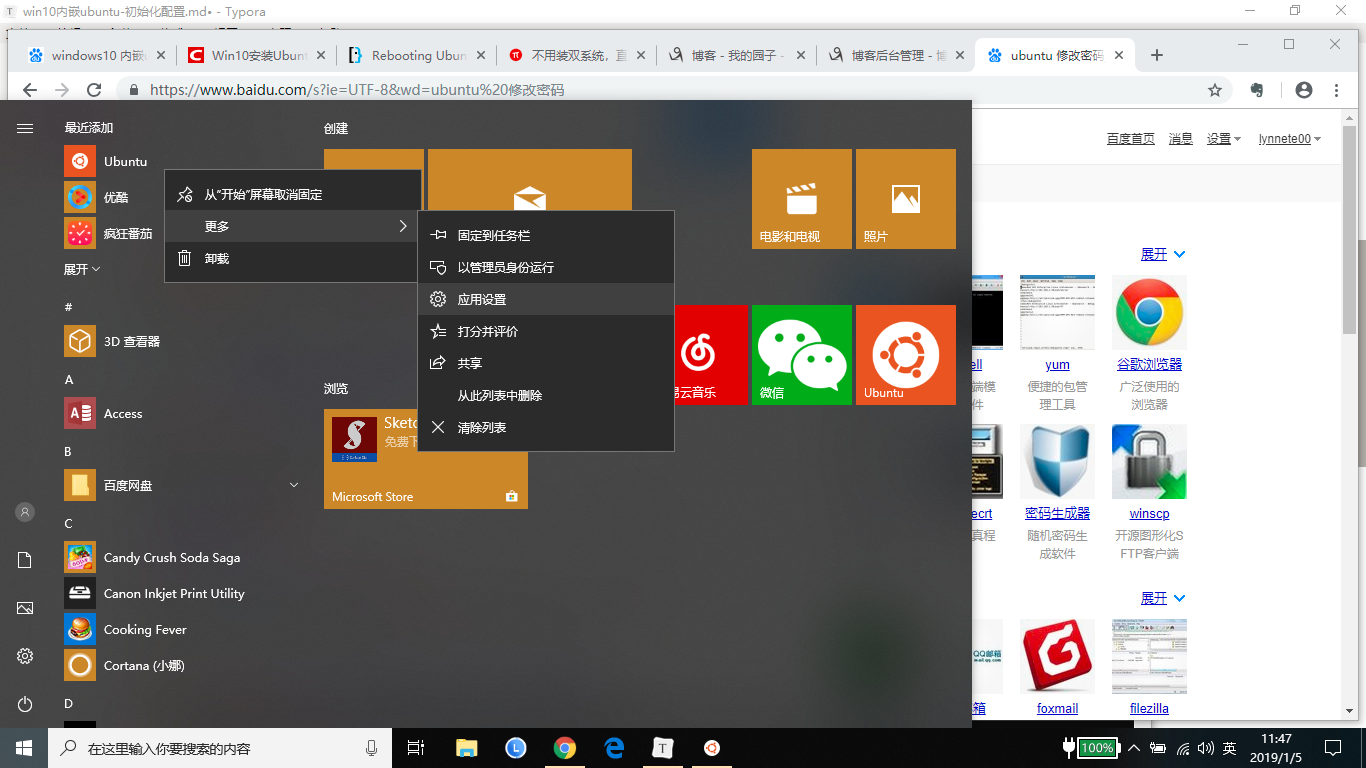
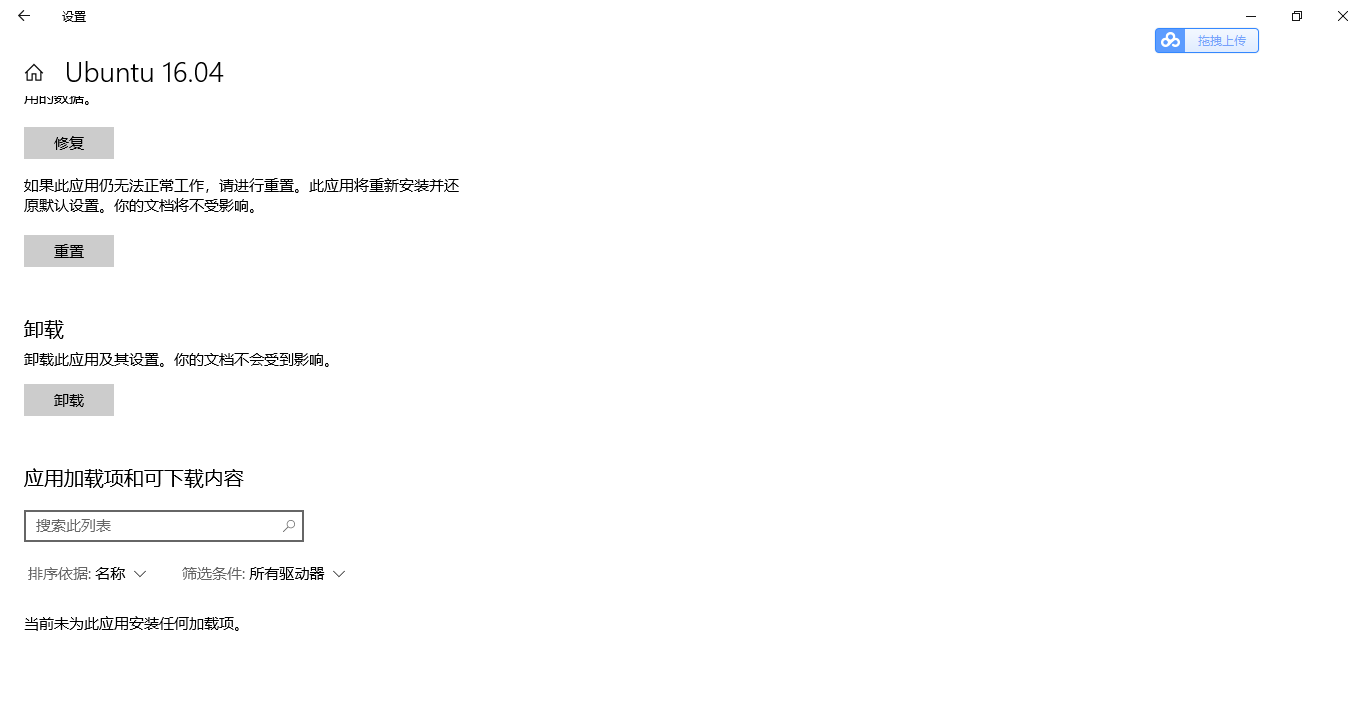
重置ubuntu,相当于重新安装
配置ubuntu镜像源
阿里源地址为:https://opsx.alibaba.com/mirror?lang=zh-CN,找到ubuntu镜像的帮助,根据提示修改/etc/apt/sources.list,然后执行sudo apt-get update。
deb http://mirrors.aliyun.com/ubuntu/ bionic main restricted universe multiverse

deb-src http://mirrors.aliyun.com/ubuntu/ bionic main restricted universe multiverse

deb http://mirrors.aliyun.com/ubuntu/ bionic-security main restricted universe multiverse

deb-src http://mirrors.aliyun.com/ubuntu/ bionic-security main restricted universe multiverse

deb http://mirrors.aliyun.com/ubuntu/ bionic-updates main restricted universe multiverse

deb-src http://mirrors.aliyun.com/ubuntu/ bionic-updates main restricted universe multiverse

deb http://mirrors.aliyun.com/ubuntu/ bionic-proposed main restricted universe multiverse

deb-src http://mirrors.aliyun.com/ubuntu/ bionic-proposed main restricted universe multiverse

deb http://mirrors.aliyun.com/ubuntu/ bionic-backports main restricted universe multiverse

deb-src http://mirrors.aliyun.com/ubuntu/ bionic-backports main restricted universe multiverse
图形化界面
更新
sudo apt-get update
开始安装图形化界面
sudo apt-get install xorg

sudo apt-get install xfce4

sudo apt-get install xrdp
配置远程端口为3390
sudo sed -i 's/port=3389/port=3390/g' /etc/xrdp/xrdp.ini
向xsession中写入xfce4-session
sudo echo xfce4-session >~/.xsession
重启xrdp服务
sudo service xrdp restart
如果有防火墙,允许就好了。
在Cortana中搜索远程桌面连接,点击进入,输入本机IP:端口,以及子系统用户名(在步骤2中,终端窗口@符号之前)
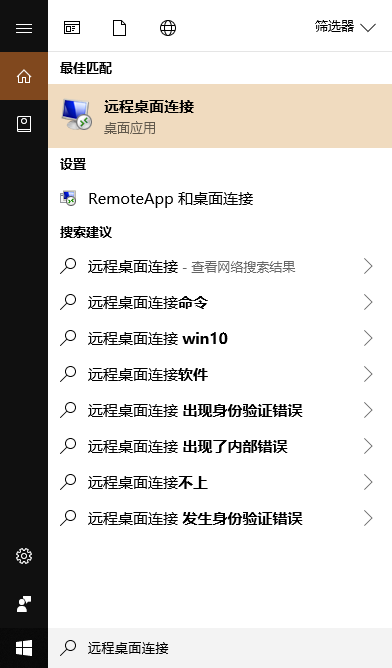
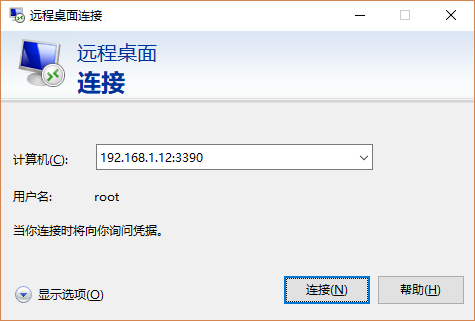
- 登陆成功,显示Ubuntu的图形界面。
踩过的坑:我的win10和ubuntu的用户名相同,都是我的姓名全拼。使用远程桌面登陆时,连接成功后闪退,后来改用root登陆就可以了。
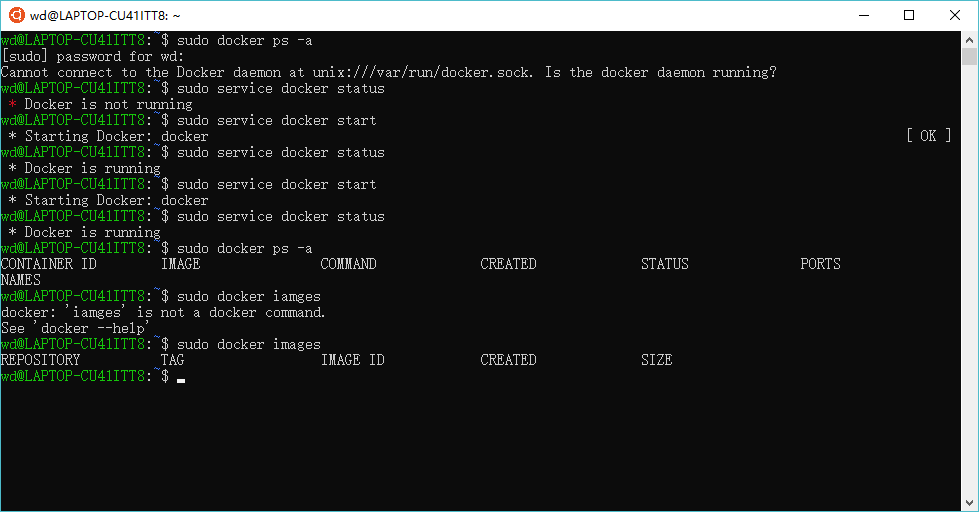
安装docker
ubuntu版本为16.04
- 使用阿里云的镜像
- 使用阿里云的docker镜像
- 安装后,使用sudo service docker start启动docker服务失败了,重启之后有start了两次就可以了。
   # step 1: 安装必要的一些系统工具

   sudo apt-get update

   sudo apt-get -y install apt-transport-https ca-certificates curl software-properties-common

   # step 2: 安装GPG证书

   curl -fsSL http://mirrors.aliyun.com/docker-ce/linux/ubuntu/gpg | sudo apt-key add -

   # Step 3: 写入软件源信息

   sudo add-apt-repository "deb [arch=amd64] http://mirrors.aliyun.com/docker-ce/linux/ubuntu $(lsb_release -cs) stable"

   # Step 4: 更新并安装 Docker-CE

   sudo apt-get -y update

   sudo apt-get -y install docker-ce

   # 安装指定版本的Docker-CE:

   # Step 1: 查找Docker-CE的版本:

   # apt-cache madison docker-ce

   #   docker-ce | 17.03.1~ce-0~ubuntu-xenial | http://mirrors.aliyun.com/docker-ce/linux/ubuntu xenial/stable amd64 Packages

   #   docker-ce | 17.03.0~ce-0~ubuntu-xenial | http://mirrors.aliyun.com/docker-ce/linux/ubuntu xenial/stable amd64 Packages

   # Step 2: 安装指定版本的Docker-CE: (VERSION 例如上面的 17.03.1~ce-0~ubuntu-xenial)

   # sudo apt-get -y install docker-ce=[VERSION]
磁盘映射
在ubuntu内部,可以进入/mnt/c等目录,操作windows10的多个磁盘。
Windows10内嵌Ubuntu子系统初始化设置的更多相关文章
- Windows10内嵌Ubuntu子系统配置python开发环境
Windows10内嵌Ubuntu子系统配置python开发环境 安装pycharm. 到intellij idea网站下载Linux环境下载免费的pycharm,通过ubuntu子系统内部的/mnt ...
- Windows10内置ubuntu子系统安装后中文环境设置
原文:Windows10内置ubuntu子系统安装后中文环境设置 第一开启相关设置,使用小娜(Win键+c)直接查找关键字打开更快. ①设置→查找"针对开发人员"→开发人员模式 ...
- [转]Windows10内置Linux子系统初体验
Windows10内置Linux子系统初体验 https://www.jianshu.com/p/bc38ed12da1d
- spring-boot内嵌三大容器https设置
spring-boot内嵌三大容器https设置 spring-boot默认的内嵌容器为tomcat,除了tomcat之前还可以设置jetty和undertow. 1.设置https spring-b ...
- Windows10内置Linux子系统
WSL 前言 前段时间,机子上的win10又偷偷摸摸升级到了一周年正式版,比较无奈.不过之前听闻这个版本已经支持内置的linux子系统,于是就怀着好奇心试玩了一把.虽然期间遇到了很多问题,但总体来 ...
- Windows10内置Linux子系统初体验
http://www.jianshu.com/p/bc38ed12da1dhttp://www.jianshu.com/p/bc38ed12da1d WSL 前言 前段时间,机子上的win10又偷偷摸 ...
- windows10开启内置ubuntu系统,使用xshell连接
windows安装配置ubuntu系统内置子系统 官方文档:https://docs.microsoft.com/zh-cn/windows/wsl/about https://www.jianshu ...
- 系统 (一) Windows10安装Ubuntu子系统
前言 本文将基于 Windows10专业版 安装 Ubuntu子系统 1.控制面板 -> 程序 -> 选择启用或关闭Windows功能 -> 勾上 适用Linux的Windwos子系 ...
- Windows10 下运行Linux子系统
关于Windows10 下运行Linux子系统: Windows10内置Linux子系统初体验:http://www.jianshu.com/p/bc38ed12da1d Win10运行Ubuntu版 ...
随机推荐
- 【js】vue 2.5.1 源码学习 (十) $mount 挂载函数的实现
大体思路(九) 本节内容: 1. $mount 挂载函数的实现. // 将Vue.prototype.$mount 缓存下来 ==>mountComponet(this,el) { // 组建挂 ...
- win10 uwp 在 VisualStudio 部署失败,找不到 Windows Phone 可能的原因
在我使用 VisualStudio 调试的时候,发现我插入了手机,但是 VisualStudio 在部署的时候找不到手机. 可能的原因是 手机禁用了连接,第二个原因是可能手机驱动没正确让 Visual ...
- linux 不用 ioctl 的设备控制
有时控制设备最好是通过写控制序列到设备自身来实现. 例如, 这个技术用在控制台驱动 中, 这里所谓的 escape 序列被用来移动光标, 改变缺省的颜色, 或者进行其他的配置任 务. 这样实现设备控制 ...
- linux I/O 端口分配
如同你可能希望的, 你不应当离开并开始抨击 I/O 端口而没有首先确认你对这些端口有 唯一的权限. 内核提供了一个注册接口以允许你的驱动来声明它需要的端口. 这个接口中 的核心的函数是 request ...
- 如何更优雅地对接第三方API
本文所有示例完整代码地址:https://github.com/yu-linfeng/BlogRepositories/tree/master/repositories/third 我们在日常开发过程 ...
- iDrac6 虚拟控制台 连接失败
最近给公司的服务器升级硬件(其实是服务器要淘汰了,公司就不管了,爱怎么折腾就怎么折腾,只要不坏就行) 服务器配置:Dell PowerEdge R610,E5606 x2(双路2.13G 4核4线程) ...
- Visual Studio Team Services使用教程【5】:Readers tfs组成员添加
2017.4.23之后建议朋友看下面的帖子 TFS2017 & VSTS 实战(繁体中文视频) Visual Studio Team Services(VSTS)与敏捷开发ALM实战关键报告( ...
- JLINK、ULINK和STlink仿真器详解
JLink仿真器 德国SEGGER公司推出基于JTAG的仿真器.简单地说,是给一个JTAG协议转换盒,即一个小型USB到JTAG的转换盒,其连接到计算机用的是USB接口,而到目标板内部用的还是jtag ...
- Cortex-A8/A76
Cortex-A8 关于Cortex-A8的微处理架构参考<ARM_Cortex-A8微处理器的架构和实现> 其中关于NEON有两段话摘录如下: NEON媒体引擎拥有自己的10段流水线,它 ...
- Struts2 类型转换(易百教程)
在HTTP请求中的一切都被视为一个String由协议.这包括数字,布尔值,整数,日期,小数和一切.每一件事情是一个字符串,将根据HTTP.然而,Struts类可以有任何数据类型的属性.Struts的自 ...