TensorFlow图像处理API
TensorFlow提供了一些常用的图像处理接口,可以让我们方便的对图像数据进行操作,以下首先给出一段显示原始图片的代码,然后在此基础上,实践TensorFlow的不同API。
显示原始图片
 import matplotlib.pyplot as plt

 import tensorflow as tf

 raw_data = tf.gfile.FastGFile('./new.jpg','rb').read()

 with tf.Session() as sess:

      img_data = tf.image.decode_jpeg(raw_data)

      plt.imshow(img_data.eval())

      plt.show()
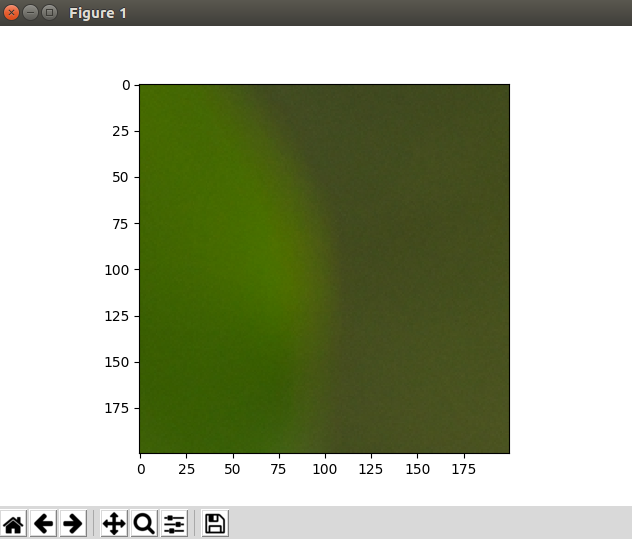
运行效果如下图:
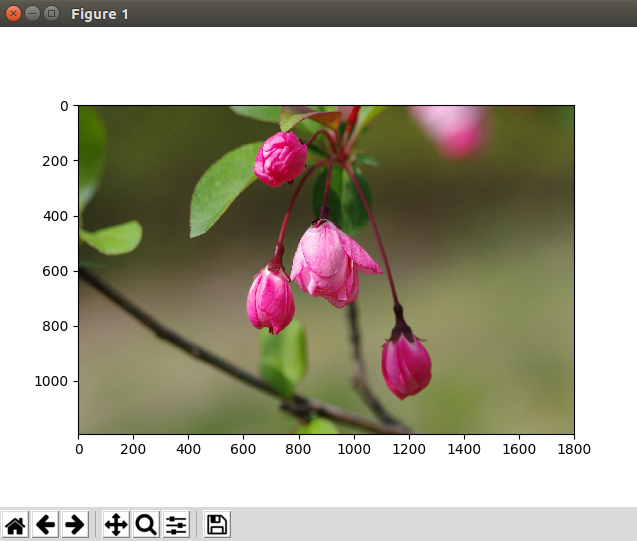
其中tf.gfile.FastGFile,用于读取本地文件,tf.image.decode_jpeg用于将jpeg图片原始数据解码到3-D张量空间,即width, height, channel,最后调用pyplt库显示图片。
图像的缩放
 import matplotlib.pyplot as plt

 import tensorflow as tf

 raw_data = tf.gfile.FastGFile('./new.jpg','rb').read()

 with tf.Session() as sess:

      img_data = tf.image.decode_jpeg(raw_data)

      img_data2 = tf.cast(tf.image.resize_images(img_data, [200, 200]), dtype=tf.uint8);

      plt.imshow(img_data2.eval())

      plt.show()
TensorFlow缩放图片的接口是tf.image.resize_images,[200, 200]是缩放后的目标尺寸,这里调用了tf.cast这个类型转换函数,因为经过缩放处理后,张量类型为float32,而pyplt对图像格式要求uint8,所以必须转一下,否则什么效果,可以自己试一下。
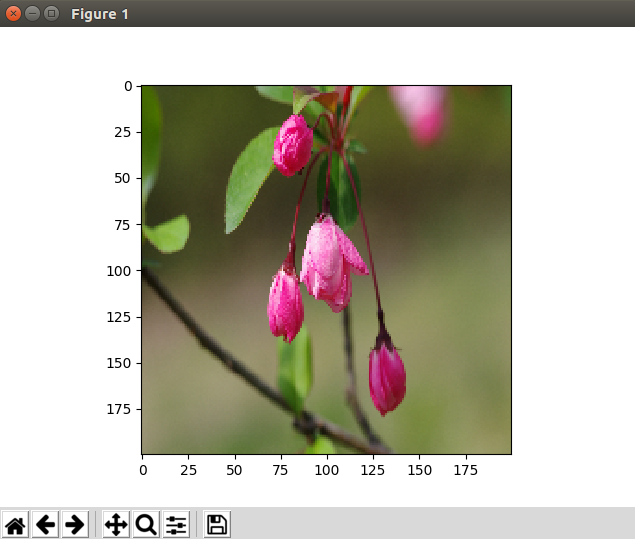
tf.image.resize_images接口可以指定不同的缩放算法,比如:
tf.image.resize_images(img_data, [200, 200], method=tf.image.ResizeMethod.BICUBIC)
图像的反转
图像的反转在各路深度学习算法中就用的比较多了,主要是通过这种操作可以扩大样本的数量,何乐不为。
 import matplotlib.pyplot as plt

 import tensorflow as tf

 raw_data = tf.gfile.FastGFile('./new.jpg','rb').read()

 with tf.Session() as sess:

      img_data = tf.image.decode_jpeg(raw_data)

      img_data2 = tf.cast(tf.image.flip_left_right(img_data), dtype=tf.uint8)

      plt.imshow(img_data2.eval())

      plt.show()
上述代码调用了左右反转接口,TensorFlow还提供了上下反转及随机反转的操作,不再一一尝试。
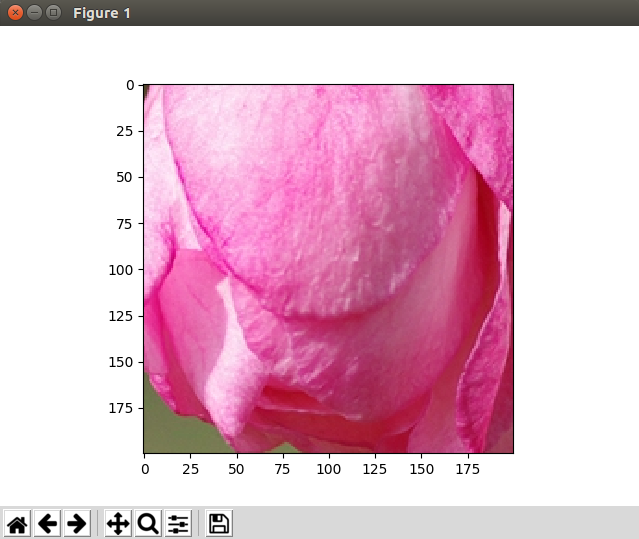
图像的裁剪
中心裁剪
 import matplotlib.pyplot as plt

 import tensorflow as tf

 raw_data = tf.gfile.FastGFile('./new.jpg','rb').read()

 with tf.Session() as sess:

      img_data = tf.image.decode_jpeg(raw_data)

      img_data2 = tf.cast(tf.image.resize_image_with_crop_or_pad(img_data, 200, 200), dtype=tf.uint8)

      plt.imshow(img_data2.eval())

      plt.show()
tf.image.resize_image_with_crop_or_pad函数可以用来进行图像裁剪或扩展,这个是由用户的目标宽度和高度决定的,另外无论是裁剪还是扩展都是从图片中心为基准的。
指定位置裁剪
 import matplotlib.pyplot as plt

 import tensorflow as tf

 raw_data = tf.gfile.FastGFile('./new.jpg','rb').read()

 with tf.Session() as sess:

      img_data = tf.image.decode_jpeg(raw_data)

      img_data2 = tf.cast(tf.image.crop_to_bounding_box(img_data, 0, 0, 200, 200), dtype=tf.uint8)

      plt.imshow(img_data2.eval())

      plt.show()

 ~
上述代码指定左上角的200px方形box进行裁剪,指定目标范围必须合理,否则会产生异常。
图像上画框
 import matplotlib.pyplot as plt

 import tensorflow as tf

 raw_data = tf.gfile.FastGFile('./new.jpg','rb').read()

 with tf.Session() as sess:

      img_data = tf.cast(tf.expand_dims(tf.image.decode_jpeg(raw_data), 0), tf.float32)

      boxes = tf.constant([[[0.4, 0.4, 0.5, 0.5], [0.5, 0.5, 0.6, 0.6]]])

      img_data2 = tf.cast(tf.image.draw_bounding_boxes(img_data, boxes), dtype=tf.uint8)

      plt.imshow(img_data2.eval()[0])

      plt.show()
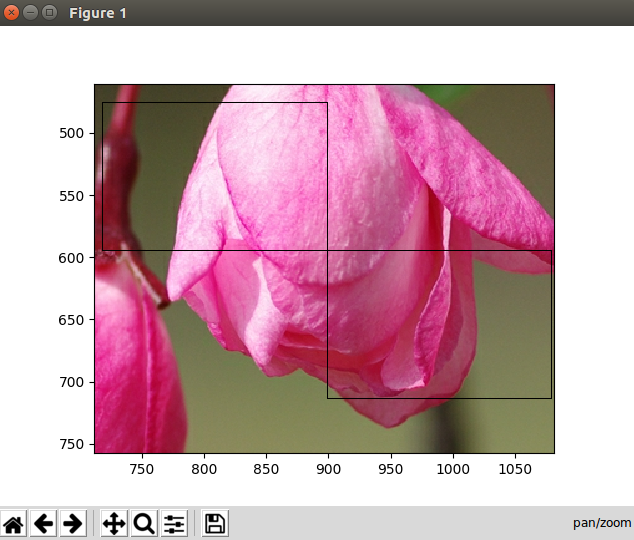
这段代码有几个地方要注意一下,在jpeg解码后,调用了tf.expand_dims,这个函数的意思是在指定的位置增加一个维度,因为解码后是3维数据,在0位置增加一维,事实上增加了一个batch维度,如此操作主要是为了迎合后面的画框函数!boxes操作节点定义了两个方框,用0~1的浮点数标识box的位置比例,最后的图片显示位置也要注意,输出是四维,请取出第一个图片显示。下图为显示效果,手工放大图片后的效果,否则,1px方框在plt中可能被缩略掉,请注意!
TensorFlow图像处理API的更多相关文章
- tensorflow models api:ValueError: Tensor conversion requested dtype string for Tensor with dtype float32: 'Tensor("arg0:0", shape=(), dtype=float32, device=/device:CPU:0)'
tensorflow models api:ValueError: Tensor conversion requested dtype string for Tensor with dtype flo ...
- Tensorflow图像处理
Tensorflow图像处理主要包括:调整尺寸,图像翻转,调整色彩,处理标注框. 代码如下: #coding=utf-8 import matplotlib.pyplot as plt import ...
- TensorFlow dataset API 使用
# TensorFlow dataset API 使用 由于本人感兴趣的是自然语言处理,所以下面有关dataset API 的使用偏向于变长数据的处理. 1. 从迭代器中引入数据 import num ...
- TensorFlow - 相关 API
来自:https://cloud.tencent.com/developer/labs/lab/10324 TensorFlow - 相关 API TensorFlow 相关函数理解 任务时间:时间未 ...
- TensorFlow — 相关 API
TensorFlow — 相关 API TensorFlow 相关函数理解 任务时间:时间未知 tf.truncated_normal truncated_normal( shape, mean=0. ...
- 开源框架---tensorflow c++ API 一个卡了很久的问题
<开源框架---tensorflow c++ API 运行第一个“手写字的例子”> 中可以说明tensorflow c++ API是好用的,.......
- 开源框架---通过Bazel编译使用tensorflow c++ API 记录
开源框架---通过Bazel编译使用tensorflow c++ API 记录 tensorflow python API,在python中借用pip安装tensorflow,真的很方便,几句指令就完 ...
- TensorFlow Keras API用法
TensorFlow Keras API用法 Keras 是与 TensorFlow 一起使用的更高级别的作为后端的 API.添加层就像添加一行代码一样简单.在模型架构之后,使用一行代码,可以编译和拟 ...
- tensorflow estimator API小栗子
TensorFlow的高级机器学习API(tf.estimator)可以轻松配置,训练和评估各种机器学习模型. 在本教程中,您将使用tf.estimator构建一个神经网络分类器,并在Iris数据集上 ...
随机推荐
- 面向对象编程(OOP)的五大特征-java学习之旅(1)
这是Alan Kay关于第一个成功的面向对象语言SmallTalk的总结: 1.所有的东西都是对象.可将对象想象成一种新型的变量:它保存着数据,但是可要求它对自身进行操作,理论上讲,可从要解决的问题身 ...
- c++中各个数据类型的大小
来哦金额各种数据类型有助于我们对这门语言的更好掌握,更好的利用之来编程,下面是一个简单的获得数据类型的大小的程序,虽然简单,但实用性却很高. #include <iostream> usi ...
- RDS和ROS使用小结
微软的RDS和linux下的ROS,都已经使用了一段时间,RDS已经很久不更新了,前景必然不如ROS,但无奈用得顺手,还是偶尔怀旧一下. 使用RDS除了内置的文档需要仔细阅读,有些corobot.pr ...
- PSAM 卡的应用 操作方法
PSAM 卡的应用 PSAM 功能 终端安全存储模块 PASM 常用于 脱机交易的 安全认证 脱机交易的流程 1.卡片对持卡人的认证(防止 ...
- MT6575 3G切换2G
因为了节省成本,需要从现在的3G方案切换置2G方案,做的修改,做个笔记. 一: 将MTK给过来的补丁编译出如下文件. 二:在mediatek/custom/common/modem/ 路径下增加一个 ...
- Android开发你不知道的TIPS
1.Space space是Android 4.0中新增的一个控件,它实际上可以用来分隔不同的控件,其中形成一个空白的区域.这是一个轻量级的视图组件,它可以跳过Draw,对于需要占位符的任何场景来说都 ...
- 重装Windows后修复Linux引导
装了双系统(Windows和Linux)的机器重新安装Windows后会导致Linux的引导丢失而无法进入原先的Linux系统[其原因是Windows会覆盖原先MBR中的Linux的BootLoade ...
- VCC、 VDD、VEE、VSS 电压理解
VCC. VDD.VEE.VSS 版本一: 简单说来,可以这样理解: 一.解释 VCC:C=circuit 表示电路的意思, 即接入电路的电压: VDD:D=device 表示器件的意思, 即器件内部 ...
- Rest api简介
理解和使用内容协商 我们的开发者在发送一个 REST API 请求的同时,根据应用场景,针对相同的资源,可能会期待不同的返回形式. 比如,我希望根据用户客户端语言,同一个资源的内容可以返回不同的语言. ...
- jvm内存查看与分析工具
2.3 JVM的垃圾收集策略 GC的执行时要耗费一定的CPU资源和时间的,因此在JDK1.2以后,JVM引入了分代收集的策略,其中对新生代采用"Mark-Compact"策略, ...