矩池云上安装caffe gpu教程

选用CUDA10.0镜像
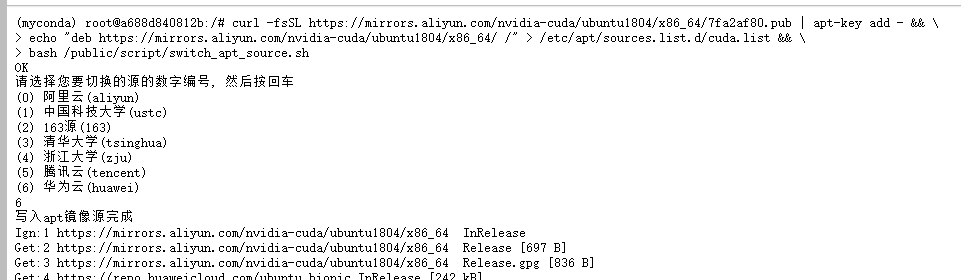
添加nvidia-cuda和修改apt源
curl -fsSL https://mirrors.aliyun.com/nvidia-cuda/ubuntu1804/x86_64/7fa2af80.pub | apt-key add - && \

echo "deb https://mirrors.aliyun.com/nvidia-cuda/ubuntu1804/x86_64/ /" > /etc/apt/sources.list.d/cuda.list && \

bash /public/script/switch_apt_source.sh
安装curand
apt install cuda-curand-dev-10-0
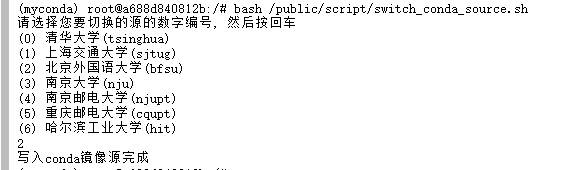
修改conda源
bash /public/script/switch_conda_source.sh
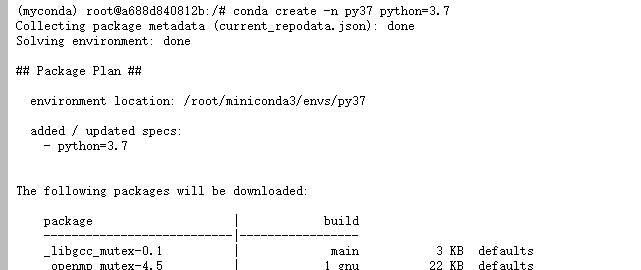
创建python3.7虚拟环境
conda create -n py37 python=3.7

conda deactivate

conda activate py37

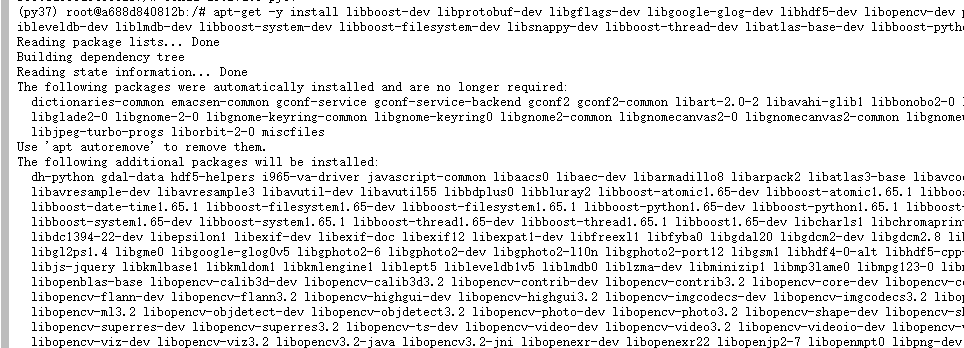
安装依赖包
apt-get -y install libboost-dev libprotobuf-dev libgflags-dev libgoogle-glog-dev libhdf5-dev libopencv-dev protobuf-c-compiler protobuf-compiler libopenblas-dev libhdf5-dev libleveldb-dev liblmdb-dev libboost-system-dev libboost-filesystem-dev libsnappy-dev libboost-thread-dev libatlas-base-dev libboost-python-dev
添加nvidia-machine-learning软件源
curl -fsSL https://mirrors.cloud.tencent.com/nvidia-machine-learning/ubuntu1804/x86_64/7fa2af80.pub | apt-key add - && \

echo "deb https://mirrors.cloud.tencent.com/nvidia-machine-learning/ubuntu1804/x86_64/ /" > /etc/apt/sources.list.d/cuda.list

安装剩余依赖包
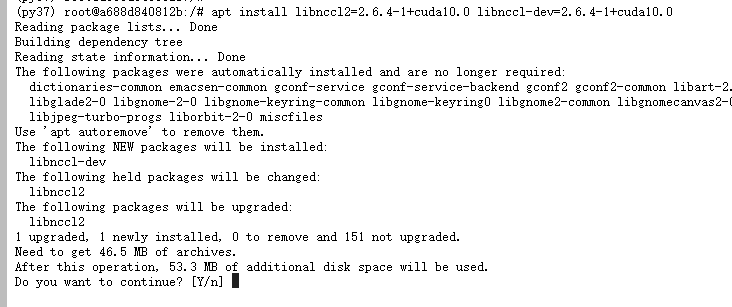
apt update

apt install libnccl2=2.6.4-1+cuda10.0 libnccl-dev=2.6.4-1+cuda10.0

apt-get install -y --no-install-recommends libboost-all-dev

pip install boost

conda install opencv
git clone caffe仓库
git clone -b 1.0 --depth 1 https://github.com/BVLC/caffe.git

cd caffe

for req in $(cat python/requirements.txt); do pip install $req; done

cp Makefile.config.example Makefile.config
git clone -b 1.0 --depth 1 https://gitee.com/matpools/caffe.git

查找对应路径
python -c "from distutils.sysconfig import get_python_inc; print(get_python_inc())"

python -c "import distutils.sysconfig as sysconfig; print(sysconfig.get_config_var('LIBDIR'))"

(py37) root@a688d840812b:/caffe# python -c "from distutils.sysconfig import get_python_inc; print(get_python_inc())"

/root/miniconda3/envs/py37/include/python3.7m

(py37) root@a688d840812b:/caffe# python -c "import distutils.sysconfig as sysconfig; print(sysconfig.get_config_var('LIBDIR'))"

/root/miniconda3/envs/py37/lib
查找numpy路径
find /root/miniconda3/envs/py37/lib/ -name numpy

(py37) root@a688d840812b:/caffe# find /root/miniconda3/envs/py37/lib/ -name numpy

/root/miniconda3/envs/py37/lib/python3.7/site-packages/numpy/core/include/numpy
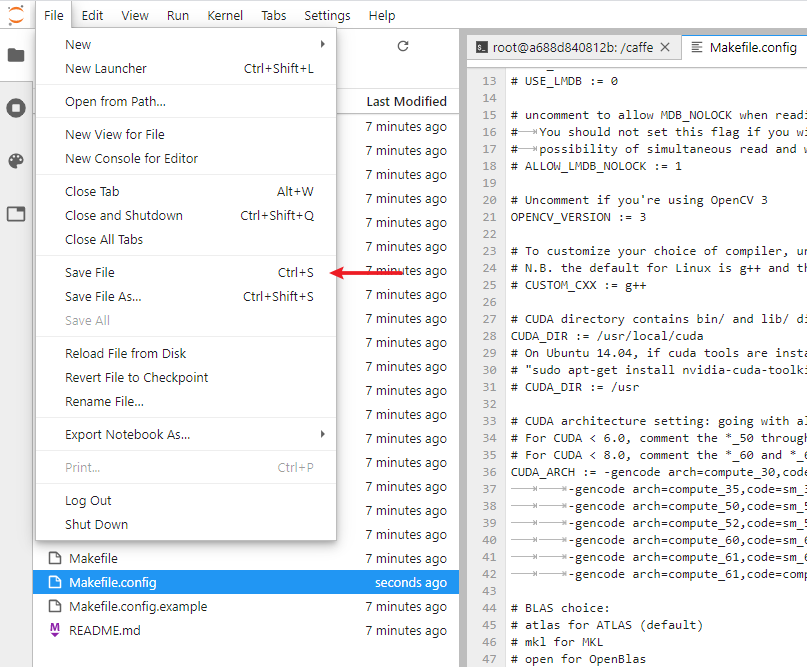
如果也是cuda10纯镜像可以直接复制下面的文件,然后保存。
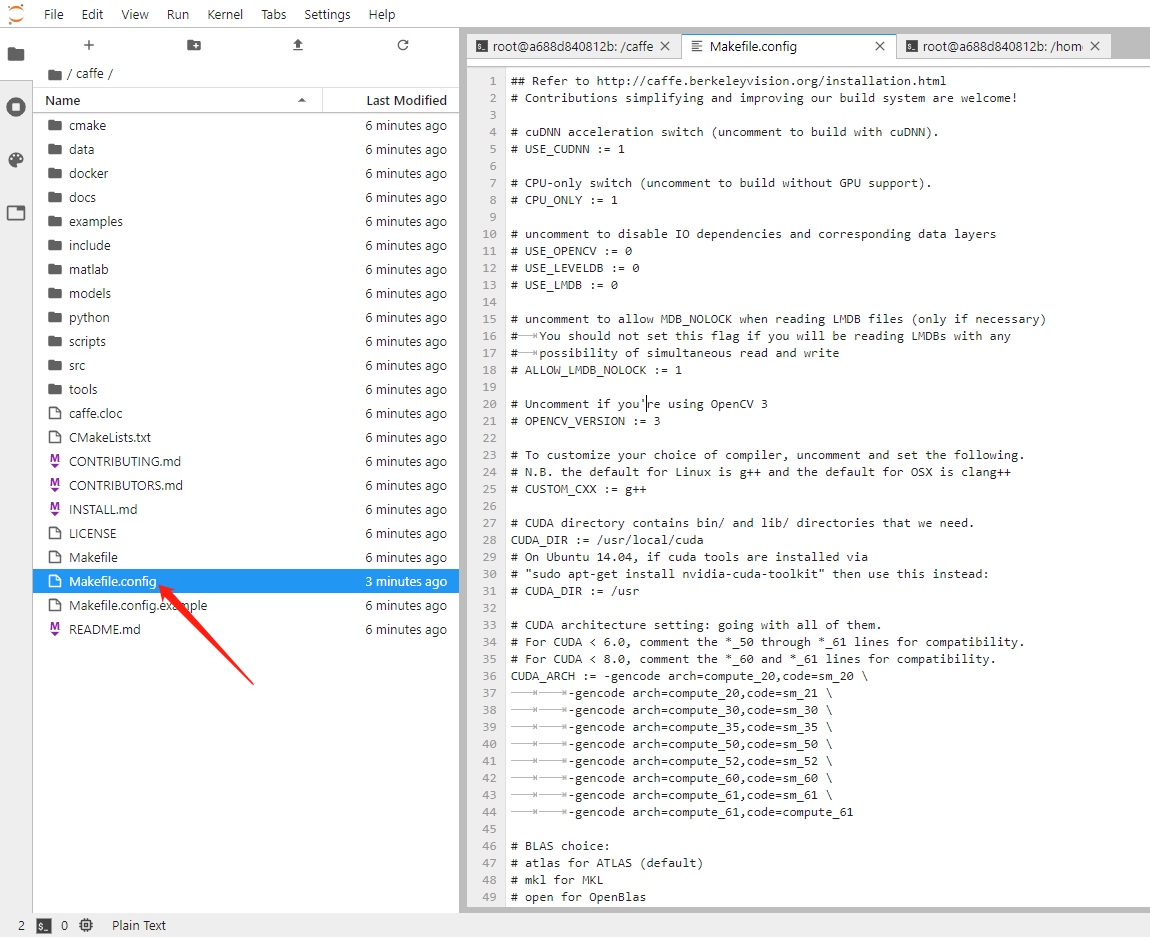
## Refer to http://caffe.berkeleyvision.org/installation.html

# Contributions simplifying and improving our build system are welcome!

# cuDNN acceleration switch (uncomment to build with cuDNN).

USE_CUDNN := 1

# CPU-only switch (uncomment to build without GPU support).

# CPU_ONLY := 1

# uncomment to disable IO dependencies and corresponding data layers

# USE_OPENCV := 0

# USE_LEVELDB := 0

# USE_LMDB := 0

# uncomment to allow MDB_NOLOCK when reading LMDB files (only if necessary)

#	You should not set this flag if you will be reading LMDBs with any

#	possibility of simultaneous read and write

# ALLOW_LMDB_NOLOCK := 1

# Uncomment if you're using OpenCV 3

OPENCV_VERSION := 3

# To customize your choice of compiler, uncomment and set the following.

# N.B. the default for Linux is g++ and the default for OSX is clang++

# CUSTOM_CXX := g++

# CUDA directory contains bin/ and lib/ directories that we need.

CUDA_DIR := /usr/local/cuda

# On Ubuntu 14.04, if cuda tools are installed via

# "sudo apt-get install nvidia-cuda-toolkit" then use this instead:

# CUDA_DIR := /usr

# CUDA architecture setting: going with all of them.

# For CUDA < 6.0, comment the *_50 through *_61 lines for compatibility.

# For CUDA < 8.0, comment the *_60 and *_61 lines for compatibility.

CUDA_ARCH := -gencode arch=compute_30,code=sm_30 \

		-gencode arch=compute_35,code=sm_35 \

		-gencode arch=compute_50,code=sm_50 \

		-gencode arch=compute_52,code=sm_52 \

		-gencode arch=compute_60,code=sm_60 \

		-gencode arch=compute_61,code=sm_61 \

		-gencode arch=compute_61,code=compute_61

# BLAS choice:

# atlas for ATLAS (default)

# mkl for MKL

# open for OpenBlas

BLAS := atlas

# Custom (MKL/ATLAS/OpenBLAS) include and lib directories.

# Leave commented to accept the defaults for your choice of BLAS

# (which should work)!

# BLAS_INCLUDE := /path/to/your/blas

# BLAS_LIB := /path/to/your/blas

# Homebrew puts openblas in a directory that is not on the standard search path

# BLAS_INCLUDE := $(shell brew --prefix openblas)/include

# BLAS_LIB := $(shell brew --prefix openblas)/lib

# This is required only if you will compile the matlab interface.

# MATLAB directory should contain the mex binary in /bin.

# MATLAB_DIR := /usr/local

# MATLAB_DIR := /Applications/MATLAB_R2012b.app

# NOTE: this is required only if you will compile the python interface.

# We need to be able to find Python.h and numpy/arrayobject.h. 如果是自己弄需要改PYTHON_INCLUDE

PYTHON_INCLUDE := /root/miniconda3/envs/py37/include/python3.7m \

		/root/miniconda3/envs/py37/lib/python3.7/site-packages/numpy/core/include

# /usr/include/python2.7 \

# /usr/lib/python2.7/dist-packages/numpy/core/include

# Anaconda Python distribution is quite popular. Include path:

# Verify anaconda location, sometimes it's in root.

# ANACONDA_HOME := $(HOME)/anaconda

# PYTHON_INCLUDE := $(ANACONDA_HOME)/include \

		# $(ANACONDA_HOME)/include/python2.7 \

		# $(ANACONDA_HOME)/lib/python2.7/site-packages/numpy/core/include

# Uncomment to use Python 3 (default is Python 2) 如果是自己弄需要改PYTHON_LIBRARIES

PYTHON_LIBRARIES := boost_python3 python3.7m

# PYTHON_INCLUDE := /usr/include/python3.5m \

#                 /usr/lib/python3.5/dist-packages/numpy/core/include

# We need to be able to find libpythonX.X.so or .dylib. 如果是自己弄需要改PYTHON_LIB

PYTHON_LIB := /root/miniconda3/envs/py37/lib

# PYTHON_LIB := $(ANACONDA_HOME)/lib

# Homebrew installs numpy in a non standard path (keg only)

# PYTHON_INCLUDE += $(dir $(shell python -c 'import numpy.core; print(numpy.core.__file__)'))/include

# PYTHON_LIB += $(shell brew --prefix numpy)/lib

# Uncomment to support layers written in Python (will link against Python libs)

# WITH_PYTHON_LAYER := 1

# Whatever else you find you need goes here.

INCLUDE_DIRS := $(PYTHON_INCLUDE) /usr/local/include /usr/include/hdf5/serial

LIBRARY_DIRS := $(PYTHON_LIB) /usr/local/lib /usr/lib /usr/lib/x86_64-linux-gnu/hdf5/serial /usr/lib/x86_64-linux-gnu

# If Homebrew is installed at a non standard location (for example your home directory) and you use it for general dependencies

# INCLUDE_DIRS += $(shell brew --prefix)/include

# LIBRARY_DIRS += $(shell brew --prefix)/lib

# NCCL acceleration switch (uncomment to build with NCCL)

# https://github.com/NVIDIA/nccl (last tested version: v1.2.3-1+cuda8.0)

USE_NCCL := 1

# Uncomment to use `pkg-config` to specify OpenCV library paths.

# (Usually not necessary -- OpenCV libraries are normally installed in one of the above $LIBRARY_DIRS.)

# USE_PKG_CONFIG := 1

# N.B. both build and distribute dirs are cleared on `make clean`

BUILD_DIR := build

DISTRIBUTE_DIR := distribute

# Uncomment for debugging. Does not work on OSX due to https://github.com/BVLC/caffe/issues/171

# DEBUG := 1

# The ID of the GPU that 'make runtest' will use to run unit tests.

TEST_GPUID := 0

# enable pretty build (comment to see full commands)

Q ?= @
开始编译
make clean

make all -j6

make clean

make pycaffe -j6
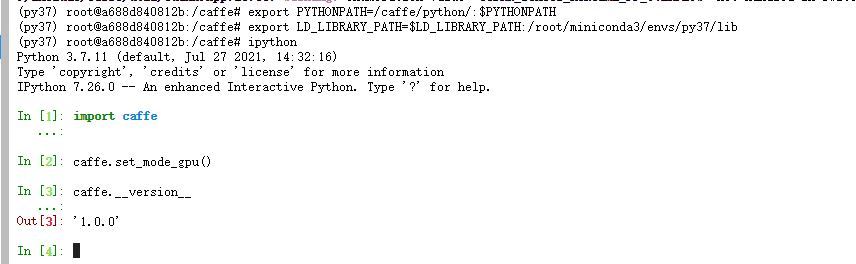
设置环境变量
export PYTHONPATH=/caffe/python/:$PYTHONPATH

export LD_LIBRARY_PATH=$LD_LIBRARY_PATH:/root/miniconda3/envs/py37/lib
使用ipython环境测试
ipython
import caffe

caffe.set_mode_gpu()

caffe.__version__
使用官方examples测试

#!/usr/bin/env sh

# This scripts downloads the mnist data and unzips it.

DIR="$( cd "$(dirname "$0")" ; pwd -P )"

cd "$DIR"

echo "Downloading..."

for fname in train-images-idx3-ubyte train-labels-idx1-ubyte t10k-images-idx3-ubyte t10k-labels-idx1-ubyte

do

    if [ ! -e $fname ]; then

        wget --no-check-certificate https://storage.googleapis.com/cvdf-datasets/mnist/${fname}.gz

        gunzip ${fname}.gz

    fi

done
./data/mnist/get_mnist.sh

./examples/mnist/create_mnist.sh

./examples/mnist/train_lenet.sh
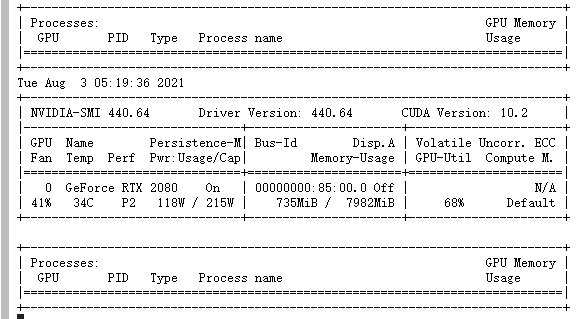
nvidia-smi -l 5
参考文章
https://hub.docker.com/r/floydhub/caffe/tags?page=1&ordering=last_updated
https://github.com/tensorflow/datasets/blob/master/tensorflow_datasets/url_checksums/mnist.txt
https://www.cnblogs.com/laosan007/p/11737704.html
https://blog.csdn.net/u010417185/article/details/53559107
https://github.com/BVLC/caffe/issues/720
https://github.com/BVLC/caffe/issues/263
https://github.com/BVLC/caffe/issues/6063
https://github.com/BVLC/caffe/issues/4843#issue-182962618
https://blog.csdn.net/xuezhisdc/article/details/48707101
矩池云上安装caffe gpu教程的更多相关文章
- 矩池云上安装yolov4 darknet教程
这里我是用PyTorch 1.8.1来安装的 拉取仓库 官方仓库 git clone https://github.com/AlexeyAB/darknet 镜像仓库 git clone https: ...
- 矩池云上安装ikatago及远程链接教程
https://github.com/kinfkong/ikatago-resources/tree/master/dockerfiles 从作者的库中可以看到,该程序支持cuda9.2.cuda10 ...
- 矩池云上使用nvidia-smi命令教程
简介 nvidia-smi全称是NVIDIA System Management Interface ,它是一个基于NVIDIA Management Library(NVML)构建的命令行实用工具, ...
- 矩池云上安装 NVCaffe教程
使用的是P100,cuda11.1base镜像 创建虚拟环境 conda create -n py36 python=3.6 conda deactivate conda activate py36 ...
- 矩池云上安装yolov5并测试教程
官方仓库:https://github.com/ultralytics/yolov5 官方文档:https://docs.ultralytics.com/quick-start/ 此案例我是租用了k8 ...
- 矩池云上安装及使用Milvus教程
选择cuda10.1的镜像 更新源及拷贝文件到本地 apt-get update cp -r /public/database/milvus/ / cd /milvus/ cp ./lib/* /us ...
- 矩池云上编译安装dlib库
方法一(简单) 矩池云上的k80因为内存问题,请用其他版本的GPU去进行编译,保存环境后再在k80上用. 准备工作 下载dlib的源文件 进入python的官网,点击PyPi选项,搜索dilb,再点击 ...
- 在矩池云上复现 CVPR 2018 LearningToCompare_FSL 环境
这是 CVPR 2018 的一篇少样本学习论文:Learning to Compare: Relation Network for Few-Shot Learning 源码地址:https://git ...
- 矩池云 | 高性价比的GPU租用深度学习平台
矩池云是一个专业的国内深度学习云平台,拥有着良好的深度学习云端训练体验.在性价比上,我们以 2080Ti 单卡为例,36 小时折扣后的价格才 55 元,每小时单价仅 1.52 元,属于全网最低价.用户 ...
随机推荐
- 安装JDK,以及配置环境变量
卸载JDK 删除Java的安装目录 删除JAVA_HOME 删除path下关于Java的目录 Java-version 安装JDK 使用浏览器搜索JDK,找到下载地址 同意协议 下载电脑对应的版本 双 ...
- JAVA多线程学习十-Callable与Future的应用
Callable与Runnable 先说一下java.lang.Runnable吧,它是一个接口,在它里面只声明了一个run()方法: public interface Runnable { publ ...
- 关于SVN常用命令之export
SVN官方命令参考地址:http://www.subversion.org.cn/svnbook/nightly/svn.ref.html 关于export命令 导出一个干净的不带.svn文件夹的目录 ...
- Apache中commons包的各种jar的功能说明
commons-logging.jar -----记录日志,通常和 log4j.jar共同使用 commons-beanutils.jar(1.1) 主要提供Bean的 ...
- ANT中的copy和move标签
Copy标签 该标签用于文件或文件集的拷贝,其属性如下: file 表示源文件. tofile 表示目标文件. todir 表示目标目录. overwrite 表示指定是否覆盖目标文件,默认值是不覆盖 ...
- HTML与HTTP协议
HTML与HTTP协议 目录 HTML与HTTP协议 一.HTML 1. HTML概述 2. HTML编辑 3. HTML语法规则 4. HTML文件结构 5. HTML基本标签 (1)头标签中常用标 ...
- mysql表查询、多表查询(增强查询的使用)子查询、合并查询,外连接,mysql5种约束,自增长
一.查询加强 1.在mysql中,日期类型可以直接比较,需要注意格式 2.%:表示0到多个字符, _:表示单个字符 exp:显示第二个字符为大写O的所有员工的姓名和工资 select name fr ...
- 如何将VSCode配置上传到gitee账户,简单几步教你实现
众所周知,VSCode是一款功能非常强大的代码编写软件,不仅开源免费,其插件商店也是非常广泛.非常之强大.借助这些插件我们可以配置各种语言环境,也可以运行各种代码. 但随之就有问题出现了,我们在更换设 ...
- Linux运行级别及解释
Linux中有七个运行级别,分别为0~7 0级:关机 1级:单用户(找回丢失密码) 2级:多用户无网络 3级:多用户有网络,最常用的级别 4级:保留,目前Linux暂无使用 5级:图像界面 6级:重启 ...
- Ubuntu20.04 安装MongoDB及其基本使用
MongoDB 官方文档 本博客旨在自我学习使用,如有任何疑问请及时联系博主 基本介绍 MongoDB 是由C++语言编写并基于分布式文件存储的开源数据库. MongoDB 是一款介于关系数据库和非关 ...