QML 从入门到放弃 第二卷
第二卷如何更快速的放弃,注重的是C++和QML的交互
<1>记事本。。

(1) 先测试下不在QML创建C++对象,仅仅在main.cpp添加一个属性函数供调用. 注意只使用槽函数来做到。
TextStreamLoader.h
#ifndef TEXTSTREAMLOADER_H

#define TEXTSTREAMLOADER_H

#include <QObject>

#include <QTextStream>

#include <QDebug>

class TextStreamLoader : public QObject

{

    Q_OBJECT

public:

    explicit TextStreamLoader(QObject *parent = );

    void test2(){qDebug()<<"test 2 without slots";}

signals:

    void signal_readFile(QString buffer);

    void signal_error(QString errorMsg);

    void signal_saveFile(QString file,QString buffer);

public slots:

    void slot_readFile(QString file);

    void slot_saveFile(QString file,QString buffer);

    void slot_test(){qDebug() << "test C++";}

    QString slot_getBuffer();

private:

    QString _buffer;

};

#endif // TEXTSTREAMLOADER_H
TextStreamLoader.cpp
#include "TextStreamLoader.h"

#include <QFile>

#include <QUrl>

TextStreamLoader::TextStreamLoader(QObject *parent) : QObject(parent)

{

    qDebug() << "Construct the TextStreamLoader";

    connect(this,&TextStreamLoader::signal_saveFile,

            this,&TextStreamLoader::slot_saveFile);

}

void TextStreamLoader::slot_readFile(QString file) // read a file to the _buffer

{

    QUrl url(file);

    QString localFile = url.toLocalFile();

    QFile rfile(localFile);

    if(!rfile.open(QIODevice::ReadOnly))

    {

        QString errorMsg = "Could not open " + file + "\n";

        qDebug() << errorMsg;

        emit signal_error(errorMsg);

        return ;

    }

    QTextStream in(&rfile);

    _buffer = in.readAll();

    emit signal_readFile(_buffer);

    rfile.close();

}

void TextStreamLoader::slot_saveFile(QString file, QString buffer)

{

    QUrl url(file);

    QString localFile = url.toLocalFile();

    QFile wfile(localFile);

    if(!wfile.open(QFile::WriteOnly))

    {

        QString errorMsg = "Could not open " + localFile + "\n";

        qDebug() <<errorMsg;

        emit signal_error(errorMsg);

        return ;

    }

    QTextStream out(&wfile);

    out << buffer;

    wfile.close();

}

QString TextStreamLoader::slot_getBuffer()

{

    return _buffer;

}
main.cpp
#include <QGuiApplication>

#include <QQmlApplicationEngine>

#include <QQmlContext>

#include "TextStreamLoader.h"

int main(int argc, char *argv[])

{

    QGuiApplication app(argc, argv);

    QQmlApplicationEngine engine;

    QQmlContext *context = engine.rootContext();

    // 注意对象是在C++里构建

    TextStreamLoader stream_01;

    context->setContextProperty("stream_01",&stream_01);

    // 构建完C++对象

    // 加载我们的QML界面,只能调用槽函数

    qDebug() << "load the main.qml";

    engine.load(QUrl(QStringLiteral("qrc:/main.qml")));

    qDebug() <<engine.rootObjects()[]->objectName();  // this will be debug "Houdini"

    return app.exec();

}
main.qml 用最简单的测试下我们的TextStreamLoader 里面的 "test()槽函数",一定要是槽函数才能被调用。
main.qml全部都是通过调用C++的对象的槽函数,而C++对象是在main.cpp创建,所以在qml随时可以访问 槽函数。
import QtQuick 2.6

import QtQuick.Window 2.2

import QtQuick.Controls 2.1

import QtQuick.Dialogs 1.2

Window

{

    id:root

    objectName: "Houdini"

    visible: true

    width: 640

    height: 480

    title: qsTr("Hello World")

    color:"#202020"

    function loadTextToTextEdit(text)

    {

        textEdit.clear()

        var buffer = stream_01.slot_getBuffer()

        textEdit.append(buffer)

    }

    function saveTextToDisk(file,buffer)

    {

        stream_01.slot_saveFile(file,buffer)

    }

    Column

    {

        id:mainLayout

        padding: 5

        spacing: 10

        Row

        {

            id:buttonLayout

            spacing: 10

            Button

            {

                id:loadButton

                text:"load file"

                highlighted: true

                onClicked:

                {

                    openDialog.open()

                }

            }

            Button

            {

                id:saveButton

                highlighted: true

                text:"save file"

                onClicked:

                {

                    saveDialog.open()

                }

            }

        }

        Rectangle

        {

            height: 1

            width: root.width

            id:menuRect

            color:"brown"

        }

        Flickable

        {

            id:flick

            width: root.width; height: root.height;

            contentWidth: textEdit.paintedWidth

            contentHeight: textEdit.paintedHeight

            clip: true

            function ensureVisible(r)

            {

                if (contentX >= r.x)

                    contentX = r.x;

                else if (contentX+width <= r.x+r.width)

                    contentX = r.x+r.width-width;

                if (contentY >= r.y)

                    contentY = r.y;

                else if (contentY+height <= r.y+r.height)

                    contentY = r.y+r.height-height;

            }

            TextEdit

            {

                width: flick.width

                height: flick.height

                anchors.margins: 10

                focus: true

                id:textEdit

                text: ""

                color:"brown"

                font.family: "Helvetica"

                font.pointSize: 10

                font.bold: true

                cursorVisible: true

                selectByKeyboard: true

                selectByMouse: true

                wrapMode:TextEdit.WrapAnywhere

                onCursorRectangleChanged: flick.ensureVisible(cursorRectangle)

            }

        }

    }

    FileDialog

    {

        id:openDialog

        title: "Please choose a file"

        folder: shortcuts.home

        onAccepted:

        {

            console.log("You chose: " + openDialog.fileUrls)

            stream_01.slot_readFile(openDialog.fileUrls)

            var buffer = stream_01.slot_getBuffer()

            loadTextToTextEdit(buffer)

        }

        onRejected:

        {

            console.log("Canceled")

        }

    }

    FileDialog

    {

        id:saveDialog

        title:"Save to a file"

        folder: shortcuts.home

        selectExisting : false

        onAccepted:

        {

            console.log("Save file : " + saveDialog.fileUrls)

            var text = textEdit.text;

            saveTextToDisk(saveDialog.fileUrl,text);

        }

        onRejected:

        {

            console.log("Canceled")

        }

    }

}
(2)
这次变化使用了QML里的connections.
可以调用C++里的signal,signal带参数也可以传递过来。注意查看新的main.qml
代码区别就是读取用的C++信号读取的。
保存时用的信号在QML发射,然后调用C++的信号槽链接,来执行slot_saveFile()函数。
main.qml:
import QtQuick 2.6

import QtQuick.Window 2.2

import QtQuick.Controls 2.1

import QtQuick.Dialogs 1.2

Window

{

    id:root

    objectName: "Houdini"

    visible: true

    width:

    height:

    title: qsTr("Hello World")

    color:"#202020"

    function loadTextToTextEdit(text)

    {

        textEdit.clear()

        var buffer = stream_01.slot_getBuffer()

        textEdit.append(buffer)

    }

    function saveTextToDisk(file,buffer)

    {

        stream_01.slot_saveFile(file,buffer)

    }

    Column

    {

        id:mainLayout

        padding:

        spacing:

        Row

        {

            id:buttonLayout

            spacing:

            Button

            {

                id:loadButton

                text:"load file"

                highlighted: true

                onClicked:

                {

                    openDialog.open()

                }

            }

            Button

            {

                id:saveButton

                highlighted: true

                text:"save file"

                onClicked:

                {

                    saveDialog.open()

                }

            }

        }

        Rectangle

        {

            height:

            width: root.width

            id:menuRect

            color:"brown"

        }

        Flickable

        {

            id:flick

            width: root.width; height: root.height;

            contentWidth: textEdit.paintedWidth

            contentHeight: textEdit.paintedHeight

            clip: true

            function ensureVisible(r)

            {

                if (contentX >= r.x)

                    contentX = r.x;

                else if (contentX+width <= r.x+r.width)

                    contentX = r.x+r.width-width;

                if (contentY >= r.y)

                    contentY = r.y;

                else if (contentY+height <= r.y+r.height)

                    contentY = r.y+r.height-height;

            }

            TextEdit

            {

                width: flick.width

                height: flick.height

                anchors.margins:

                focus: true

                id:textEdit

                text: ""

                color:"brown"

                font.family: "Helvetica"

                font.pointSize:

                font.bold: true

                cursorVisible: true

                selectByKeyboard: true

                selectByMouse: true

                wrapMode:TextEdit.WrapAnywhere

                onCursorRectangleChanged: flick.ensureVisible(cursorRectangle)

            }

        }

    }

    Connections

    {

        target: stream_01

        onSignal_readFile://当读取文件的时候回触发这个信号

        {

            var readText = buffer //buffer是signal_readFile(buffer)参数

            textEdit.clear()

            textEdit.append(readText)

        }

    }

    // 读取文件的窗口

    FileDialog

    {

        id:openDialog

        title: "Please choose a file"

        folder: shortcuts.home

        onAccepted:

        {

            console.log("You chose: " + openDialog.fileUrl)

            //这句话会触发signal_readFile信号

            stream_01.slot_readFile(openDialog.fileUrl)

        }

        onRejected:

        {

            console.log("Canceled")

        }

    }

    //保存文件窗口

    FileDialog

    {

        id:saveDialog

        title:"Save to a file"

        folder: shortcuts.home

        selectExisting : false

        onAccepted:

        {

            console.log("Save file : " + saveDialog.fileUrl)

            var text = textEdit.text;

            //保存触发信号,在C++中这个信号会触发保存

            stream_01.signal_saveFile(saveDialog.fileUrl,text)

        }

        onRejected:

        {

            console.log("Canceled")

        }

    }

}
(3)Q_PROPERTY宏,如果你想暴露一些member给QML对象。
Q_OBJECT

Q_PROPERTY(QString message READ message WRITE setMessage NOTIFY messageChanged)

public:

    QString message(){return _msg;}

    void setMessage(QString msg)
    {
        _msg =  msg;
        emit messageChanged();
    }
类型如下:
Q_PROPERTY(任意类型 QML访问属性名 READ 读取函数名 WRITE 写的函数名 NOTIFY 信号触发)
<2>Q_INVOKABLE 宏,让QML可以随心所以调用函数。跟槽槽函数,信号一样调用。
<3>在C++修改QML对象的属性,从C++call javaScript
(1)修改qml root object的对象属性
qDebug() <<engine.rootObjects()[]->objectName();  // this will be debug "Houdini"

    QObject *root_object = engine.rootObjects().value(); // houdini object ,it's the main object

    // set QML object property

    //root_object->setProperty("x",600);

    QQmlProperty::write(root_object, "x", );

    // read QML object property

    qDebug() << root_object->property("x").toInt();

    qDebug() << QQmlProperty::read(root_object,"x").toInt();

    // read root object child by name

    //QObject *rect = root_object->findChild<QObject*>("rect");
(2) 假如qml root object 有个java函数:
function javefunctest(arg)

{

     console.log(arg);

     return "I'm jave script"

}
C++访问:
QObject *root_object = engine.rootObjects().value(); // houdini object ,it's the main object

QVariant firstArg("I am C++ arg");

QVariant retValue;

    // call the jave script

QMetaObject::invokeMethod(root_object,

                              "javefunctest",

                              Q_RETURN_ARG(QVariant,retValue),

                              Q_ARG(QVariant,firstArg));

qDebug() << "ret value is " << retValue;
输出:
qml: I am C++ arg
ret value is QVariant(QString, "I'm java script")
<4> EMCA:
(1) 基本类型
var flag =false //a boolean

var x =1,y=2

var str = 'abc' / "abc"

var test = {x:2,y:3}

console.log(test.x) //

console.log(test.y) //

test// object

(1) typeof()类型 关键字

To query the type of a variable, use the typeof keyword. typeof returns the name of the

type as a string.

var x=1;

typeof(x) //"number"

typeof {x:1} //'object '

typeof typeof { x : 1 } // ’string’ 因为typeof()返回的是字符串.

(2) 转换类型

1.3333333.toFixed(2) // ’1.33’

7..toString() // ’7’

(3) 可以显式的把boolean ,number,string转换成对象:

typeof 1. // ’number’

typeof new Number(1.) // ’object’

typeof new String(’Hi!’) // ’object’

(4)

Objects themselves can be expressed using an array or object literal. Arrays have no separate

type, but are specialized objects which use array indexes as properties:

var o = { name: ’Werner’, age: 84 } // allocate simple object

print(o.name, o[age])

// both notations are valid, but [] notation allows generated strings

var a = [’a’, ’b’, 7, 11.]

// an array, equivalent to {’0’: ’a’, ’1’: ’b’, ’2’: 7, ’3’: 11.}

typeof o, a // ’object’, ’object’
(2)函数
函数:所有的函数都会evaluates to something:
function f() {} //evaluates as 'undefined'
function f() {} +1 // evaluates as 1 ,because 'undefined' is casted to 0
(function f() {}) //evaluates to a function object
(function () {return 0;}) () /evaluates as 0
(3)
for loop :

i 作为了index

(4)

delete p.z // remove p.z
p.z //undefined
(5)在列表中存入,或者在json对象中存在函数

(6) 创建对象new关键字
(1)

(2)创建对象默认构造函数:
这个时候Point其实就是个类。

为Point类添加个函数.
Each function in JavaScript can be used as a constructor in combination with the new operator.
To support inheritance, each function has a default property named prototype. Objects
created from a constructor inherit all properties from the constructor’s prototype. Consider the
following example:
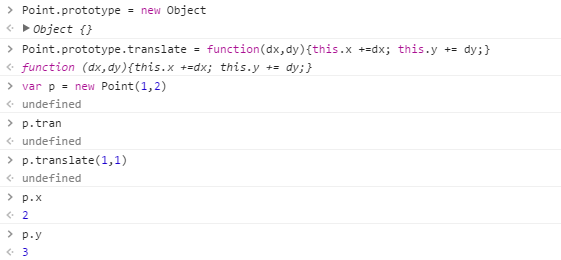
其实 prototype里面的方法属于派生出来的,如何检查一个方法,或者一个类对象是原有的:

<2>公司一个小项目
按钮效果模仿的是Google material design风格。流动起来。参考上篇有详细代码.

V2:
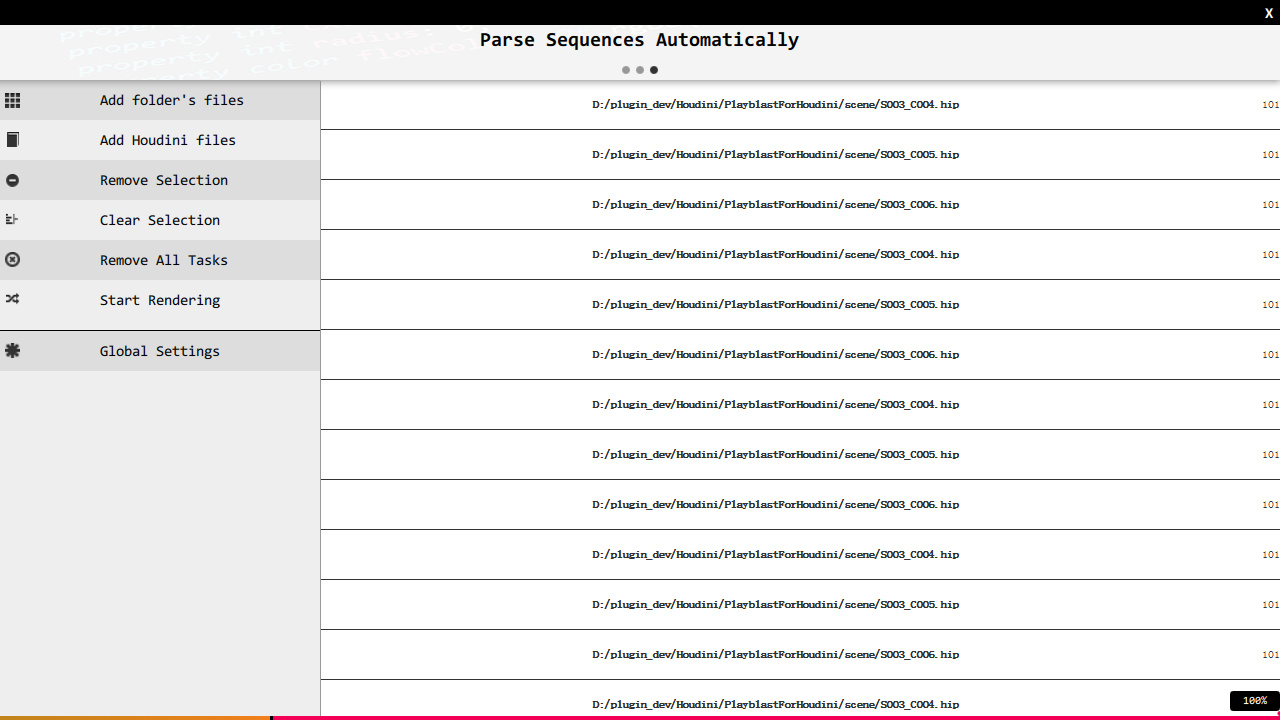
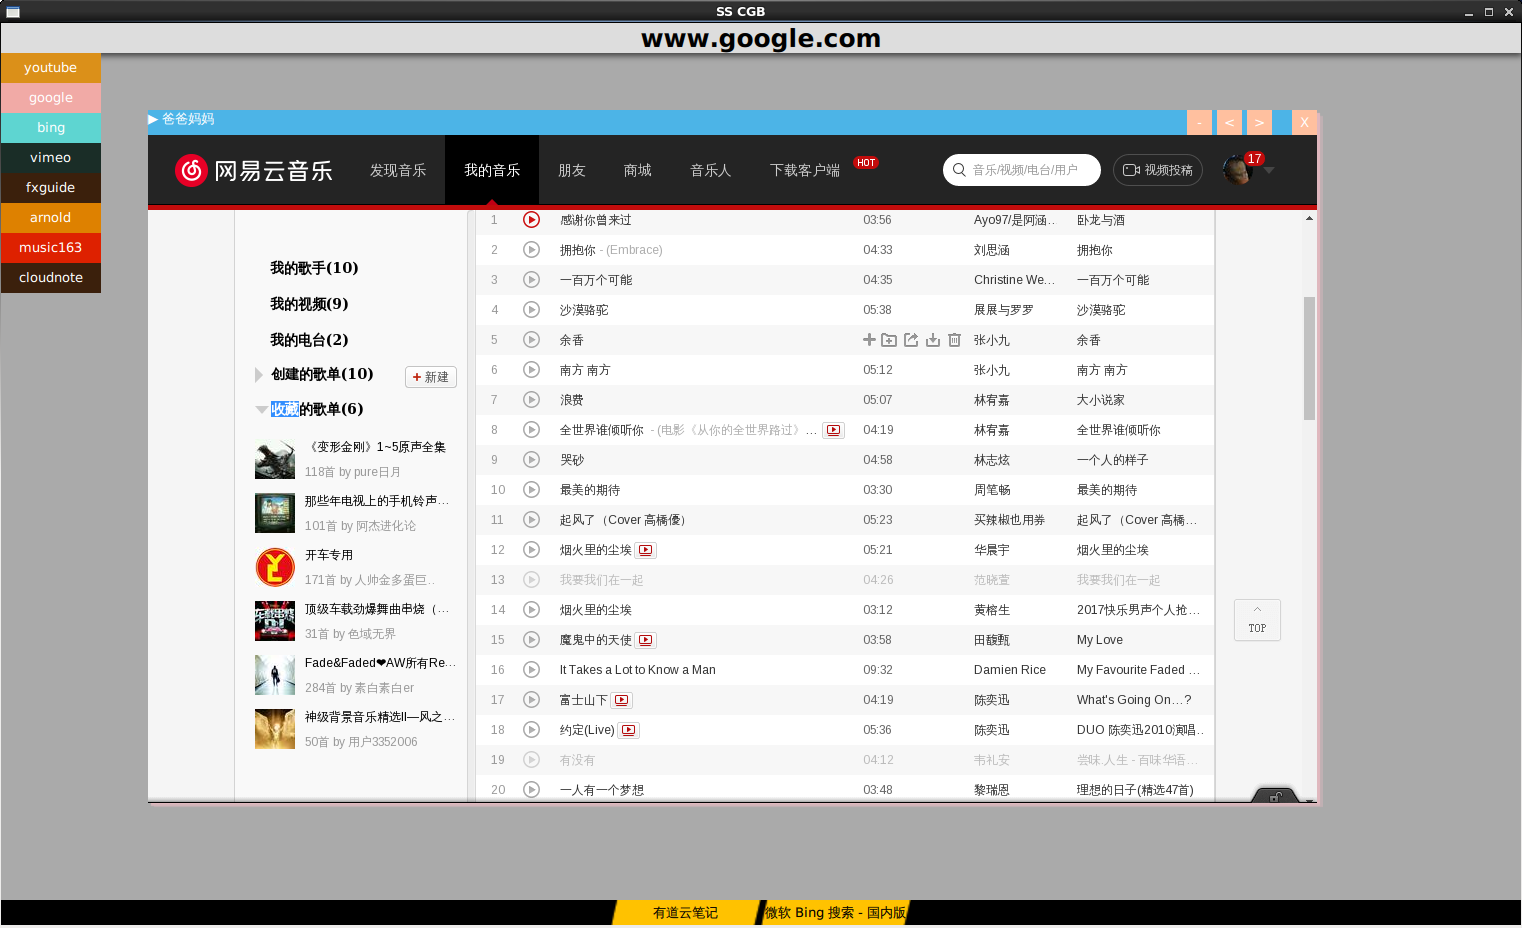
3,CG Browser
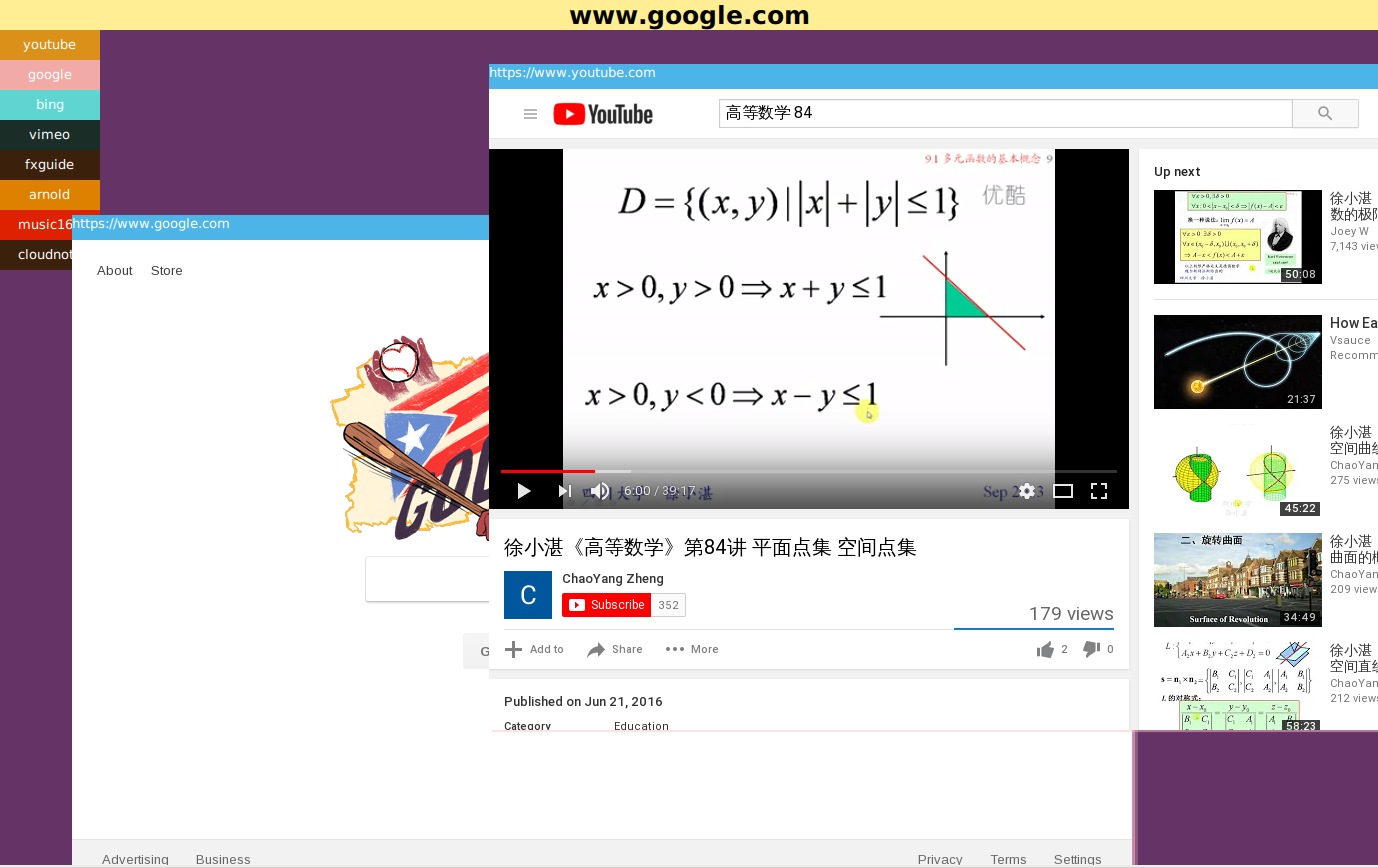
New Version:0.00001
QML 从入门到放弃 第二卷的更多相关文章
- QML 从入门到放弃
发现了一个问题: QQuickView only supports loading of root objects that derive from QQuickItem. If your examp ...
- Python从入门到放弃系列(Django/Flask/爬虫)
第一篇 Django从入门到放弃 第二篇 Flask 第二篇 爬虫
- WPF从入门到放弃系列第二章 XAML
本文是作者学习WPF从入门到放弃过程中的一些总结,主要内容都是对学习过程中拜读的文章的整理归纳. 参考资料 XAML 概述 (WPF):https://msdn.microsoft.com/zh-cn ...
- [精品书单] C#/.NET 学习之路——从入门到放弃
C#/.NET 学习之路--从入门到放弃 此系列只包含 C#/CLR 学习,不包含应用框架(ASP.NET , WPF , WCF 等)及架构设计学习书籍和资料. C# 入门 <C# 本质论&g ...
- OpenStack从入门到放弃
OpenStack从入门到放弃 目录: 为何选择云计算/云计算之前遇到的问题 什么是云计算 云服务模式 云应用形式 传统应用与云感知应用 openstack及其相关组件介绍 flat/vlan/gre ...
- 绕过校园网的共享限制 win10搭建VPN服务器实现--从入门到放弃
一.开篇立论= =.. 上次说到博主在电脑上搭建了代理服务器来绕过天翼客户端的共享限制,然而经过实际测试还不够完美,所以本着生命不息,折腾不止的精神,我又开始研究搭建vpn服务器= =... (上次的 ...
- Android -- 带你从源码角度领悟Dagger2入门到放弃
1,以前的博客也写了两篇关于Dagger2,但是感觉自己使用的时候还是云里雾里的,更不谈各位来看博客的同学了,所以今天打算和大家再一次的入坑试试,最后一次了,保证最后一次了. 2,接入项目 在项目的G ...
- Android -- 带你从源码角度领悟Dagger2入门到放弃(二)
1,接着我们上一篇继续介绍,在上一篇我们介绍了简单的@Inject和@Component的结合使用,现在我们继续以老师和学生的例子,我们知道学生上课的时候都会有书籍来辅助听课,先来看看我们之前的Stu ...
- Android -- 带你从源码角度领悟Dagger2入门到放弃(一)
1,以前的博客也写了两篇关于Dagger2,但是感觉自己使用的时候还是云里雾里的,更不谈各位来看博客的同学了,所以今天打算和大家再一次的入坑试试,最后一次了,保证最后一次了. 2,接入项目 在项目的G ...
随机推荐
- pandas知识点
1.选择对象 1.选择特定列和行的数据 a['x'] 那么将会返回columns为x的列,注意这种方式一次只能返回一个列.a.x与a['x']意思一样. 取行数据,通过切片[]来选择 如:a[0:3] ...
- HDFS集群优化篇
HDFS集群优化篇 作者:尹正杰 版权声明:原创作品,谢绝转载!否则将追究法律责任. 一.操作系统级别优化 1>.优化文件系统(推荐使用EXT4和XFS文件系统,相比较而言,更推荐后者,因为XF ...
- flume常见异常汇总以及解决方案
flume常见异常汇总以及解决方案 作者:尹正杰 版权声明:原创作品,谢绝转载!否则将追究法律责任. 实际生产环境中,我用flume将kafka的数据定期的往hdfs集群中上传数据,也遇到过一系列的坑 ...
- Centos 6\7下yum安装R
在linux下安装软件不如windows方便,在windows下我们一般针对可安装的文件(如R.exe)直接双击运行就可以了.而在linux下我们首先要学会使用安装软件的专门工具如centos下的rp ...
- Java 语言特性
介绍以下几种语言特性: Java5的特性 1.静态引用 2.可变参数 3.自动装箱和拆箱 包装类的缓存设计 4.枚举 一.静态引用(语法糖,不推荐使用,了解一下即可) 先看看普通的引用,就是impo ...
- 从Paxos到Zookeeper分布式一致性原理与实践 读书笔记之(一) 分布式架构
1.1 从集中式到分布式 1 集中式特点 结构简单,无需考虑对多个节点的部署和节点之间的协作. 2 分布式特点 分不性:在时间可空间上随意分布,机器的分布情况随时变动 对等性:计算机之间没有主从之分 ...
- Kafka技术内幕 读书笔记之(五) 协调者——消费组状态机
协调者保存的消费组元数据中记录了消费组的状态机 , 消费组状态机的转换主要发生在“加入组请求”和“同步组请求”的处理过程中 .协调者处理“离开消费组请求”“迁移消费组请求”“心跳请求” “提交偏移量请 ...
- Windows netstat 查看端口、进程占用 查看进程路径
1.查看端口.进程占用 运行->进入cmd->netstat -ano 2.查看进程路径 运行->WMIC->process 3.查看进程PID和占用内存情况 运行->进 ...
- java assert的用法简介【转】
assert的基本用法 assertion(断言)在软件开发中是一种常用的调试方式,很多开发语言中都支持这种机制,如C,C++和Eiffel等,但是支持的形式不尽相同,有的是通过语言本身.有的是通过库 ...
- cdqz2017-test1-数论 (BSGS + 二次剩余 + CRT)
若m=0, 就是求n^2n ≡ x mod p (x--) 因为一定优解,所以x一定是p的二次剩余 令g为p的1个原根,且g^k ≡ x mod p 则k是偶数,证明k是偶数: 假设 g1^k1 ≡ ...