Vue cli之路由router
一、安装路由
Vue-router用于提供给vue项目在开发中用于绑定url和组件页面的关系的核心插件。
默认情况下,vue没有提供路由的功能,所以我们使用vue-router,并需要在项目根目录。
npm install vue-router
安装了vue-router插件以后,我们必须要对路由进行初始化并且还要绑定组件与url地址之间的路由映射关系。
首页,我们需要在一个单独的目录router下创建路由文件index.js,实例化路由对象并绑定组件和url地址的关系。
二、基本使用
在src路径下创建router/index.js,代码:
import VueRouter from "vue-router";

import Vue from "vue";

Vue.use(VueRouter);

import Home from "../views/Home";

import HelloWorld from "../components/HelloWorld";

import Forecast from "../components/Forecast";

export default new VueRouter({

  mode: "history", // hash 表示以地址栏的哈希值作为路径,history以历史对象的url作为路径

  routes:[  // 路由列表,里面的每一个成员都是一个url地址和组件的映射关系

    {

      path: "/",

      component: Home,

    },

    {

      path: "/hi",

      component: HelloWorld,

    },

    {

      path: "/index",

      component: Forecast,

    }

  ]

});
main.js,代码:
// The Vue build version to load with the `import` command

// (runtime-only or standalone) has been set in webpack.base.conf with an alias.

import Vue from 'vue'    // 没有声明路径,则默认从node_module中导包过来

import App from './App'  // 如果由声明了路径,则表示从当前文件出发根据路径关系进行导报

import axios from "axios";

import router from "./router/index";  // 导入路由对象

// 初始化axios对象

Vue.prototype.$http = axios.create();

Vue.config.productionTip = false

/* eslint-disable no-new */

new Vue({

  el: '#app',

  router,

  components: { App },

  template: '<App/>'

})
App.vue,代码:
<template>

  <div id="app">

    <!--    <HelloWorld msg="Welcome to Your Vue.js App"/>-->

    <!--    <Home></Home>-->

    <router-view></router-view>

  </div>

</template>

<script>

// import HelloWorld from './components/HelloWorld.vue'

// import Home from './views/Home'

export default {

  name: 'App',

  components: {

    // HelloWorld

    // Home

  }

}

</script>

<style>

#app {

  font-family: Avenir, Helvetica, Arial, sans-serif;

  -webkit-font-smoothing: antialiased;

  -moz-osx-font-smoothing: grayscale;

  text-align: center;

  color: #2c3e50;

  margin-top: 60px;

}

</style>
三、页面跳转
vue-router提供了2种写法让我们实现页面跳转。
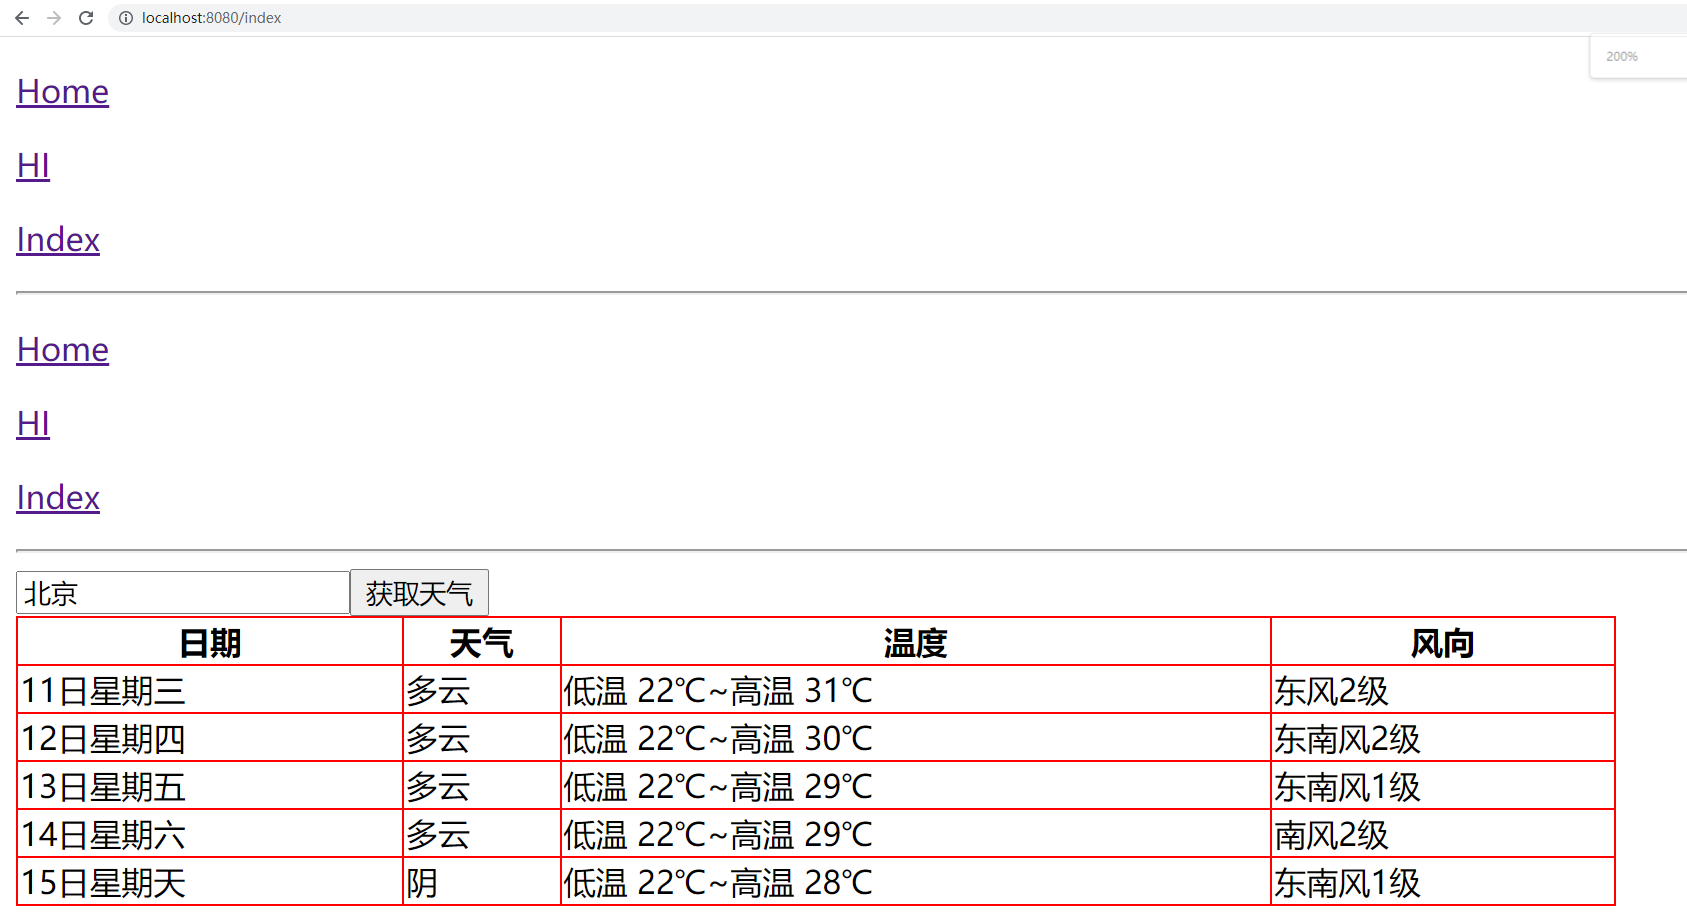
1、通过router-link来跳转
App.vue,代码:
<template>

  <div id="app">

    <p><a href="/">Home</a></p>

    <p><a href="/hi">HI</a></p>

    <p><a href="/index">Index</a></p>

    <hr>

    <p>

      <router-link to="/">Home</router-link>

    </p>

    <p>

      <router-link to="/hi">HI</router-link>

    </p>

    <p>

      <router-link :to="url">Index</router-link>

    </p>

    <hr>

    <router-view></router-view>

  </div>

</template>

<script>

export default {

  name: 'App',  // 组件名

  data() {

    return {

      url: "/index",

    }

  },

  components: { // 子组件

  }

}

</script>

<style>

</style>
注意:一般在开发中不会在App.vue编写具体的代码,我们这里仅仅是为了方便学习演示。
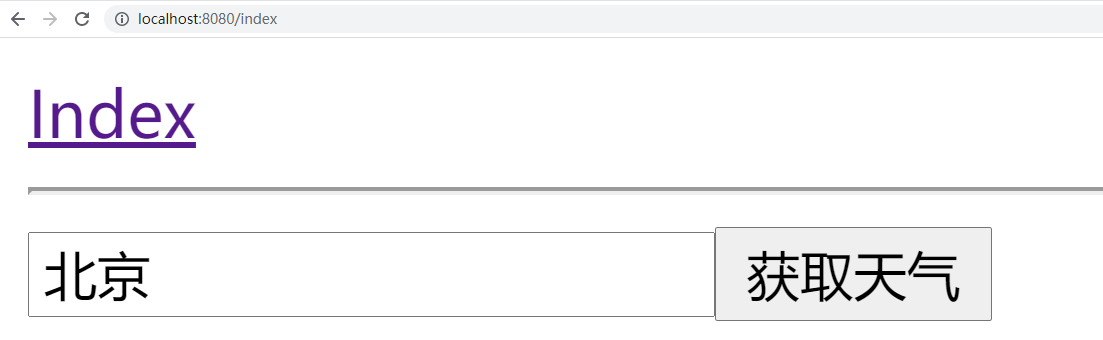
2、通过this.$router来跳转
App.vue,代码:
<template>

  <div id="app">

    <a href="" @click.prevent="goto">Index</a>

    <hr>

   <router-view></router-view>

  </div>

</template>

<script>

export default {

  name: 'App',  // 组件名

  data(){

    return {

       url: "/index",

       user: "root",

    }

  },

  methods:{

    goto(){

      // 页面跳转

      if(this.user === "root"){

        this.$router.push("/index"); // ajax页面跳转到指定的路由地址

        // this.$router.back(); // 跳转返回上一页

        // this.$router.go(-1); // -1相当于back,后退一页

        // this.$router.go(1); // 1表示forward,前进一页

      }

    }

  },

  components: { // 子组件

  }

}

</script>

<style>

</style>
四、传递参数
vue-router提供了2种用于开发中传递参数的方式给我们使用。
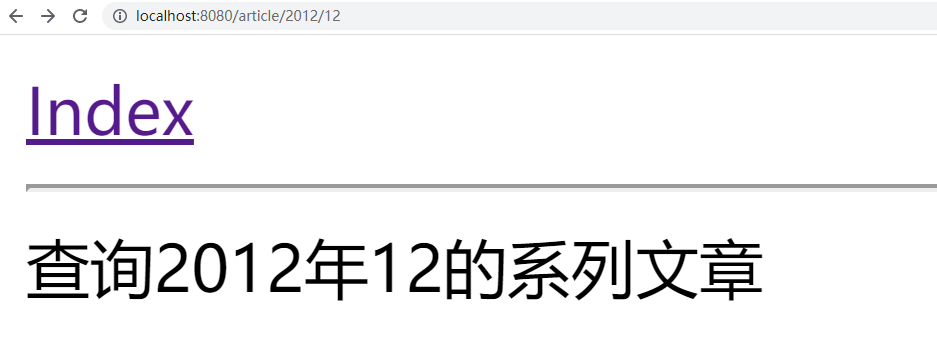
1、路径参数
url地址的路径作为变量,传递参数到下一个页面组件中进行获取使用。
router/index.js,代码:
import VueRouter from "vue-router";

import Vue from "vue";

Vue.use(VueRouter);

import Home from "../views/Home";

import HelloWorld from "../components/HelloWorld";

import Forecast from "../components/Forecast";

import Article from "../components/Article";

export default new VueRouter({

  mode: "history", // hash 表示以地址栏的哈希值作为路径,history以历史对象的url作为路径

  routes:[  // 路由列表,里面的每一个成员都是一个url地址和组件的映射关系

    {

      path: "/",

      component: Home,

    },

    {

      path: "/hi",

      component: HelloWorld,

    },

    {

      path: "/index",

      component: Forecast,

    },

     {

      path: "/article/:year/:month",

      component: Article,

    },

  ]

});
Article.vue,代码:
<template>

  <div>

    查询{{year}}年{{month}}的系列文章

  </div>

</template>

<script>

export default {

  name: "Article",

  data(){

    return {

      year: 0,

      month: 0,

    }

  },

  created() {

    this.year = this.$route.params.year;

    this.month = this.$route.params.month;

  }

}

</script>

<style scoped>

</style>
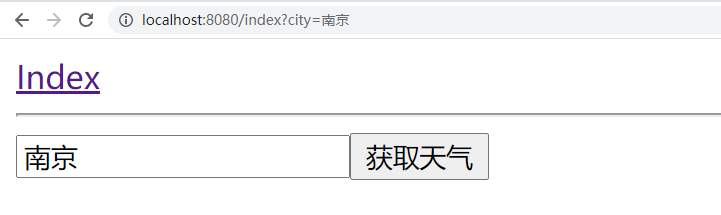
2、查询参数
url地址的查询字符串作为参数,在下一个页面组件中进行获取使用。
App.vue:
<template>

  <div id="app">

    <a href="" @click.prevent="goto">Index</a>

    <hr>

   <router-view></router-view>

  </div>

</template>

<script>

export default {

  name: 'App',  // 组件名

  data(){

    return {

       url: "/index",

       user: "root",

    }

  },

  methods:{

    goto(){

      // 页面跳转

      if(this.user === "root"){

        this.$router.push("/index?city=南京"); // ajax页面跳转到指定的路由地址

      }

    }

  },

  components: { // 子组件

  }

}

</script>

<style>

</style>
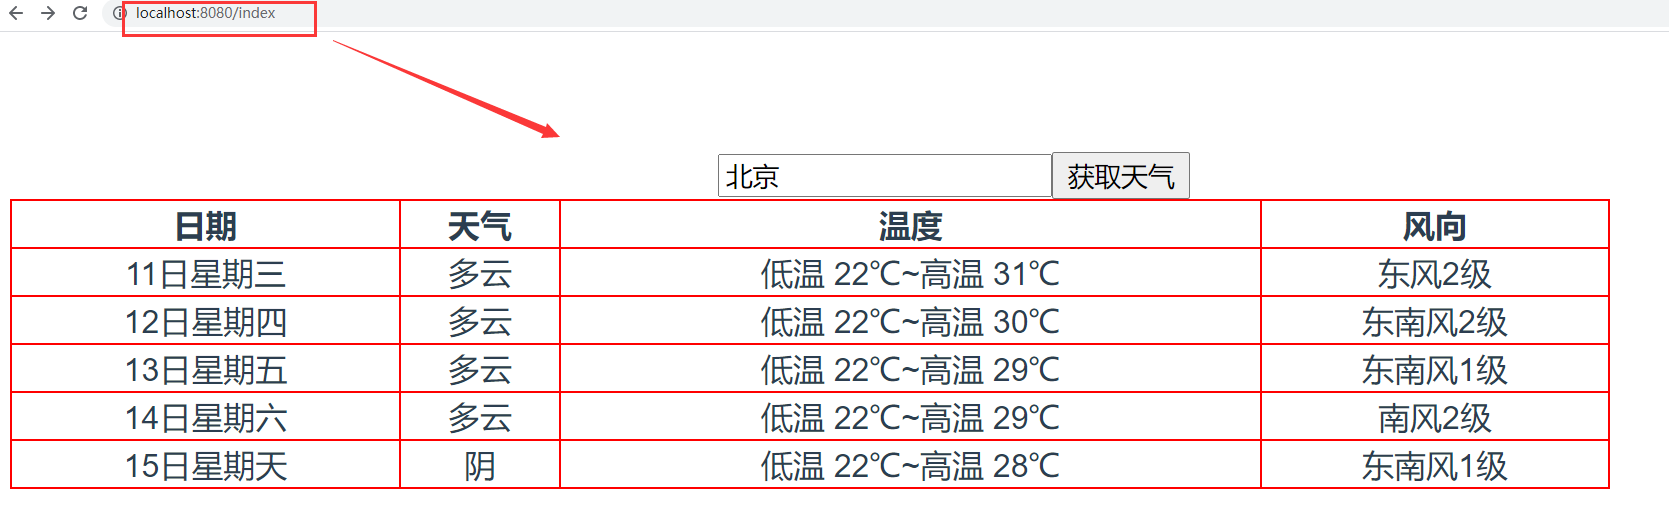
Forecast.vue,代码:
<template>

  <div>

    <input type="text" v-model="city">

    <button @click="get_weather">获取天气</button>

    <table v-if="weather_list.length>1">

      <tr>

        <th>日期</th>

        <th>天气</th>

        <th>温度</th>

        <th>风向</th>

      </tr>

      <tr v-for="weather in weather_list">

        <td>{{weather.date}}</td>

        <td>{{weather.type}}</td>

        <td>{{weather.low}}~{{weather.high}}</td>

        <td>{{weather.fengxiang}}{{weather.fengli|format}}</td>

      </tr>

    </table>

  </div>

</template>

<script>

export default {

  name: "Index",

  data(){

    return {

      city: "北京",

      weather_list:[],

    }

  },

  filters:{

    format(content){

      return content.replaceAll("<![CDATA[","").replaceAll("]]>","");

    }

  },

  created(){

      // 任意一个组件中都可以获取查询参数

      console.log(this.$route.query); // 获取所有的查询参数

      if(this.$route.query.city){

         this.city = this.$route.query.city

      }

  },

  methods:{

    get_weather(){

      // 发送http请求获取天气

      this.$http.get("http://wthrcdn.etouch.cn/weather_mini",{

        params:{

          city: this.city,

        }

      }).then(response=>{

        console.log(response.data.data.forecast);

        this.weather_list = response.data.data.forecast;

      }).catch(error=>{

        console.log(error);

      })

    }

  }

}

</script>

<style scoped>

table{

  width: 800px;

  border-collapse: collapse;

}

td,th{

  border: 1px solid red;

}

</style>
Vue cli之路由router的更多相关文章
- vue工程化与路由router
一.介绍 vue.js 是 目前 最火的前端框架,vue.js 兼具 angular.js 和 react.js 的优点,并剔除它们的缺点.并且提供了很多的周边配套工具 如vue-router ...
- vue教程(五)--路由router介绍
一.html页面中如何使用 1.引入 vue-router.js 2.安装插件 Vue.use(VueRouter) 3.创建路由对象 var router = new VueRouter({ // ...
- vue初级学习--路由router的编写(resolve的使用)
一.导语 最近在用vue仿写淘宝的商品详情页面以及加入购物车页面,若是成功了,分享给大家~~~~~~~~~~~~~~~~~~~~~~~~~~~~~~ 二.正文 我先用控制台创建了vue项目demo(如 ...
- [转]Vue CLI 3搭建vue+vuex 最全分析
原文地址:https://my.oschina.net/wangnian/blog/2051369 一.介绍 Vue CLI 是一个基于 Vue.js 进行快速开发的完整系统.有三个组件: CLI:@ ...
- Vue CLI 3搭建vue+vuex 最全分析
一.介绍 Vue CLI 是一个基于 Vue.js 进行快速开发的完整系统.有三个组件: CLI:@vue/cli 全局安装的 npm 包,提供了终端里的vue命令(如:vue create .vue ...
- vue项目创建步骤 和 路由router知识点
菜单快捷导航: vue项目创建 vue路由router知识点(路径参数.查询参数.命名路由.嵌套路由.命名视图.hash/history模式) 1.创建一个vue项目步骤 (windows环境下).创 ...
- react router @4 和 vue路由 详解(六)vue怎么通过路由传参?
完整版:https://www.cnblogs.com/yangyangxxb/p/10066650.html 8.vue怎么通过路由传参? a.通配符传参数 //在定义路由的时候 { path: ' ...
- react router @4 和 vue路由 详解(四)vue如何在路由里面定义一个子路由
完整版:https://www.cnblogs.com/yangyangxxb/p/10066650.html 6.vue如何在路由里面定义一个子路由? 给父路由加一个 children:[] 参考我 ...
- Vue学习笔记-Vue.js-2.X 学习(七)===>脚手架Vue-CLI(路由Router)
脚手架Vue-CLI(路由Router) 一 按装(通过新创建脚手架按装),如果在原来的脚手架上按装直接进图型化界面vue ui的插件按装. 二 使用(上面按装下面步骤自动会生成) 第一步:导入路由对 ...
- vue cli 3
介绍 Vue CLI 是一个基于 Vue.js 进行快速开发的完整系统 通过 @vue/cli 搭建交互式的项目脚手架. 通过 @vue/cli + @vue/cli-service-global 快 ...
随机推荐
- np.squeeze()
np.squeeze() 是 NumPy 库中的一个函数,用于从数组中删除单维度的条目.它返回一个在输入数组中删除了尺寸为 1 的维度的新数组. 下面是使用 np.squeeze() 的示例代码: 点 ...
- Android studio 提示“android qemu-system-i386.exe停止工作”
解决方案 android studio 关闭AVD时提示"android qemu-system-i386.exe停止工作" 配置虚拟机时"Graphics"选 ...
- 集群部署时的分布式 session 如何实现?
面试官心理分析 面试官问了你一堆 dubbo 是怎么玩儿的,你会玩儿 dubbo 就可以把单块系统弄成分布式系统,然后分布式之后接踵而来的就是一堆问题,最大的问题就是分布式事务.接口幂等性.分布式锁, ...
- js 实现双指缩放
前言随着智能手机.平板电脑等触控设备的普及,交互方式也发生了改变.相对于使用鼠标和键盘进行交互的电脑,触控设备可以直接使用手指进行交互,而且基本上都支持多点触控.多点触控最常见的操作莫过于双指缩放了. ...
- 力扣1454(MySQL)-活跃用户(中等)
(非会员进不去,看的其他博主的题目) 问题: 写一个 SQL 查询, 找到活跃用户的 id 和 name. 活跃用户是指那些至少连续 5 天登录账户的用户. 返回的结果表按照 id 排序. 解题思路 ...
- 中仑网络全站 Dubbo 2 迁移 Dubbo 3 总结
简介: 中仑网络在 2022 年完成了服务框架从 Dubbo 2 到 Dubbo 3 的全站升级,深度使用了应用级服务发现.Kubernetes 原生服务部署.服务治理等核心能力.来自中仑网络的技术负 ...
- 「直播回顾」Mars应用与最佳实践
简介: 本文首先对Mars的概念.功能.优势进行了介绍,随后,对Mars几个典型的应用场景进行介绍,并通过两个Demo展示了在使用Mars后数据科学性能的提升,最后总结了Mars的最佳实践,让使用Ma ...
- 那些你不知道的TCP冷门知识!
简介: 最近在做数据库相关的事情,碰到了很多TCP相关的问题,新的场景新的挑战,有很多之前并没有掌握透彻的点,大大开了一把眼界,选了几个案例分享一下. 最近在做数据库相关的事情,碰到了很多TCP相关的 ...
- Hologres如何支持超高基数UV计算(基于roaringbitmap实现)
简介: 本文将会介绍Hologres基于roaringbitmap实现超高基数的UV计算 RoaringBitmap是一种压缩位图索引,RoaringBitmap自身的数据压缩和去重特性十分适合对于大 ...
- [Caddy2] URL访问路径的重定向和重写规则 (redir/rewrite 指令)
当我们在规划网站路径时,为了保留搜索引擎收录 避免404的同时做到升级,常用到重定向跳转和URL重写. 重定向(redirect) 在 Caddy 中为 redir 指令. https://caddy ...