
第一行代码 3-2-2 软件也要拼脸蛋-UI界面-更强大的滚动条- 卡片

 <LinearLayout

            android:orientation="vertical"

            android:layout_width="match_parent"

            android:layout_height="wrap_content">

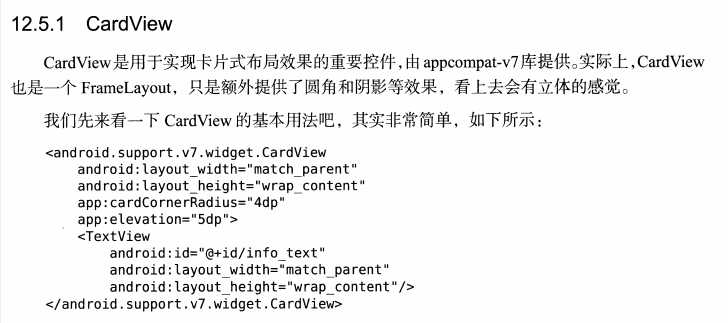
            <android.support.v7.widget.CardView

                android:layout_width="match_parent"

                android:layout_height="wrap_content"

                android:layout_marginBottom="15dp"

                android:layout_marginLeft="15dp"

                android:layout_marginRight="15dp"

                android:layout_marginTop="35dp"

                app:cardCornerRadius="4dp">

                <TextView

                    android:id="@+id/fruit_content_text"

                    android:layout_width="match_parent"

                    android:layout_height="wrap_content"

                    android:layout_margin="10dp" />

            </android.support.v7.widget.CardView>

        </LinearLayout>


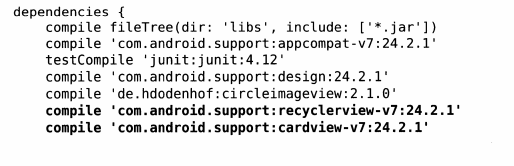

dependencies {

    compile fileTree(dir: 'libs', include: ['*.jar'])

    compile 'com.android.support:appcompat-v7:24.2.1'

    testCompile 'junit:junit:4.12'

    compile 'com.android.support:design:24.2.1'

    compile 'de.hdodenhof:circleimageview:2.1.0'

    compile 'com.android.support:recyclerview-v7:24.2.1'

    compile 'com.android.support:cardview-v7:24.2.1'

    compile 'com.github.bumptech.glide:glide:3.7.0'

}


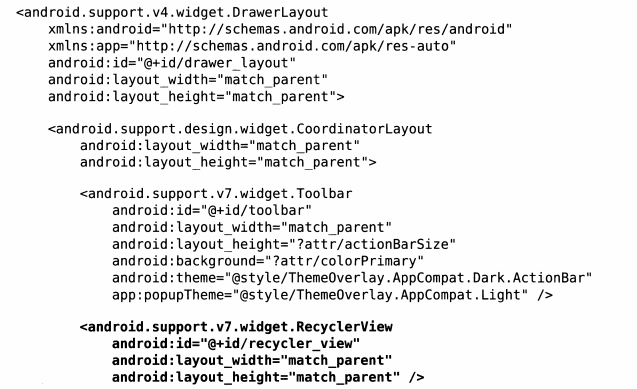
<?xml version="1.0" encoding="utf-8"?>

<android.support.v4.widget.DrawerLayout

    xmlns:android="http://schemas.android.com/apk/res/android"

    xmlns:app="http://schemas.android.com/apk/res-auto"

    android:id="@+id/drawer_layout"

    android:layout_width="match_parent"

    android:layout_height="match_parent">

    <android.support.design.widget.CoordinatorLayout

        android:layout_width="match_parent"

        android:layout_height="match_parent">

        <android.support.design.widget.AppBarLayout

            android:layout_width="match_parent"

            android:layout_height="wrap_content">

            <android.support.v7.widget.Toolbar

                android:id="@+id/toolbar"

                android:layout_width="match_parent"

                android:layout_height="?attr/actionBarSize"

                android:background="?attr/colorPrimary"

                android:theme="@style/ThemeOverlay.AppCompat.Dark.ActionBar"

                app:popupTheme="@style/ThemeOverlay.AppCompat.Light"

                app:layout_scrollFlags="scroll|enterAlways|snap" />

        </android.support.design.widget.AppBarLayout>

        <android.support.v4.widget.SwipeRefreshLayout

            android:id="@+id/swipe_refresh"

            android:layout_width="match_parent"

            android:layout_height="match_parent"

            app:layout_behavior="@string/appbar_scrolling_view_behavior">

            <android.support.v7.widget.RecyclerView

                android:id="@+id/recycler_view"

                android:layout_width="match_parent"

                android:layout_height="match_parent" />

        </android.support.v4.widget.SwipeRefreshLayout>

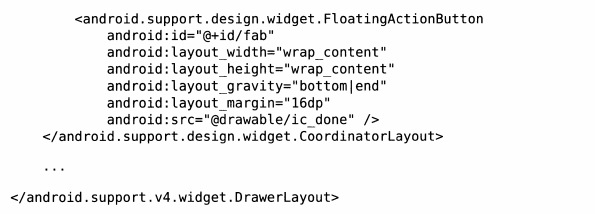
        <android.support.design.widget.FloatingActionButton

            android:id="@+id/fab"

            android:layout_width="wrap_content"

            android:layout_height="wrap_content"

            android:layout_gravity="bottom|end"

            android:layout_margin="16dp"

            android:src="@drawable/ic_done" />

    </android.support.design.widget.CoordinatorLayout>

    <android.support.design.widget.NavigationView

        android:id="@+id/nav_view"

        android:layout_width="match_parent"

        android:layout_height="match_parent"

        android:layout_gravity="start"

        app:headerLayout="@layout/nav_header"

        app:menu="@menu/nav_menu" />

</android.support.v4.widget.DrawerLayout>


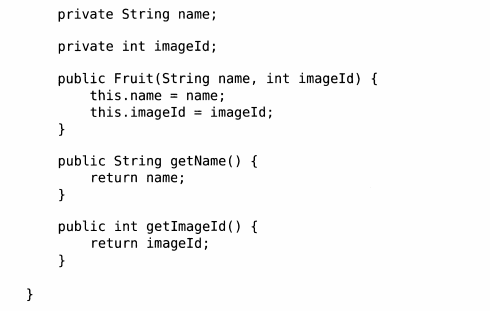
public class Fruit {

    private String name;

    private int imageId;

    public Fruit(String name, int imageId) {

        this.name = name;

        this.imageId = imageId;

    }

    public String getName() {

        return name;

    }

    public int getImageId() {

        return imageId;

    }

}

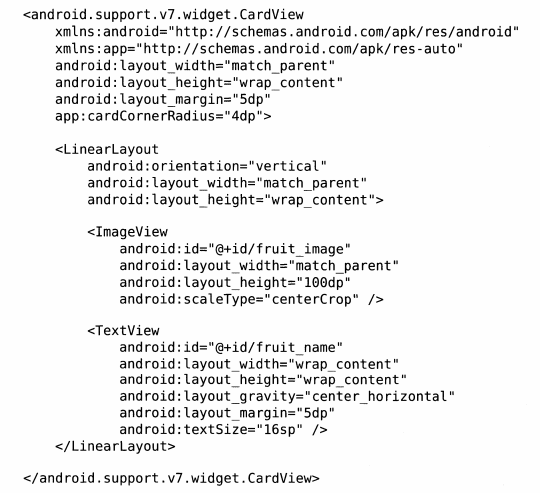
<?xml version="1.0" encoding="utf-8"?>

<android.support.v7.widget.CardView

    xmlns:android="http://schemas.android.com/apk/res/android"

    xmlns:app="http://schemas.android.com/apk/res-auto"

    android:layout_width="match_parent"

    android:layout_height="wrap_content"

    android:layout_margin="5dp"

    app:cardCornerRadius="4dp">

    <LinearLayout

        android:orientation="vertical"

        android:layout_width="match_parent"

        android:layout_height="wrap_content">

        <ImageView

            android:id="@+id/fruit_image"

            android:layout_width="match_parent"

            android:layout_height="100dp"

            android:scaleType="centerCrop" />

        <TextView

            android:id="@+id/fruit_name"

            android:layout_width="wrap_content"

            android:layout_height="wrap_content"

            android:layout_gravity="center_horizontal"

            android:layout_margin="5dp"

            android:textSize="16sp" />

    </LinearLayout>

</android.support.v7.widget.CardView>
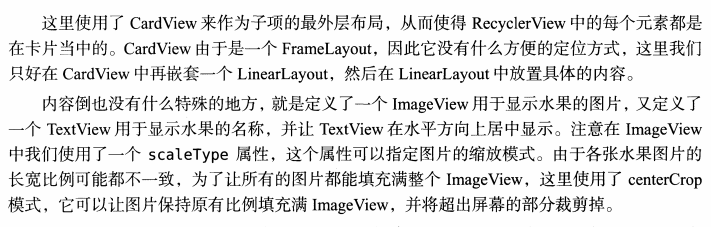

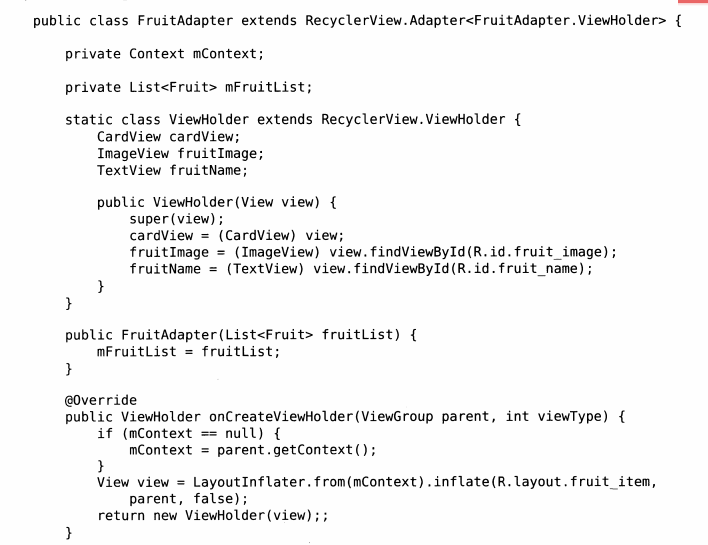

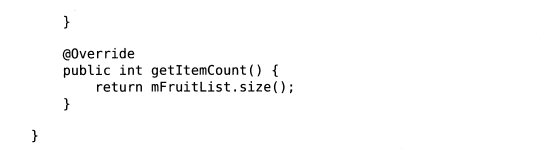
package com.example.materialtest;

import android.content.Context;

import android.content.Intent;

import android.support.v7.widget.CardView;

import android.support.v7.widget.RecyclerView;

import android.view.LayoutInflater;

import android.view.View;

import android.view.ViewGroup;

import android.widget.ImageView;

import android.widget.TextView;

import com.bumptech.glide.Glide;

import java.util.List;

public class FruitAdapter extends RecyclerView.Adapter<FruitAdapter.ViewHolder>{

    private static final String TAG = "FruitAdapter";

    private Context mContext;

    private List<Fruit> mFruitList;

    static class ViewHolder extends RecyclerView.ViewHolder {

        CardView cardView;

        ImageView fruitImage;

        TextView fruitName;

        public ViewHolder(View view) {

            super(view);

            cardView = (CardView) view;

            fruitImage = (ImageView) view.findViewById(R.id.fruit_image);

            fruitName = (TextView) view.findViewById(R.id.fruit_name);

        }

    }

    public FruitAdapter(List<Fruit> fruitList) {

        mFruitList = fruitList;

    }

    @Override

    public ViewHolder onCreateViewHolder(ViewGroup parent, int viewType) {

        if (mContext == null) {

            mContext = parent.getContext();

        }

        View view = LayoutInflater.from(mContext).inflate(R.layout.fruit_item, parent, false);

        final ViewHolder holder = new ViewHolder(view);

        holder.cardView.setOnClickListener(new View.OnClickListener() {

            @Override

            public void onClick(View v) {

                int position = holder.getAdapterPosition();

                Fruit fruit = mFruitList.get(position);

                Intent intent = new Intent(mContext, FruitActivity.class);

                intent.putExtra(FruitActivity.FRUIT_NAME, fruit.getName());

                intent.putExtra(FruitActivity.FRUIT_IMAGE_ID, fruit.getImageId());

                mContext.startActivity(intent);

            }

        });

        return holder;

    }

    @Override

    public void onBindViewHolder(ViewHolder holder, int position) {

        Fruit fruit = mFruitList.get(position);

        holder.fruitName.setText(fruit.getName());

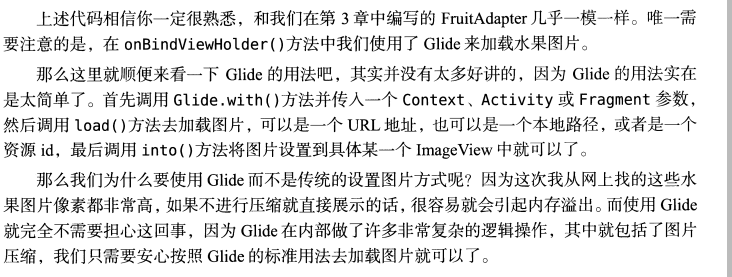
        Glide.with(mContext).load(fruit.getImageId()).into(holder.fruitImage);

    }

    @Override

    public int getItemCount() {

        return mFruitList.size();

    }

}

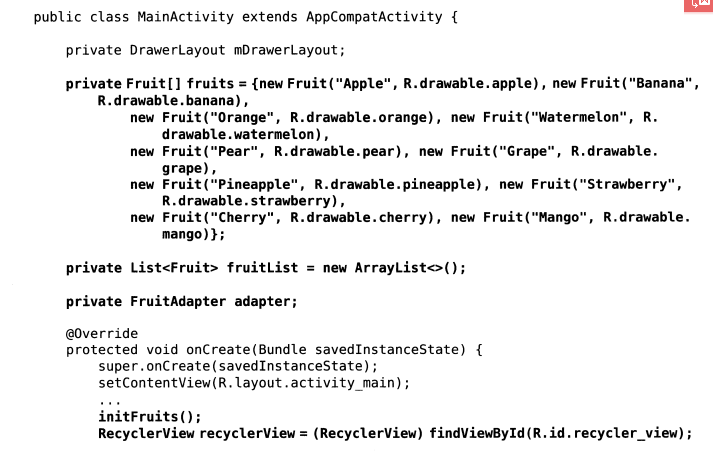
 private DrawerLayout mDrawerLayout;

    private Fruit[] fruits = {new Fruit("Apple", R.drawable.apple), new Fruit("Banana", R.drawable.banana),

            new Fruit("Orange", R.drawable.orange), new Fruit("Watermelon", R.drawable.watermelon),

            new Fruit("Pear", R.drawable.pear), new Fruit("Grape", R.drawable.grape),

            new Fruit("Pineapple", R.drawable.pineapple), new Fruit("Strawberry", R.drawable.strawberry),

            new Fruit("Cherry", R.drawable.cherry), new Fruit("Mango", R.drawable.mango)};

    private List<Fruit> fruitList = new ArrayList<>();

    private FruitAdapter adapter;

 initFruits();
        RecyclerView recyclerView = (RecyclerView) findViewById(R.id.recycler_view);
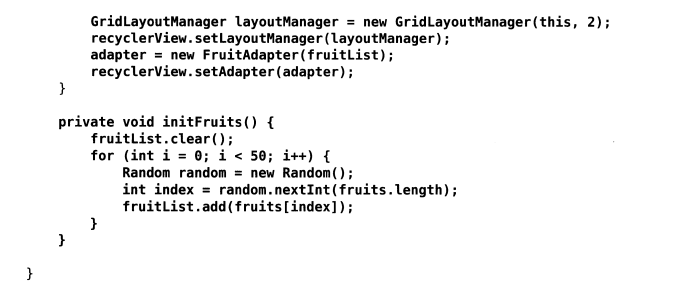
        GridLayoutManager layoutManager = new GridLayoutManager(this, 2);
        recyclerView.setLayoutManager(layoutManager);
        adapter = new FruitAdapter(fruitList);
        recyclerView.setAdapter(adapter);
  private void initFruits() {

        fruitList.clear();

        for (int i = 0; i < 50; i++) {

            Random random = new Random();

            int index = random.nextInt(fruits.length);

            fruitList.add(fruits[index]);

        }

    }
第一行代码 3-2-2 软件也要拼脸蛋-UI界面-更强大的滚动条- 卡片的更多相关文章
- 第一行代码 -3-2 软件也要拼脸蛋-UI界面-更强大的滚动条-RecyclerView
简述教程:https://www.jianshu.com/p/4fc6164e4709 一 基础准备 1 添加RecyclerView控件引用库文件 2 总布局添加RecyclerView控件 3 R ...
- 第一行代码 3-5 软件也要拼脸蛋-UI界面-更强大的滚动条- 聊天室
动画 https://www.jianshu.com/p/4fc6164e4709 前面说过,RecyclerView可以设置列表中Item删除和添加的动画,在v7包中给我们提供了一种默认的Item删 ...
- 第一行代码 -3-1 软件也要拼脸蛋-UI界面
<ListView android:id="@+id/list_view" android:layout_width="match_parent" and ...
- $《第一行代码:Android》读书笔记——第3章 UI基础
(一)Android常用控件及简单用法 1.如下图: 2.补充: (1)margin:外边距:padding:内边距. (2)gravity:子元素的位置:layout_gravity:子元素在父元素 ...
- 第三章:软件也要拼脸蛋-UI 开发的点点滴滴
常用控件 常用控件有:按钮 Button.文本显示框 TextView.图片显示框 ImageView.文本编辑框 EditText.进度条 ProgressBar.提示框 AlertDialog.进 ...
- 第一行代码 Android 第二版到货啦
今日android第一行代码[第二版]已到,收获的季节到了 先看一下封面 书签: 以后就把空闲时间送给它吧 先来看一下本书的目录: 第1章 开始启程--你的第1行Android代码 第2章 先从看得到 ...
- 通过《第一行代码》学习 Android 开发
第一行代码 Android --第 2 版-- 郭霖 著 第 1 章:开始启程--你的第一行 Android 代码 •1.2 手把手带你搭建开发环境 Android Studio 的安装及配置 A ...
- 第一行代码 Android (郭霖 著)
https://github.com/guolindev/booksource 第1章 开始启程----你的第一行Android代码 (已看) 第2章 先从看得到的入手----探究活动 (已看) 第3 ...
- HTML5 & CSS3初学者指南(1) – 编写第一行代码
介绍 网络时代已经到来.现在对人们来说,每天上网冲浪已经成为一种最为常见的行为. 在网页浏览器中输入一段文本地址,就像http://www.codeproject.com,等待一下,网页就加载到浏览器 ...
随机推荐
- [转]Oracle密码过期, 报:ORA-01017: 用户名/口令无效; 登录被拒绝
本文转自:https://blog.csdn.net/jeff06143132/article/details/25696371 连接Oracle,以Oracle用户登陆: $su - oracl ...
- SQL不重复查找数据及把一列多行内容拼成一行
如下表: 表名:Test ID RowID Col1 Col2 1 1 A A 2 1 B A 3 1 A B 4 1 C B 1,查找表中字段重复的只查找一次 select distinct Col ...
- [PHP] 算法-合并两个有序链表为一个有序链表的PHP实现
合并两个有序的链表为一个有序的链表: 类似归并排序中合并两个数组的部分 1.遍历链表1和链表2,比较链表1和2中的元素大小 2.如果链表1结点大于链表2的结点,该结点放入第三方链表 3.链表1往下走一 ...
- DataGridView 多列排序功能
System.Data.DataTable dt = new System.Data.DataTable(); private void FillDataGridView() { dt.Columns ...
- Java基础回顾Application(二)
application对象 1 什么是application对象 ? (1) 当Web服务器启动时,Web服务器会自动创建一个application对象.application对象一旦创建,它将一直存 ...
- 2018年你需要知道的13个JavaScript工具库
译者按: 你可能已经用到Underscore或者Lodash.本文列举了13个常用的JavaScript工具库来提高开发效率. 原文: 11 Javascript Utility Libraries ...
- sql: Query to Display Foreign Key Relationships and Name of the Constraint for Each Table in Database
--20170505 --塗聚文 Geovin Du CREATE DATABASE DuMailSystem GO USE DuMailSystem GO --1查詢表的及备注说明 SELECT S ...
- [转]Serif和Sans-serif字体的区别
在西方国家罗马字母阵营中,字体分为两大种类:Sans Serif和Serif,打字机体虽然也属于Sans Serif,但由于是等宽字体,所以另外独立出Monospace这一种类,例如在Web中,表示代 ...
- 关于python访问字典的方法
def stu( **kwargs): # 在函数体内对于kwargs的使用不用带星号 print("大家好,我为大家简单自我介绍以下:") print(type(kwargs)) ...
- 【代码笔记】Web-ionic-头部与底部
index代码: <!DOCTYPE html> <html> <head> <meta charset="utf-8"> < ...