
[转载]Angular4 组件通讯方法大全
组件通讯,意在不同的指令和组件之间共享信息。如何在两个多个组件之间共享信息呢。
最近在项目上,组件跟组件之间可能是父子关系,兄弟关系,爷孙关系都有。。。。。我也找找了很多关于组件之间通讯的方法,不同的方法应用在不同的场景,根据功能需求选择组件之间最适合的通讯方式。下面我就总结一下关于组件通讯的N多种方法。
1.父→子 input
parent.ts

import { Component } from '@angular/core';

@Component({

  selector: 'page-parent',

  templateUrl: 'parent.html',

})

export class ParentPage {

  i: number = 0;

  constructor() {

    setInterval(() => {

      this.i++;

    }, 1000)

  }

}
parent.html
<ion-header>

  <ion-navbar>

    <ion-title>Parent</ion-title>

  </ion-navbar>

</ion-header>

<ion-content padding>

  <h2>Parent</h2>

  <page-child [content]="i"></page-child>

</ion-content>
child.ts
import { Component,Input } from '@angular/core';

@Component({

  selector: 'page-child',

  templateUrl: 'child.html',

})

export class ChildPage {

@Input() content:string;

  constructor() {

  }

}
child.html

<ion-content padding>

child:{{content}}

</ion-content>
结果:
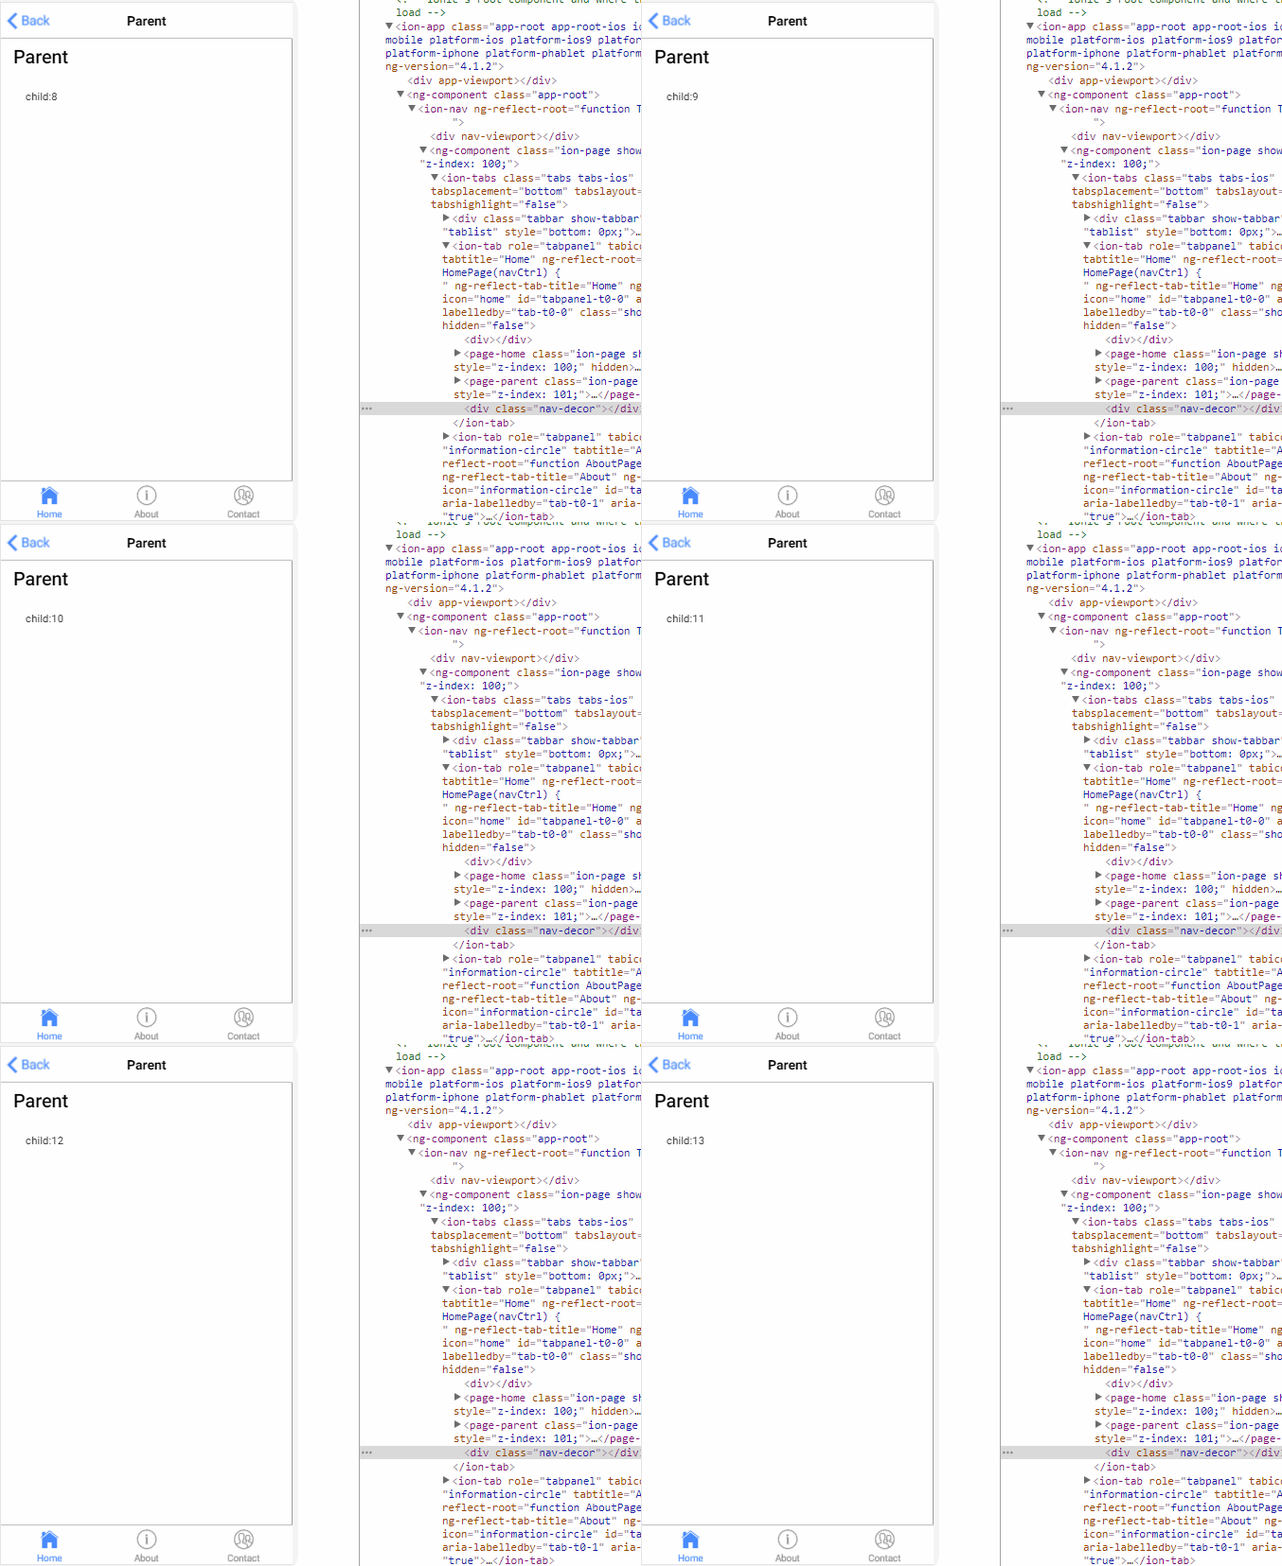
2.子→父 output
parent.ts
import { Component } from '@angular/core';

@Component({

  selector: 'page-parent',

  templateUrl: 'parent.html',

})

export class ParentPage {

  i: number = 0;

  numberIChange(i:number){

      this.i = i;

  }

}
parent.html
<ion-header>

  <ion-navbar>

    <ion-title>Parent</ion-title>

  </ion-navbar>

</ion-header>

<ion-content padding>

  <h2>Parent:{{i}}</h2>

  <page-child (changeNumber)="numberIChange($event)"></page-child>

</ion-content>
child.ts
import { Component, EventEmitter, Output } from '@angular/core';

@Component({

  selector: 'page-child',

  templateUrl: 'child.html',

})

export class ChildPage {

  @Output() changeNumber: EventEmitter<number> = new EventEmitter();

  Number: number = 0;

  constructor() {

    setInterval(() => {

      this.changeNumber.emit(++this.Number);

    }, 1000)

  }

}
child.html

<ion-content padding>

     child

</ion-content>
结果:
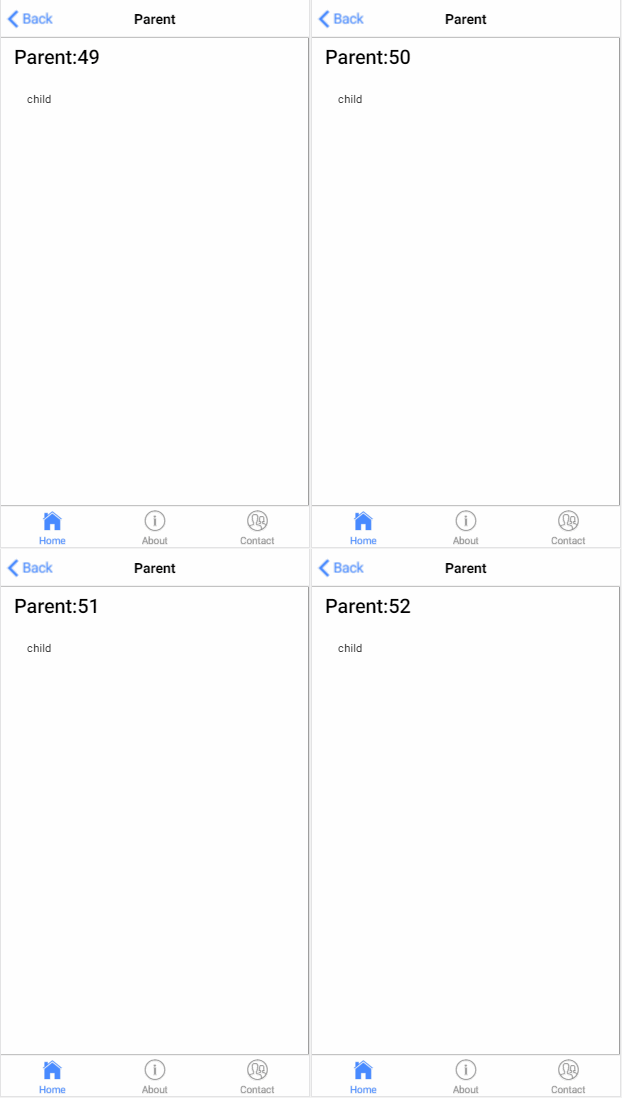
3.子获得父实例
parent.ts
import { Component } from '@angular/core';

@Component({

  selector: 'page-parent',

  templateUrl: 'parent.html',

})

export class ParentPage {

  i:number = 0;

}
parent.html

<ion-header>

  <ion-navbar>

    <ion-title>Parent</ion-title>

  </ion-navbar>

</ion-header>

<ion-content padding>

  <h1>parent: {{i}}</h1>

  <page-child></page-child>

</ion-content>
child.ts
import { Component, Input, EventEmitter, Output,Host,Inject,forwardRef } from '@angular/core';

import{ParentPage} from '../parent/parent';

@Component({

  selector: 'page-child',

  templateUrl: 'child.html',

})

export class ChildPage {

    constructor( @Host() @Inject(forwardRef(() => ParentPage)) app: ParentPage) {

        setInterval(() => {

            app.i++;

        }, 1000);

    }

}
child.html

<ion-content padding>

 child

</ion-content>
结果:

4.父获得子实例
parent.ts
import {ViewChild, Component } from '@angular/core';

import{ChildPage}from '../child/child';

@Component({

  selector: 'page-parent',

  templateUrl: 'parent.html',

})

export class ParentPage {

  @ViewChild(ChildPage) child:ChildPage;

    ngAfterViewInit() {

        setInterval(()=> {

            this.child.i++;

        }, 1000)

    }

}
parent.html

<ion-header>

  <ion-navbar>

    <ion-title>Parent</ion-title>

  </ion-navbar>

</ion-header>

<ion-content padding>

  <h1>parent {{i}}</h1>

  <page-child></page-child>

</ion-content>
child.ts
import { Component, Input, EventEmitter, Output,Host,Inject,forwardRef } from '@angular/core';

@Component({

  selector: 'page-child',

  templateUrl: 'child.html',

})

export class ChildPage {

    i:number = 0;

}
child.html

<ion-content padding>

<h2>child {{i}}</h2>

</ion-content>
结果:

5.service
parent.ts
import { Component } from '@angular/core';

import{myService}from '../child/myService'

@Component({

  selector: 'page-parent',

  templateUrl: 'parent.html',

})

export class ParentPage {
   constructor(service:myService) {

        setInterval(()=> {

            service.i++;

        }, 1000)

    }

}
parent.html

<ion-header>

  <ion-navbar>

    <ion-title>Parent</ion-title>

  </ion-navbar>

</ion-header>

<ion-content padding>

   <h1>parent {{i}}</h1>

   <page-child></page-child>

</ion-content>
child.ts
import { Component} from '@angular/core';

import{myService}from "../child/myService"

@Component({

  selector: 'page-child',

  templateUrl: 'child.html',

})

export class ChildPage {

    constructor(public service:myService){

    }

}
child.html

<ion-content padding>

<h2>child {{service.i}}</h2>

</ion-content>
myService.ts
ps:记得在app.module.ts 加上providers: [KmyService]
import{Injectable } from '@angular/core';

@Injectable()

export class KmyService {

    i:number = 0;

}
结果:

6.EventEmitter
myService.ts
import {Component,Injectable,EventEmitter} from '@angular/core';

@Injectable()

export class myService {

    change: EventEmitter<number>;

    constructor(){

        this.change = new EventEmitter();

    }

}
parent.ts
import { Component } from '@angular/core';

import{myService}from '../child/myService'

@Component({

  selector: 'page-parent',

  templateUrl: 'parent.html',

})

export class ParentPage {

    i:number = 0;

    constructor(service:myService) {

        setInterval(()=> {

            service.change.emit(++this.i);

        }, 1000)

    }

}
parent.html

<ion-header>

  <ion-navbar>

    <ion-title>Parent</ion-title>

  </ion-navbar>

</ion-header>

<ion-content padding>

   <h1>parent {{i}}</h1>

   <page-child></page-child>

</ion-content>
child.ts
import { Component,  EventEmitter} from '@angular/core';

import{myService}from "../child/myService"

@Component({

  selector: 'page-child',

  templateUrl: 'child.html',

})

export class ChildPage {

    i:number = 0;

    constructor(public service:myService){

        service.change.subscribe((value:number)=>{

            this.i = value;

        })

    }

}
child.html

<ion-content padding>

 <h2>child {{i}}</h2>

</ion-content>
结果:

7.订阅
parent.ts
import { Component } from '@angular/core';

import{myService}from '../child/myService'

@Component({

  selector: 'page-parent',

  templateUrl: 'parent.html',

})

export class ParentPage {

    i:number=0;

    constructor(public service:myService) {

        setInterval(()=> {

             this.service.StatusMission(this.i++);

        }, 1000)

    }

}
parent.html

<ion-header>

  <ion-navbar>

    <ion-title>Parent</ion-title>

  </ion-navbar>

</ion-header>

<ion-content padding>

   <h1>parent</h1>

   <page-child></page-child>

</ion-content>
child.ts
import { Component, Injectable } from '@angular/core'

import { myService } from "../child/myService"

import { Subscription } from 'rxjs/Subscription';

@Component({

    selector: 'page-child',

    templateUrl: 'child.html',

})

export class ChildPage {

    i:number=0;

    subscription: Subscription;

    constructor(private Service: myService) {

        this.subscription = Service.Status$.subscribe(message => {

            this.i=message;

        });

    }

    ngOnDestroy() {

        this.subscription.unsubscribe();

    }

}
child.html

<ion-content padding>

  <h2>child {{i}}</h2>

</ion-content>
myService.ts
import { Injectable } from '@angular/core';

import { Subject } from 'rxjs/Subject';

@Injectable()

export class myService {

    private Source=new Subject<any>();

    Status$=this.Source.asObservable();

    StatusMission(message: any) {

        this.Source.next(message);

    }

}
结果:

以上七种组件与组件的通讯方式,可以选择应用于适合的场景里面,根据情况吧。
[转载]Angular4 组件通讯方法大全的更多相关文章
- Angular4 组件通讯方法大全
组件通讯,意在不同的指令和组件之间共享信息.如何在两个多个组件之间共享信息呢. 最近在项目上,组件跟组件之间可能是父子关系,兄弟关系,爷孙关系都有.....我也找找了很多关于组件之间通讯的方法,不同的 ...
- vue组件通讯方法汇总(在不使用vuex的情况下)
前三种是父子组件通讯,最后一种是平级组件.
- angular4 组件通讯、生命周期
主要通讯形式 父组件通过属性绑定到子组件,子组件通过事件传递参数到父组件 父组件通过局部变量获取子组件的引用 父组件使用@ViewChild获取子组件的引用 两个不相关联的组件使用中间人模式交互 终极 ...
- Omi教程-组件通讯攻略大全
组件通讯 Omi框架组建间的通讯非常遍历灵活,因为有许多可选方案进行通讯: 通过在组件上声明 data-* 传递给子节点 通过在组件上声明 data 传递给子节点 (支持复杂数据类型的映射) 父容器设 ...
- VC中调用COM组件的方法(转载)
原文参考:http://hi.baidu.com/mingyueye/item/53ebecd44da76917d80e4449 总结一下在VC中调用COM组件的方法 准备及条件: COM服务器为进程 ...
- 转载收藏(js数组方法大全)
js数组方法大全 JavaScript中创建数组有两种方式 (一)使用 Array 构造函数: var arr1 = new Array(); //创建一个空数组var arr2 = new Arra ...
- Angular6 学习笔记——组件详解之组件通讯
angular6.x系列的学习笔记记录,仍在不断完善中,学习地址: https://www.angular.cn/guide/template-syntax http://www.ngfans.net ...
- Android零基础入门第22节:ImageView的属性和方法大全
原文:Android零基础入门第22节:ImageView的属性和方法大全 通过前面几期的学习,TextView控件及其子控件基本学习完成,可以在Android屏幕上显示一些文字或者按钮,那么从本期开 ...
- Android零基础入门第17节:Android开发第一个控件,TextView属性和方法大全
原文:Android零基础入门第17节:Android开发第一个控件,TextView属性和方法大全 前面简单学习了一些Android UI的一些基础知识,那么接下来我们一起来详细学习Android的 ...
随机推荐
- LeetCode136:Single Number
题目: Given an array of integers, every element appears twice except for one. Find that single one. No ...
- asp.net mvc5 分析器错误消息: 未能加载类型“XXX.MvcApplication”
描述 今天忽然碰到一个这个错误: “/”应用程序中的服务器错误. 分析器错误 说明: 在分析向此请求提供服务所需资源时出错.请检查下列特定分析错误详细信息并适当地修改源文件. 分析器错误消息: 未能加 ...
- 《ASP.NET MVC 5 破境之道》:第一境 ASP.Net MVC5项目初探 — 第二节:MVC5项目结构
第一境 ASP.Net MVC5项目初探 — 第二节:MVC5项目结构 接下来,我们来看看,VS为我们自动创建的项目,是什么样子的? 可以通过菜单中[View]->[Solution Explo ...
- 第二章 ConcurrentHashMap源码解析
注:在看这篇文章之前,如果对HashMap的层不清楚的话,建议先去看看HashMap源码解析. http://www.cnblogs.com/java-zhao/p/5106189.html 1.对于 ...
- 修改tomcat7编码问题(重定向等)
修改tomcat默认编码格式: 修改tomcat下的conf/server.xml文件,找到如下代码: <Connector port="8080" protocol=&qu ...
- php 删除二维数组中某个key值
/** * 根据key删除数组中指定元素 * @param array $arr 数组 * @param string/int $key 键(key) * @return array */ priva ...
- jmeter插件之自定义场景图(万能场景设计)
添加扩展插件 自定义线程组:jp@gc - Ultimate Thread Group 此线程组功能强大,可以实现多种场景设置,添加路径如图 参数含义解释 Start Threads Count:当前 ...
- Highcharts纯Javascript图表使用讲解
Highcharts提供大量的选项配置参数,您可以轻松定制符合用户要求的图表,目前官网只提供英文版的开发配置说明文档,而中文版的文档网上甚少,且零散不全.这里,我把Highcharts常用的最核心的参 ...
- JS - ECMAScript2015(ES6)新特性
友情提示:本文仅mark几个常用的新特性,详细请参见:ES6入门 - ryf: 碎片 var VS let VS const var:声明全局变量, let:声明块级变量,即局部变量 const:声明 ...
- GDOI2018滚粗记
day-50: 高中全体成员去了北京训练,我被虐成傻逼(貌似总分全校倒数第2). day-20: 回广州了,间断式略微考好55555..... day0: 早上起床好像有点晚qwq 然后简单打了个FF ...