如何使用sharding-sphere完成读写分离和分库分表?
一.sharding-sphere配置读写分离
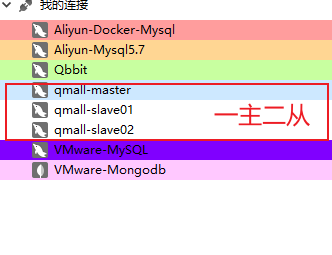
1.先搭建好一个MySQL的主从集群,可以参考[MySQL主从集群搭建]
2.在项目中导入相关依赖(记得刷新Maven)
<!--读写分离-->

<dependency>

	<groupId>org.apache.shardingsphere</groupId>

	<artifactId>shardingsphere-jdbc-core-spring-boot-starter</artifactId>

	<version>5.1.0</version>

</dependency>
3.编写一个application-sharding.yml配置文件,可以参考官方文档.但是推荐参考最新版本的,不然很多坑.当然也可以使用下面配置好的,亲测可用!!!
spring:

  shardingsphere:

    datasource:

      names: master1,slave1,slave2  # 指定所有数据源的名字

      master1:

        type: com.zaxxer.hikari.HikariDataSource # 数据源类型

        url: jdbc:mysql://192.168.137.137:3306/qmall_product?useSSL=false # 数据库连接地址

        username: root # 用户名

        password: root # 密码

        driver-class-name: com.mysql.jdbc.Driver # 数据库驱动

      slave1:

        type: com.zaxxer.hikari.HikariDataSource # 数据源类型

        url: jdbc:mysql://192.168.137.137:3307/qmall_product?useSSL=false

        username: root

        password: root

        driver-class-name: com.mysql.jdbc.Driver

      slave2:

        type: com.zaxxer.hikari.HikariDataSource # 数据源类型

        url: jdbc:mysql://192.168.137.137:3308/qmall_product?useSSL=false

        username: root

        password: root

        driver-class-name: com.mysql.jdbc.Driver

    rules:

      readwrite-splitting:  # 配置读写分离规则

        data-sources:

          ds_0:   # 给一套集群起个名

            type: static

            props:

              auto-aware-data-source-name: master1

              write-data-source-name: master1

              read-data-source-names: slave1,slave2

            load-balancer-name: read-random

        load-balancers:

          read-random:

            type: ROUND_ROBIN # 轮询负载均衡

    props:

      sql-show: true # 是否打印sql

      sql-simple: true # 打印简单的sql
- 写完上面的配置文件别忘了在application.yml中激活引入一下
spring:

  profiles:

    include: sharding # 引入application-sharding.yml
4.编写测试代码
package com.qbb.qmall;

import com.qbb.qmall.model.product.BaseCategory1;

import com.qbb.qmall.product.ProductApplication;

import com.qbb.qmall.product.mapper.BaseCategoryMapper;

import org.junit.jupiter.api.Test;

import org.springframework.beans.factory.annotation.Autowired;

import org.springframework.boot.test.context.SpringBootTest;

/**

 * @author QiuQiu&LL (个人博客:https://www.cnblogs.com/qbbit)

 * @version 1.0

 * @date 2022-05-29  15:48

 * @Description:

 */

@SpringBootTest(classes = ProductApplication.class)

public class ShardingTest {

    @Autowired

    private BaseCategoryMapper baseCategoryMapper;

    @Test

    public void write() {

        BaseCategory1 baseCategory1 = new BaseCategory1();

        baseCategory1.setName("qiuqiu");

        baseCategoryMapper.insert(baseCategory1);

    }

}
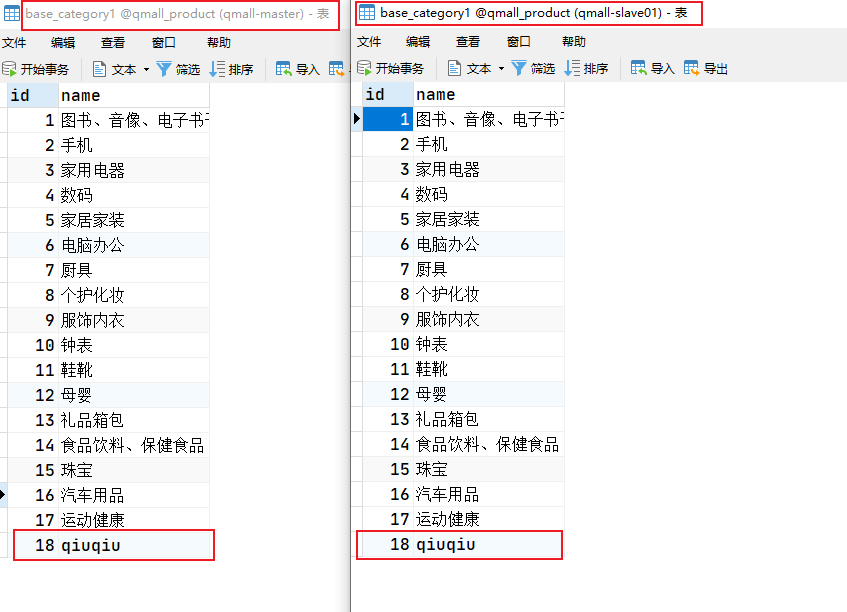
写数据是操作的master1库

下面测试一下读数据
 @Test

public void read() {

	BaseCategory1 one = baseCategoryMapper.selectById(18);

	System.out.println("one = " + one);

	BaseCategory1 two = baseCategoryMapper.selectById(18);

	System.out.println("two = " + two);

	BaseCategory1 three = baseCategoryMapper.selectById(18);

	System.out.println("three = " + three);

	BaseCategory1 four = baseCategoryMapper.selectById(18);

	System.out.println("four = " + four);

}
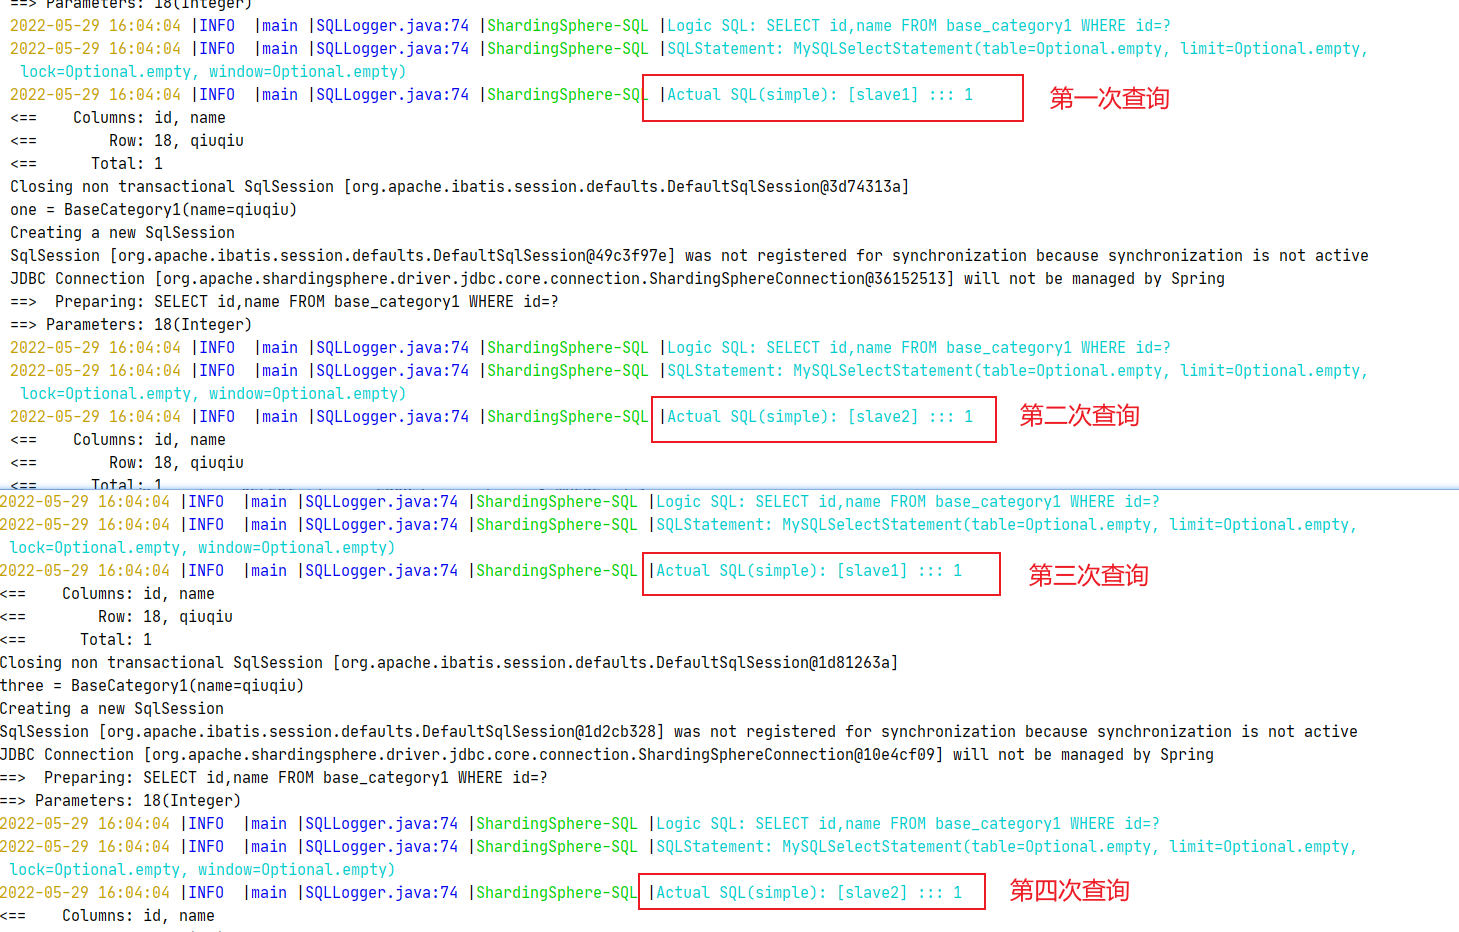
- 因为我们上面配置的是轮询的负载均衡策略,所以是如上效果
二.sharding-sphere配置分库分表
- 话不多说在上面的基础上直接修改配置文件,如下
spring:

  shardingsphere:

    datasource:  # 分库分两个库,分表分三张表

      names: order-0-w,order-0-r1,order-0-r2,order-1-w,order-1-r1,order-1-r2 #指定所有数据源的名字

      order-0-w:

        type: com.zaxxer.hikari.HikariDataSource #数据源类型

        url: jdbc:mysql://192.168.137.137:3306/qmall_order_0?useSSL=false # 数据库连接地址

        username: root # 用户名

        password: root # 密码

        driver-class-name: com.mysql.jdbc.Driver # 数据库驱动

      order-0-r1:

        type: com.zaxxer.hikari.HikariDataSource #数据源类型

        url: jdbc:mysql://192.168.137.137:3307/qmall_order_0?useSSL=false # 数据库连接地址

        username: root # 用户名

        password: root # 密码

        driver-class-name: com.mysql.jdbc.Driver # 数据库驱动

      order-0-r2:

        type: com.zaxxer.hikari.HikariDataSource #数据源类型

        url: jdbc:mysql://192.168.137.137:3308/qmall_order_0?useSSL=false # 数据库连接地址

        username: root # 用户名

        password: root # 密码

        driver-class-name: com.mysql.jdbc.Driver # 数据库驱动

      order-1-w:

        type: com.zaxxer.hikari.HikariDataSource #数据源类型

        url: jdbc:mysql://192.168.137.137:3306/qmall_order_1?useSSL=false # 数据库连接地址

        username: root # 用户名

        password: root # 密码

        driver-class-name: com.mysql.jdbc.Driver # 数据库驱动

      order-1-r1:

        type: com.zaxxer.hikari.HikariDataSource #数据源类型

        url: jdbc:mysql://192.168.137.137:3307/qmall_order_1?useSSL=false # 数据库连接地址

        username: root # 用户名

        password: root # 密码

        driver-class-name: com.mysql.jdbc.Driver # 数据库驱动

      order-1-r2:

        type: com.zaxxer.hikari.HikariDataSource #数据源类型

        url: jdbc:mysql://192.168.137.137:3307/qmall_order_1?useSSL=false # 数据库连接地址

        username: root # 用户名

        password: root # 密码

        driver-class-name: com.mysql.jdbc.Driver # 数据库驱动

    rules:

      readwrite-splitting:  #配置读写分离规则

        data-sources:

          order_0_rw:   #给一套集群起个名

            type: static

            props:

              write-data-source-name: order-0-w

              read-data-source-names: order-0-r1,order-0-r2

            load-balancer-name: read-random

          order_1_rw:   #给一套集群起个名

            type: static

            props:

              write-data-source-name: order-1-w

              read-data-source-names: order-1-r1,order-1-r2

            load-balancer-name: read-random

        load-balancers:

          read-random:

            type: ROUND_ROBIN #轮询负载均衡

      #配置数据分片规则

      sharding:

        default-database-strategy:

          standard:

            sharding-column: user_id

            shardingAlgorithmName: user-id-db-shard

        tables:  #指定逻辑表规则

          order_info:

            actualDataNodes: order-$->{0..1}-w.order_info_$->{1..3}

            tableStrategy:

              standard:

                shardingColumn: user_id  #告诉sharing如果插入或者查询数据。根据那一列去那张表

                shardingAlgorithmName: user-id-table-shard

        sharding-algorithms:

          # 库分片规则

          user-id-db-shard:

            type: INLINE

            props:

              algorithm-expression: order-$->{user_id%2}-w

          # 表的分片规则

          user-id-table-shard:

            type: INLINE

            props:

              algorithm-expression: order_info_$->{user_id % 3 + 1}

    props:

      sql-show: true # 是否打印sql

      sql-simple: true # 打印简单的sql
- 分库
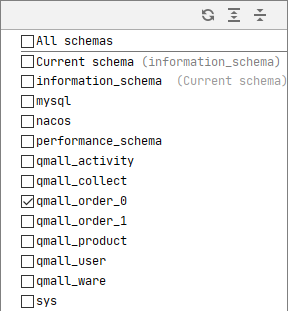
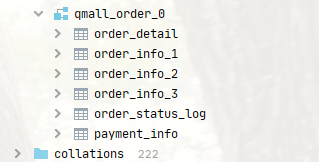
- 分表
如何使用sharding-sphere完成读写分离和分库分表?的更多相关文章
- spring boot sharding-jdbc实现分佈式读写分离和分库分表的实现
分布式读写分离和分库分表采用sharding-jdbc实现. sharding-jdbc是当当网推出的一款读写分离实现插件,其他的还有mycat,或者纯粹的Aop代码控制实现. 接下面用spring ...
- mycat+mysql集群:实现读写分离,分库分表
1.mycat文档:https://github.com/MyCATApache/Mycat-doc 官方网站:http://www.mycat.org.cn/ 2.mycat的优点: 配 ...
- Mycat数据库中间件对Mysql读写分离和分库分表配置
Mycat是一个开源的分布式数据库系统,不同于oracle和mysql,Mycat并没有存储引擎,但是Mycat实现了mysql协议,前段用户可以把它当做一个Proxy.其核心功能是分表分库,即将一个 ...
- MyCat读写分离、分库分表
系统开发中,数据库是非常重要的一个点.除了程序的本身的优化,如:SQL语句优化.代码优化,数据库的处理本身优化也是非常重要的.主从.热备.分表分库等都是系统发展迟早会遇到的技术问题问题.Mycat是一 ...
- Mycat实现读写分离、分库分表
系统开发中,数据库是非常重要的一个点.除了程序的本身的优化,如:SQL语句优化.代码优化,数据库的处理本身优化也是非常重要的.主从.热备.分表分库等都是系统发展迟早会遇到的技术问题问题.Mycat是一 ...
- sharing-jdbc实现读写分离及分库分表
需求: 分库:按业务线business_id将不同业务线的订单存储在不同的数据库上: 分表:按user_id字段将不同用户的订单存储在不同的表上,为方便直接用非分片字段order_id查询,可使用基因 ...
- Mysql之Mycat读写分离及分库分表
## 什么是mycat ```basic 1.一个彻底开源的,面向企业应用开发的大数据库集群 2.支持事务.ACID.可以替代MySQL的加强版数据库 3.一个可以视为MySQL集群的企业级数据库,用 ...
- Tbase读写分离与分库分表
一.读写分离 1.1 what 读写分离 读写分离,基本的原理是让主数据库处理事务性增.改.删操作(INSERT.UPDATE.DELETE),而从数据库处理SELECT查询操作.数据库复制被用来把事 ...
- sharding demo 读写分离 U (分库分表 & 不分库只分表)
application-sharding.yml sharding: jdbc: datasource: names: ds0,ds1,dsx,dsy ds0: type: com.zaxxer.hi ...
- Ameba读写分离_mycat分库分表_redis缓存
1 数据库的读写分离 1.1 Amoeba实现读写分离 1.1.1 定义 Amoeba是一个以MySQL为底层数据存储,并对应用提供MySQL协议接口的proxy 优点: 配置读写分离时较为简单.配置 ...
随机推荐
- 京东工业根据ID取商品详情 API
item_get-根据ID取商品详情 注册开通 vipmro.item_get 公共参数 名称 类型 必须 描述 key String 是 调用key(必须以GET方式拼接在URL中) secret ...
- Solution -「洛谷 P4689」「YunoOI 2016」这是我自己的发明
Description Link. 给一个树,\(n\) 个点,有点权,初始根是 1. \(m\) 个操作,种类如下: 1 x 将树根换为 \(x\). 2 x y 给出两个点 \(x,y\),从 \ ...
- WebKit Inside: CSS 样式表的匹配时机
WebKit Inside: CSS 的解析 介绍了 CSS 样式表的解析过程,这篇文章继续介绍 CSS 的匹配时机. 无外部样式表 内部样式表和行内样式表本身就在 HTML 里面,解析 HTML 标 ...
- Graph RAG: 知识图谱结合 LLM 的检索增强
本文为大家揭示 NebulaGraph 率先提出的 Graph RAG 方法,这种结合知识图谱.图数据库作为大模型结合私有知识系统的最新技术栈,是 LLM+ 系列的第三篇,加上之前的图上下文学习.Te ...
- Window10安装linux子系统及子系统安装1Panel面板
原文地址:Window10安装linux子系统及子系统安装1Panel面板 - Stars-One的杂货小窝 最近看到halo博客发布了2.10.0,终于是新增了个备份功能,于是有了念头想要升级下 但 ...
- 为.NET打开新大门:OpenVINO.NET开源项目全新发布
为.NET打开新大门:OpenVINO.NET开源项目全新发布 在AI的应用越来越广泛的今天,优化深度学习模型并进行推理部署已经成为了一门必要的技术.Intel开发的OpenVINO工具包(Open ...
- Tinyalsa PCM API 实现深度剖析
高级 Linux 音频架构 (ALSA) 用于为 Linux 操作系统提供音频和 MIDI 功能.它可以高效地支持所有类型的音频接口,从消费者声卡到专业的多通道音频接口.它支持全模块化的音频驱动.它是 ...
- 一文详解贝叶斯优化(Bayesian Optimization)原理
参考资料: Expected Improvement formula for Bayesian Optimisation 通俗科普文:贝叶斯优化与SMBO.高斯过程回归.TPE 理解贝叶斯优化 A T ...
- 入门篇-其之六-Java运算符(中)
祝所有程序员,1024节日快乐!!! 一.自增/自减运算符 假设有一个变量intValue的值为10,如果想让这个值加1,有哪些方式? 首先,我们可以使用最原始的方式: int intValue = ...
- 把 map 中的 key 由驼峰命名转为下划线
import cn.hutool.core.util.StrUtil; /** * 把 map 中的 key 由驼峰命名转为下划线 */public HashMap<String, Object ...