
MyBatis基本运行环境
MyBatis基本运行环境
1. 创建项目
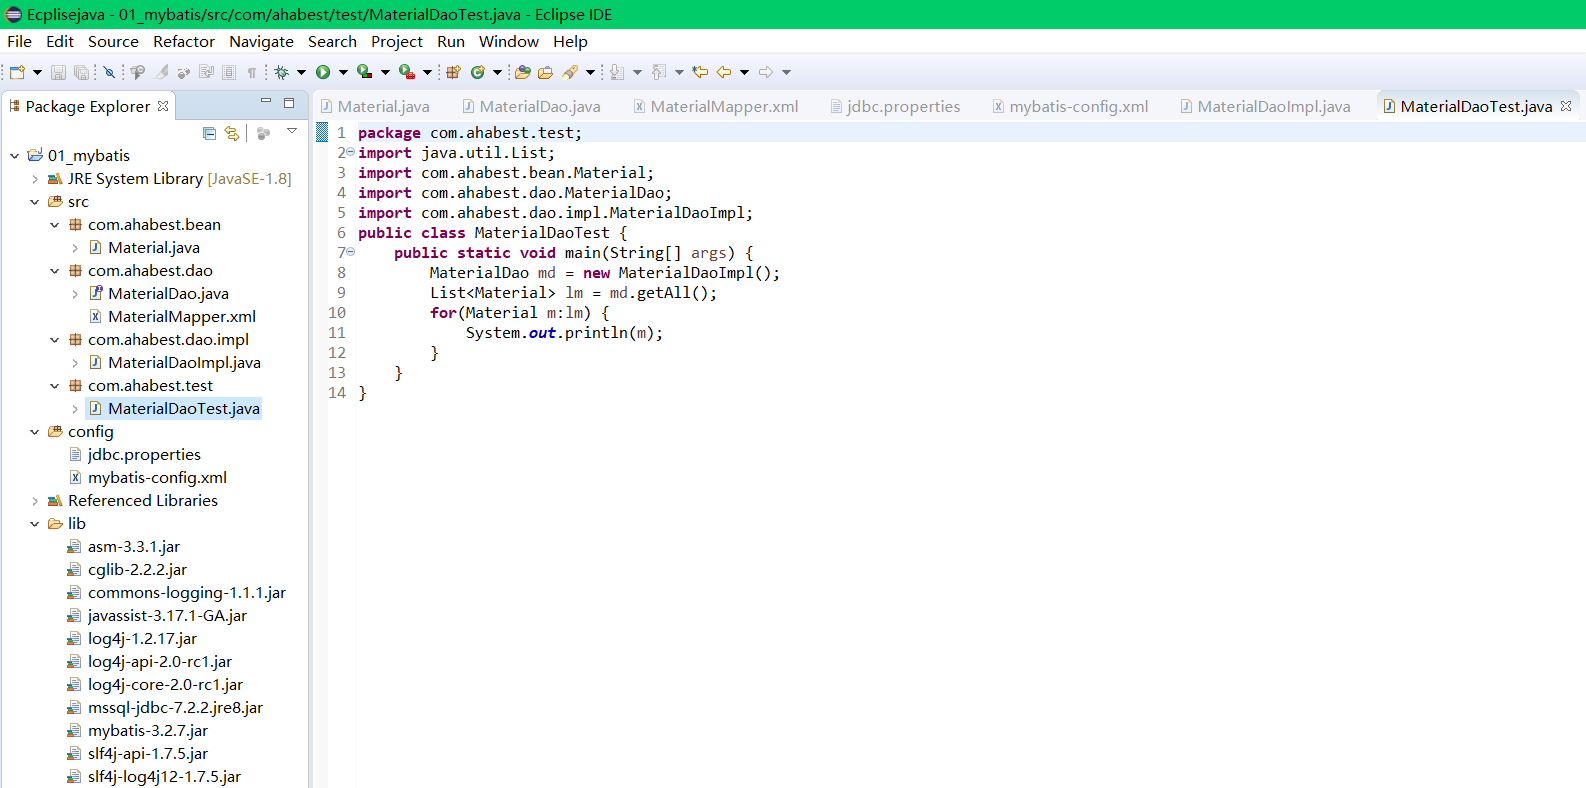
2.拷贝jar加入到项目中build path jar包
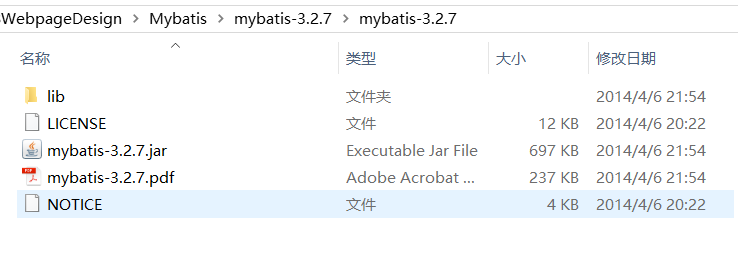
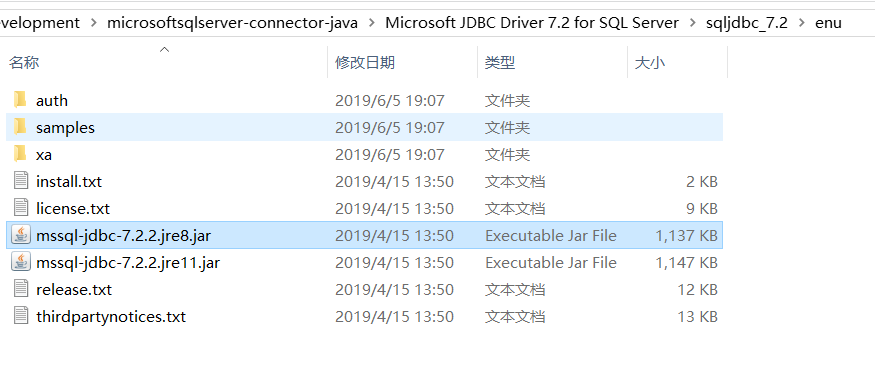
3.创建数据库的表及数据添加
USE [mybatis]
CREATE TABLE [dbo].[Material](
    ,) NOT NULL,
    ) NULL,
    [price] [int] NULL
)
4.创建实体类
package com.ahabest.bean;
public class Material {
    //成员变量
    private Integer id;
    private String name;
    private Integer price;
    //
    public Integer getId() {
        return id;
    }
    public void setId(Integer id) {
        this.id = id;
    }
    public String getName() {
        return name;
    }
    public void setName(String name) {
        this.name = name;
    }
    public Integer getPrice() {
        return price;
    }
    public void setPrice(Integer price) {
        this.price = price;
    }
    @Override
    public String toString() {
        return "Material [id=" + id + ", name=" + name + ", price=" + price + "]";
    }
    public Material() {
        super();
    }
    public Material(Integer id, String name, Integer price) {
        super();
        this.id = id;
        this.name = name;
        this.price = price;
    }
}
5.创建接口及映射
package com.ahabest.dao;
import java.util.List;
import com.ahabest.bean.Material;
public interface MaterialDao {
    List<Material> getAll();
}
<?xml version="1.0" encoding="UTF-8"?>
<!DOCTYPE mapper PUBLIC "-//mybatis.org//DTD Mapper 3.0//EN"
"http://mybatis.org/dtd/mybatis-3-mapper.dtd">
<mapper namespace="test">
    <!-- id是找到SQL语句的唯一标识 -->
    <!-- parameter表示传入的参数类型 -->
    <!-- resultType返回值的类型 -->
    <select id="getAll" resultType="com.ahabest.bean.Material">
        SELECT * FROM Material
    </select>
    <select id="getById" parameterType="java.lang.Integer" resultType="com.ahabest.bean.Material">
        SELECT * FROM Material WHERE id = #{id}
    </select>
</mapper>
6.创建数据库配置及映射
jdbc.driver=com.microsoft.sqlserver.jdbc.SQLServerDriver
jdbc.url=jdbc:sqlserver://localhost:1433;DatabaseName=mybatis
jdbc.username=sa
jdbc.password=
<?xml version="1.0" encoding="UTF-8"?>
<!DOCTYPE configuration PUBLIC "-//mybatis.org//DTD Config 3.0//EN"
"http://mybatis.org/dtd/mybatis-3-config.dtd">
<configuration>
    <!-- 加载数据库的配置信息 -->
    <properties resource="jdbc.properties"></properties>
    <!-- mybatis的数据库环境 -->
    <environments default="Enviroment">
        <environment id="Enviroment">
            <!-- 事务管理 -->
            <transactionManager type="JDBC"></transactionManager>
            <!-- 数据源 -->
            <dataSource type="POOLED">
                <property name="driver" value="${jdbc.driver}"/>
                <property name="url" value="${jdbc.url}"/>
                <property name="username" value="${jdbc.username}"/>
                <property name="password" value="${jdbc.password}"/>
            </dataSource>
        </environment>
    </environments>

    <mappers>
        <mapper resource="com/ahabest/dao/MaterialMapper.xml"/>
    </mappers>

</configuration>
7.读取数据库配置
package com.ahabest.dao.impl;
import java.io.InputStream;
import java.util.List;
import org.apache.ibatis.session.SqlSession;
import org.apache.ibatis.session.SqlSessionFactory;
import org.apache.ibatis.session.SqlSessionFactoryBuilder;
import com.ahabest.bean.Material;
import com.ahabest.dao.MaterialDao;
public class MaterialDaoImpl implements MaterialDao {
    @Override
    public List<Material> getAll() {
        // 读取配置文件
        InputStream is = MaterialDaoImpl.class.getClassLoader().getResourceAsStream("mybatis-config.xml");
        //创建会话工厂
        SqlSessionFactory ssf = new SqlSessionFactoryBuilder().build(is);
        //开启会话
        SqlSession ss =ssf.openSession();
        //调用方法
        List<Material> lm = ss.selectList("test.getAll");
        Material m = ss.selectOne("test.getById",1);
        System.out.println(m);
        return lm;
    }
}
8.程序测试
package com.ahabest.test;
import java.util.List;
import com.ahabest.bean.Material;
import com.ahabest.dao.MaterialDao;
import com.ahabest.dao.impl.MaterialDaoImpl;
public class MaterialDaoTest {
    public static void main(String[] args) {
        MaterialDao md = new MaterialDaoImpl();
        List<Material> lm = md.getAll();
        for(Material m:lm) {
            System.out.println(m);
        }
    }
}
MyBatis基本运行环境的更多相关文章
- MyBatis配置文件(七)--environments运行环境
一.environments配置信息: environments的作用是用来配置数据库信息,可以配置多个,其有两个可配的子元素,分别是:事务管理器transactionManager和数据源dataS ...
- MyBatis在Spring环境下的事务管理
MyBatis的设计思想很简单,可以看做是对JDBC的一次封装,并提供强大的动态SQL映射功能.但是由于它本身也有一些缓存.事务管理等功能,所以实际使用中还是会碰到一些问题--另外,最近接触了JFin ...
- 七年开发小结MyBatis 在 Spring 环境下的事务管理
MyBatis的设计思想很简单,可以看做是对JDBC的一次封装,并提供强大的动态SQL映射功能.但是由于它本身也有一些缓存.事务管理等功能,所以实际使用中还是会碰到一些问题——另外,最近接触了JFin ...
- mybatis3.0-[topic10-14] -全局配置文件_plugins插件简介/ typeHandlers_类型处理器简介 /enviroments_运行环境 /多数据库支持/mappers_sql映射注册
mybatis3.0-全局配置文件_ 下面为中文官网解释 全局配置文件的标签需要按如下定义的顺序: <!ELEMENT configuration (properties?, setting ...
- Mybatis系列全解(二):Mybatis简介与环境搭建
封面:洛小汐 作者:潘潘 Mybatis 是一套持久层框架,灵活易用,特别流行. 前言 Mybatis系列全解,我们预计准备10+篇文章,让我们了解到 Mybatis 的基本全貌,真正从入门到上手,从 ...
- Ubuntu部署python3.5的开发和运行环境
Ubuntu部署python3.5的开发和运行环境 1 概述 由于最近项目全部由python2.x转向 python3.x(使用目前最新的 python3.5.1) ,之前的云主机的的默认python ...
- Atitit linux获取项目运行环境版本
Atitit linux获取项目运行环境版本 1.1. Nginx版本1 1.2. Php版本1 1.3. Mysql版本2 1.4. Redis版本2 1.1. Nginx版本 [root@iZ25 ...
- 理解Docker(3):Docker 使用 Linux namespace 隔离容器的运行环境
本系列文章将介绍Docker的有关知识: (1)Docker 安装及基本用法 (2)Docker 镜像 (3)Docker 容器的隔离性 - 使用 Linux namespace 隔离容器的运行环境 ...
- Python 2/3 安装与运行环境设置
Python 2/3 安装与运行环境设置: 1.Python 软件源:https://www.python.org/ 下载Win版本 https://www.python.org/downloa ...
随机推荐
- A. Bus to Udayland
time limit per test 2 seconds memory limit per test 256 megabytes input standard input output standa ...
- Start Developing Mac Apps -- Mac App Store Mac 应用商店
Mac App Store The information you’ve read so far focused on how to create an app in Xcode. However ...
- Git分布式版本控制工具
一.安装Git 1.下载Windows版的Git:msysgit:官方下载地址:http://msysgit.github.io,安装选定要安装的目录(路径杜绝中文),剩下的按照默认安装即可,参考: ...
- ccflow汇总帖
视频教程学习 公司电脑路径; E:\开源工作流\ccflow佳怡物流版\ccflow\doc cclfow的码云地址: https://gitee.com/opencc/ccflow 在线demo演示 ...
- Moctf--没时间解释了
记录一道简单的题目. 打开后就张这个样子,,然后看到url为index2.php---->所以我们把它改为index.php(用burp抓包才行,这是一个302跳转). 看到它提示我们要uplo ...
- 每天一水poj1502【最短路】
#include<iostream> #include<cstdio> #include<string.h> #include<algorithm> u ...
- 洛谷P2219 [HAOI2007]修筑绿化带(单调队列)
传送门 啧……明明以前做到过这种类型的题结果全忘了…… 这种矩阵的,一般都是先枚举行,然后对列进行一遍单调队列,搞出右下角在每一行中合法位置时的最小权值 再枚举列,对行做一遍单调队列,用之前搞出来的最 ...
- 解决 Xshell 连接出现 The remote SSH server rejected X11 forwarding request 问题
问题描述 使用 Xshell 5 首次连接虚拟机 CentOS 7.6 出现这样的提示: WARNING! The remote SSH server rejected X11 forwarding ...
- (一)搭建自己的SpringBoot后台框架整合MyBatis
一:通过idea工具构建基础框架 1. 打开idea,左上角File→New→Project, 2. 点击Next 3. 点击Next,配置如下图,这里我们选择数据库MySQL和持久层框架MyB ...
- Android Studio无法预览xml布局之解决方法(两种)
学习安卓程序开发,用的Android Studio,发现怎么更改xml代码都没有想要的效果.如图 代码如下: <?xml version="1.0" encoding=&qu ...