Android实现自定义字体
介绍
最近在看开源项目的时候,发现里面涉及到了自定义字体,虽然自己目前还用不到,但是动手demo笔记记录一下还是有必要的,没准哪天需要到这个功能。
原理
1、其实实现起来非常简单,主要是用到了Typeface这个类,通过加载assets里的ttf字体,调用View.setTypeface实现原生字体替换。
默认自带样式
public static final int NORMAL = 0;
public static final int BOLD = 1;
public static final int ITALIC = 2;
public static final int BOLD_ITALIC = 3;
默认自带Typeface
public static final Typeface DEFAULT;
public static final Typeface DEFAULT_BOLD;
public static final Typeface SANS_SERIF;
public static final Typeface SERIF;
public static final Typeface MONOSPACE;
2、通过声明Paint来设置相关参数,调用View.getPaint().set***可以实现自定义样式。
3、具体相关操作可以看文档。
实现
main布局
<LinearLayout xmlns:android="http://schemas.android.com/apk/res/android"

    xmlns:tools="http://schemas.android.com/tools"

    android:layout_width="match_parent"

    android:layout_height="match_parent"

    android:orientation="vertical"

    android:paddingBottom="@dimen/activity_vertical_margin"

    android:paddingLeft="@dimen/activity_horizontal_margin"

    android:paddingRight="@dimen/activity_horizontal_margin"

    android:paddingTop="@dimen/activity_vertical_margin"

    tools:context="com.example.customfont.MainActivity" >

    <LinearLayout

        android:id="@+id/ll_root"

        android:layout_width="match_parent"

        android:layout_height="wrap_content"

        android:orientation="vertical" >

        <TextView

            android:layout_width="wrap_content"

            android:layout_height="wrap_content"

            android:text="Hello!注意我的字体哟!"

            android:textAppearance="?android:attr/textAppearanceLarge" />

        <EditText

            android:id="@+id/editText1"

            android:layout_width="wrap_content"

            android:layout_height="wrap_content"

            android:ems="10"

            android:text="看我自定义字体" />

        <Button

            android:id="@+id/button1"

            android:layout_width="wrap_content"

            android:layout_height="wrap_content"

            android:text="改变字体按钮" />

    </LinearLayout>

    <LinearLayout

        android:layout_width="match_parent"

        android:layout_height="wrap_content"

        android:orientation="vertical" >

        <TextView

            android:id="@+id/TextView01"

            android:layout_width="wrap_content"

            android:layout_height="wrap_content"

            android:text="我是原生的字体"

            android:textAppearance="?android:attr/textAppearanceLarge" />

        <TextView

            android:id="@+id/textView1"

            android:layout_width="wrap_content"

            android:layout_height="wrap_content"

            android:text="我是原生的字体改样式"

            android:textAppearance="?android:attr/textAppearanceLarge" />

        <Button

            android:id="@+id/button2"

            android:layout_width="wrap_content"

            android:layout_height="wrap_content"

            android:text="原生按钮" />

    </LinearLayout>

</LinearLayout>
核心代码
package com.example.customfont;

import android.support.v7.app.ActionBarActivity;

import android.graphics.Paint;

import android.graphics.Typeface;

import android.os.Bundle;

import android.view.Menu;

import android.view.MenuItem;

import android.view.View;

import android.view.ViewGroup;

import android.widget.Button;

import android.widget.EditText;

import android.widget.TextView;

public class MainActivity extends ActionBarActivity {

    TextView textView1;

    @Override

    protected void onCreate(Bundle savedInstanceState) {

        super.onCreate(savedInstanceState);

        setContentView(R.layout.activity_main);

        textView1=(TextView)findViewById(R.id.textView1);

        textView1.getPaint().setFakeBoldText(true); //true为粗体,false为非粗体

        textView1.getPaint().setTextSkewX(-0.5f); //float类型参数,负数表示右斜,正数左斜

        textView1.getPaint().setUnderlineText(true); //true为下划线,false为非下划线

        textView1.getPaint().setStrikeThruText(true); //true为删除线,false为非删除线

        //从Assets获取字体文件

        Typeface mFont = Typeface.createFromAsset(getAssets(),

                "STXINGKA.TTF");

        //设置字体控件

        ViewGroup root = (ViewGroup) findViewById(R.id.ll_root);

        setFont(root, mFont);

    }

    /**

     * 设置ViewGroup中的指定的控件字体为指定字体。

     * @param group

     * @param font

     */

    public void setFont(ViewGroup group, Typeface font) {

        int count = group.getChildCount();

        View v;

        for (int i = 0; i < count; i++) {

            v = group.getChildAt(i);

            //判断View的类型,只设置指定类型的字体。

            if (v instanceof TextView || v instanceof EditText

                    || v instanceof Button) {

                ((TextView) v).getPaint().setTypeface(font);

            }

            //如果是ViewGroup,迭代。

            else if (v instanceof ViewGroup)

                setFont((ViewGroup) v, font);

        }

    }

}
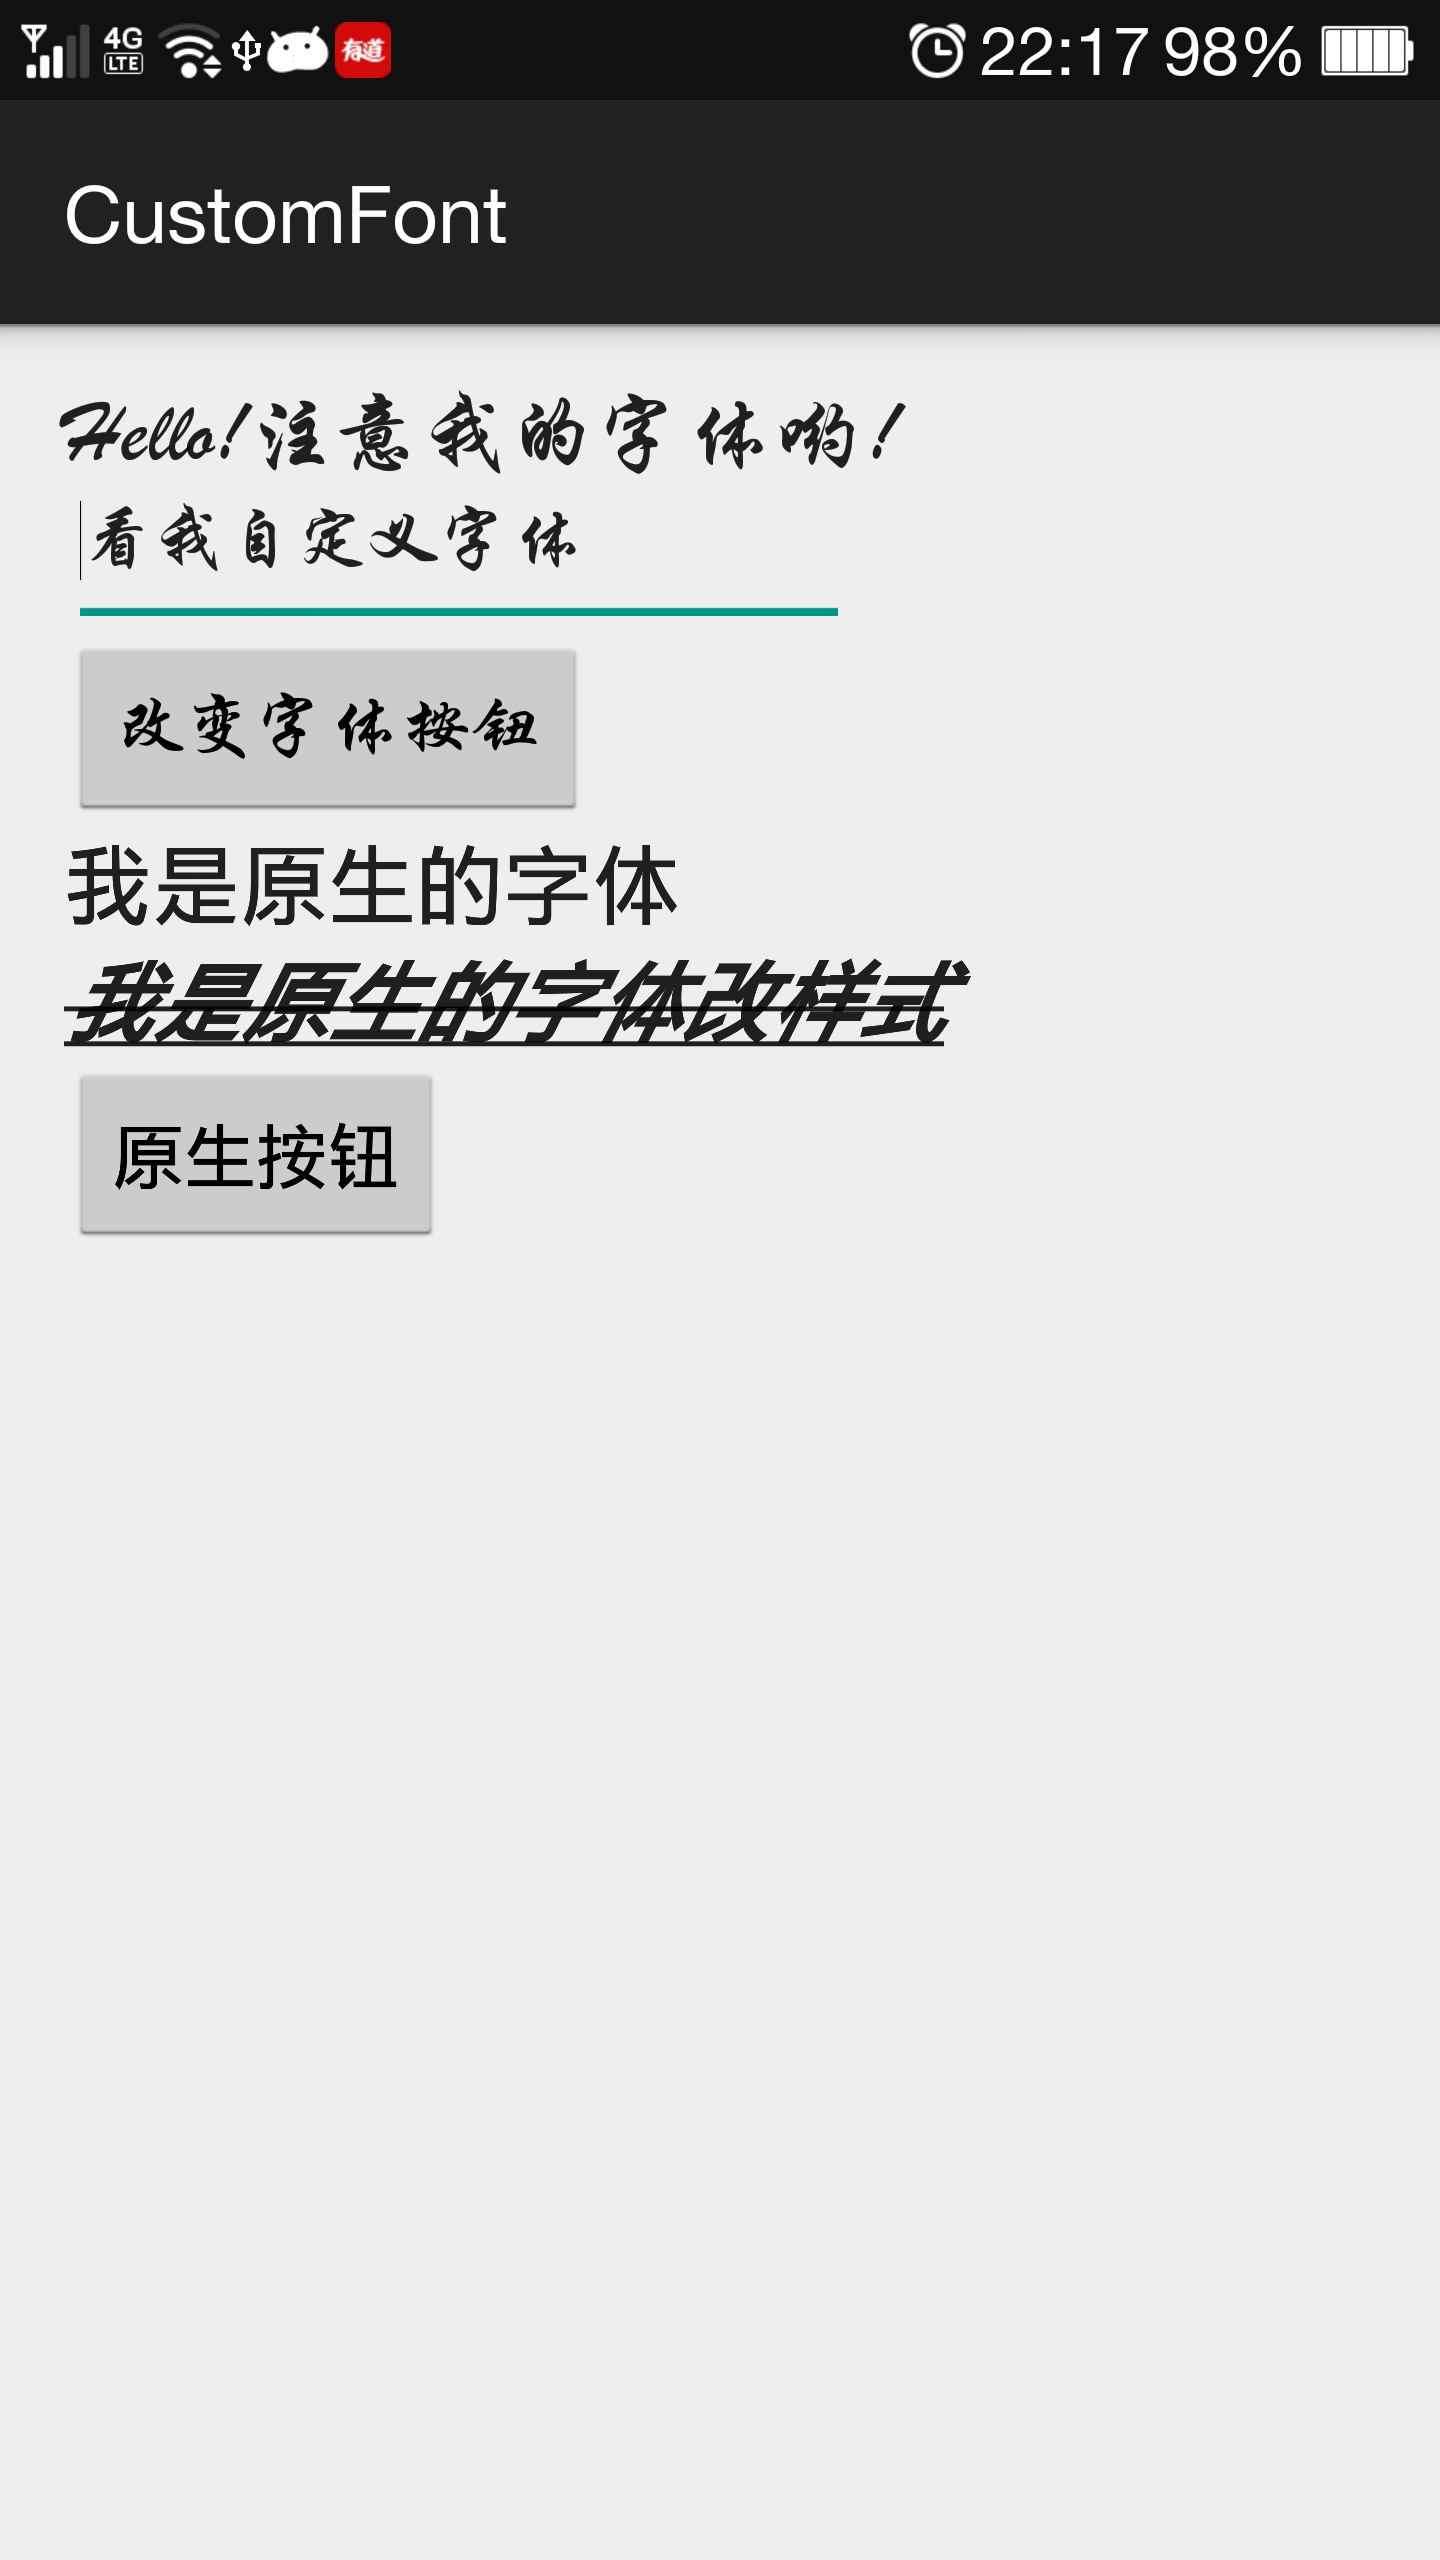
运行之后看起来是这样的
demo地址:
链接:http://pan.baidu.com/s/1eQoyQPW 密码:4njm
Android实现自定义字体的更多相关文章
- 转--Android中自定义字体的实现方法
1.Android系统默认支持三种字体,分别为:“sans”, “serif”, “monospace 2.在Android中可以引入其他字体 . 复制代码 代码如下: <?xml versio ...
- Android 使用自定义字体
整个项目要使用第三方字体首先将字体文件放到assets文件夹下 因为整个项目要用第三方字体这里我重写了 TextView Button EditText 三个控件 以TextView 为例代码如下 ...
- Android Studio 自定义字体显示英文音标
android:fontFamily="serif" 网上查了很多自定义字体的方式,或多或少都有些麻烦,最后还是尝试着认为内置字体不应该实现不了英文音标问题,就一个一个字体试了一下 ...
- Typeface-为自定义字体提供字体内存缓存
Android 上自定义字体的代码一般如下: TextView textview = (TextView) findViewById(R.id.your_referenced_textview); / ...
- Android SearchView 自定义SearchIcon和字体颜色大小
自定义SearchView的搜索图标和字体属性相对复杂一些,记下来. 一.自定义SearchIcon 1.API版本低于21:版本小于21时,要修改SearchIcon比较复杂,需要先获取到Searc ...
- Android怎么使用字体图标 自定义FontTextView字体图标控件-- 使用方法
首先我想说明一下字体图标的好处,最大的好处就是自适应了,而且是使用TextView 不用去切图,是矢量图 灵活调用 第一步我要说明一下一般字体图标的来源,我这里使用的是 --阿里巴巴矢量图标库 -网 ...
- Android 中使用自定义字体的方法
1.Android系统默认支持三种字体,分别为:“sans”, “serif”, “monospace 2.在Android中可以引入其他字体 . <?xml version="1.0 ...
- 【Android 界面效果42】如何自定义字体
项目里要统一用设计师的字体,android:typeface只支持系统三种字体.有什么比较好的做法? 你需要为整个应用替换自定义字体. 解决方案 1)Android默认方法 #1 你可以通过ID查找到 ...
- Android:更好的自定义字体方案
http://ryanhoo.github.io/blog/2014/05/05/android-better-way-to-apply-custom-font/ 情景 解决方案 1)Android默 ...
随机推荐
- JavaScript之四种继承方式讲解
在Javascript中,所有开发者定义的类都可以作为基类,但出于安全性考虑,本地类和宿主类不能作为基类,这样可以防止公用访问编译过的浏览器级的代码,因为这些代码可以被用于恶意攻击. 选定基类后,就可 ...
- HDOJ 1709 The Balance(母函数)
The Balance Time Limit: 1000/1000 MS (Java/Others) Memory Limit: 32768/32768 K (Java/Others)Total ...
- SQL分页查询总结{转}
开发过程中经常遇到分页的需求,今天在此总结一下吧.简单说来方法有两种,一种在源上控制,一种在端上控制.源上控制把分页逻辑放在SQL层:端上控制一次性获取所有数据,把分页逻辑放在UI上(如GridVie ...
- 异步JS:$.Deferred的使用
异步JS:$.Deferred的使用 原文链接:http://www.html5rocks.com/en/tutorials/async/deferred/ 当我们构建一个平稳的,响应式的HTML5应 ...
- IOS 提交审核,遇到Missing Push Notification Entitlement 问题。
貌似不影响提交........还是有人提交成了. 昨天晚上提交软件审核,遇到了Missing Push Notification Entitlement 的问题. 问题起因:这个版本我添加了PUSH推 ...
- php弱类型
此处写ctf中遇到的==和md5值为0e**的应用. 数组和字符的=== ==
- POJ 1936
#include<iostream> #include<string> using namespace std; int main() { //freopen("ac ...
- mysql 中的bool值
boolean在MySQL里的类型为tinyint(1) 很奇怪.
- 从Config文件中读取节点的配置信息
下面是web.config中与本内容有关的细节 <appSettings> <add key="servername" value="www" ...
- tomcat下context.xml中JNDI数据源配置
jndi(Java Naming and Directory Interface,Java命名和目录接口)是一组在Java应用中访问命名和目录服务的API.命名服务将名称和对象联系起来,使得我们可以用 ...