Oracle enterprise linux系统的安装以及ORACLE12C的安装
本文所用到的所有参数均位于文后附录中
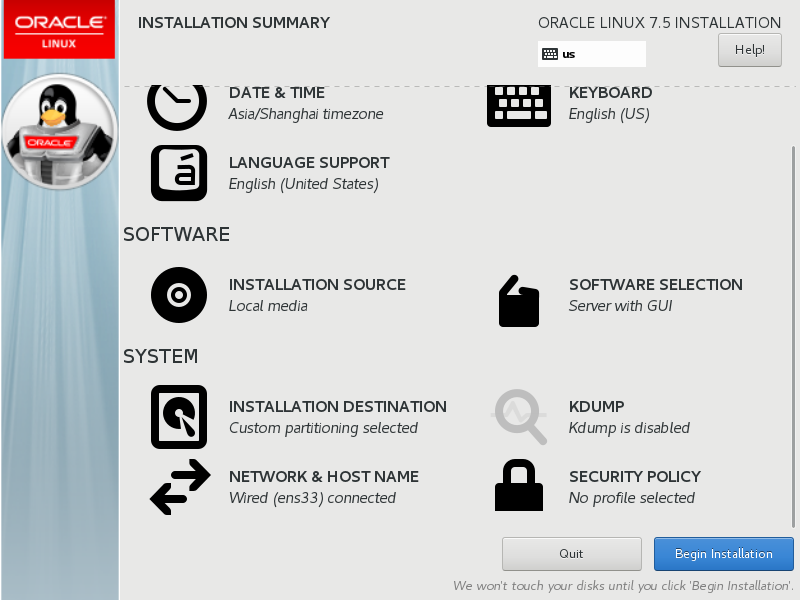
进入安装配置目录
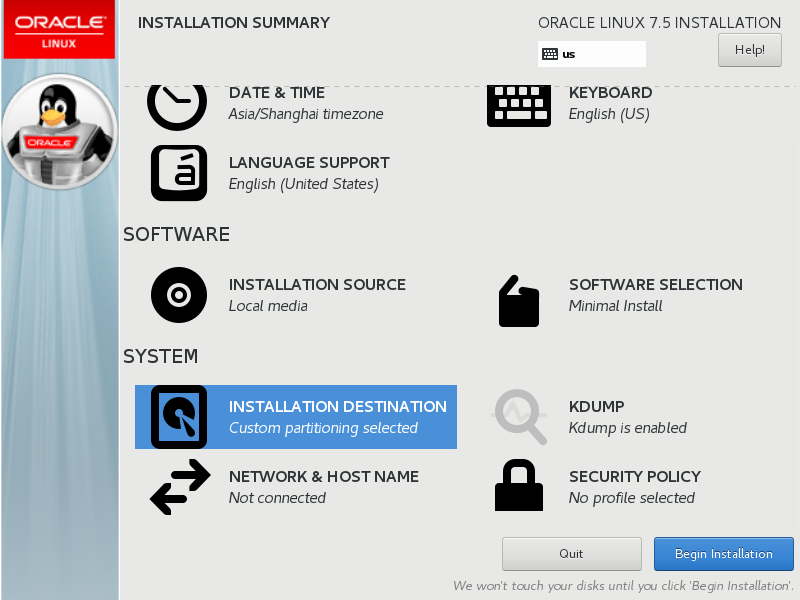
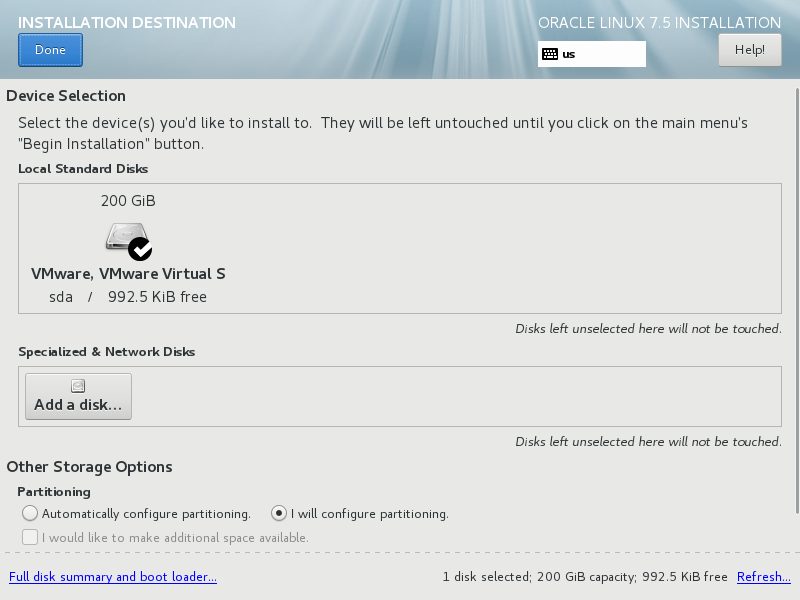
分区选择i will configure partitioning
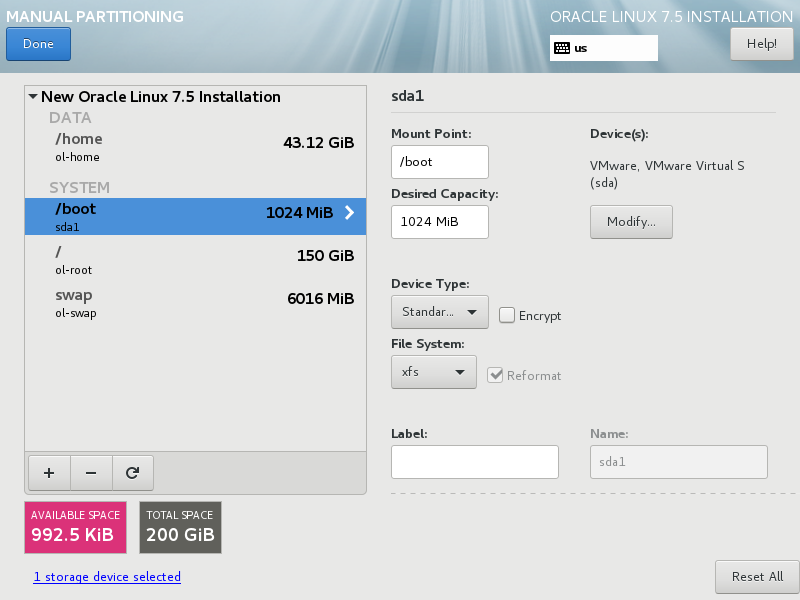
之后选择 请为我分区
关闭KDUMP

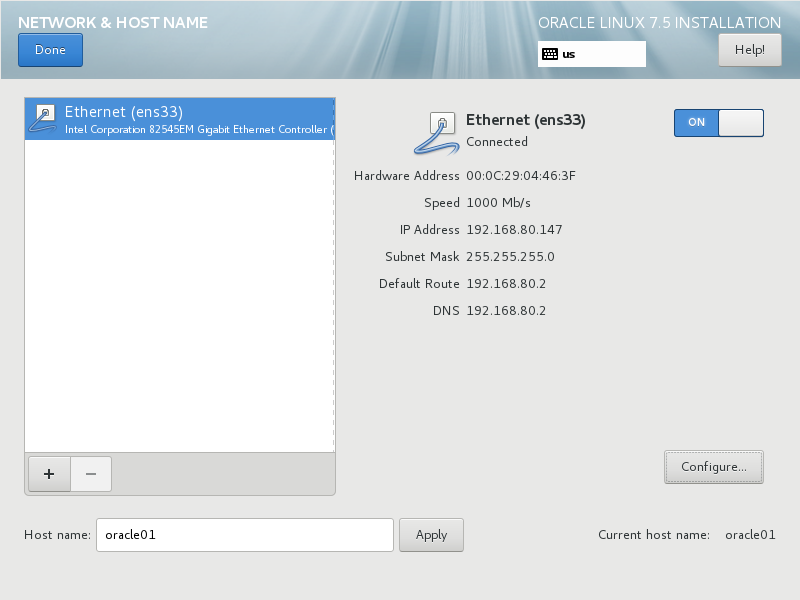
更改主机名,打开网络连接
在软件安装中选择GNOME桌面以及server with gui
之后执行安装
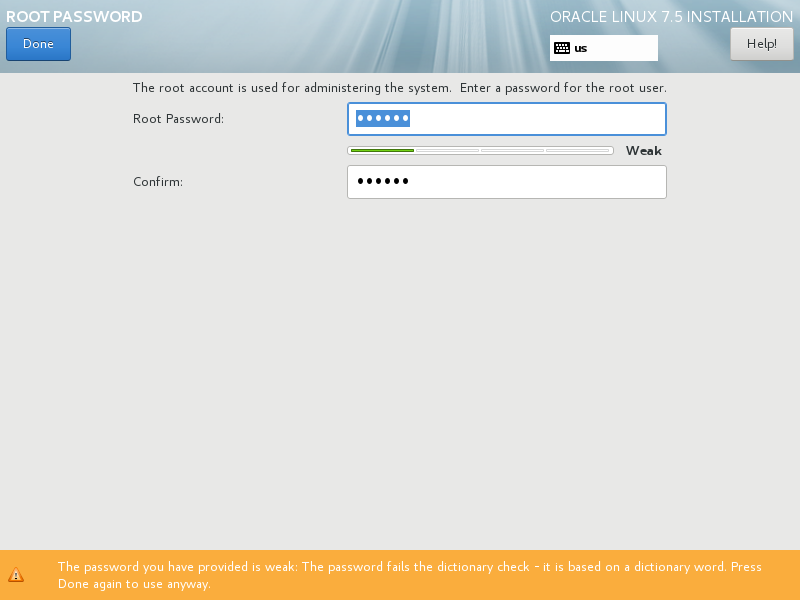
设定root密码
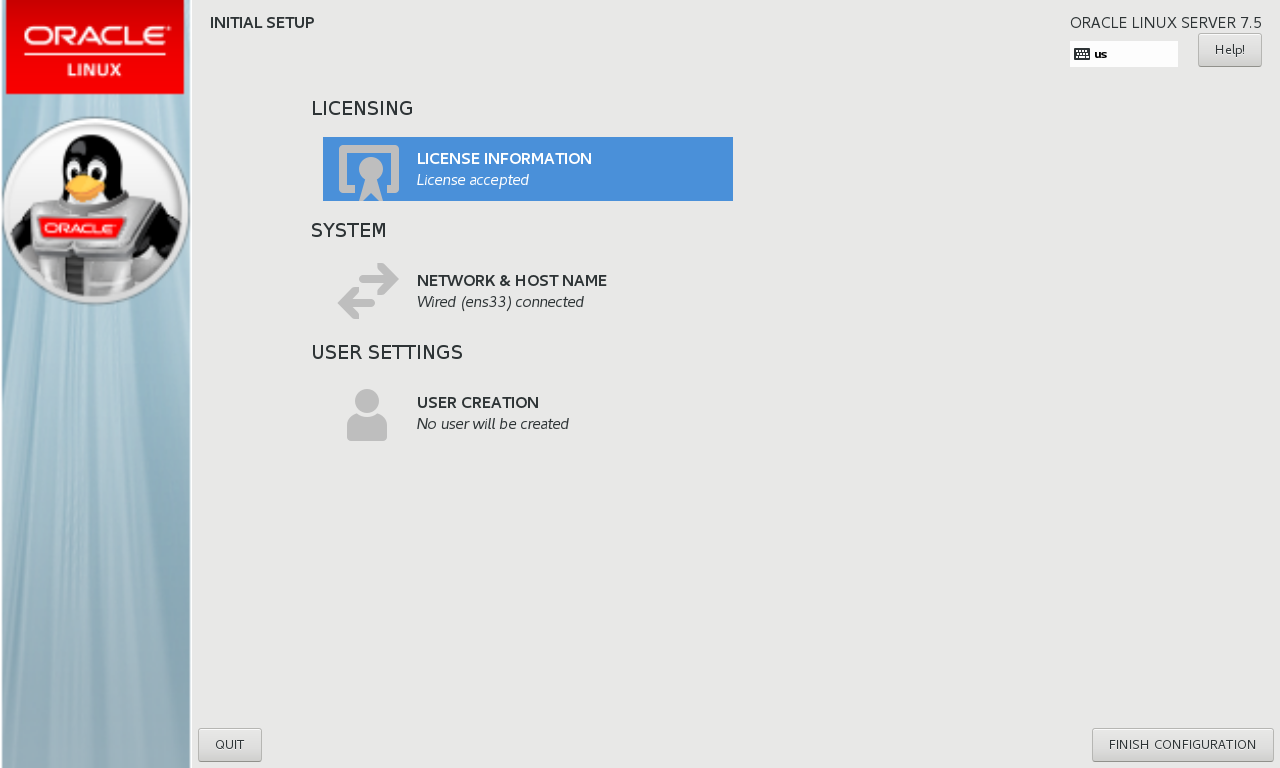
选择接受许可证协议
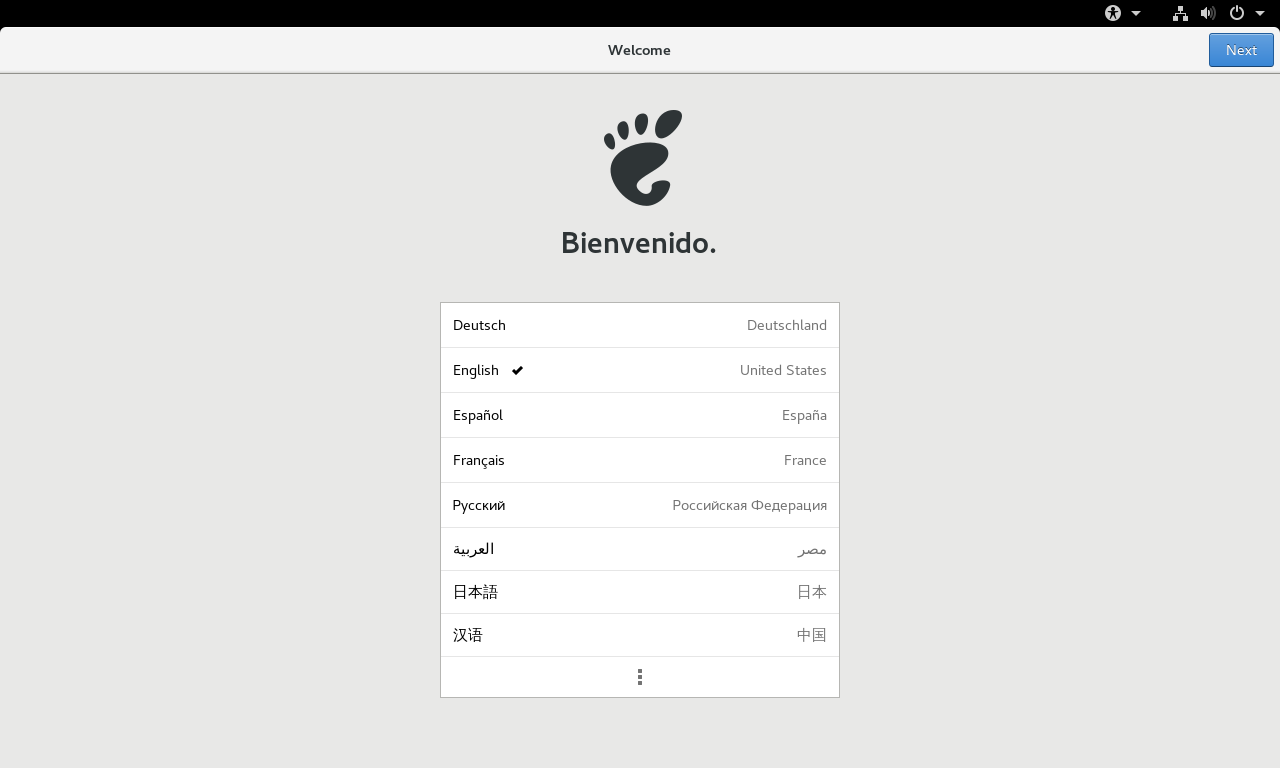
进行语言选择
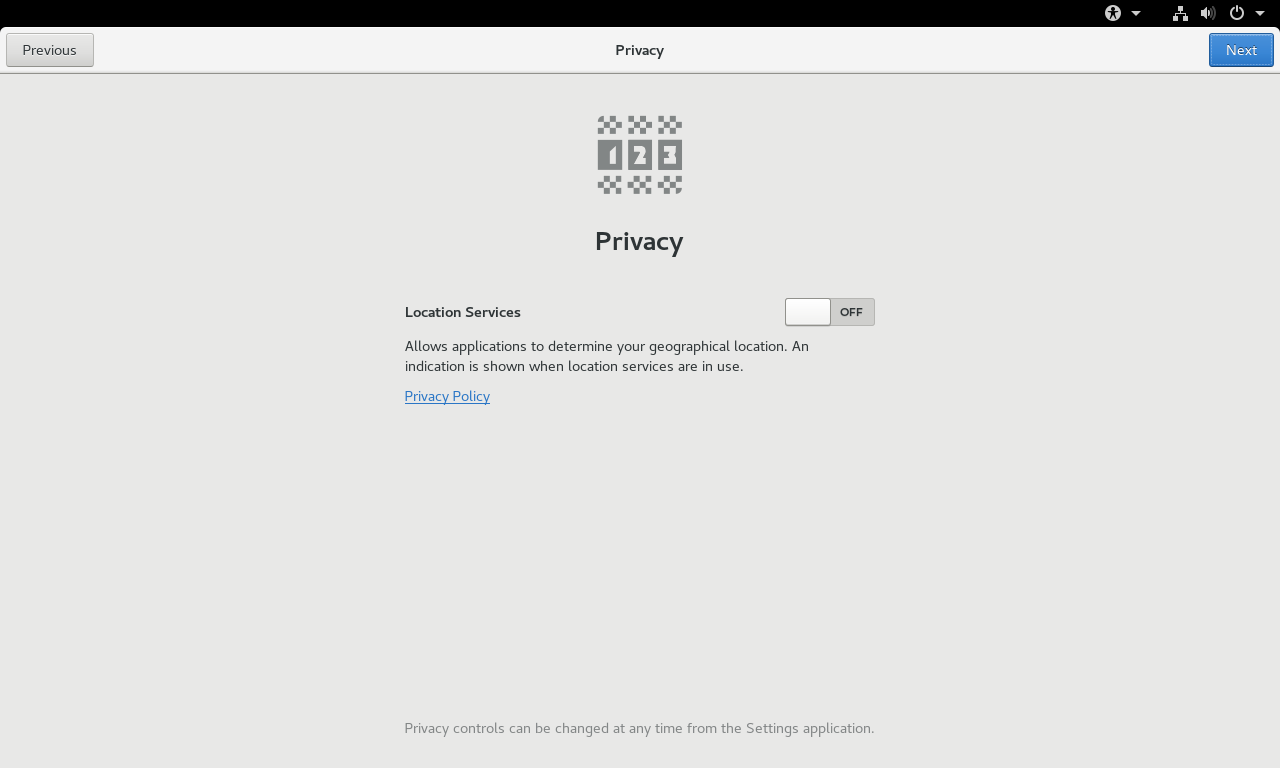
关闭隐私
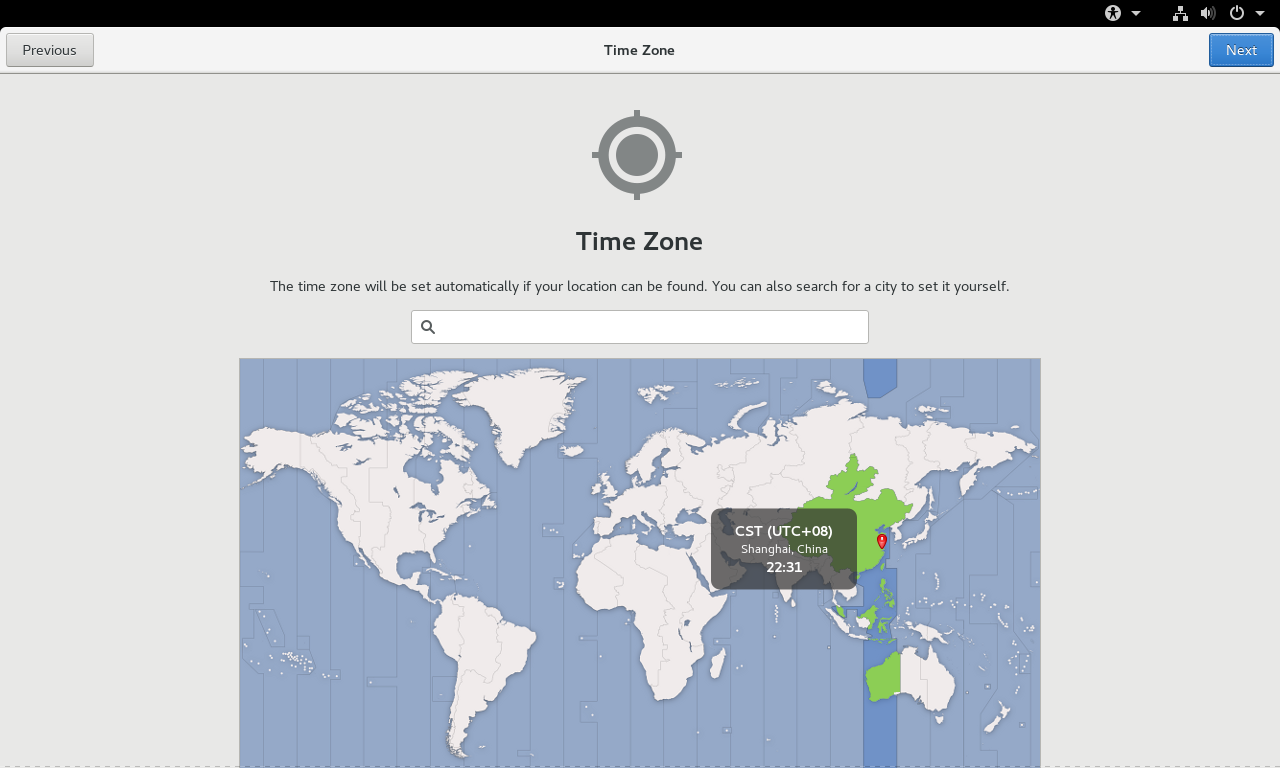
选择时区
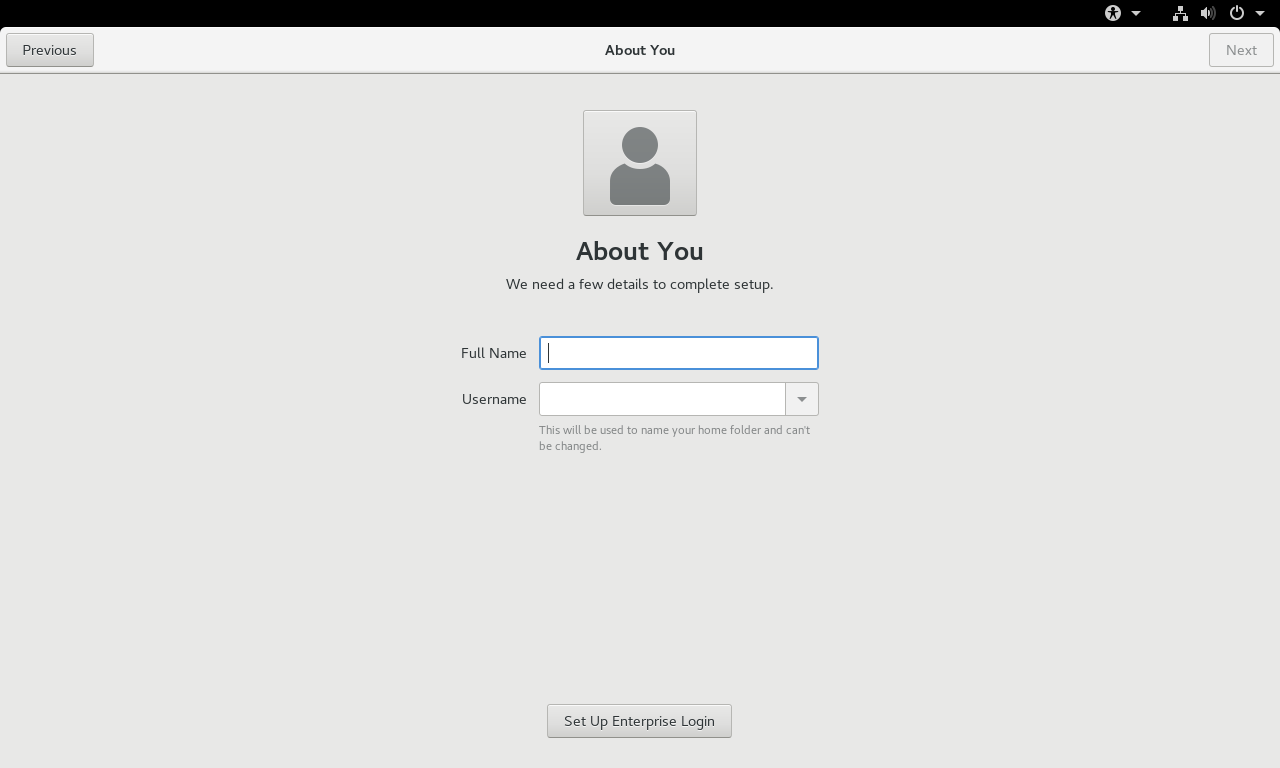
输入姓名
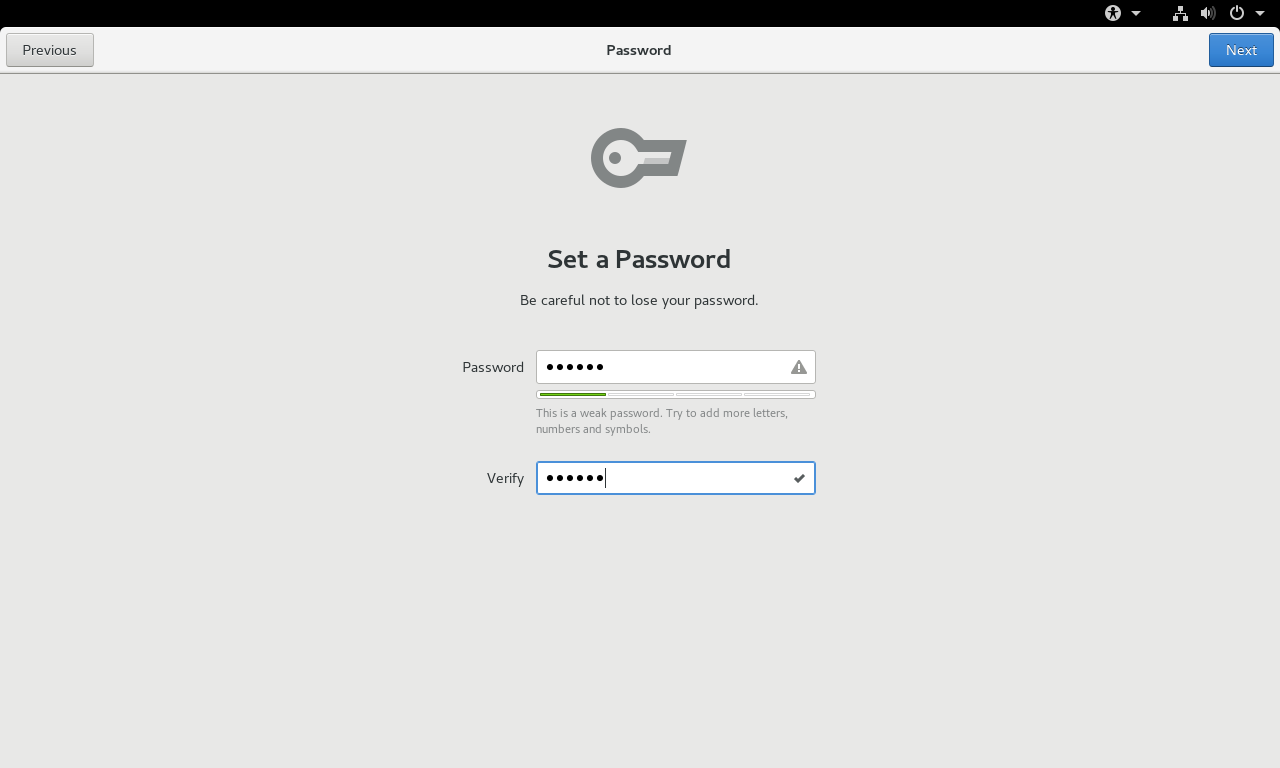
设定密码
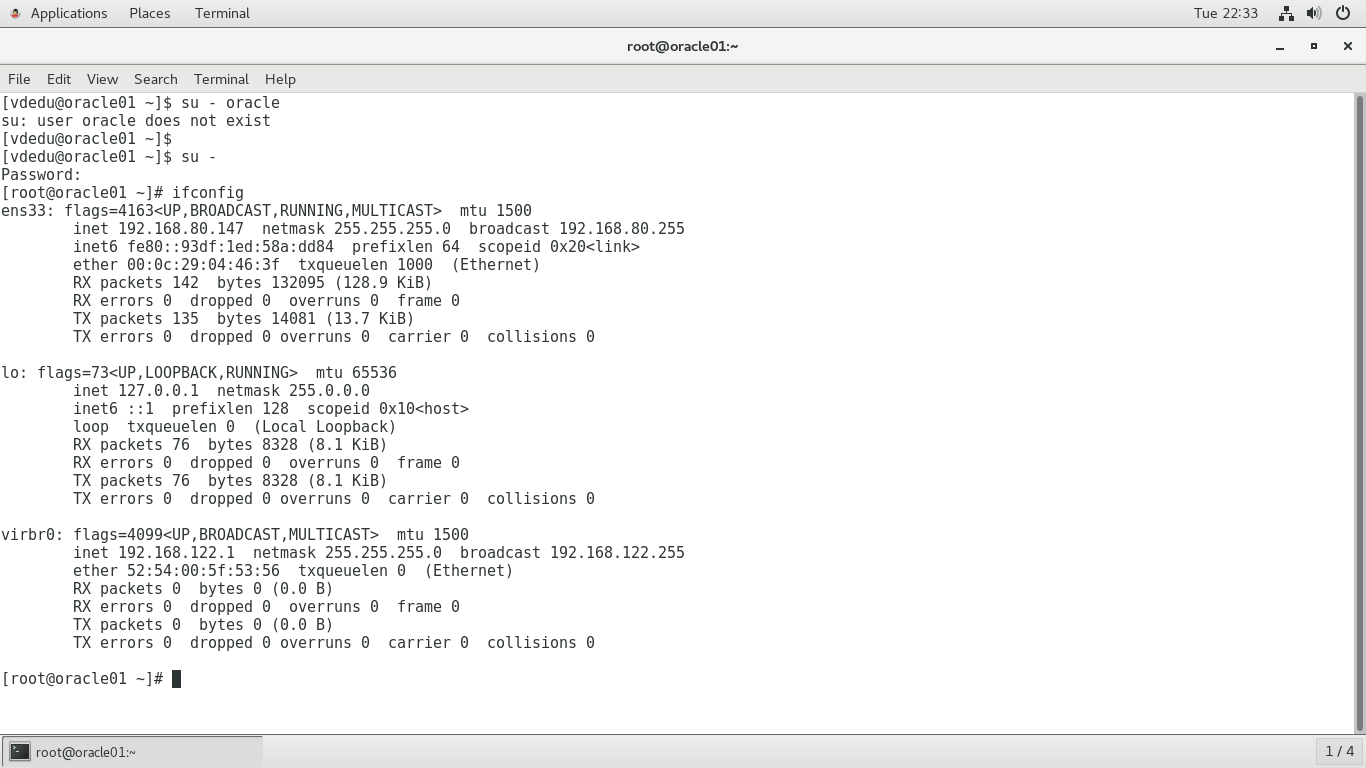
切换到root用户,查看IP
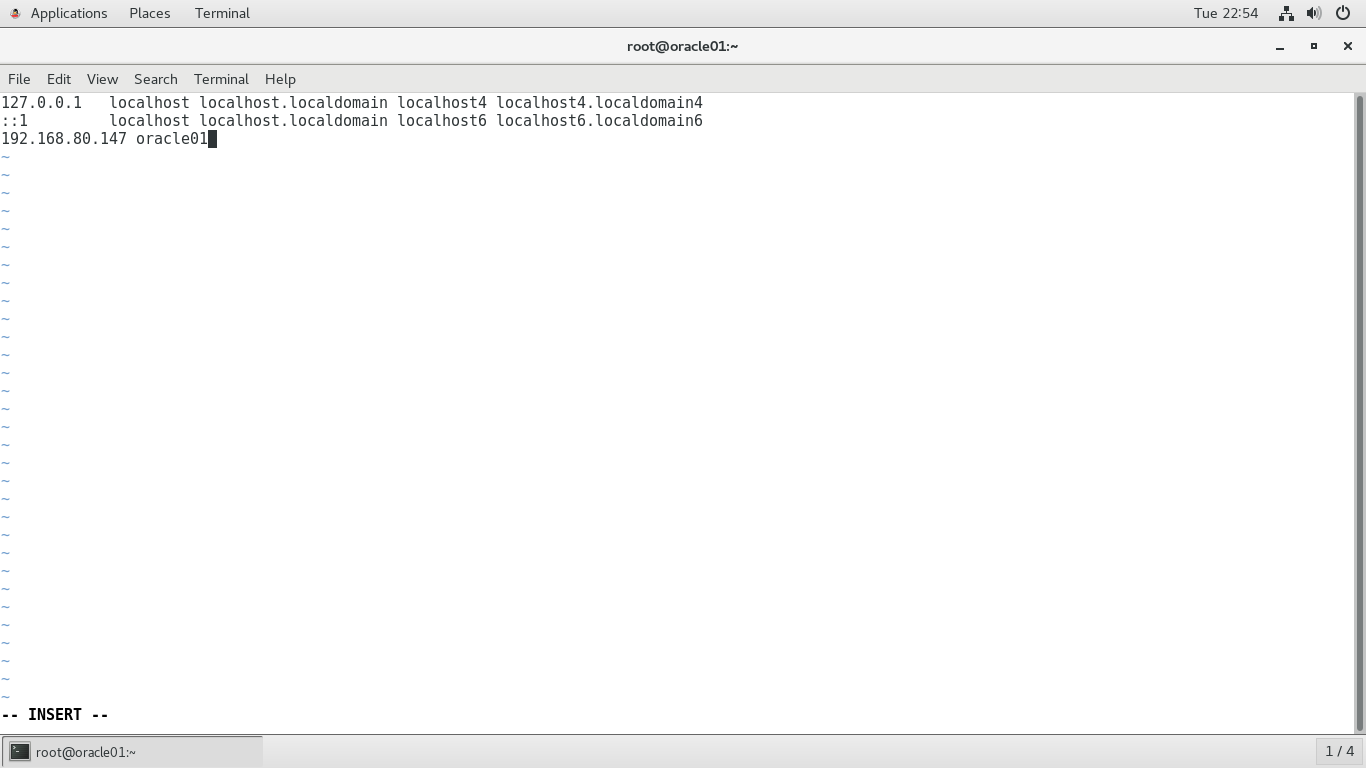
进入/etc/hosts,写入主机名和IP地址
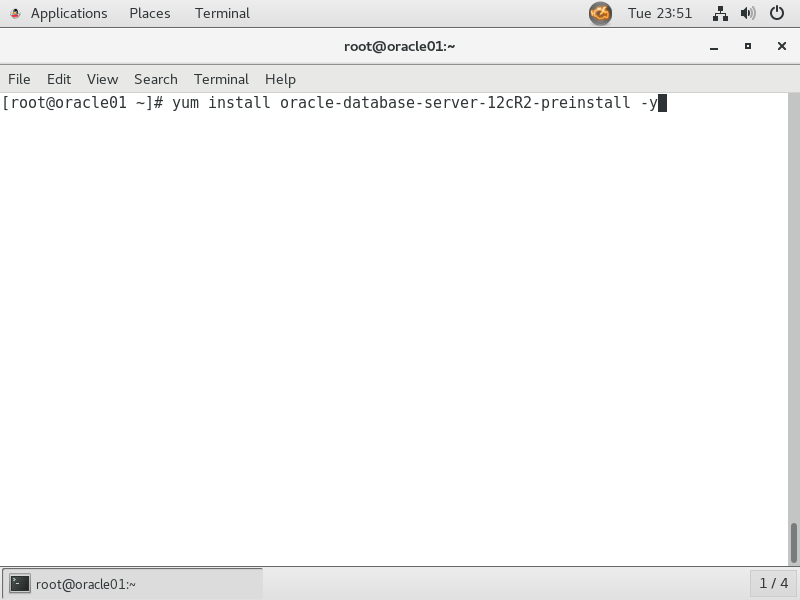
进行YUM安装
检查进程是否开启
[root@localhost ~]# kill -9 823
[root@localhost ~]# ps -ef | grep avahi
root 16794 16206 0 10:27 pts/0 00:00:00 grep --color=auto avahi
关闭该进程

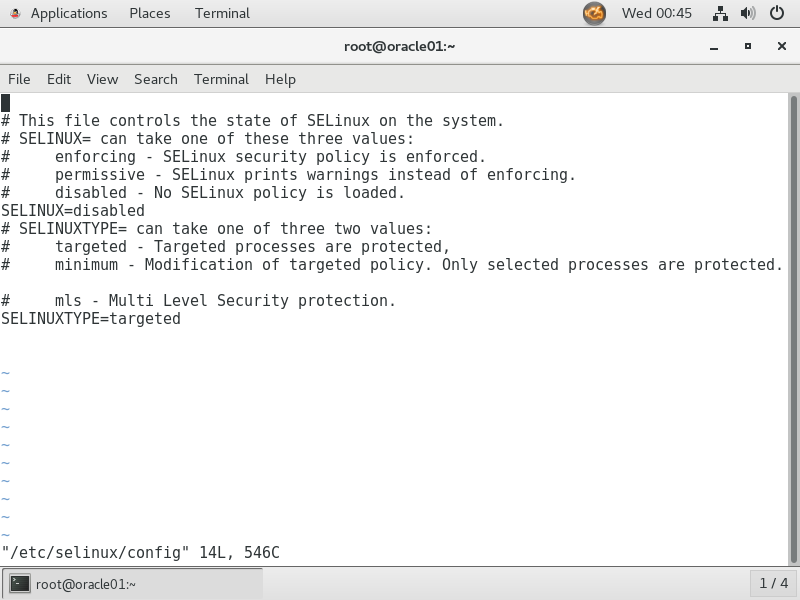
/etc/selinux/config
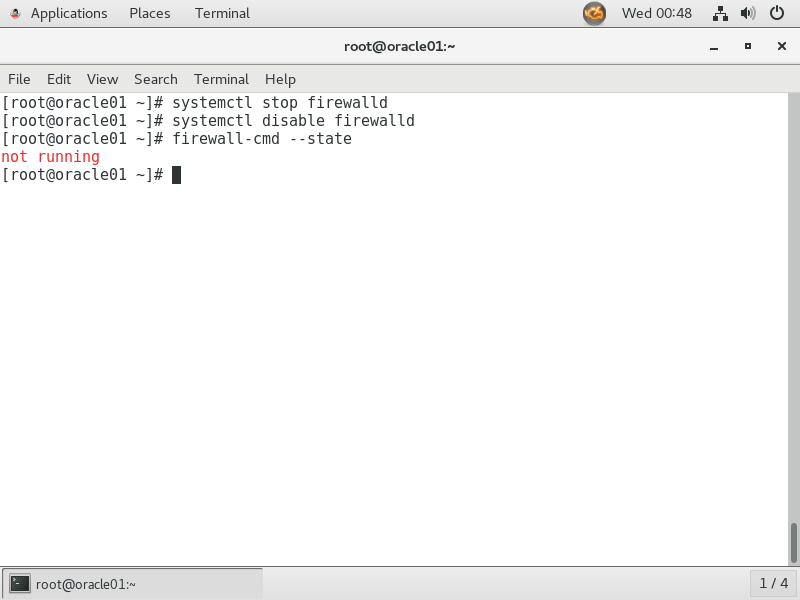
关闭防火墙
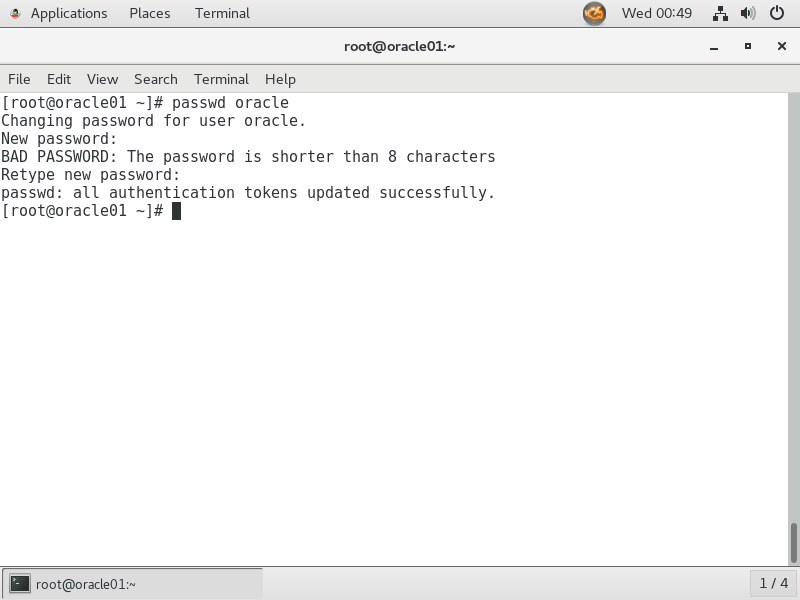
修改oracle用户密码
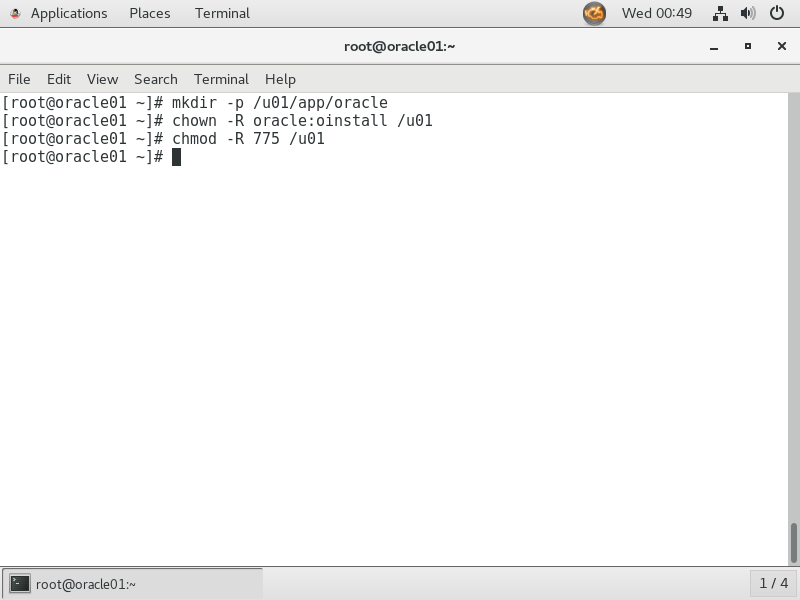
修改用户和权限
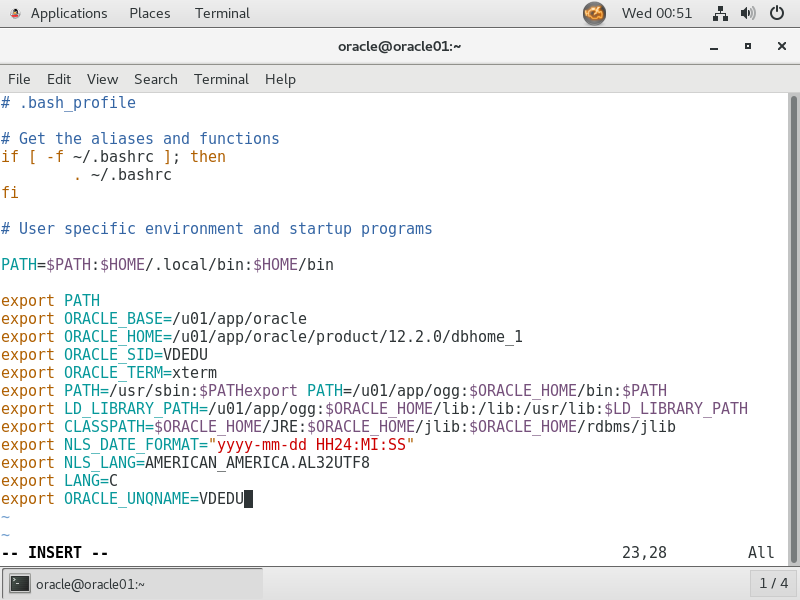
切换到ORACLE用户进入.bash_profile
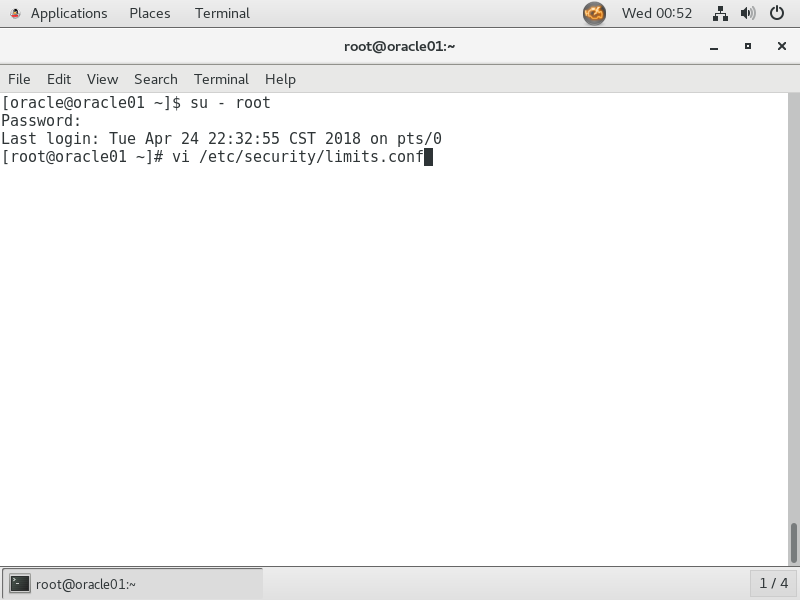
切换到root用户,进入Limits.conf
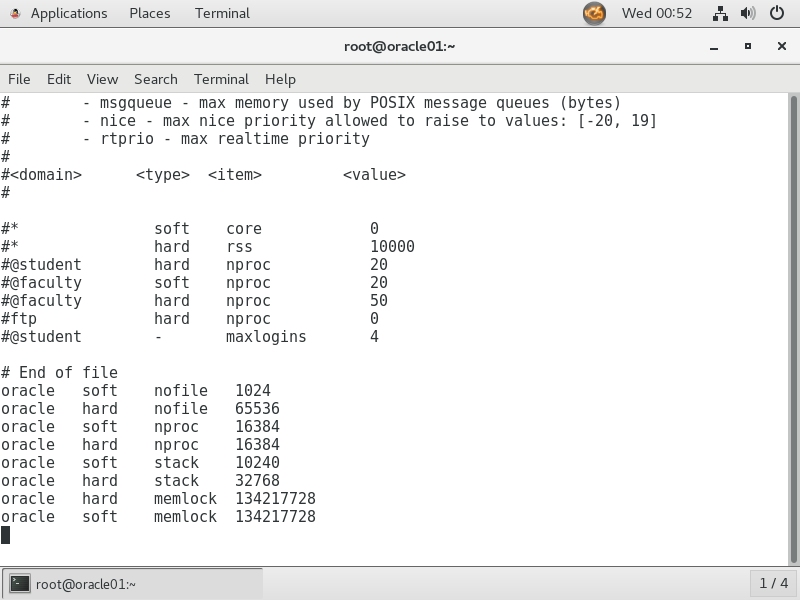
修改为如下参数
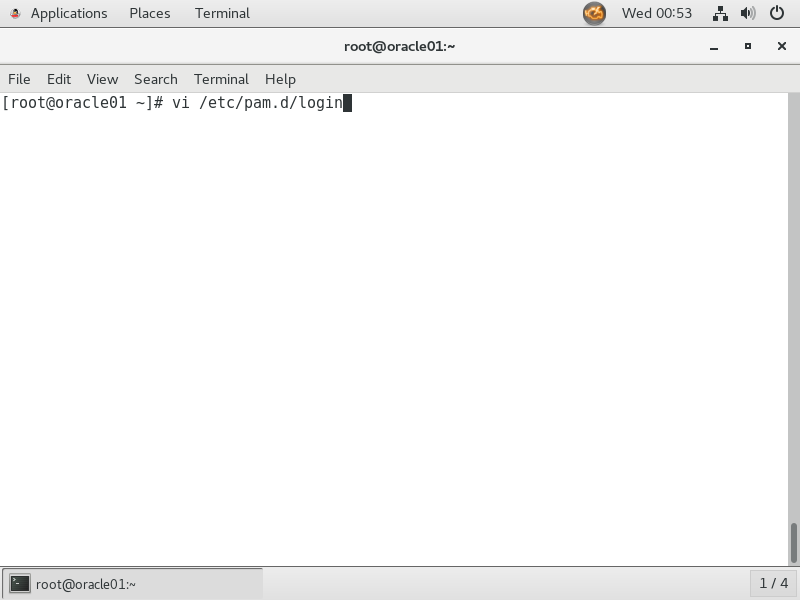
进入login文件
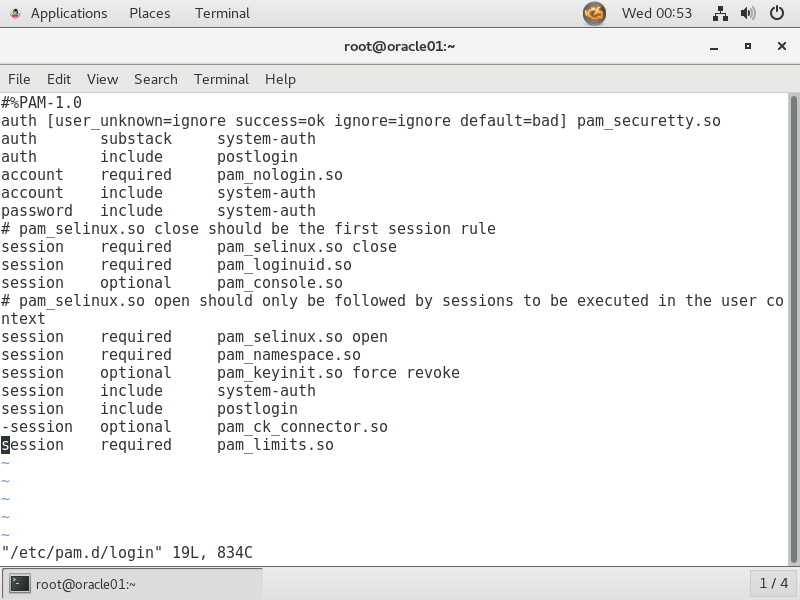
修改为以下参数
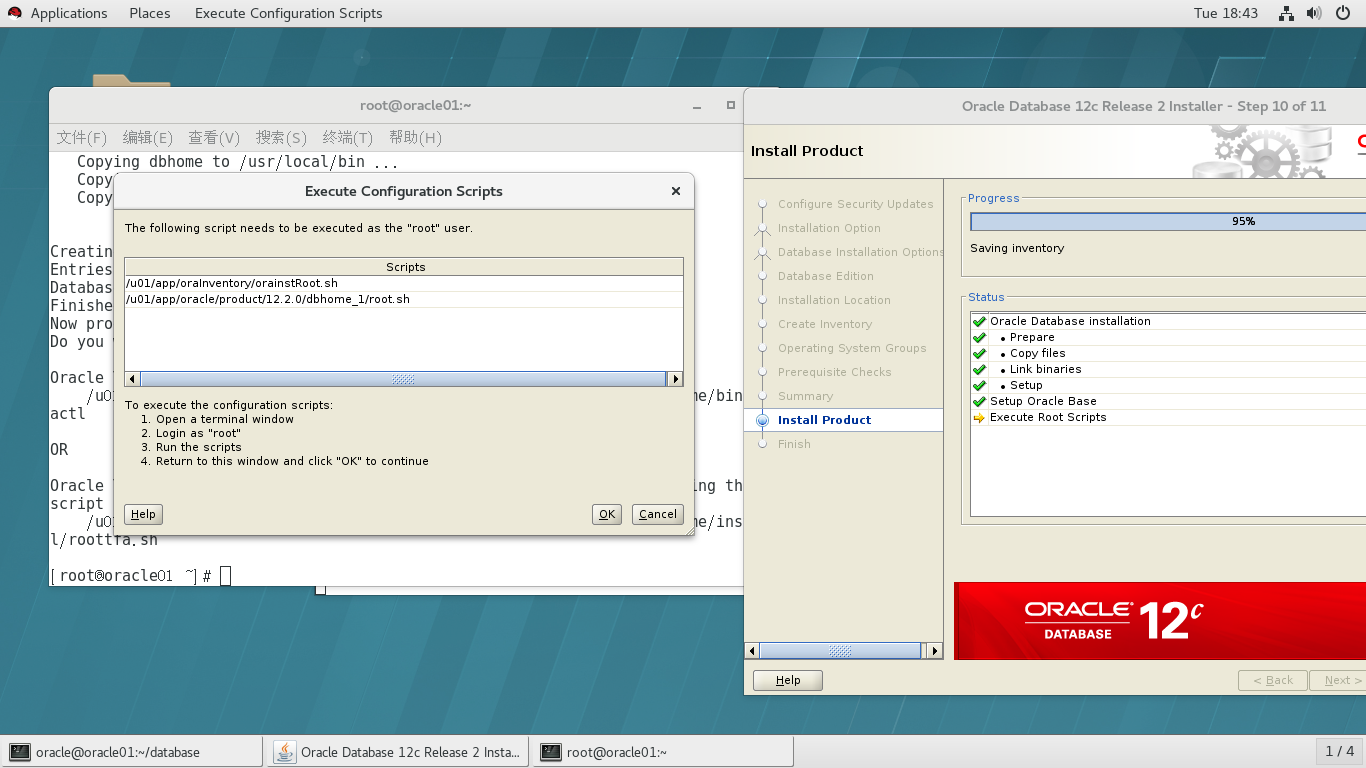
解压ORACLE12C的安装包,启动runInstaller
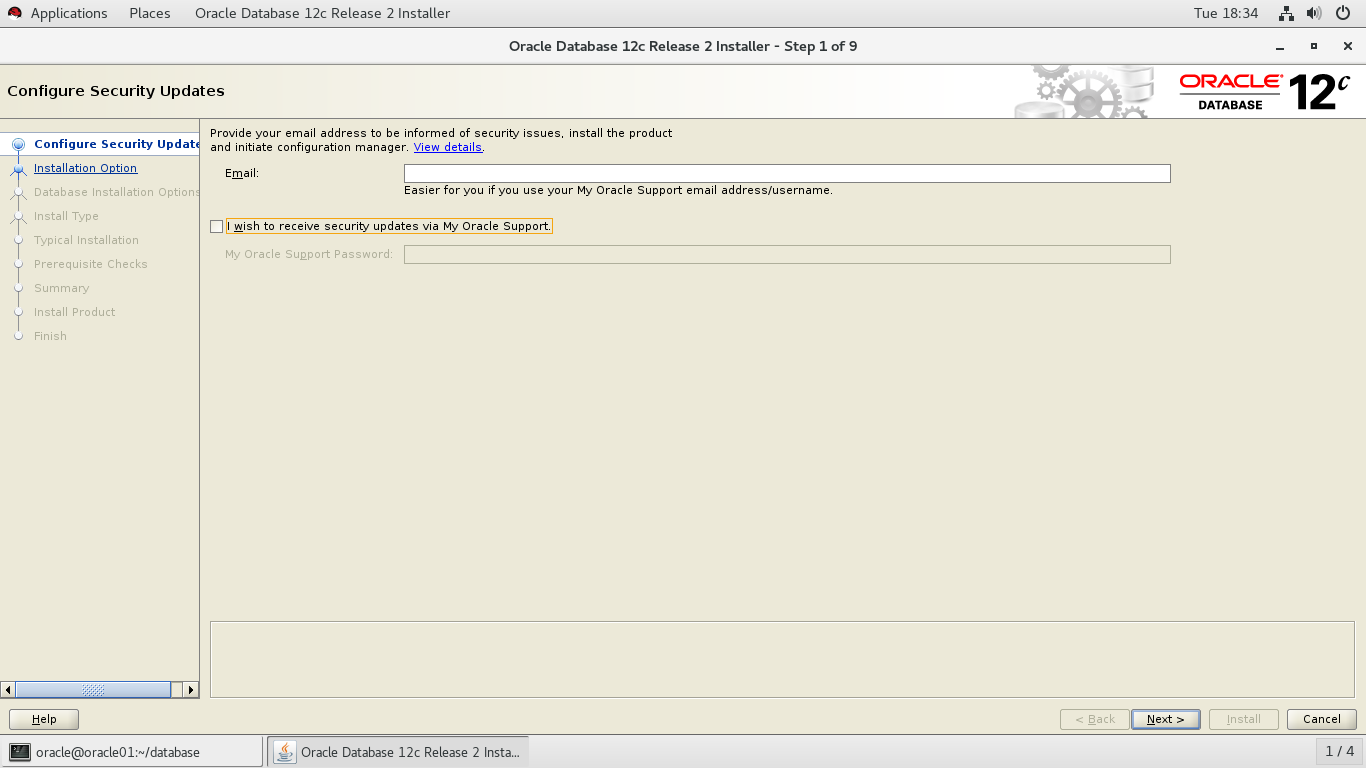
选择不接受更新
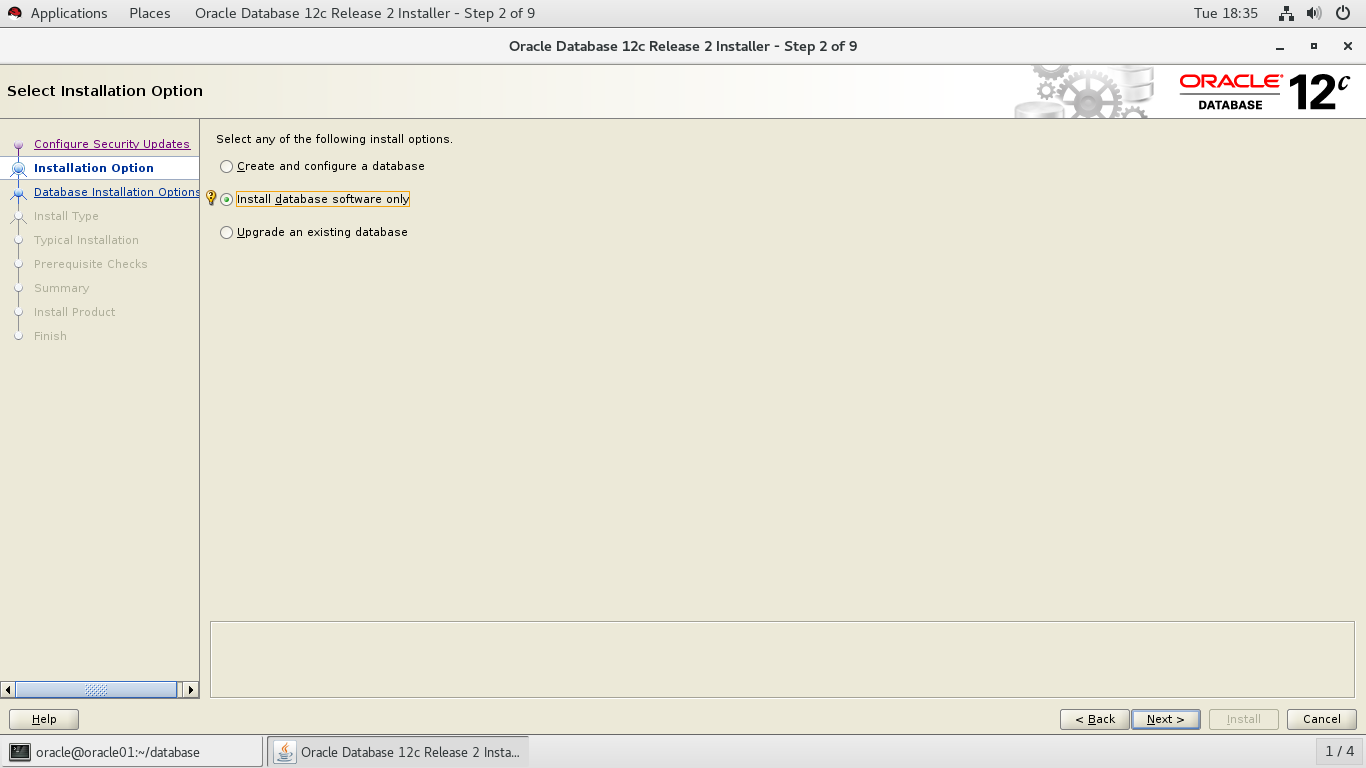
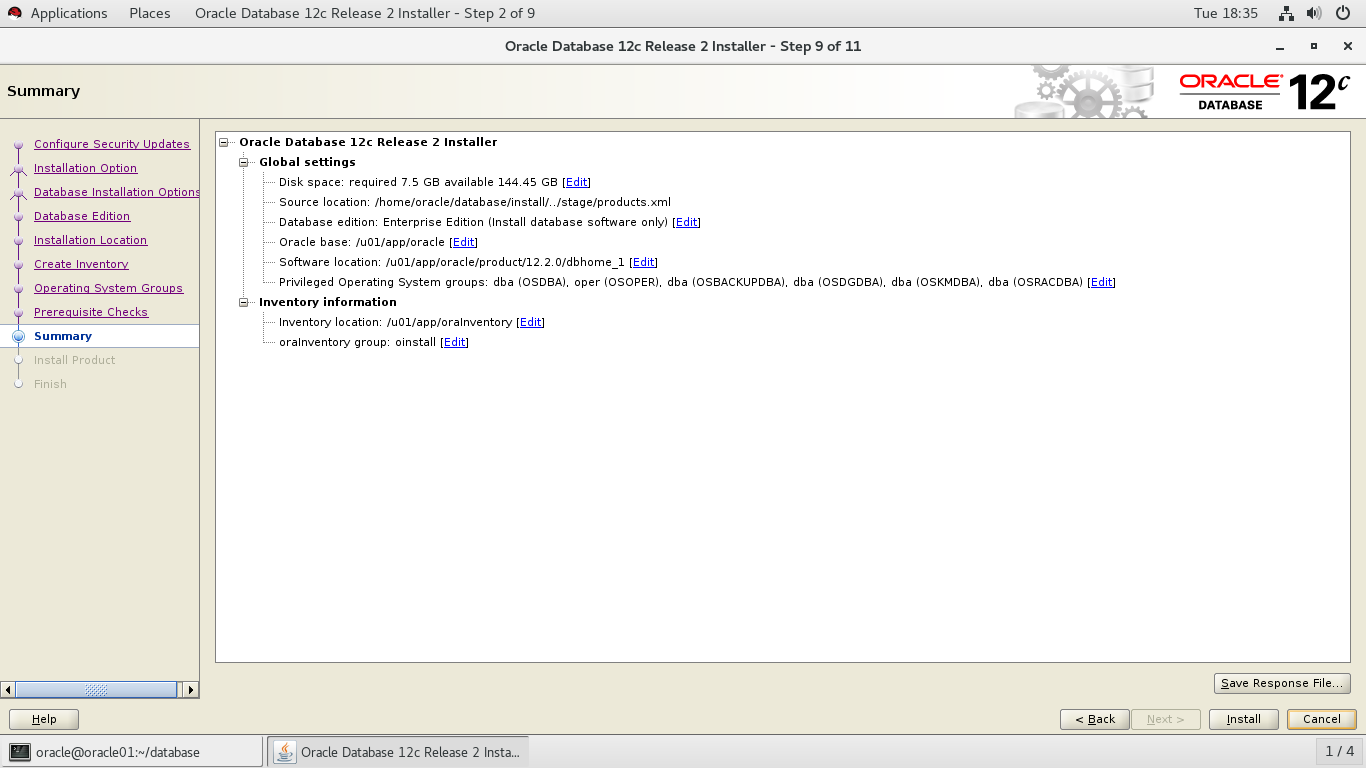
仅安装数据库软件
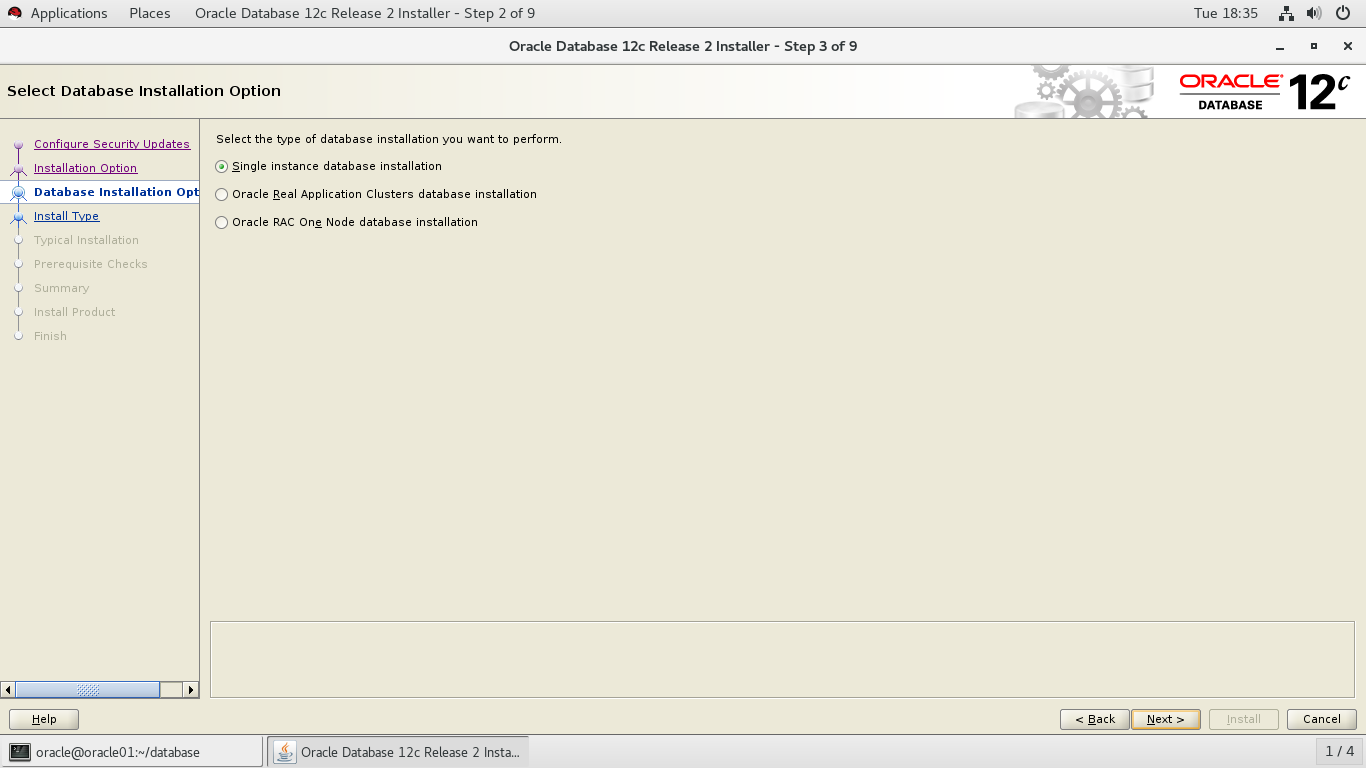
选择单实例数据库
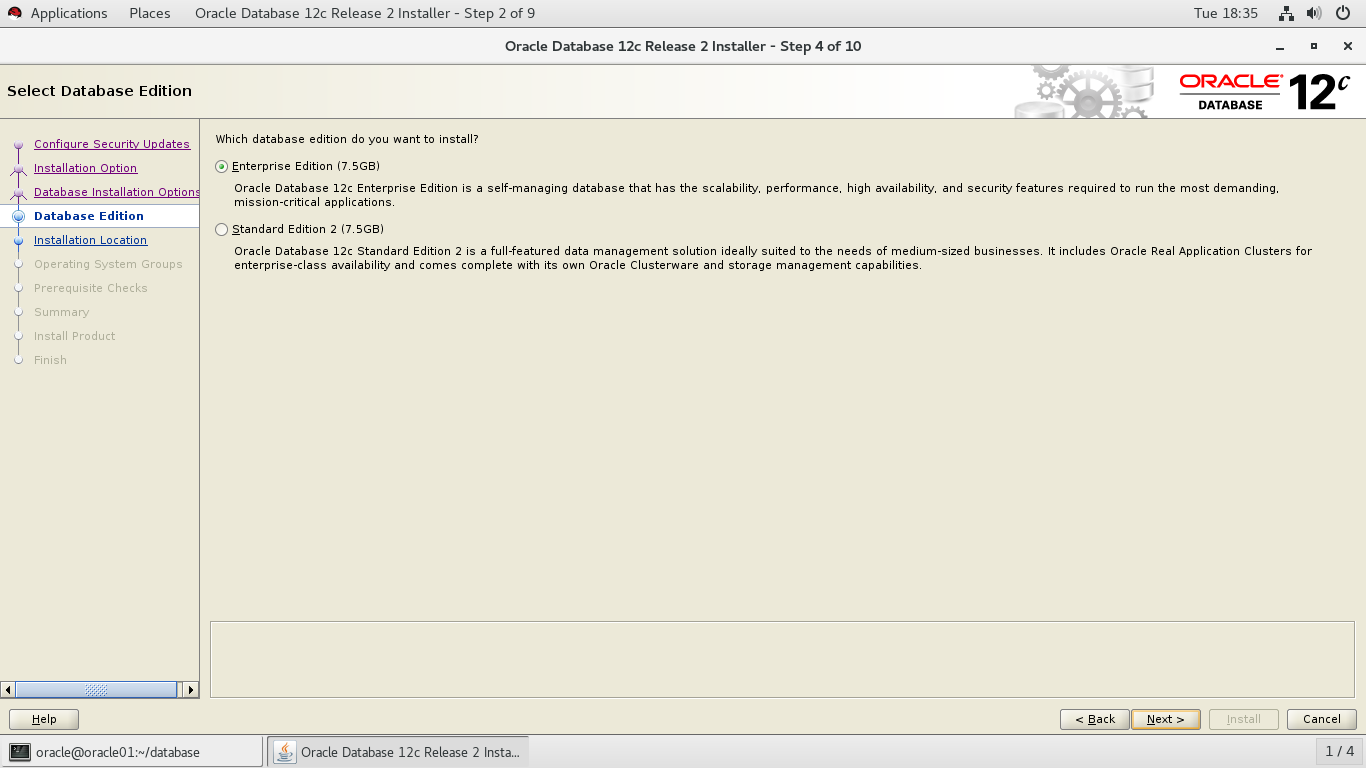
选择企业版
默认选择
默认选择

默认选择
默认选择
选择安装
在终端中输入代码
启动监听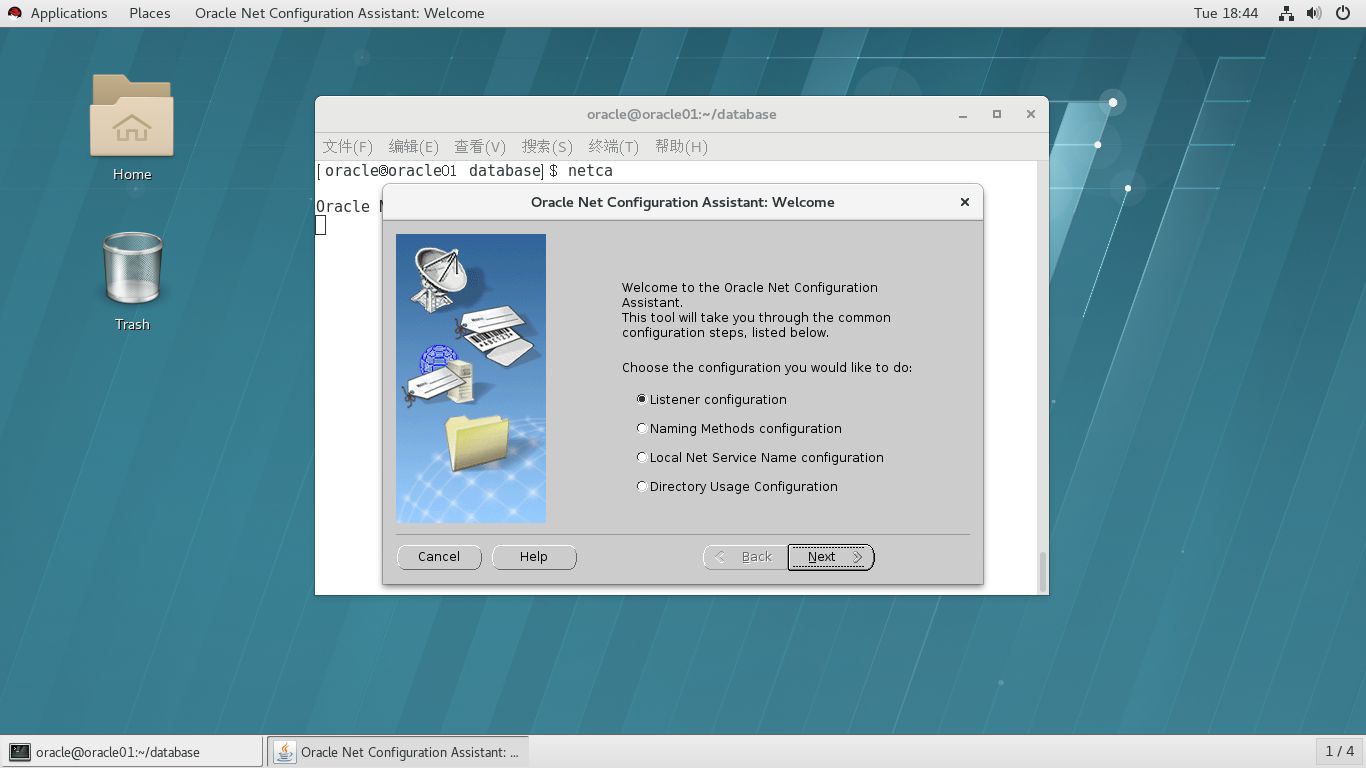
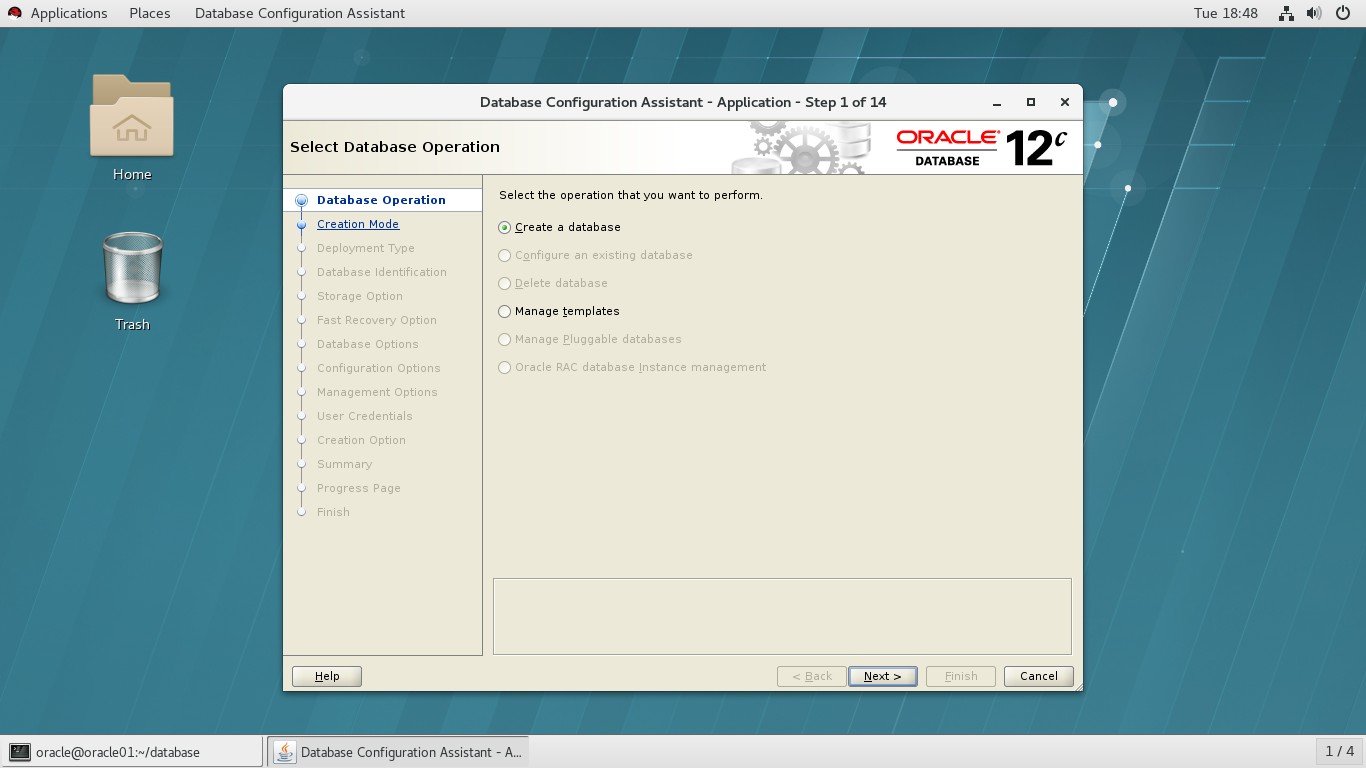
启动数据库配置,选择创建一个数据库
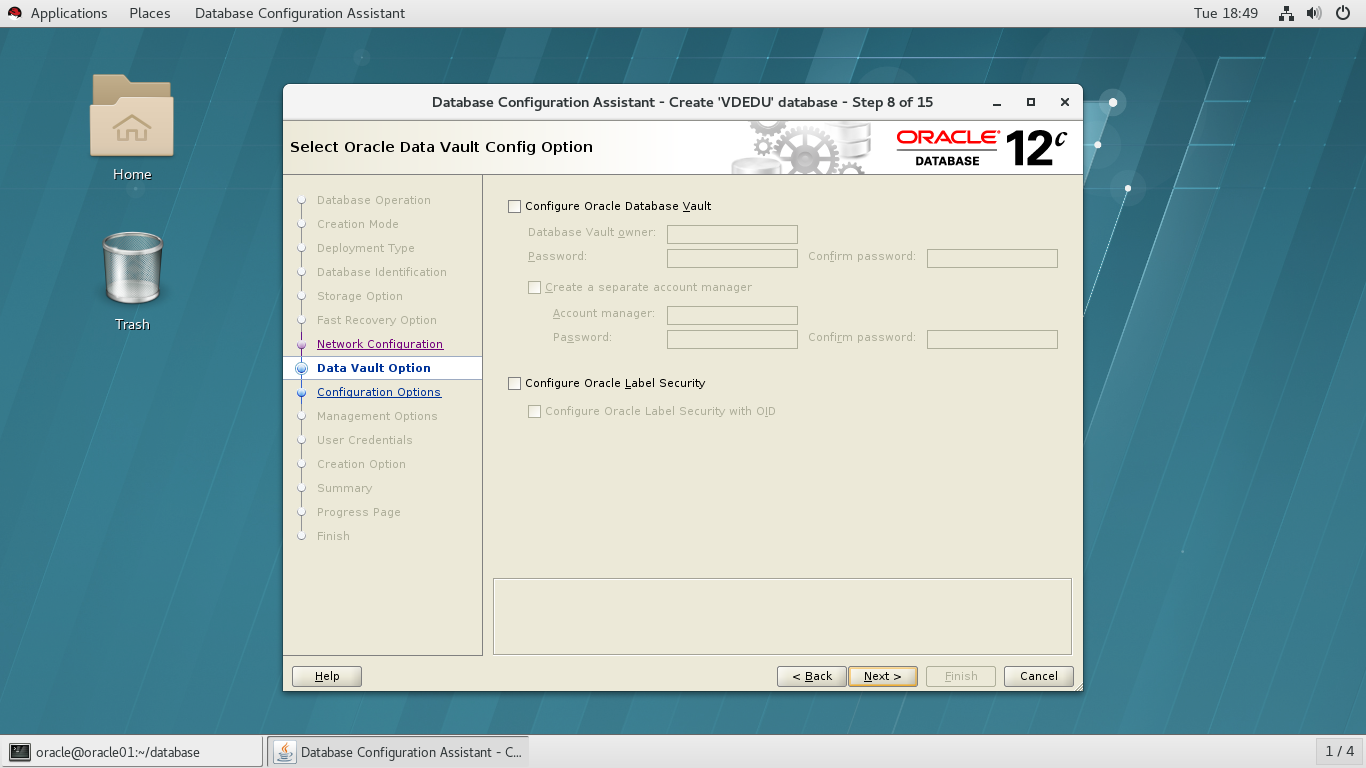
选择跳过配置

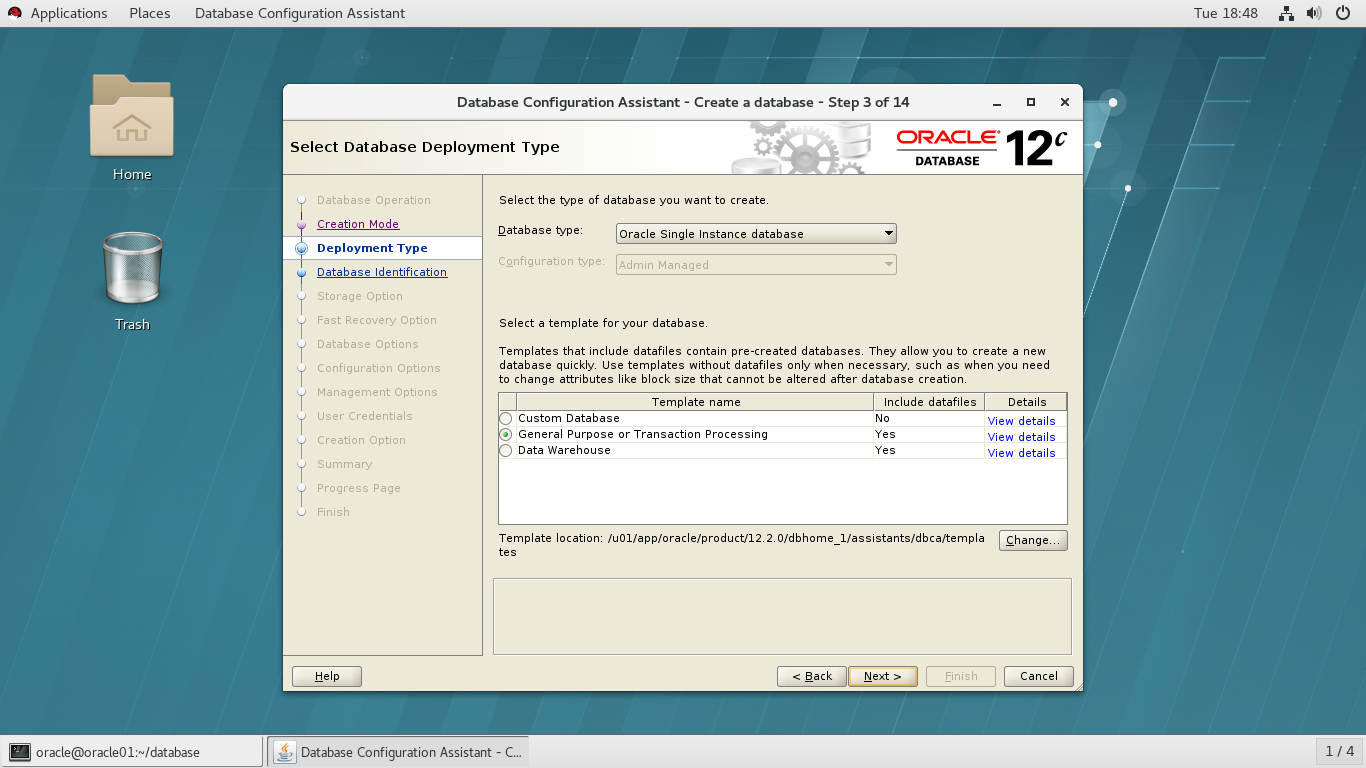
选择第二项
输入数据库名和SID
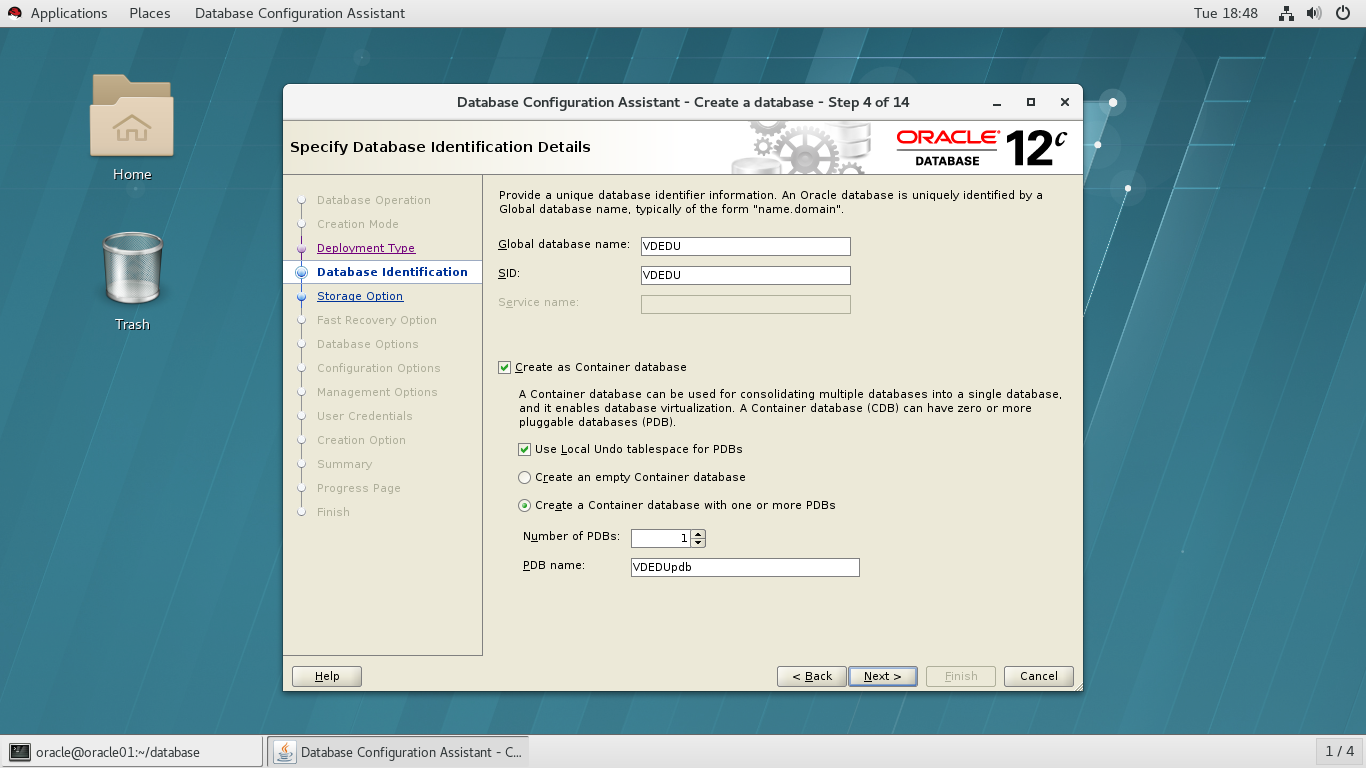
默认选择
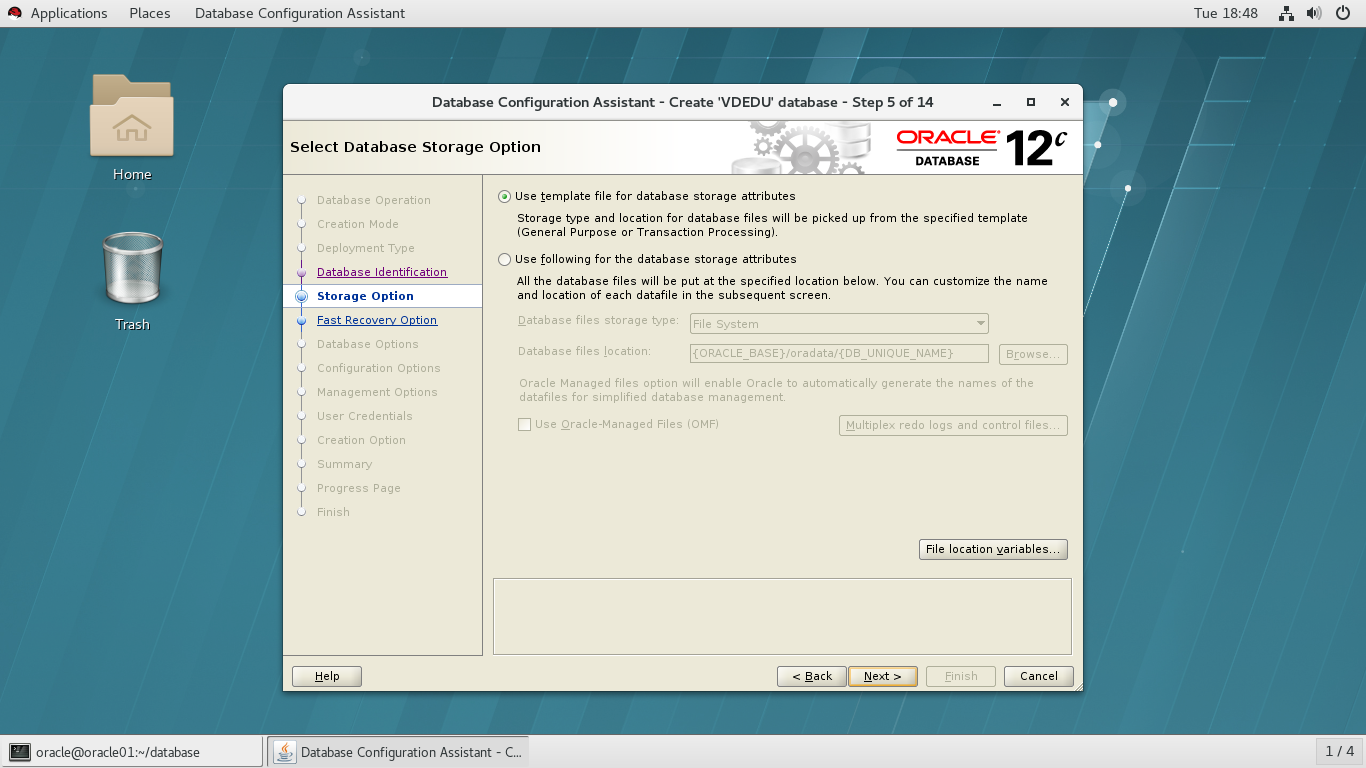
默认选择
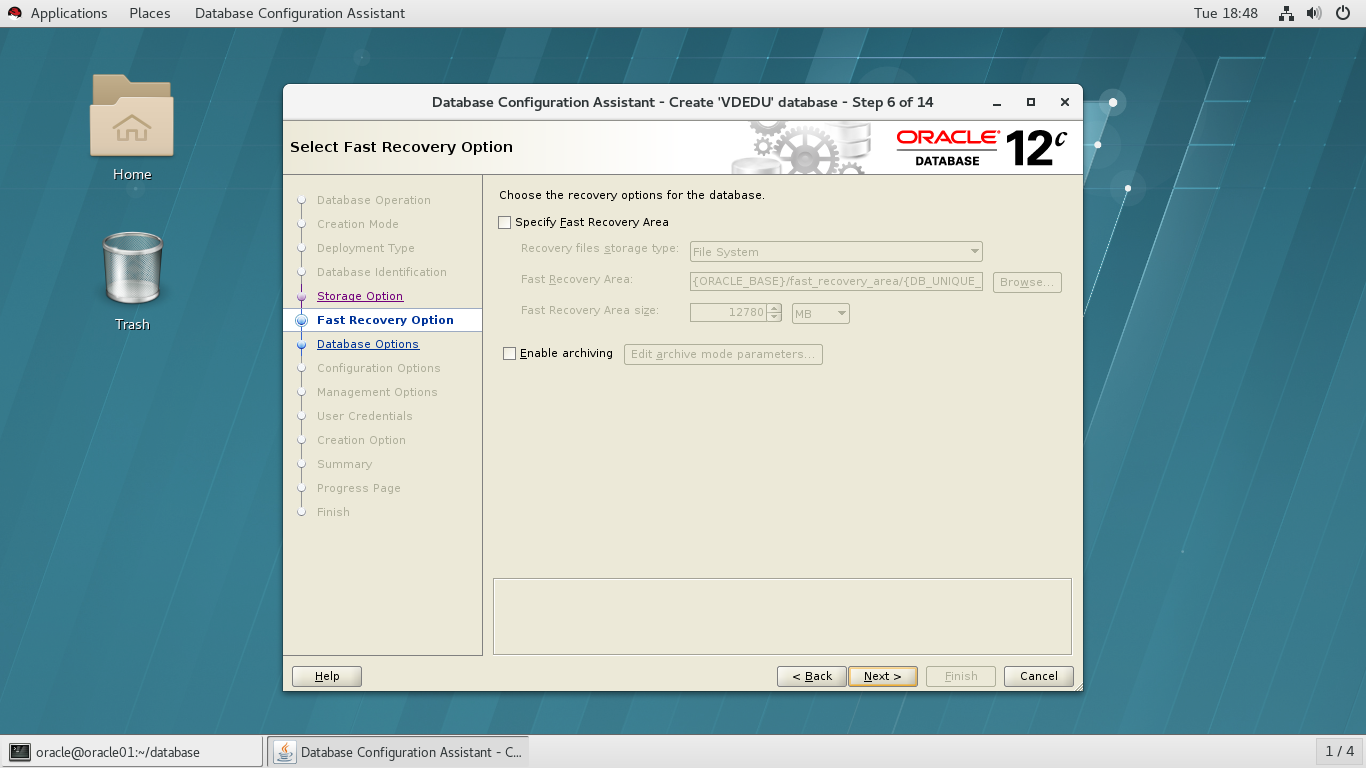
默认选择
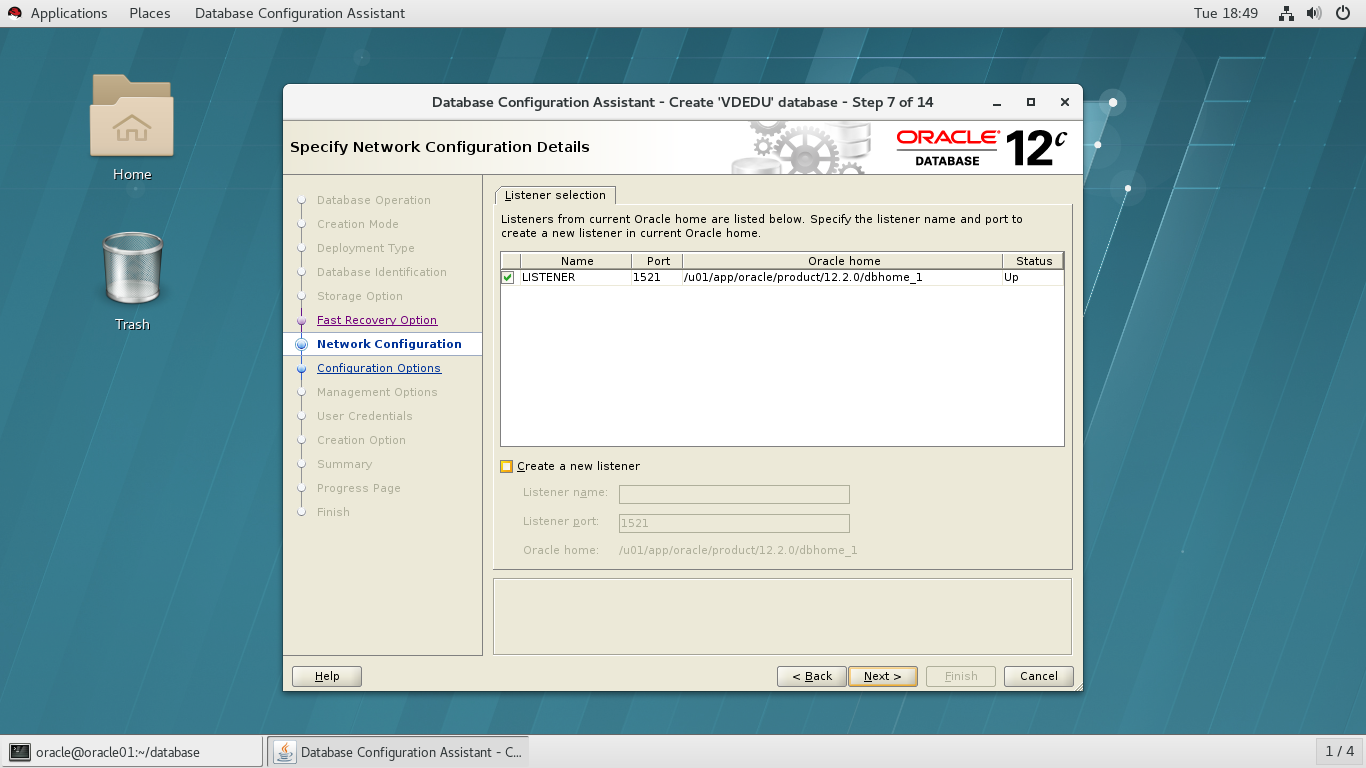
默认选择
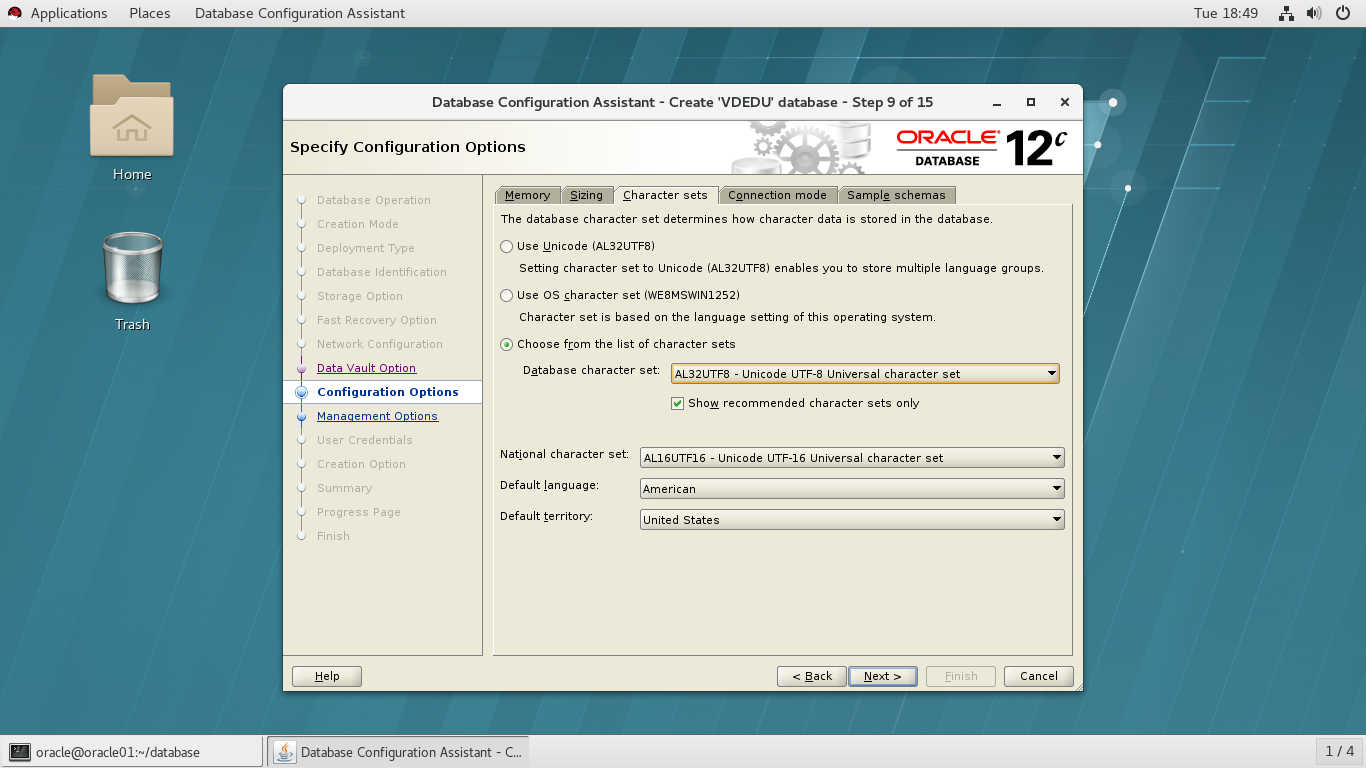
选择字符集,选择第三项
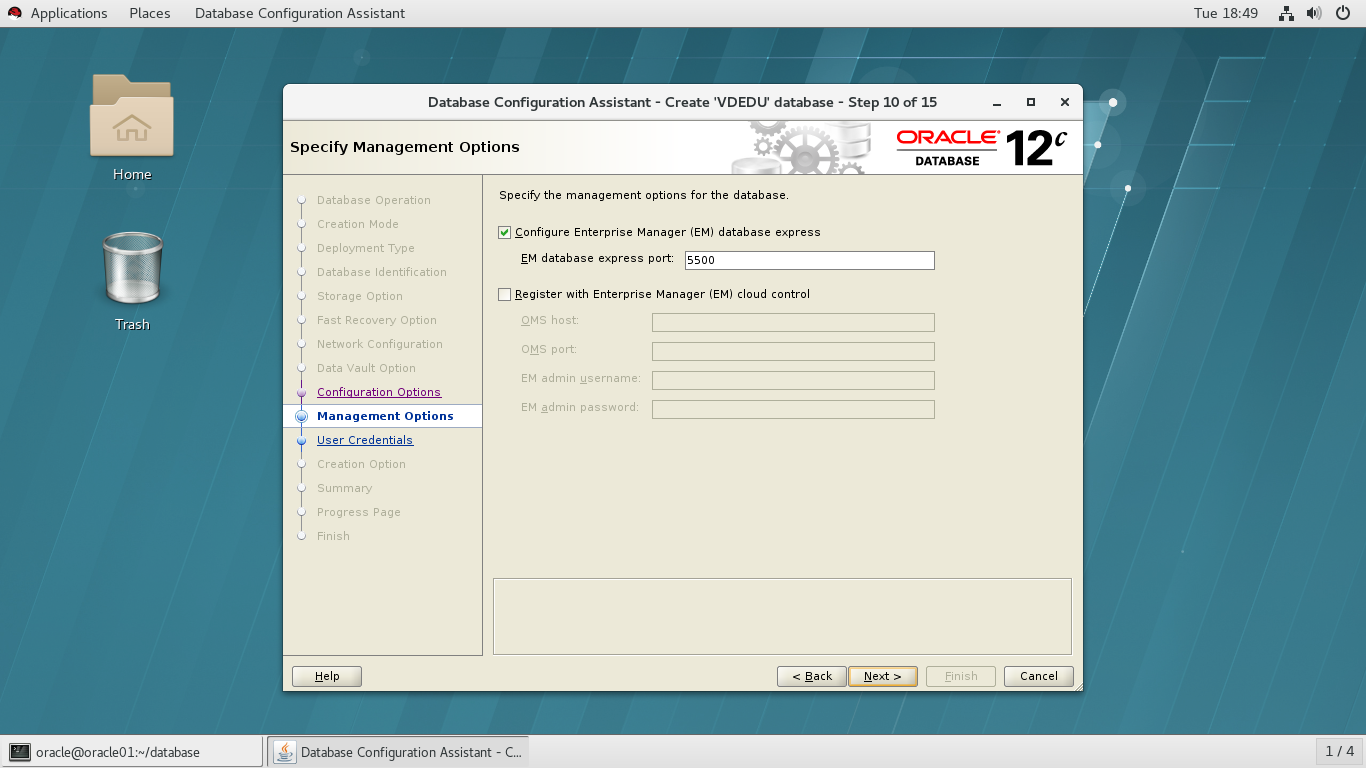
端口默认5500
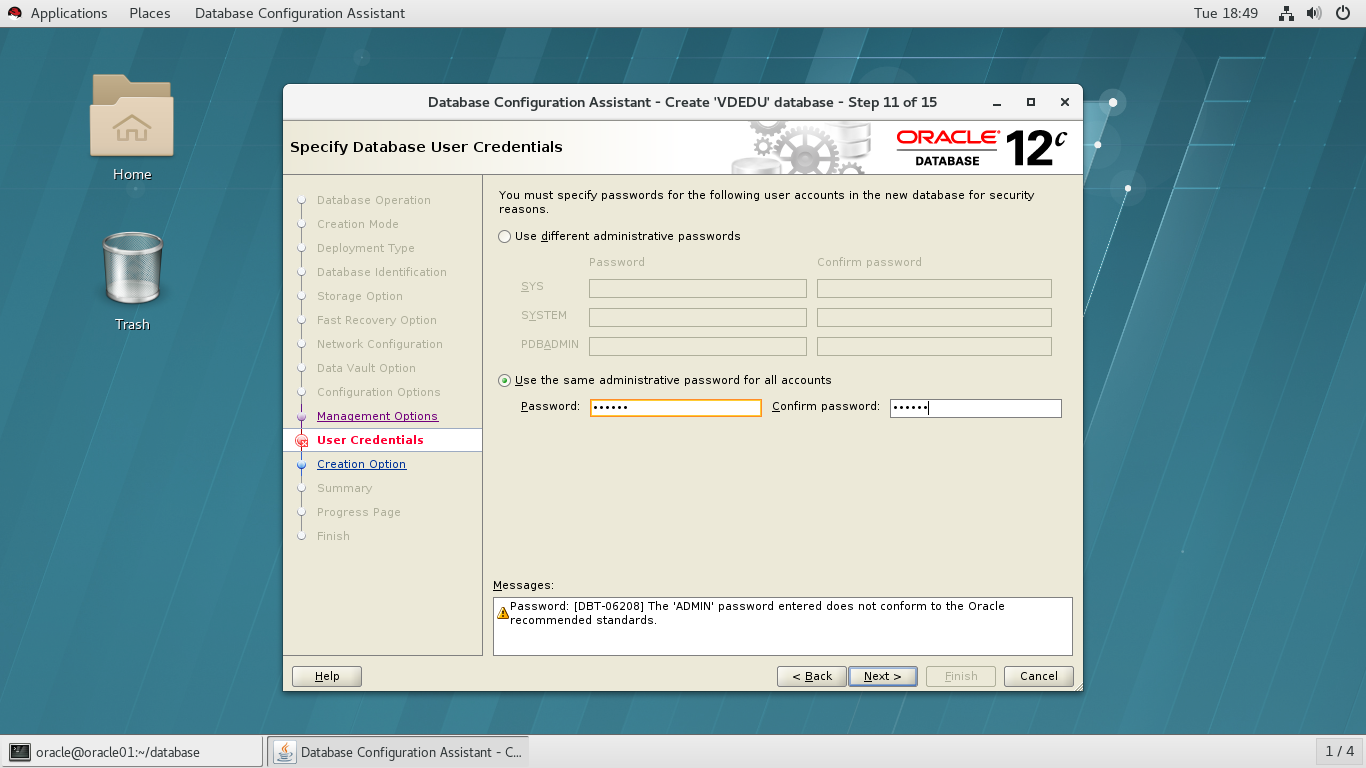
输入密码
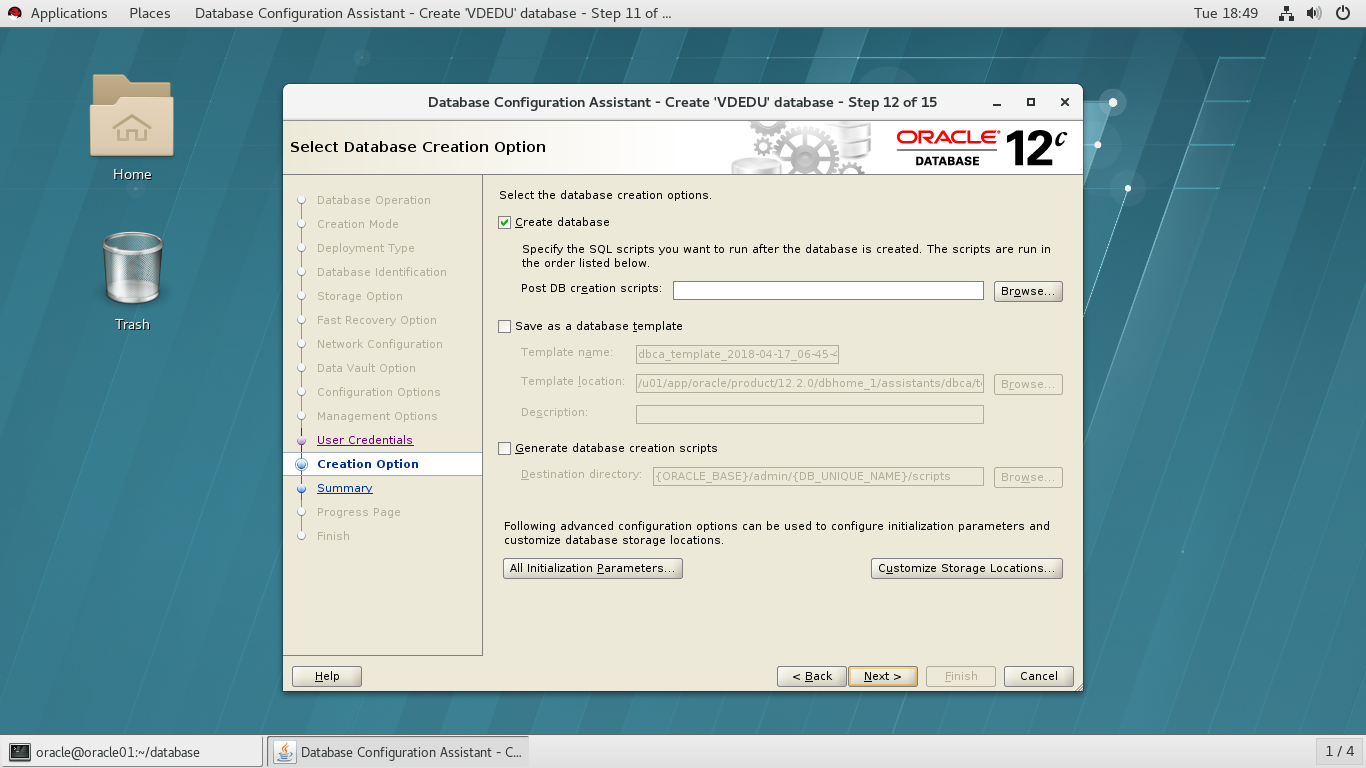
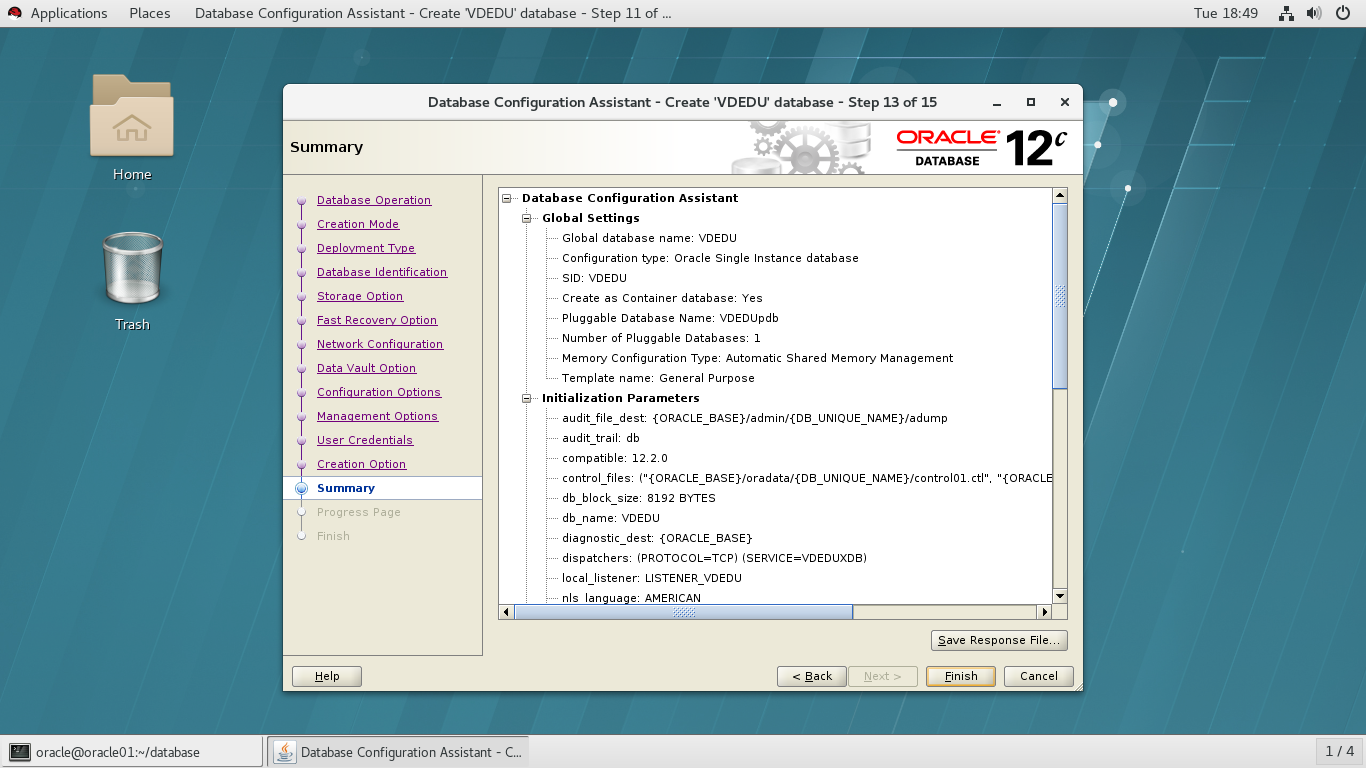
选择创建数据库
选择安装
附录
[root@oracle01 ~]# yum install oracle-database-server-12cR2-preinstall -y
Loaded plugins: langpacks, ulninfo
Resolving Dependencies
--> Running transaction check
---> Package oracle-database-server-12cR2-preinstall.x86_64 0:1.0-3.el7 will be installed
--> Processing Dependency: compat-libcap1 for package: oracle-database-server-12cR2-preinstall-1.0-3.el7.x86_64
--> Processing Dependency: ksh for package: oracle-database-server-12cR2-preinstall-1.0-3.el7.x86_64
--> Processing Dependency: libaio-devel for package: oracle-database-server-12cR2-preinstall-1.0-3.el7.x86_64
--> Processing Dependency: compat-libstdc++-33 for package: oracle-database-server-12cR2-preinstall-1.0-3.el7.x86_64
--> Running transaction check
---> Package compat-libcap1.x86_64 0:1.10-7.el7 will be installed
---> Package compat-libstdc++-33.x86_64 0:3.2.3-72.el7 will be installed
---> Package ksh.x86_64 0:20120801-137.0.1.el7 will be installed
---> Package libaio-devel.x86_64 0:0.3.109-13.el7 will be installed
--> Finished Dependency Resolution
Dependencies Resolved
======================================================================================================================================================
Package Arch Version Repository Size
======================================================================================================================================================
Installing:
oracle-database-server-12cR2-preinstall x86_64 1.0-3.el7 ol7_latest 19 k
Installing for dependencies:
compat-libcap1 x86_64 1.10-7.el7 ol7_latest 17 k
compat-libstdc++-33 x86_64 3.2.3-72.el7 ol7_latest 190 k
ksh x86_64 20120801-137.0.1.el7 ol7_latest 881 k
libaio-devel x86_64 0.3.109-13.el7 ol7_latest 12 k
Transaction Summary
======================================================================================================================================================
Install 1 Package (+4 Dependent packages)
Total download size: 1.1 M
Installed size: 4.0 M
Downloading packages:
warning: /var/cache/yum/x86_64/7Server/ol7_latest/packages/compat-libcap1-1.10-7.el7.x86_64.rpm: Header V3 RSA/SHA256 Signature, key ID ec551f03: NOKEY
Public key for compat-libcap1-1.10-7.el7.x86_64.rpm is not installed
(1/5): compat-libcap1-1.10-7.el7.x86_64.rpm | 17 kB 00:00:02
(2/5): compat-libstdc++-33-3.2.3-72.el7.x86_64.rpm | 190 kB 00:00:03
(3/5): libaio-devel-0.3.109-13.el7.x86_64.rpm | 12 kB 00:00:01
(4/5): oracle-database-server-12cR2-preinstall-1.0-3.el7.x86_64.rpm | 19 kB 00:00:00
(5/5): ksh-20120801-137.0.1.el7.x86_64.rpm | 881 kB 00:00:04
------------------------------------------------------------------------------------------------------------------------------------------------------
Total 166 kB/s | 1.1 MB 00:00:06
Retrieving key from file:///etc/pki/rpm-gpg/RPM-GPG-KEY-oracle
Importing GPG key 0xEC551F03:
Userid : "Oracle OSS group (Open Source Software group) <build@oss.oracle.com>"
Fingerprint: 4214 4123 fecf c55b 9086 313d 72f9 7b74 ec55 1f03
Package : 7:oraclelinux-release-7.5-1.0.3.el7.x86_64 (@anaconda/7.5)
From : /etc/pki/rpm-gpg/RPM-GPG-KEY-oracle
Running transaction check
Running transaction test
Transaction test succeeded
Running transaction
Installing : ksh-20120801-137.0.1.el7.x86_64 1/5
Installing : compat-libstdc++-33-3.2.3-72.el7.x86_64 2/5
Installing : compat-libcap1-1.10-7.el7.x86_64 3/5
Installing : libaio-devel-0.3.109-13.el7.x86_64 4/5
Installing : oracle-database-server-12cR2-preinstall-1.0-3.el7.x86_64 5/5
Verifying : libaio-devel-0.3.109-13.el7.x86_64 1/5
Verifying : compat-libcap1-1.10-7.el7.x86_64 2/5
Verifying : compat-libstdc++-33-3.2.3-72.el7.x86_64 3/5
Verifying : oracle-database-server-12cR2-preinstall-1.0-3.el7.x86_64 4/5
Verifying : ksh-20120801-137.0.1.el7.x86_64 5/5
Installed:
oracle-database-server-12cR2-preinstall.x86_64 0:1.0-3.el7
Dependency Installed:
compat-libcap1.x86_64 0:1.10-7.el7 compat-libstdc++-33.x86_64 0:3.2.3-72.el7 ksh.x86_64 0:20120801-137.0.1.el7 libaio-devel.x86_64 0:0.3.109-13.el7
Complete!
systemctl disable avahi-daemon.service 关闭进程
[root@localhost ~]# chkconfig avahi-daemon off
注意:正在将请求转发到“systemctl disable avahi-daemon.service”。
Removed symlink /etc/systemd/system/multi-user.target.wants/avahi-daemon.service.
Removed symlink /etc/systemd/system/sockets.target.wants/avahi-daemon.socket.
Removed symlink /etc/systemd/system/dbus-org.freedesktop.Avahi.service.
[root@localhost ~]# ps -ef | grep avahi
avahi 823 1 0 10:06 ? 00:00:00 avahi-daemon: running [linux.local]
avahi 859 823 0 10:06 ? 00:00:00 avahi-daemon: chroot helper
root 16790 16206 0 10:27 pts/0 00:00:00 grep --color=auto avahi
[root@localhost ~]# kill -9 823
[root@localhost ~]# ps -ef | grep avahi
root 16794 16206 0 10:27 pts/0 00:00:00 grep --color=auto avahi
vi /etc/selinux/config
# This file controls the state of SELinux on the system.
# SELINUX= can take one of these three values:# enforcing - SELinux security policy is enforced.
# permissive - SELinux prints warnings instead of enforcing.
# disabled - No SELinux policy is loaded.
SELINUX=disabled
# SELINUXTYPE= can take one of these two values:
# targeted - Targeted processes are protected,
# mls - Multi Level Security protection.
[root@localhost ~]# systemctl stop firewalld
[root@localhost ~]# systemctl disable firewalld
Removed symlink /etc/systemd/system/multi-user.target.wants/firewalld.service.
Removed symlink /etc/systemd/system/dbus-org.fedoraproject.FirewallD1.service.
[root@db12c ~]# firewall-cmd --state
not running
passwd oracle
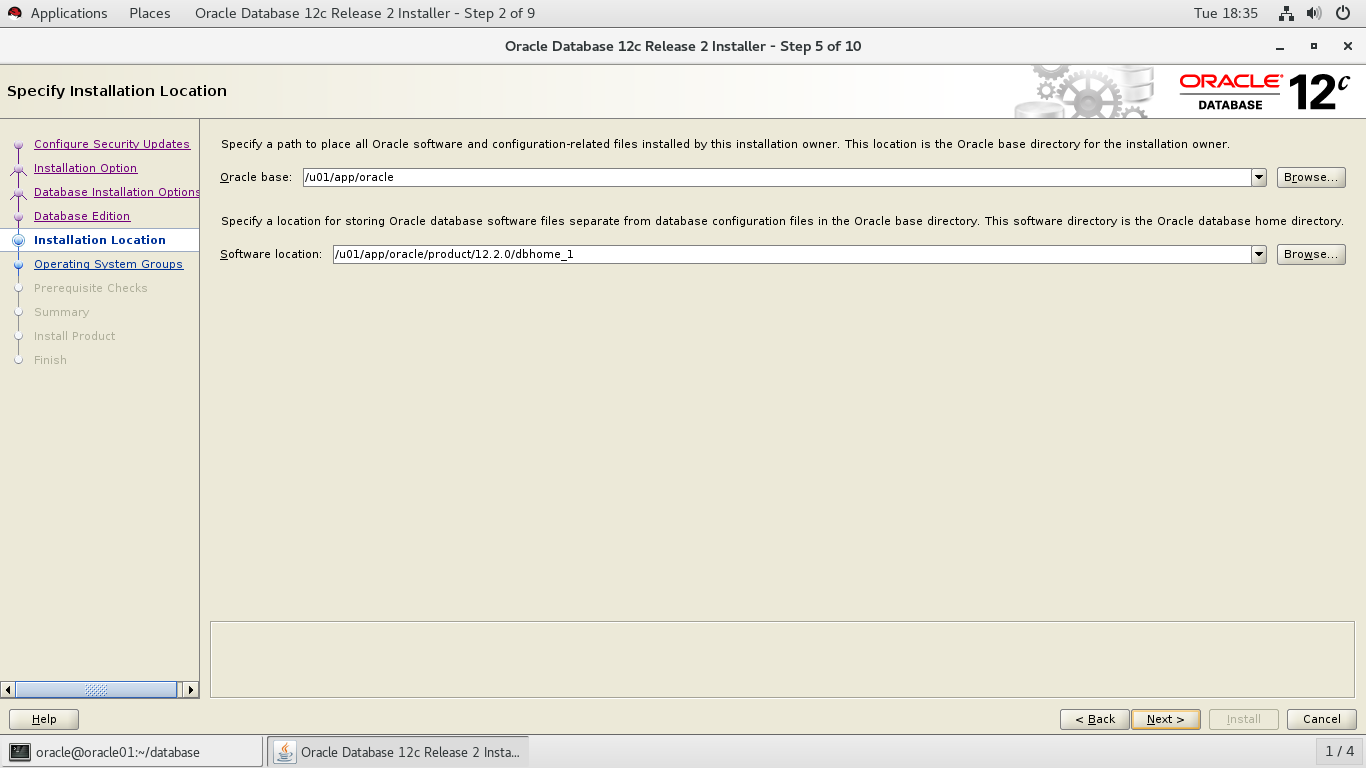
mkdir -p /u01/app/oracle
chown -R oracle:oinstall /u01
chmod -R 775 /u01
ls -lR /u01
su - oracle
vi .bash_profile
export ORACLE_BASE=/u01/app/oracle
export ORACLE_HOME=/u01/app/oracle/product/12.2.0/dbhome_1
export ORACLE_SID=VDEDU
export ORACLE_TERM=xterm
export PATH=/usr/sbin:$PATHexport PATH=/u01/app/ogg:$ORACLE_HOME/bin:$PATH
export LD_LIBRARY_PATH=/u01/app/ogg:$ORACLE_HOME/lib:/lib:/usr/lib:$LD_LIBRARY_PATH
export CLASSPATH=$ORACLE_HOME/JRE:$ORACLE_HOME/jlib:$ORACLE_HOME/rdbms/jlib
export NLS_DATE_FORMAT="yyyy-mm-dd HH24:MI:SS"
export NLS_LANG=AMERICAN_AMERICA.AL32UTF8
export LANG=C
export ORACLE_UNQNAME=kingsql
su - root
#vi /etc/security/limits.conf
//加入下面参数
oracle soft nofile 1024
oracle hard nofile 65536
oracle soft nproc 16384
oracle hard nproc 16384
oracle soft stack 10240
oracle hard stack 32768
oracle hard memlock 134217728
oracle soft memlock 134217728
[root@meihailetest1 ~]#vi /etc/pam.d/login
//加入下面参数
session required pam_limits.so
vi /etc/hosts
127.0.0.1 localhost localhost.localdomain localhost4 localhost4.localdomain4::1
localhost localhost.localdomain localhost6 localhost6.localdomain6
192.168.242.133 dbora12c
vi /etc/hostname
dbora12c
Oracle enterprise linux系统的安装以及ORACLE12C的安装的更多相关文章
- Oracle Enterprise Linux 64-bit下安装apache-tomcat-7.0.53步骤
測试环境:VMware Workstation v9.0.2软件中安装好Oracle Enterprise Linux 5.8 64-bit虚拟机 安装软件:jdk-7u40-linux-x64.rp ...
- [书接上一回]在Oracle Enterprise Linux (v5.7) 中安装DB - (4/4)
选择自己创建的安装数据库路径. Sample Schemas 打钩. 调整内存大小. 选择官方建议的字符集编码. 是否创建创建的脚本,如需要请打钩. 脚本生成成功. 创建成功,如需要,则可以管理数据库 ...
- [好好学习]在VMware中安装Oracle Enterprise Linux (v5.7) - (5/5)
- [好好学习]在VMware中安装Oracle Enterprise Linux (v5.7) - (4/5)
- [好好学习]在VMware中安装Oracle Enterprise Linux (v5.7) - (1/5)
在想到Oracle Enterprise Linux,第一时间就是在Oracle官网上找到资源,但是,出现以下图片
- [书接上一回]在Oracle Enterprise Linux (v5.7) 中安装DB - (3/4)
安装p10404530_112030_Linux-x86-64_6of7.zip解压下的example. 修改软件路径,为dbhome_1. 安装好数据,则可以进行快照操作! 删除安装文件. 输入db ...
- [书接上一回]在Oracle Enterprise Linux (v5.7) 中安装DB - (1/4)
在上一回中,我们安装了OEL了,现在就要安装Oracle数据. 首先登录root用户,输入账号密码或,输入命令行:startx,启动图形界面. 先将虚拟机中插入光碟(Enterprise-R5-U7- ...
- [书接上一回]在Oracle Enterprise Linux (v5.7) 中安装DB - (2/4)
在最后一行,书写shmfs /dev/shm tmpfs size=2g 0 用来调高数据库运行是的内存分配问题. 创建需要的路径和分配权限. 设置 oracle 用户环境参数. 修改标头显示的部分. ...
- [好好学习]在VMware中安装Oracle Enterprise Linux (v5.7) - (3/5)
进入OEL
随机推荐
- HttpClient 通信工具类
package com.taotao.web.service; import java.util.ArrayList; import java.util.List; import java.util. ...
- 教你在windows下安装使用配置vim+gcc[转]
转自http://blog.163.com/lixiangqiu_9202/blog/static/535750372012461190722/ 一直在使用linux,但有时也会去虚拟机里的winxp ...
- ajax二级联动代码实例
//二级联动 $(function () { var _in_progress = false; function check_in_progress() { if (_in_progress == ...
- HIGHGUI ERROR: V4L/V4L2: VIDIOC_S_CROP错误解决方法
在树莓派上运行在windows上正确的程序, 报错: HIGHGUI ERROR: V4L/V4L2: VIDIOC_S_CROP OpenCV Error: Assertion failed (s ...
- WP8.1学习系列(第十二章)——全景控件Panorama开发指南
2014/6/18 适用于:Windows Phone 8 和 Windows Phone Silverlight 8.1 | Windows Phone OS 7.1 全景体验是本机 Windows ...
- servlet相关 jar包位置 BAE上部署web应用
1手动编译servlet工程: 要编译servlet,则类路径classpath中必须包括Servlet API 的相关类,如果使用的web容器是Tomcat,则这些类通常封装在在tomcat的lib ...
- Android 使用tomcat搭建HTTP文件下载服务器
上一篇: Android 本地搭建Tomcat服务器供真机测试 1.假设需要下载的文件目录是D:\download1(注意这里写了个1,跟后面的名称区分) 2.设置 tomcat 的虚拟目录.在 {t ...
- VLC媒体视频播放器 v3.0.2官方版
https://www.videolan.org/ VLC media player http://www.pc6.com/softview/SoftView_52483.html VLC ...
- javascript学习之this
转自:https://www.cnblogs.com/pssp/p/5216085.html 例子1: function a(){ var user = "追梦子"; conso ...
- [转]redhat7(centos7) not registered to Red Hat Subscription Management
[root@controller0 ~]# yum install ntp Loaded plugins: fastestmirror, product-id, search-disabled-rep ...