【水滴石穿】react-native-aze
说个题外话,早上打开电脑的时候,电脑变成彩色的了,锅是我曾经安装的一个chrome扩展,没有经过我的同意开启了
(也许是昨天迷迷糊糊开启了)
上午运行项目都不成功,还以为被黑客攻击了~~~然后下午就排除问题啊,不能一直彩色界面啊~~~
就一个一个禁掉chrome插件
言归正传,时间如流水,快快珍惜。
接下来这个demo也是很基础的,重点是看看数据处理还有有没有下拉加载更多,页面返回是有点问题的
上开源的程序员的源码:https://github.com/githubze/react-native-aze
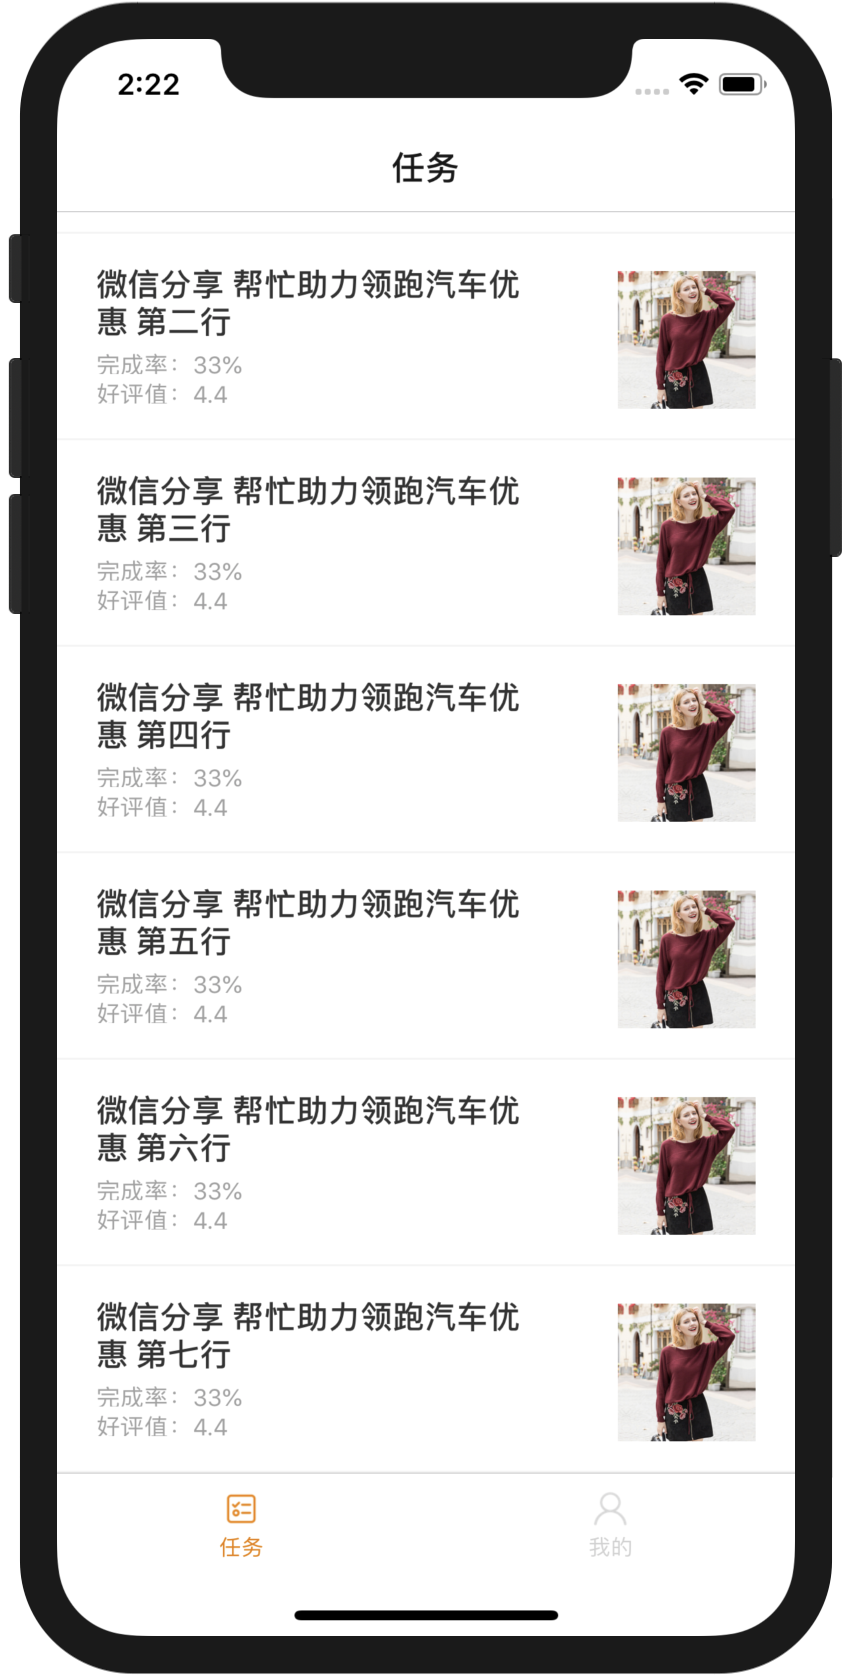
页面效果如下

还是不够有些基础啊,分析代码
//taskapp1/index.js

//引用入口是在app.js

/**

 * @format

 */

import {AppRegistry} from 'react-native';

import App from './App';

import {name as appName} from './app.json';

AppRegistry.registerComponent(appName, () => App);
//定义可切换下部,和引用组件

/**

 * Sample React Native App

 * https://github.com/facebook/react-native

 *

 * @format

 * @flow

 */

import React, {Component} from 'react';

import {Platform, StyleSheet, Text, View,Image} from 'react-native';

import {DrawerNavigator,TabNavigator,StackNavigator} from 'react-navigation';

import {

    createDrawerNavigator,

    createStackNavigator,

    createBottomTabNavigator,

    createAppContainer,

} from 'react-navigation';

import HomeScreen from './Component/HomePage/Home';

import DetailScreen from './Component/HomePage/DetailScreen';

import Mine from './Component/MinePage/Mine';

export const Stack = createStackNavigator(

    {

        Home: { screen: HomeScreen },

        Details: { screen: DetailScreen },

    },

    {

        headerMode:'screen',

        navigationOptions: ({

                                navigation

                            }) => ({

            tabBarVisible: navigation.state.index > 0 ? false : true,

        }),

        headerBackTitleVisible:false,

        //headerBackImage:<Image source={require('./Component/HomePage/back.png')}/>,

    },

);

export const Stack1 = createStackNavigator(

    {

        Home: { screen: Mine },

    },

    {

        headerMode:'screen',

        navigationOptions: ({

                                navigation

                            }) => ({

            tabBarVisible: navigation.state.index > 0 ? false : true,

        }),

        headerBackTitleVisible:false,

    },

);

export const Tabs = createBottomTabNavigator(

    {

        TabA: {

            screen: Stack,

            navigationOptions: {

                tabBarLabel: '任务',

                tabBarIcon: ({tintColor, focused}) => {

                    if(focused){

                        return <Image source={require('./Images/HomeImage1.png')} style={styles.imageStyle} />;

                    } else {

                        return <Image source={ require('./Images/HomeImage0.png')} style={styles.imageStyle}/>;

                    }

                },

            },

        },

        TabB: {

            screen: Stack1,

            navigationOptions: {

                tabBarLabel: '我的',

                tabBarIcon: ({tintColor, focused}) => {

                    if(focused){

                        return <Image source={require('./Images/MineImage1.png')} style={styles.imageStyle} />;

                    } else {

                        return <Image source={ require('./Images/MineImage0.png')} style={styles.imageStyle}/>;

                    }

                },

                //headerBackImage:navigation.state.index > 0? <Image source={require('./Images/back.png')} style={styles.imageStyle} />:null,

            },

        }

    },

    {

        order: ['TabA', 'TabB'],

        tabBarOptions:{

            labelStyle: {

                fontSize: 11,

                bottom:4

            },

            style: {

                backgroundColor: 'white',

            },

            activeTintColor:'#EA7B00',

            inactiveTintColor:'#D1D1D1',

            showIcon:true,

        },

    },

)

export const RootStack = createAppContainer(

    createDrawerNavigator({

        // Stack: { screen: Stack },

        Tabs: { screen: Tabs },

    })

);

type Props = {};

export default class App extends Component<Props> {

    render() {

        return <RootStack />;

    }

}

const styles = StyleSheet.create({

    container: {

        flex: 1,

        justifyContent: 'center',

        alignItems: 'center',

        backgroundColor: '#F5F5F5',

    },

    imageStyle:{

        width:20,

        height:20,

    },

});
关于首页是写死的数据没有与后端交互
//home

//taskapp1/Component/HomePage/Home.js

import React, {Component} from 'react';

import {Platform, StyleSheet, Text, View,Button,ListView,FlatList,Image,TouchableOpacity} from 'react-native';

class HomeScreen extends React.Component {

    static navigationOptions = {

        title: '任务',

    };

    state = {selected: (new Map(): Map<string, boolean>)};

    _keyExtractor = (item, index) => index;

    refreshing(){

        let timer = setTimeout(()=>{

            clearTimeout(timer)

            // alert('刷新成功')

        },15000)

    }

    itemClick(item, index) {

        //alert('点击了第' + index + '项,name为:' + item.title);

        this.props.navigation.navigate('Details',{

            userName:'Tory',

            userInfo:'Hello'

        })

    }

    render() {

        let movies = [

            {title: '微信分享 帮忙助力领跑汽车优惠 第一行',ProgressText:'33%',DetailText:'4.4',ImageName:'https://gsnapshot.alicdn.com/imgextra/i3/575127927/TB2n8OJIk9WBuNjSspeXXaz5VXa_!!575127927.jpg_430x430.jpg?time=1539689523000'},

            {title: '微信分享 帮忙助力领跑汽车优惠 第二行',ProgressText:'33%',DetailText:'4.4',ImageName:'https://gsnapshot.alicdn.com/imgextra/i3/575127927/TB2n8OJIk9WBuNjSspeXXaz5VXa_!!575127927.jpg_430x430.jpg?time=1539689523000'},

            {title: '微信分享 帮忙助力领跑汽车优惠 第三行',ProgressText:'33%',DetailText:'4.4',ImageName:'https://gsnapshot.alicdn.com/imgextra/i3/575127927/TB2n8OJIk9WBuNjSspeXXaz5VXa_!!575127927.jpg_430x430.jpg?time=1539689523000'},

            {title: '微信分享 帮忙助力领跑汽车优惠 第四行',ProgressText:'33%',DetailText:'4.4',ImageName:'https://gsnapshot.alicdn.com/imgextra/i3/575127927/TB2n8OJIk9WBuNjSspeXXaz5VXa_!!575127927.jpg_430x430.jpg?time=1539689523000'},

            {title: '微信分享 帮忙助力领跑汽车优惠 第五行',ProgressText:'33%',DetailText:'4.4',ImageName:'https://gsnapshot.alicdn.com/imgextra/i3/575127927/TB2n8OJIk9WBuNjSspeXXaz5VXa_!!575127927.jpg_430x430.jpg?time=1539689523000'},

            {title: '微信分享 帮忙助力领跑汽车优惠 第六行',ProgressText:'33%',DetailText:'4.4',ImageName:'https://gsnapshot.alicdn.com/imgextra/i3/575127927/TB2n8OJIk9WBuNjSspeXXaz5VXa_!!575127927.jpg_430x430.jpg?time=1539689523000'},

            {title: '微信分享 帮忙助力领跑汽车优惠 第七行',ProgressText:'33%',DetailText:'4.4',ImageName:'https://gsnapshot.alicdn.com/imgextra/i3/575127927/TB2n8OJIk9WBuNjSspeXXaz5VXa_!!575127927.jpg_430x430.jpg?time=1539689523000'},

        ];

        return (

            <View style={styles.container}>

                <FlatList

                    data = {movies}

                    showsVerticalScrollIndicator = {false}

                    keyExtractor={this._keyExtractor}

                    onRefresh={this.refreshing}

                    refreshing={false}

                    renderItem={

                        ({item}) =>

                            <TouchableOpacity onPress={this.itemClick.bind(this, item, item.index)}>

                            <View style={styles.cellView} >

                                    <View style={styles.contentStyle}>

                                        <Text style={styles.titleStyle}>{item.title}</Text>

                                        <Text style={styles.progressStyle}>{'完成率:'+item.ProgressText}</Text>

                                        <Text style={styles.detailStyle}>{'好评值:'+item.DetailText}</Text>

                                    </View>

                                    <View style={styles.imageContentStyle}>

                                        <Image

                                            source={{uri: 'https://gsnapshot.alicdn.com/imgextra/i3/575127927/TB2n8OJIk9WBuNjSspeXXaz5VXa_!!575127927.jpg_430x430.jpg?time=1539689523000'}}

                                            style={styles.showImageStyle}

                                        />

                                    </View>

                            </View>

                            </TouchableOpacity>

                    }

                />

            </View>

        );

    }

}

const styles = StyleSheet.create({

    container: {

        flex: 1,

        justifyContent: 'center',

        alignItems: 'center',

        backgroundColor: '#F4F4F4',

    },

    welcome: {

        fontSize: 20,

        textAlign: 'center',

        margin: 10,

    },

    instructions: {

        textAlign: 'center',

        color: '#333333',

        marginBottom: 5,

    },

    showImageStyle: {

        width:70,

        height:70,

    },

    cellView: {

        flexDirection:'row',

        backgroundColor: '#ffffff',

        marginBottom: 1,

        flex: 1,

    },

    contentStyle:{

        marginTop:16,

        marginLeft:20,

        width: 230,

    },

    imageContentStyle:{

        marginTop:19,

        marginRight:20,

        marginBottom:15,

        marginLeft: 35,

    },

    titleStyle: {

        color: '#333333',

        fontSize: 16,

        fontWeight: 'bold',

    },

    progressStyle: {

        color: '#A1A1A1',

        height:12,

        marginTop: 5,

        fontSize: 12,

    },

    detailStyle: {

        color: '#A1A1A1',

        height:12,

        marginTop: 3,

        fontSize: 12,

    },

});

export {HomeScreen as default};
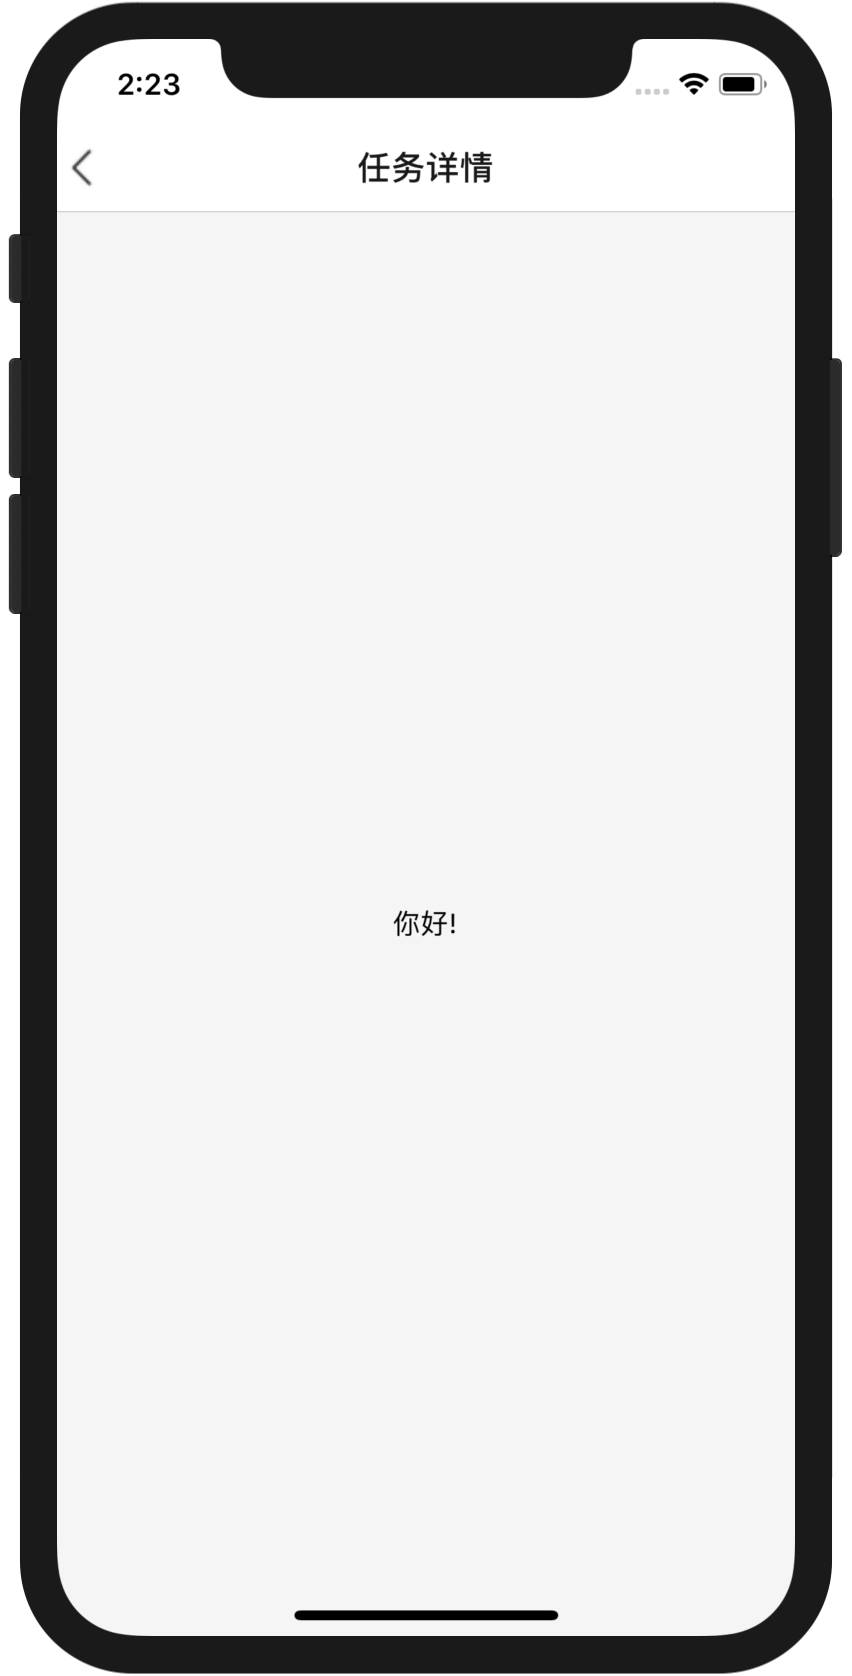
//taskapp1/Component/HomePage/DetailScreen.js

//点击进入详情页,注意data在homepage页面用到

import React, {Component} from 'react';

import {Image, Platform, StyleSheet, Text, View} from 'react-native';

class DetailScreen extends Component {

    static navigationOptions = {

        title: '任务详情',

        headerBackImage:<Image source={require('../HomePage/back.png')}/>,

    };

    render() {

        const data=this.props.navigation.state.params;

        return (

            <View style={styles.container}>

                <Text>你好!</Text>

            </View>

        );

    }

}

const styles = StyleSheet.create({

    container: {

        flex: 1,

        justifyContent: 'center',

        alignItems: 'center',

        backgroundColor: '#F5F5F5',

    },

    welcome: {

        fontSize: 20,

        textAlign: 'center',

        margin: 10,

    },

    instructions: {

        textAlign: 'center',

        color: '#333333',

        marginBottom: 5,

    },

});

export {DetailScreen as default};
//detail页面模仿的homepage页面写法,作者有很强的模仿发散能力啊

import React, {Component} from 'react';

import {Platform, StyleSheet, Text, View,Button,ListView,FlatList,Image,TouchableOpacity,Dimensions,StatusBar} from 'react-native';

var {height,width} =  Dimensions.get('window');

class Mine extends React.Component {

    static navigationOptions = {

        title: '我的',

        header:null,

    };

    state = {selected: (new Map(): Map<string, boolean>)};

    _keyExtractor = (item, index) => index;

    itemClick(item, index) {

        //alert('点击了第' + index + '项,name为:' + item.title);

        this.props.navigation.navigate('Details',{

            userName:'Tory',

            userInfo:'Hello'

        })

    }

    header = () => {

        return (

            <View style={styles.headViewStyle}>

                <View style={styles.userViewStyle}>

                    <Image

                        source={{uri: 'http://img01.myyzz.com/upload/images/20190429/userlogo/20190429wxxwjv24rgl1.png'}}

                        style={styles.iconImageStyle}

                    />

                    <Text style={styles.nameStyle}>Geniusn</Text>

                </View>

            </View>

        )

    };

    render() {

        let movies = [

            {title: '我的互助'},

            {title: '分享给好友'},

            {title: '版本更新'},

            {title: '设置'},

            {title: '退出登录'},

        ];

        return (

            <View style={styles.container}>

                <FlatList

                    data = {movies}

                    showsVerticalScrollIndicator = {false}

                    keyExtractor={this._keyExtractor}

                    ListHeaderComponent={this.header}

                    renderItem={

                        ({item}) =>

                            <TouchableOpacity onPress={this.itemClick.bind(this, item, item.index)}>

                                <View style={styles.cellView} >

                                    <Text style={[styles.titleStyle,styles.contentStyle]}>{item.title}</Text>

                                    <Image

                                        source={require('../MinePage/ordershow.png')}

                                        style={styles.showImageStyle}

                                    />

                                </View>

                            </TouchableOpacity>

                    }

                />

            </View>

        );

    }

}

const styles = StyleSheet.create({

    container: {

        flex: 1,

        justifyContent: 'center',

        alignItems: 'center',

        backgroundColor: '#F4F4F4',

    },

    cellView: {

        flexDirection:'row',

        backgroundColor: '#ffffff',

        marginBottom: 1,

        flex: 1,

        height:50,

        width:width,

    },

    contentStyle:{

        marginLeft:20,

        marginTop:17,

        width: 230,

    },

    titleStyle: {

        color: '#333333',

        fontSize: 16,

        textAlign:'left',

    },

    showImageStyle: {

        width:15,

        height:20,

        marginTop:15,

        marginLeft: 98,

    },

    headViewStyle:{

        flexDirection:'row',

        backgroundColor: '#EA7B00',

        height:220,

        justifyContent:'center',

    },

    userViewStyle:{

        width:70,

        height:100,

        marginTop:60,

    },

    iconImageStyle:{

        width:70,

        height:70,

        borderRadius:35,

        resizeMode:'cover',

    },

    nameStyle:{

        color: '#ffffff',

        fontSize: 18,

        marginTop:10,

    },

});

export {Mine as default};
【水滴石穿】react-native-aze的更多相关文章
- 基于React Native的58 APP开发实践
React Native在iOS界早就炒的火热了,随着2015年底Android端推出后,一套代码能运行于双平台上,真正拥有了Hybrid框架的所有优势.再加上Native的优秀性能,让越来越多的公司 ...
- React Native 之 Text的使用
前言 学习本系列内容需要具备一定 HTML 开发基础,没有基础的朋友可以先转至 HTML快速入门(一) 学习 本人接触 React Native 时间并不是特别长,所以对其中的内容和性质了解可能会有所 ...
- React Native环境配置之Windows版本搭建
接近年底了,回想这一年都做了啥,学习了啥,然后突然发现,这一年买了不少书,看是看了,就没有完整看完的.悲催. 然后,最近项目也不是很紧了,所以抽空学习了H5.自学啃书还是很无趣的,虽然Head Fir ...
- 史上最全Windows版本搭建安装React Native环境配置
史上最全Windows版本搭建安装React Native环境配置 配置过React Native 环境的都知道,在Windows React Native环境配置有很多坑要跳,为了帮助新手快速无误的 ...
- 【腾讯Bugly干货分享】React Native项目实战总结
本文来自于腾讯bugly开发者社区,非经作者同意,请勿转载,原文地址:http://dev.qq.com/topic/577e16a7640ad7b4682c64a7 “8小时内拼工作,8小时外拼成长 ...
- React Native环境搭建以及几个基础控件的使用
之前写了几篇博客,但是没有从最基础的开始写,现在想了想感觉不太合适,所以现在把基础的一些东西给补上,也算是我从零开始学习RN的经验吧! 一.环境搭建 首先声明一下,本人现在用的编辑器是SublimeT ...
- React Native组件介绍
1.React Native目前已有的组件 ActivityIndicatorIOS:标准的旋转进度轮; DatePickerIOS:日期选择器: Image:图片控件: ListView:列表控件: ...
- React Native图片控件的使用
首先定义组件 import { AppRegistry, StyleSheet, Text, View, Image,} from 'react-native'; 然后将render返回中的模版增加I ...
- react-native学习笔记--史上最详细Windows版本搭建安装React Native环境配置
参考:http://www.lcode.org/react-native/ React native中文网:http://reactnative.cn/docs/0.23/android-setup. ...
- windows 7下React Native环境配置
React Native 是 Facebook 推出的一个用 Java 语言就能同时编写 ios,android,以及后台的一项技术,它可以做到实时热更新 .FaceBook 也号称这们技术是 “Le ...
随机推荐
- Unity 在2D中实现LookAt
由于Transform.LookAt是使Z轴看向目标,而2D基本是由X和Y轴构成的.所以在2D的游戏中,不太好使用. 所以用代码实现一个2D的LookAt函数. 例子: 我们使怪物的眼睛一直看着云. ...
- PHP SSH2 不支持 IdentityFile
有的情况下 我们会用到 类似命令行 sftp -o IdentityFile=.ssh/identity username@host方式 登陆, 想用php 操作, 但是 php 现在看是不支持的, ...
- Ad Infinitum 8 - Math Programming Contest
比赛链接 A题 如果当前数是1,那么后面无论是几都会加1或者当后面数是1的时候加2,所以记录一下后面的数中1的个数(加2)即可. 如果当前数是2,那么只有当后面的数为1或者为2时才可以加1,所以再记录 ...
- 深喉起底APP线下预装市场,如何一夜间拥有千万用户
注:预装对于中国的移动互联网创业者有多重要?i黑马知道这样一个内幕,某商务告诉我他们公司的前2000万用户就是靠预装打下来的,总部在北京,直接派驻商务长期扎根在深圳搞定手机厂商.而这家公司初期发展得益 ...
- IO流14 --- 打印流的使用 --- 技术搬运工(尚硅谷)
PrintStream 字节打印流PrintWriter 字符打印流 @Test public void test9() throws Exception { FileOutputStream fos ...
- servlet接收request请求的json数据
此次使用的是alibaba的fastjson:jar包为fastjson-1.2.7.jar 参考:https://www.qingtingip.com/h_229797.html 思路:由于此次接收 ...
- 使用代码创建rabbitmq交换机和队列绑定
1.获取channel对象 2.声明(创建)对列 // 第一个参数,queueName:对列名称.数据类型:String// 第二个参数,durable:是否持久化, 队列的声明默认是存放到内存中的, ...
- Django项目:CRM(客户关系管理系统)--53--44PerfectCRM实现账号快速注册登陆
# gbacc_ajax_urls.py # ————————42PerfectCRM实现AJAX全局账号注册———————— from django.conf.urls import url fro ...
- django模块安装环境变量
django 模块 一 安装: 方法一: (在 JetBrains PyCharm 2017.2 软件的) 设置 (里找到) 项目:python +(添加) (搜索) django Install p ...
- H5C3--transform实现任何元素居中对齐
<!DOCTYPE html> <html lang="en"> <head> <meta charset="UTF-8&quo ...