如何在 Qt Creator 中应用 one dark pro 主题
前言
Qt Creator 自带了几款主题,但是并不好看。在博客 《Qt Creator打造VScode one dark pro主题配色》 中给出了 one dark pro 主题的配置文件,但是效果并不好,所以这里给出改进后的主题文件(只针对代码部分)。
配置文件
在 D:\Qt\Tools\QtCreator\share\qtcreator\styles 中创建一个 onedark.xml 文件,然后在文件里面写入以下内容:
<?xml version="1.0" encoding="UTF-8"?>

<style-scheme version="1.0" name="One Dark">

  <style name="Text" foreground="#abb2bf" background="#282c34"/>

  <style name="Link" underlineStyle="SingleUnderline"/>

  <style name="Selection" background="#3e4451"/>

  <style name="LineNumber" foreground="#4b5363"/>

  <style name="SearchResult" background="#324365"/>

  <style name="SearchScope" background="#3e4451"/>

  <style name="Parentheses" background="#515a6b" />

  <style name="ParenthesesMismatch" foreground="#000000" background="#c678dd"/>

  <style name="AutoComplete" background="#3e4451"/>

  <style name="CurrentLine" background="#3a3f4b"/>

  <style name="CurrentLineNumber" foreground="#abb2bf" />

  <style name="Occurrences" background="#324365"/>

  <style name="Occurrences.Unused" underlineColor="#d19a66" underlineStyle="DashUnderline"/>

  <style name="Occurrences.Rename" background="#e06c75"/>

  <style name="Number" foreground="#d19a66"/>

  <style name="String" foreground="#98c379"/>

  <style name="Type" foreground="#61afef"/>

  <style name="Local" foreground="#e06c75" />

  <style name="Parameter" foreground="#e06c75" />

  <style name="Global" foreground="#e06c75" />

  <style name="Field" foreground="#e06c75"/>

  <style name="Static" foreground="#56b6c2" />

  <style name="VirtualMethod" foreground="#61afef" italic="true"/>

  <style name="Function" foreground="#61afef"/>

  <style name="Keyword" foreground="#c678dd"/>

  <style name="PrimitiveType" foreground="#c678dd"/>

  <style name="Type" foreground="#e5c07b" />

  <style name="Operator" foreground="#56b6c2" />

  <style name="Overloaded Operator" foreground="#c678dd"/>

  <style name="Punctuation"/>

  <style name="Preprocessor" foreground="#c678dd"/>

  <style name="Label" foreground="#e06c75" bold="true"/>

  <style name="Comment" foreground="#5c6370" italic="true"/>

  <style name="Doxygen.Comment" foreground="#5c6370" italic="true"/>

  <style name="Doxygen.Tag" foreground="#61afef"/>

  <style name="VisualWhitespace" foreground="#3c4049"/>

  <style name="QmlLocalId" foreground="#61afef"/>

  <style name="QmlExternalId"/>

  <style name="QmlTypeId" foreground="#61afef"/>

  <style name="QmlRootObjectProperty" foreground="#61afef"/>

  <style name="QmlScopeObjectProperty" foreground="#61afef"/>

  <style name="QmlExternalObjectProperty"/>

  <style name="JsScopeVar"/>

  <style name="JsImportVar" foreground="#d19a66"/>

  <style name="JsGlobalVar" foreground="#d19a66"/>

  <style name="QmlStateName" foreground="#61afef"/>

  <style name="Binding" foreground="#c678dd"/>

  <style name="DisabledCode" foreground="#5c6370"/>

  <style name="AddedLine" foreground="#98c379"/>

  <style name="RemovedLine" foreground="#e06c75"/>

  <style name="DiffFile" foreground="#61afef"/>

  <style name="DiffLocation" foreground="#d19a66"/>

  <style name="DiffFileLine" foreground="#000000" background="#e5c07b"/>

  <style name="DiffContextLine" foreground="#000000" background="#56b6c2"/>

  <style name="DiffSourceLine" foreground="#000000" background="#be5046"/>

  <style name="DiffSourceChar" foreground="#000000" background="#e06c75"/>

  <style name="DiffDestLine" foreground="#000000" background="#789353"/>

  <style name="DiffDestChar" foreground="#000000" background="#98c379"/>

  <style name="LogChangeLine" foreground="#e06c75"/>

  <style name="LogAuthorName" foreground="#61afef"/>

  <style name="LogCommitDate" foreground="#98c379"/>

  <style name="LogCommitHash" foreground="#e06c75"/>

  <style name="LogCommitSubject"/>

  <style name="LogDecoration" foreground="#c678dd"/>

  <style name="Warning" underlineColor="#d19a66" underlineStyle="SingleUnderline"/>

  <style name="WarningContext" underlineColor="#d19a66" underlineStyle="DotLine"/>

  <style name="Error" underlineColor="#e06c75" underlineStyle="SingleUnderline"/>

  <style name="ErrorContext" underlineColor="#e06c75" underlineStyle="DotLine"/>

  <style name="Declaration"/>

  <style name="FunctionDefinition"/>

  <style name="OutputArgument" italic="true"/>

  <style name="LastStyleSentinel"/>

</style-scheme>
然后在 Qt Creator 中的 工具 --> 选项 --> 文本编辑器 中将主题换成 One Dark 即可。重启之后就可以看到代码样式的变化了,至于 Qt Creator 界面的主题可以参照上述博客中的配置。
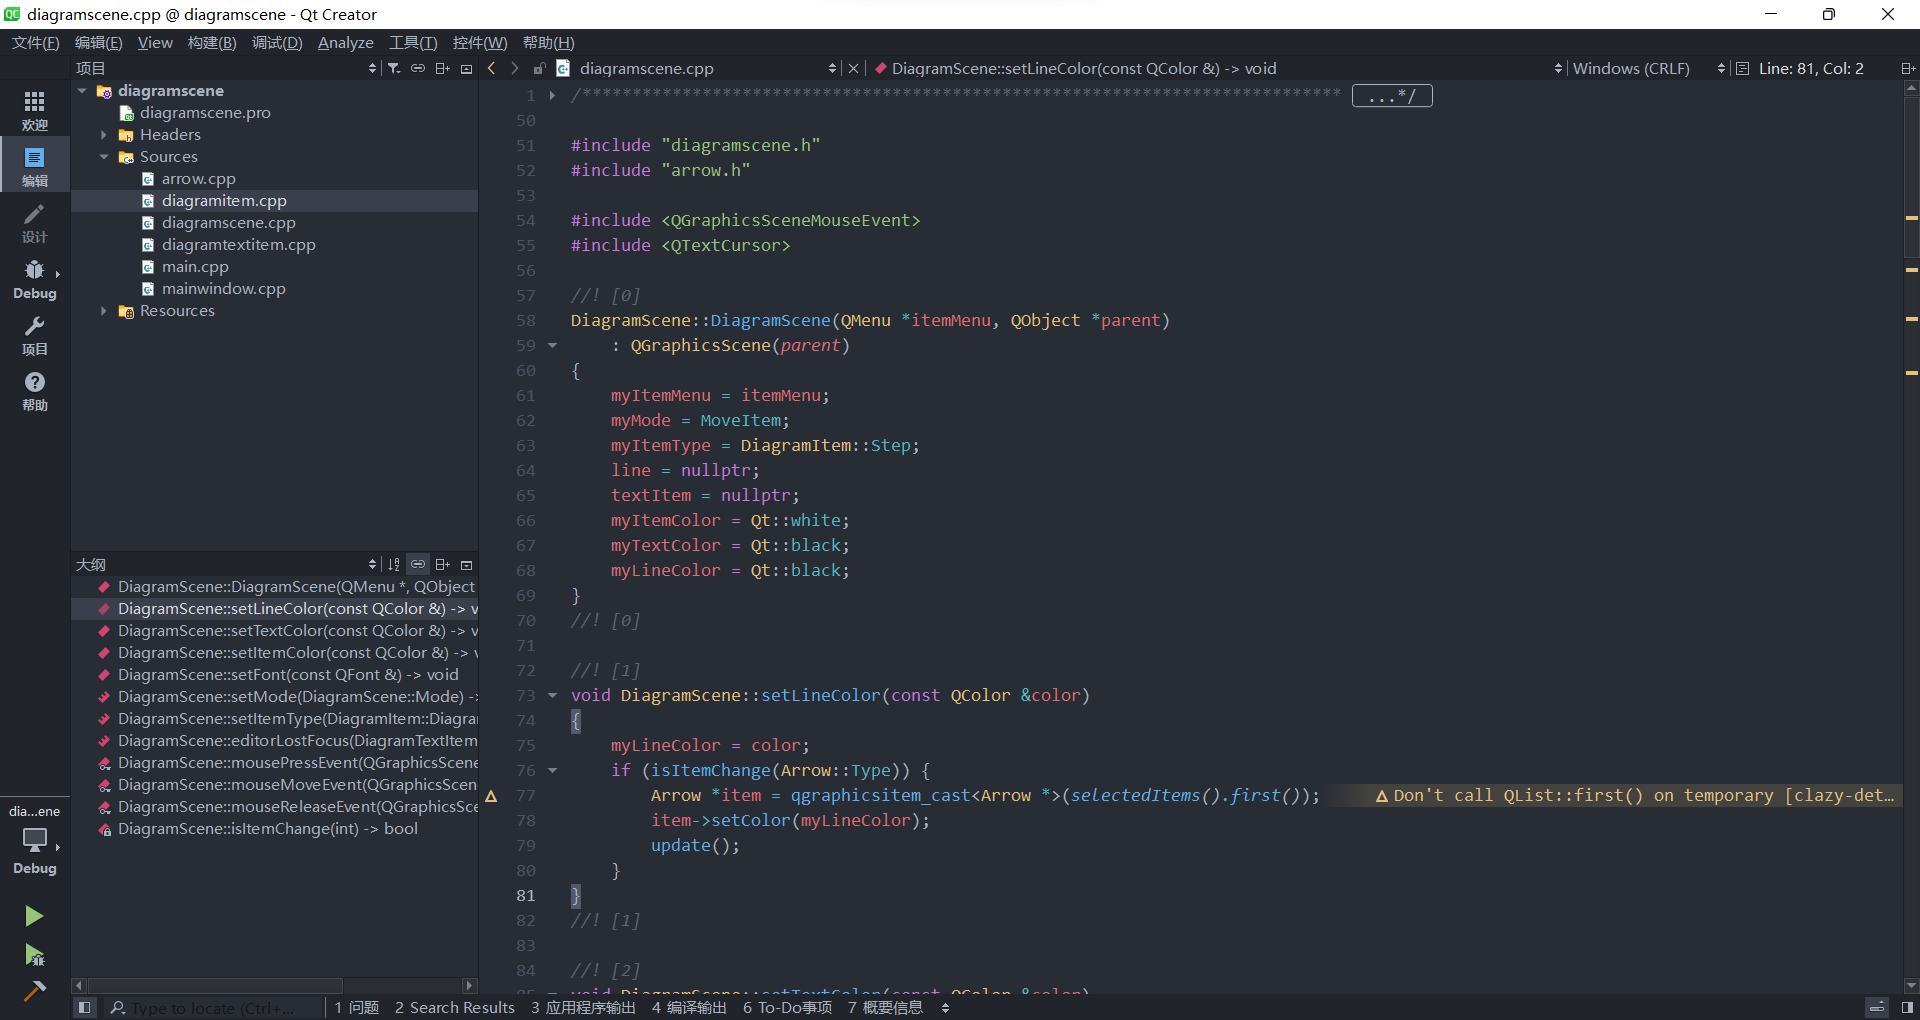
界面截图
配置完成之后的界面如下图所示,有 VS Code 的 one dark pro 的感觉了,当然代码编辑体验还是差了点,想要完全使用 VS Code 来开发 Qt 的话可以参见之前的博客 《如何在 VS Code 中搭建 Qt 开发环境》。
如何在 Qt Creator 中应用 one dark pro 主题的更多相关文章
- Qt Creator打造VScode one dark pro主题配色
1.缘由 我之前习惯使用 vscode 进行开发,对 vscode 的 one dark pro 主题情有独钟.无奈公司需要使用 Qt Creator 进行日常开发,只能暂时舍弃 vscode,采用曲 ...
- 如何在Qt Creator中导入图标资源
本文主要描述如何在Qt Creator中创建资源文件,并的打入导入图标文件. 查看图标资源文件时,可以在项目的工程文件上鼠标单击右键-Open With-资源编辑器,效果如下图所示: 在项目的工程文件 ...
- 如何在Qt Creator中创建pri文件,以及pri文件的说明
初学Qt的人可还不会接触到这个问题,但是一旦你开始编写某个较大项目的时候,这个问题就不可避免需要解决. 对于大神们来讲可能这是个很简单的问题,但是对于新手来说,想要搞清楚需要下很大功夫. 怎么创建pr ...
- 如何在Qt Creator中添加库文件和头文件目录
在使用QtCreator开发图像处理程序的时候想加入Opencv库来处理图形,添加头文件,需要编辑工程文件夹下的.pro文件在文件中添加以下内容,即可包含头文件的文件夹: INCLUDEPATH += ...
- Windows XP 下如何使用Qt Creator中的Git版本控制功能
原文地址:http://www.qtcn.org/bbs/simple/?t16960.html Qt Creator是针对Qt应用开发平台专门设计的IDE开发工具,集成了很多功能,分别有win ...
- Qt Creator中的3D绘图及动画教程(参照NeHe)
Qt Creator中的3D绘图及动画教程(参照NeHe) http://blog.csdn.net/cly116/article/details/47184729 刚刚学习了Qt Creator,发 ...
- 如何在Qt Creator 创建一个.pri文件
如何在Qt Creator 创建一个.pri文件 2013年10月09日 ⁄ 综合 ⁄ 共 254字 ⁄ 字号 小 中 大 ⁄ 评论关闭 这个问题很少人写,因为比较简单,但是让却让我花了好大功夫才 ...
- qt creator中使用qwt插件
前提:我用mingw编译的qwt. 将qwt插件集成到qt designer非常easy.仅仅要把qwt编译的qwt_designer_plugin.dll复制到C:\Qt\Qt5.3.1\5.3\m ...
- Qt在VS2013或Qt Creator 中的控制台输出方式设置
首先值得注意的是:在写程序的时候,项目保存路径不要涉及到中文,否则容易出错! 一.Qt在VS2013中的控制台输出方式: 注意:这里是而不是Qt Application. 然后直接点击finish即可 ...
随机推荐
- bootstrap可编辑下拉框jquery.editable-select
搜了半天发现在某处下载jquery.editable-select需要积分,于是整理出来方便 其他人. 先上下载链接: http://pan.baidu.com/s/1kUXvwlL pas ...
- HITCON 2019 Lost Modular again writeup
HITCON 2019 Lost Modular again writeup 算是基础题,有很多之前题的影子,做不出来纯属菜. 题目 加密脚本 from Crypto.Util.number impo ...
- CS5216 设计于DP转HDMI转换器|DP转HDMI 1080P中继器 电平转化器开关设计方案与线路图
CS5216是一款Displayport to hdmi 1080p音视频信号转换芯片,主要用于设计与开发DP转HDMI 转换器.中继器.电平转换器等产品当中.它支持交流和直流耦合TMDS信号高达1. ...
- Salesforce LWC学习(三十九) lwc下quick action的recordId的问题和解决方案
本篇参考: https://developer.salesforce.com/docs/component-library/bundle/force:hasRecordId/documentation ...
- Ranger-Usersync安装
Ranger-Usersync安装, 配置数据源Unix,Usersync从Unix拉取Users/Groups的数据源, 对应的Ranger版本0.6.0. IP/机器名 安装软件 运行进程 zdh ...
- JZOJ 3296 Luogu P3296 [SDOI2013]刺客信条
前言 做法来自:@pzrpzr ,写一下!Orz pzr! 题目大意 \(n\) 个点的无根树,每个点有两个 \(0/1\) 权值,合适地安排节点在同构树中的顺序,使得前后对应的权值不同节点个数最小, ...
- CentOS7添加开机启动服务或脚本
方法一(rc.local) 改方式配置自动启动最为简单,只需要修改rc.local文件 由于在centos7中/etc/rc.d/rc.local的权限被降低了,所以需要赋予其可执行权 chmod + ...
- LINUX学习-Mysql集群-主从服务器备份
一.Mysql主从集群备份. 1.准备两台主机 主服务器:192.168.88.20和从服务器:192.168.88.30 2.分别安装mysql yum -y -install mysql mysq ...
- redis 主从复制实现
Redis 主从复制的实现 安装redis 修改redis的配置文件 redis.conf ②开启daemonize yes ③Pid文件名字 ④指定端口 ⑤Log文件名字 ⑥Dump.rdb名字 在 ...
- Java CAS 原理详解
1. 背景 在JDK 5之前Java语言是靠 synchronized 关键字保证同步的,这会导致有锁.锁机制存在以下问题: 在多线程竞争下,加锁.释放锁会导致比较多的上下文切换和调度延时,引起性能问 ...