2D小游戏--猜对应卡牌(unity)
项目名称 guess_card_game
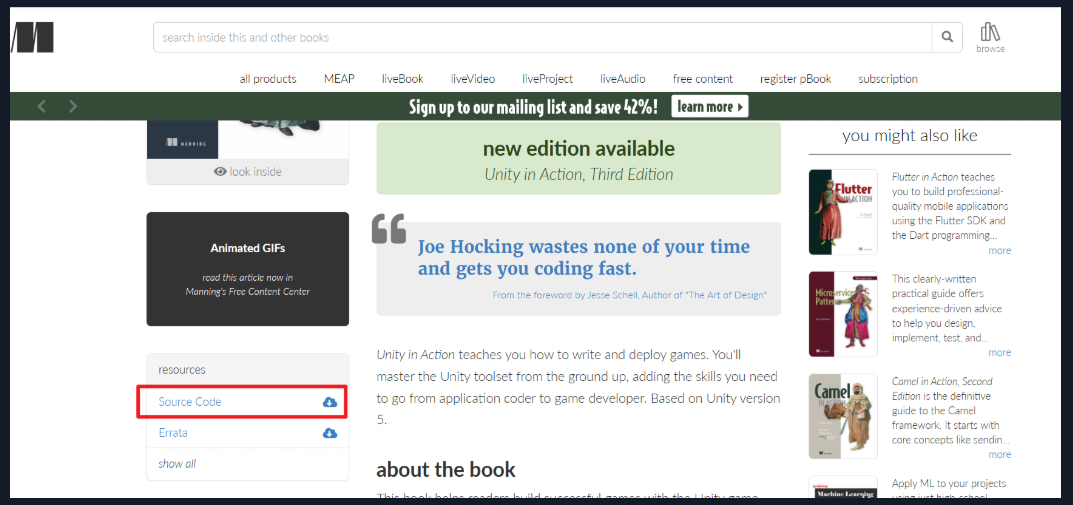
参考源码链接:

https://www.manning.com/books/unity-in-action
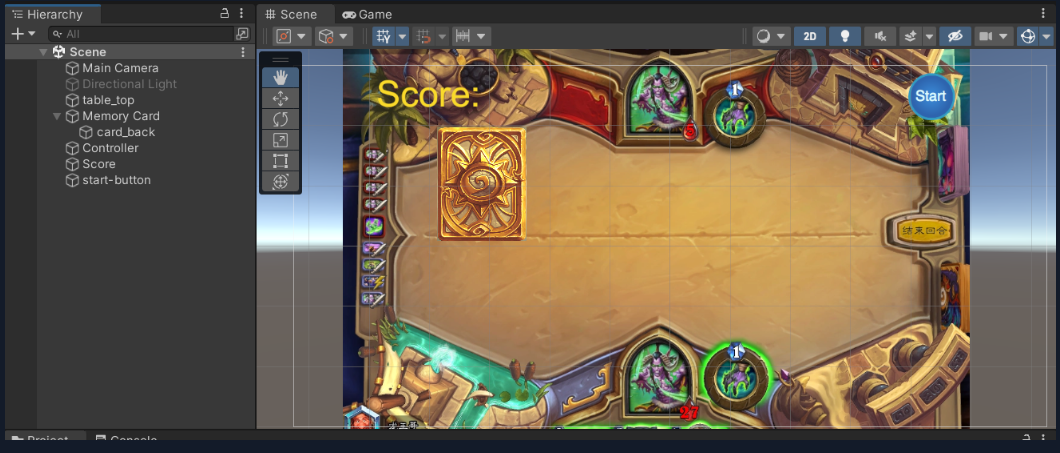
效果图预览
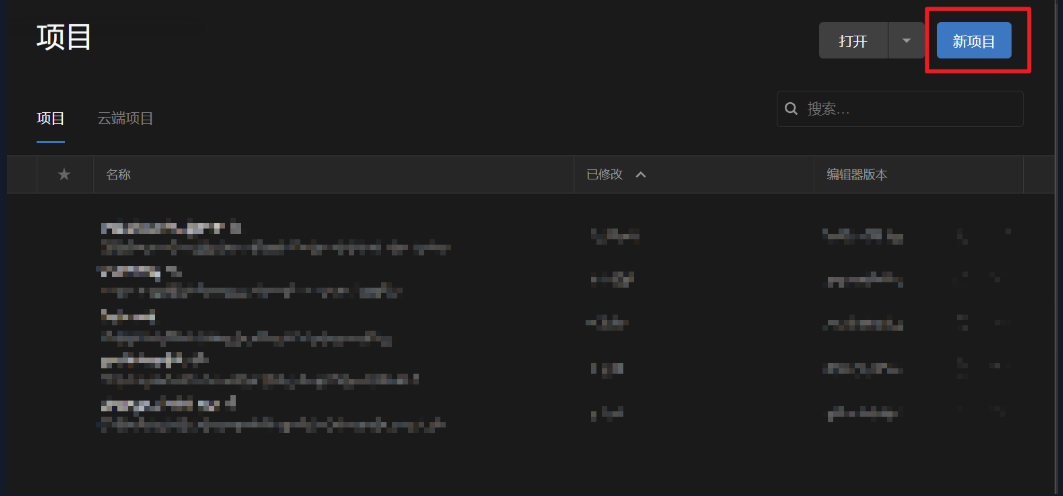
step1: 创建一个3D项目

step2: 修改2D相关设置
点击Edit/Project Settings 再选择Editor选项 修改Default Behaviour Mode的Mode为2D
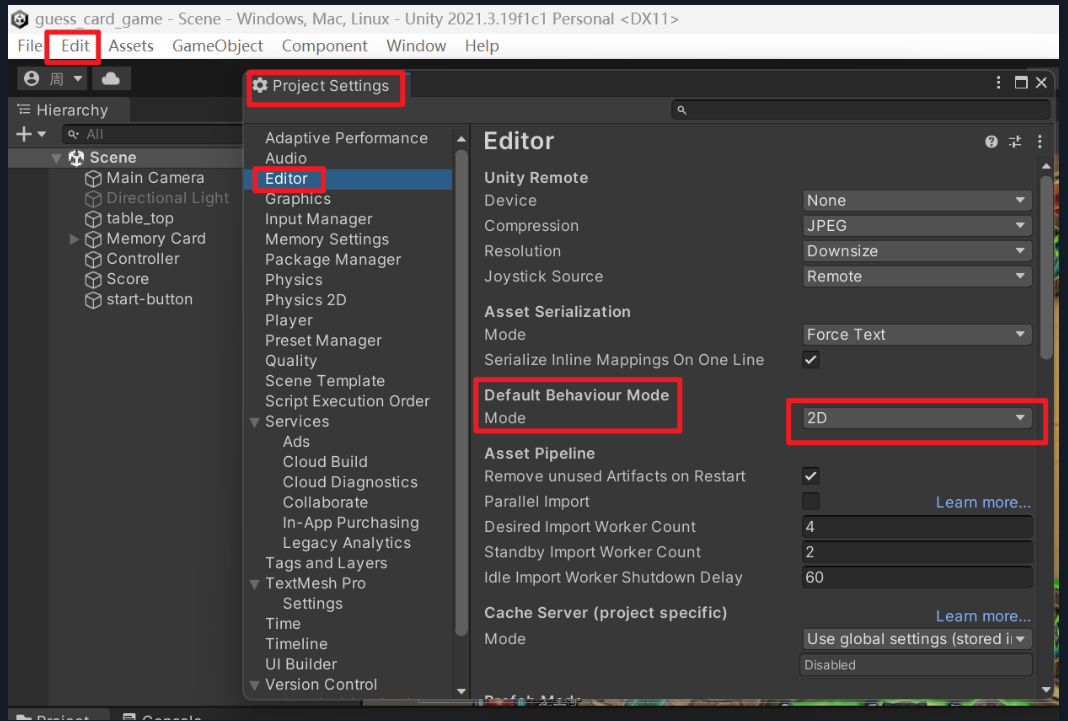
修改选项卡为2D模式

step3: 准备工作
创建需要的文件夹
记住场景名字
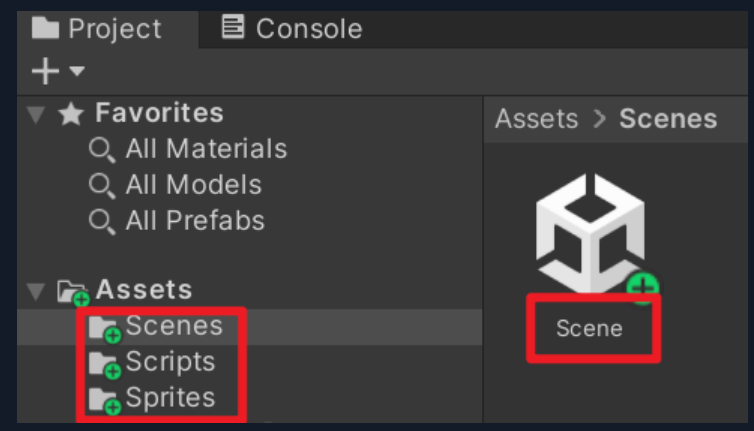
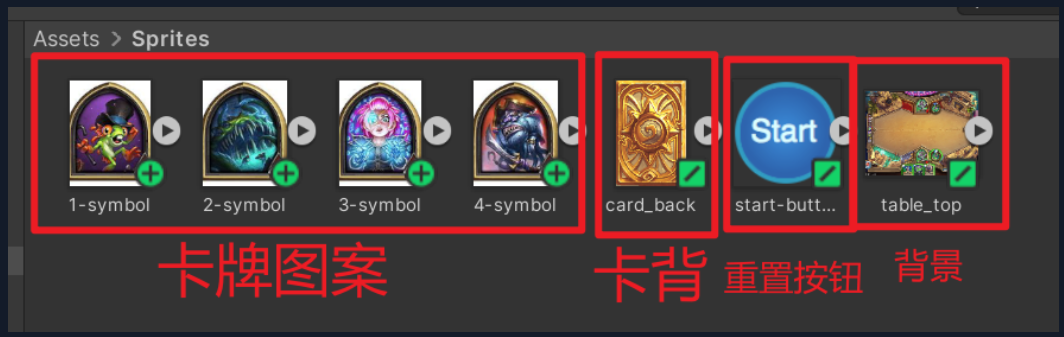
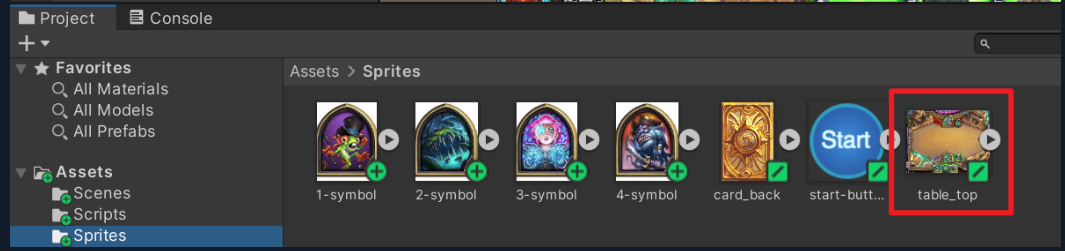
在Sprites文件夹下准备相应的图片
卡牌图案: 150*200px
卡背: 能盖住卡牌即可
重置按钮: 无要求
背景: 无要求
step4: 相关代码
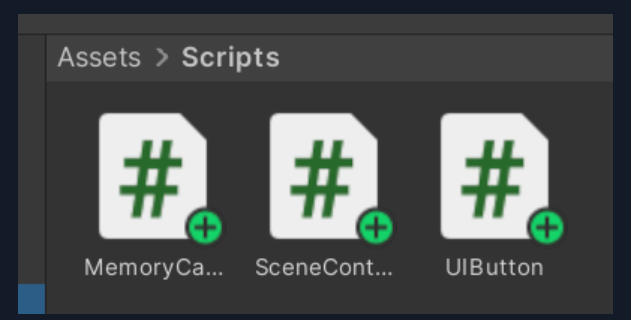
MemoryCard.cs
using System.Collections;

using System.Collections.Generic;

using UnityEngine;

public class MemoryCard : MonoBehaviour

{

    [SerializeField] private GameObject cardBack;

    public void OnMouseDown()

    {

        if (cardBack.activeSelf && controller.canReveal) {

            cardBack.SetActive(false);

            controller.CardRevealed(this);

        }

    }

    public void Unreveal() {

        cardBack.SetActive(true);

    }

    [SerializeField] private SceneController controller;

    private int _id;

    public int id

    {

        get { return _id; }

    }

    public void SetCard(int id, Sprite image)

    {

        _id = id;

        GetComponent<SpriteRenderer>().sprite = image;

    }

    // Start is called before the first frame update

    void Start()

    {

    }

    // Update is called once per frame

    void Update()

    {

    }

}
SceneController.cs
using System.Collections;
using System.Collections.Generic;
using UnityEngine;
public class SceneController : MonoBehaviour
{
public const int gridRows = 2;
public const int gridCols = 4;
public const float offsetX = 2;
public const float offsetY = 2.5f;
private MemoryCard _firstRevealed;
private MemoryCard _secondRevealed;
private int _score = 0;
public bool canReveal {
get { return _secondRevealed == null; }
}
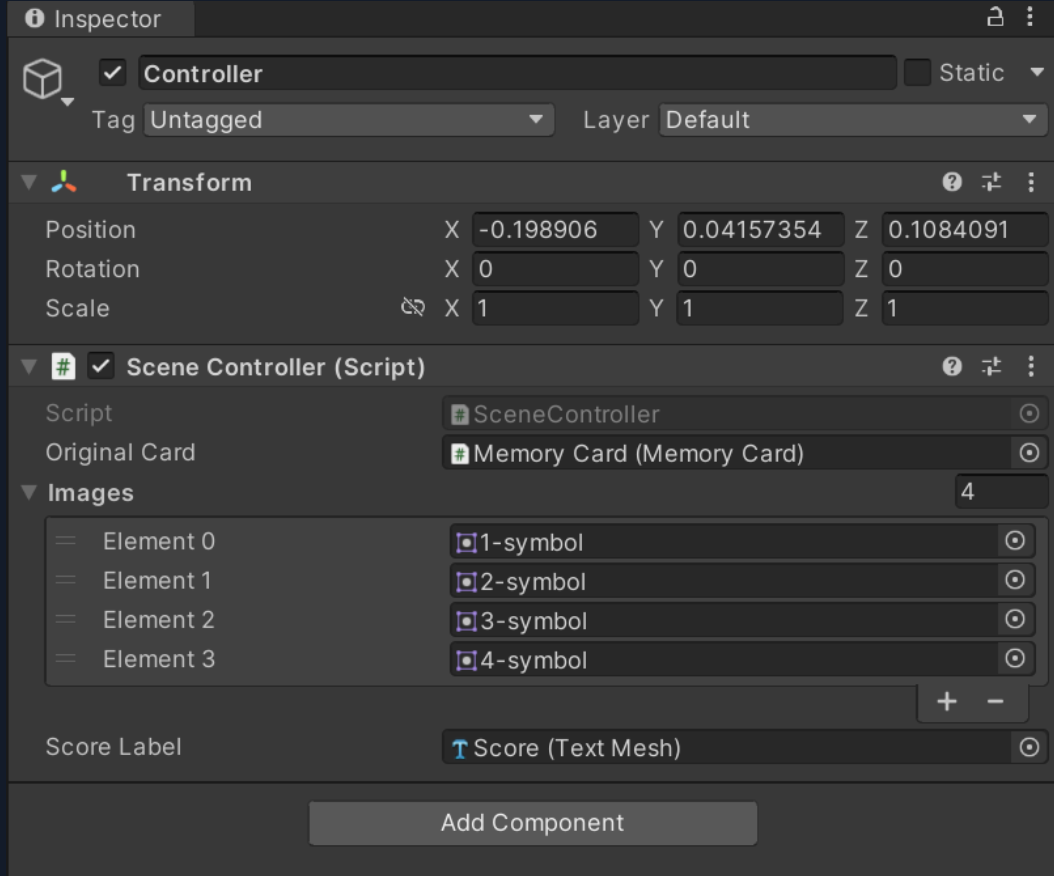
[SerializeField] private MemoryCard originalCard;
[SerializeField] private Sprite[] images;
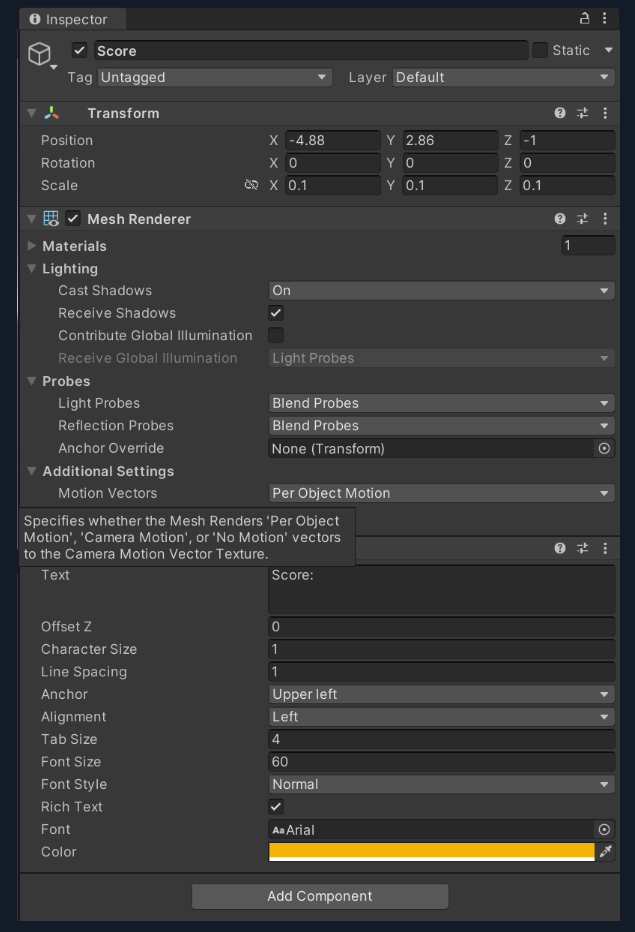
[SerializeField] private TextMesh scoreLabel;
public void CardRevealed(MemoryCard card) {
if (_firstRevealed == null)
{
_firstRevealed = card;
}
else {
_secondRevealed = card;
StartCoroutine(CheckMatch());
}
}
private IEnumerator CheckMatch() {
if (_firstRevealed.id == _secondRevealed.id)
{
_score++;
Debug.Log("Score:" + _score);
}
else {
yield return new WaitForSeconds(.5f);
_firstRevealed.Unreveal();
_secondRevealed.Unreveal();
}
_firstRevealed = null;
_secondRevealed = null;
}
// Start is called before the first frame update
void Start()
{
Vector3 startPos = originalCard.transform.position;
int[] numbers = {0, 0, 1, 1, 2, 2, 3, 3 };
numbers = ShuffleArray(numbers);
for (int i = 0; i < gridCols; i++) {
for (int j = 0; j < gridRows; j++) {
MemoryCard card;
if (i == 0 && j == 0)
{
card = originalCard;
}
else {
card = Instantiate(originalCard) as MemoryCard;
}
int index = j * gridCols + i;
int id = numbers[index];
card.SetCard(id, images[id]);
float posX = (offsetX * i) + startPos.x;
float posY = - (offsetY * j) + startPos.y;
card.transform.position = new Vector3(posX,posY,startPos.z);
}
}
}
private int[] ShuffleArray(int[] numbers) {
int[] newArray = numbers.Clone() as int[];
for (int i = 0; i < newArray.Length; i++) {
int tmp = newArray[i];
int r = Random.Range(i,newArray.Length);
newArray[i] = newArray[r];
newArray[r] = tmp;
}
return newArray;
}
// Update is called once per frame
void Update()
{
}
}
UIButton.cs
using System.Collections;

using System.Collections.Generic;

using UnityEngine;

public class UIButton : MonoBehaviour

{

    [SerializeField] private GameObject targetObject;

    [SerializeField] private string targetMessage;

    public Color highlightColor = Color.cyan;

    public void OnMouseEnter()

    {

        SpriteRenderer sprite = GetComponent<SpriteRenderer>();

        if (sprite != null)

        {

            sprite.color = highlightColor;

        }

    }

    public void OnMouseExit()

    {

        SpriteRenderer sprite = GetComponent<SpriteRenderer>();

        if (sprite != null)

        {

            sprite.color = Color.white;

        }

    }

    public void OnMouseDown()

    {

        transform.localScale = new Vector3(1.1f, 1.1f, 1.1f);

    }

    public void OnMouseUp()

    {

        transform.localScale = Vector3.one;

        if (targetObject != null)

        {

            targetObject.SendMessage(targetMessage);

        }

    }

    // Start is called before the first frame update

    void Start()

    {

    }

    // Update is called once per frame

    void Update()

    {

    }

}
step5: 创建场景及对象
1、将背景从Project中拖到场景中
2、选择一张卡牌作为对象,拖到Hierarchy窗口,并修改名称为 Memory Card
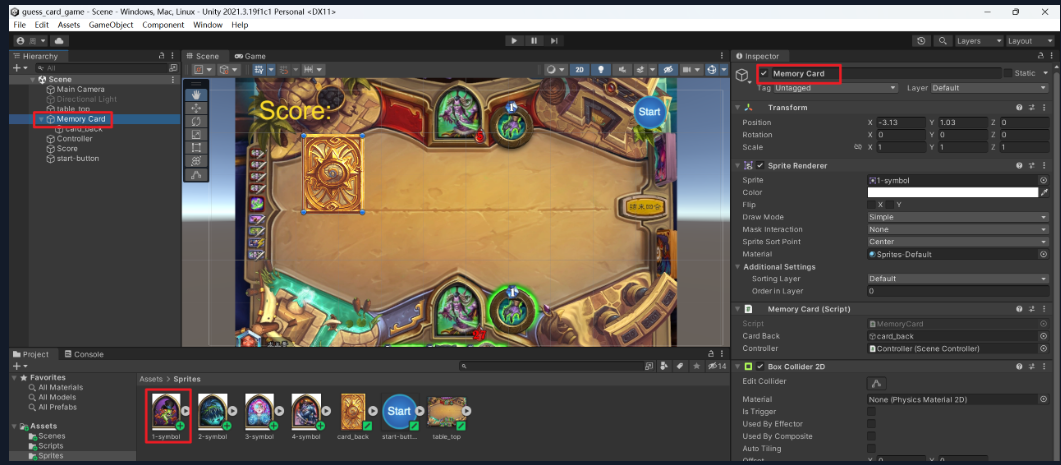
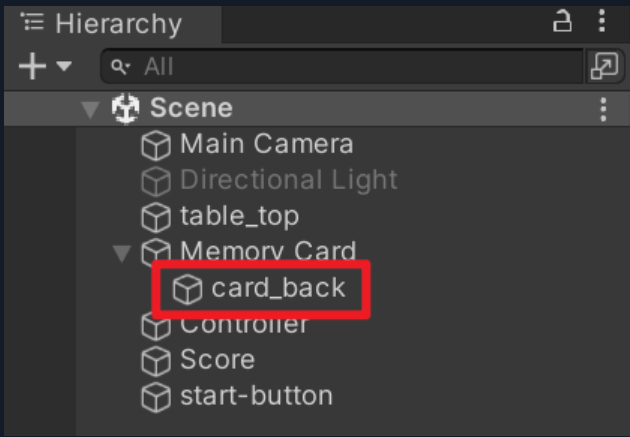
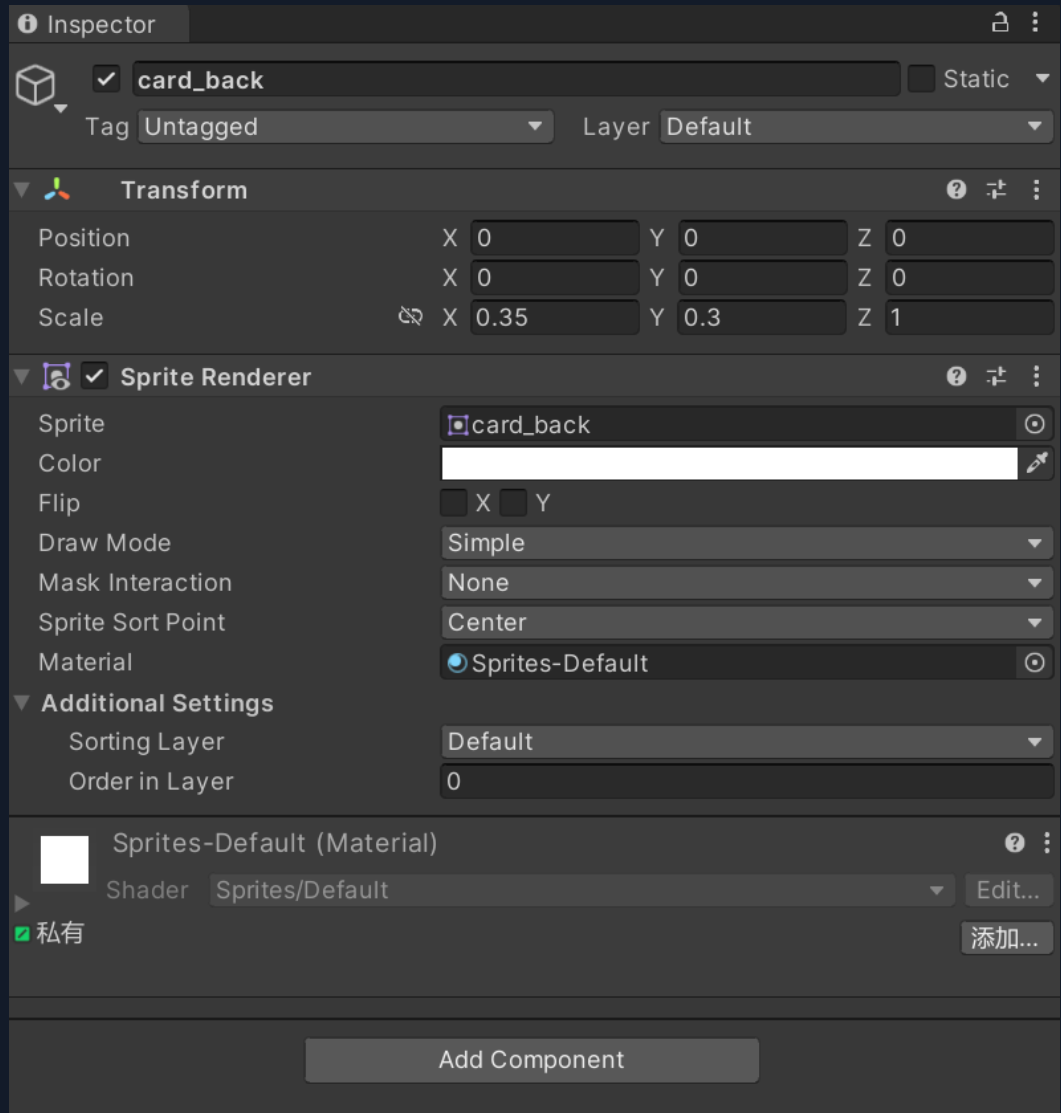
3、将卡背拖到Memory Card下方作为子对象
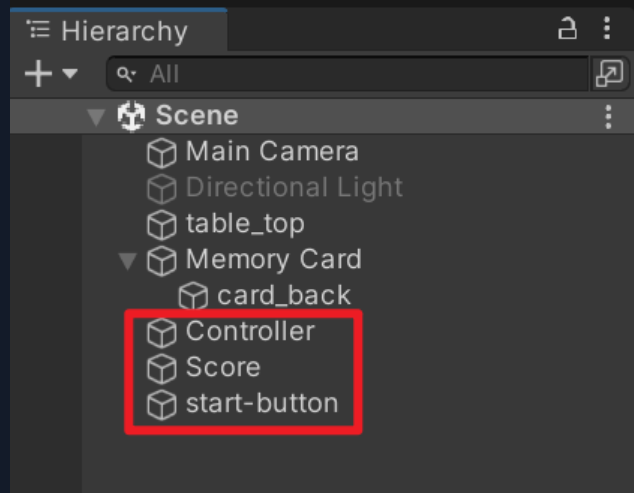
4、创建空对象,依次修改名称
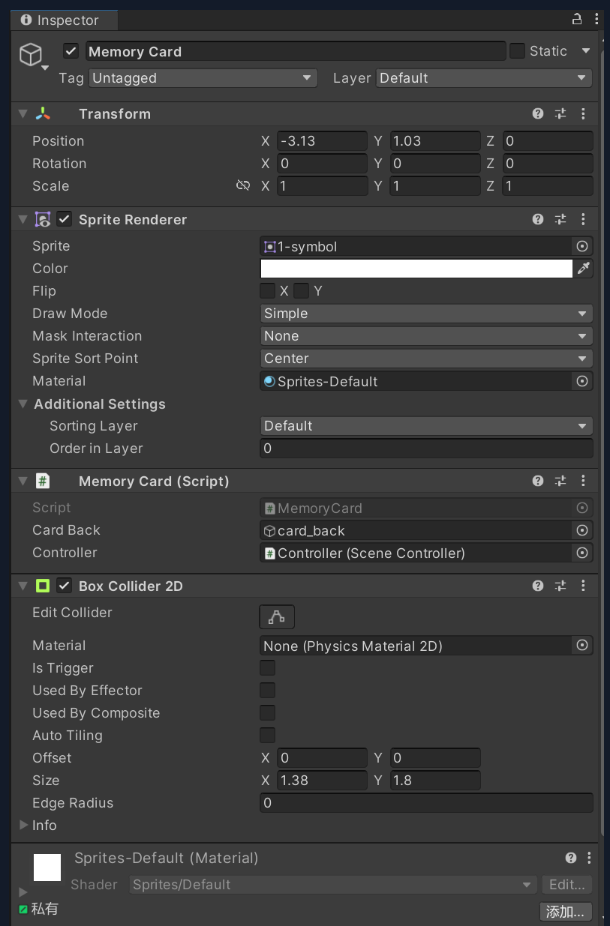
5、脚本挂载
Memory Card
card_back
Controller
Score
start-button

2D小游戏--猜对应卡牌(unity)的更多相关文章
- 玩Python小游戏猜数字,在游戏中掌握基础,你还能学不会?
学python怎么离得开案例呢? 今天再继续给大家分享一个Python教程里的猜数字游戏 我最近也是在学python,从事编程工作几年了,但是python还是今年才开始玩的,不得不说,这真是一 ...
- Python小游戏 -- 猜单词
Python初学者小游戏:猜单词 游戏逻辑:就像我们曾经英语学习机上的小游戏一样,电脑会从事先预置的词库中抽取单词,然后给出单词的字母数量,给定猜解次数,然后让玩家进行猜测,并给出每次猜测的正确字母与 ...
- Python小游戏 -- 猜数字
Python初学者小游戏:猜数字 游戏逻辑:电脑随机生成一个数字,然后玩家猜数字,电脑提示猜的数字大了还是小了,供玩家缩小数字范围,达到既定次数后,玩家失败.若在次数内猜对,玩家获胜. 涉及知识点:r ...
- 解压小游戏之打砖块(C#+unity)
z这个小游戏很简洁,很简单,非常适合一个人玩,特别减压
- Python小游戏——猜数字教程(random库教程)
今天来开发一个简单的数字逻辑游戏,猜数字(数字炸弹) 首先开发游戏第一件事,了解需求. 猜数字游戏规则: 计算机随机生成一个指定范围的数字,由玩家来猜测, 之后计算机会根据玩家提供数字来与自己生成的数 ...
- 利用while循环写的简单小游戏猜数字
猜数字的大小游戏 C:\Users\Administrator>python Python 3.6.8 (tags/v3.6.8:3c6b436a57, Dec 23 2018, 23:31:1 ...
- Python小游戏——猜数字
1 print("--------------我爱鱼-----------") 2 temp = input("不妨猜一下甲鱼现在心里想的是哪个数字:") 3 ...
- python写的第一个简单小游戏-猜数字
#Filename:game1.py guess=10 running=True while running: try: answer=int(raw_input('Guess what i thin ...
- 使用canvas通过js制作一个小型英雄抓怪兽的2D小游戏
首先,这是一个HTML: <!DOCTYPE html> <html lang="en"> <head> <meta charset=&q ...
- Python学习-55 小游戏- 猜大小
#游戏开始,首先玩家选择大小,选择完成后开始摇骰子(11<=总值<=18为大,3<=总值<=10为小) import random def roll_dice(numbers= ...
随机推荐
- MySql中的driverClassName、url
在Java桌面开发或者Java Web开发(基于SSM框架)配置MySQL数据源时,driverClassName属性如果填错了,会导致了这一系列错误.归结其原因就是 mysql-connector- ...
- 长连接网关技术专题(十一):揭秘腾讯公网TGW网关系统的技术架构演进
本文由腾讯技术团队peter分享,原题"腾讯网关TGW架构演进之路",下文进行了排版和内容优化等. 1.引言 TGW全称Tencent Gateway,是一套实现多网统一接入,支持 ...
- IM开发干货分享:如何优雅的实现大量离线消息的可靠投递
1.点评 IM聊天消息的可靠投递,是每个线上产品都要考虑的IM热点技术问题. IM聊天消息能保证可靠送达,对于用户来说,就好比把钱存在银行不怕被偷一样,是信任的问题.试想,如果用户能明显感知到聊天消息 ...
- Python 并发编程实战:优雅地使用 concurrent.futures
在 Python 多线程编程中,concurrent.futures 模块提供了一个高层的接口来异步执行可调用对象.今天,我们将通过一个循序渐进的案例,深入了解如何使用这个强大的工具. 从一个模拟场景 ...
- 使用ollama玩转本地大模型
使用ollama玩转本地大模型 https://ollama.com/download 安装 安装验证 测试 ollama run llama2 ollama run qwen
- 树莓派Zero OLED屏幕转接板
买了个树莓派Zero,emmm,拿到手后感觉很精巧,但是总是感觉少了什么.于是... 瞎吹一波:不得不说嘉立创公司确实给力,一条龙服务而且价格太便宜了. 焊接组装上机测试,OK! 其实这个过程中坑也踩 ...
- TestProject 使用汇总
1. 截图 from addons.screenshot_utils import ScreenshotUtils step_output = driver.addons().execute( Scr ...
- canvas实现抠图,画笔,水印等功能
<!DOCTYPE html> <html lang="en"> <head> <meta charset="UTF-8&quo ...
- python基础学习4
打开文件的方式 # 第一种 f = open('C:\project\pycharmprojects\\bigdata33\day05/cars.csv', mode='r', encoding='U ...
- WPF create Flower shape
using System; using System.Collections.Generic; using System.Linq; using System.Text; using System.T ...