Ubuntu16.04安装Consul
1.下载安装包
https://www.consul.io/downloads.html

wget https://releases.hashicorp.com/consul/1.5.3/consul_1.5.3_linux_amd64.zip
2.解压
unzip consul_1.5.3_linux_amd64.zip
3.mv
sudo mv consul /usr/local/bin/consul
4.启动
参考:https://blog.csdn.net/u010046908/article/details/61916389
-dev 开发模式启动的时候,数据是存储在内存中,重启之后数据将丢失
consul agent -dev
-server 生成模式启动的时候,如果是server的话需要指定-server,如果是client的话,需要指定-client,比如
consul agent -ui -server -bootstrap-expect 1 -data-dir /tmp/consul -node=consul-server -bind=192.168.1.100 -client=192.168.1.100
-bootstrap-expect 1 通知consul server我们现在准备加入的server节点个数,该参数是为了延迟日志复制的启动直到我们指定数量的server节点成功的加入后启动
-data-dir /tmp/consul 数据持久的路径
-node=consul-server 指定节点在集群中的名称
-bind=192.168.1.100 该地址用来在集群内部的通讯,集群内的所有节点到地址都必须是可达的,默认是0.0.0.0,这意味着Consulo会使用第一个可用的私有IP地址,Consul可以使用TCP和UDP并且可以使用共同的端口,如果存在防火墙,这两者协议必须是允许的
-client 指定节点为client,指定客户端接口的绑定地址,包括:HTTP、DNS、RPC,默认是127.0.0.1,只允许回环接口访问,也就是本机访问,如果要想同一局域网内的其他机器访问,需要修改成自己的内网ip
server节点,指定client等于内网ip,统一局域网的机器可以访问,指定client=0.0.0.0,外网机器可以访问
nohup ./consul agent -ui -server -bootstrap-expect 1 -data-dir /home/dl/projects/consul-1.5.3/consul-data -node=xxx -client=xxx >> ./logs/consul.log 2>&1 &
client节点,不指定client的话,只能本机访问client节点,指定client=0.0.0.0,外网机器可以访问
nohup ./consul agent -ui -data-dir /home/dl/projects/consul-1.5.3/consul-data -node=xxx -bind=xxxx -client=xxx >> ./logs/consul.log 2>&1 &
join
./consul join server的ip
当3台分布式部署的时候,需要如下部署
参考:https://blog.csdn.net/chenchong08/article/details/77885989
nohup ./consul agent -ui -server -bootstrap-expect 3 -data-dir /home/dl/projects/consul-1.5.3/consul-data -node=host1 -client=0.0.0.0 -bind=ip1 >> ./logs/consul.log 2>&1 &

nohup ./consul agent -ui -server -bootstrap-expect 3 -data-dir /home/dl/projects/consul-1.5.3/consul-data -node=host2 -client=0.0.0.0 -bind=ip2 >> ./logs/consul.log 2>&1 &

./consul join host1

nohup ./consul agent -ui -server -bootstrap-expect 3 -data-dir /home/dl/projects/consul-1.5.3/consul-data -node=host3 -client=0.0.0.0 -bind=ip3 >> ./logs/consul.log 2>&1 &

./consul join host2
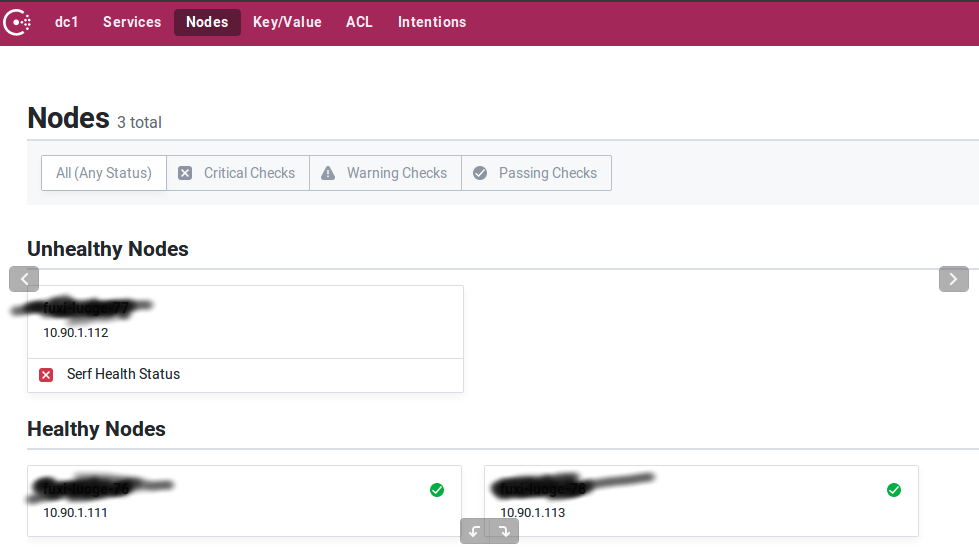
查看集群状态
./consul operator raft list-peers

Node           ID                                    Address           State     Voter  RaftProtocol

host1  f6ec724d-95ec-00da-97a2-4412d1070889  10.90.1.111:8300  follower  true   3

host2  a79165a3-7ffe-0bcf-9222-c50538d7f394  10.90.1.112:8300  leader    true   3

host3  54fed87b-b76a-432b-9ede-1933bb9d88c5  10.90.1.113:8300  follower  true   3
这时候host2是leader,当host2挂掉的时候,会有短暂不可用,之后leader选出,host1成为新的leader
./consul operator raft list-peers

Error getting peers: Failed to retrieve raft configuration: Unexpected response code: 500 (rpc error getting client: failed to get conn: dial tcp 10.90.1.113:0->10.90.1.112:8300: connect: connection refused)

./consul operator raft list-peers

Node           ID                                    Address           State     Voter  RaftProtocol

host1  f6ec724d-95ec-00da-97a2-4412d1070889  10.90.1.111:8300  leader    true   3

host2  a79165a3-7ffe-0bcf-9222-c50538d7f394  10.90.1.112:8300  follower  true   3

host3  54fed87b-b76a-432b-9ede-1933bb9d88c5  10.90.1.113:8300  follower  true   3
新的leader的日志不断刷说有个follow挂了
2019/12/30 16:42:17 [ERROR] raft: Failed to heartbeat to 10.90.1.111:8300: dial tcp 10.90.1.113:0->10.90.1.111:8300: connect: connection refused

    2019/12/30 16:42:18 [WARN] consul: error getting server health from "host1": rpc error getting client: failed to get conn: dial tcp 10.90.1.113:0->10.90.1.111:8300: connect: connection refused
启动host2的进程,自动加入集群,不用再join,集群状态恢复
5.使用
访问8500端口
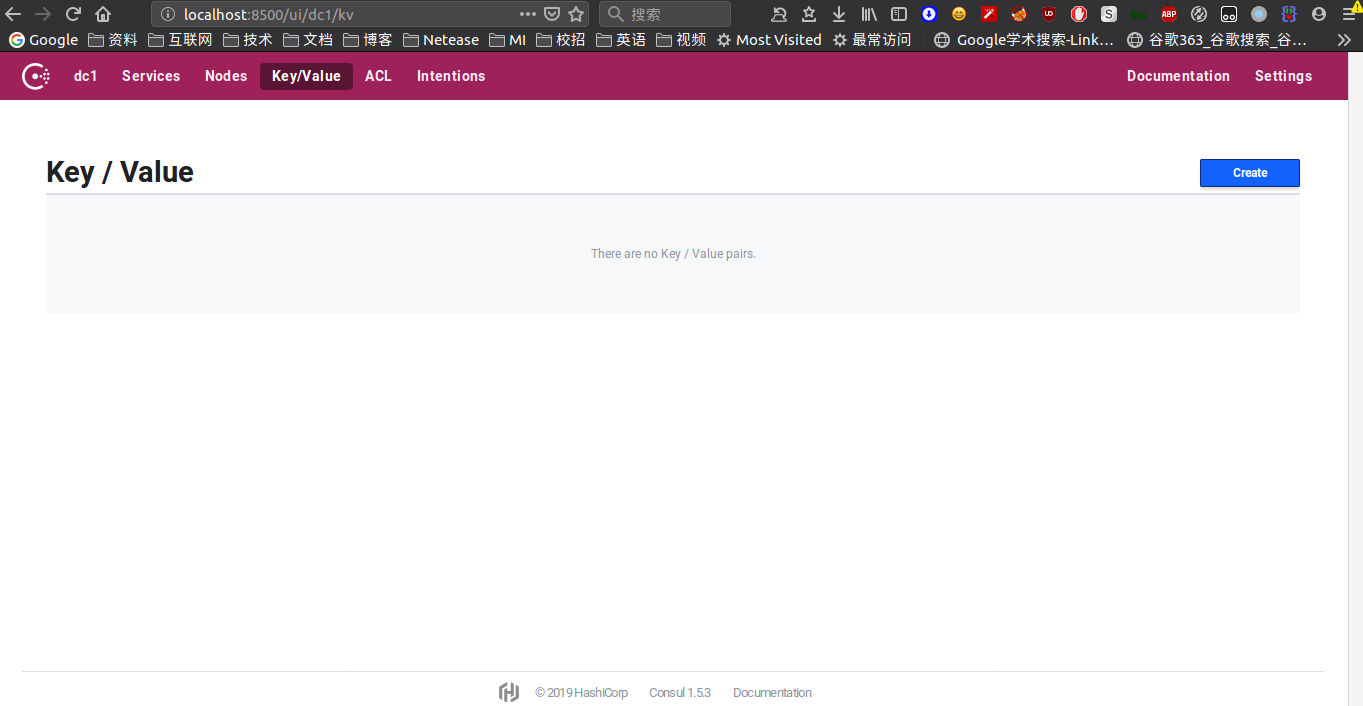
5.kv存储
consul支持通过HTTP API和通过CLI API将配置进行存储
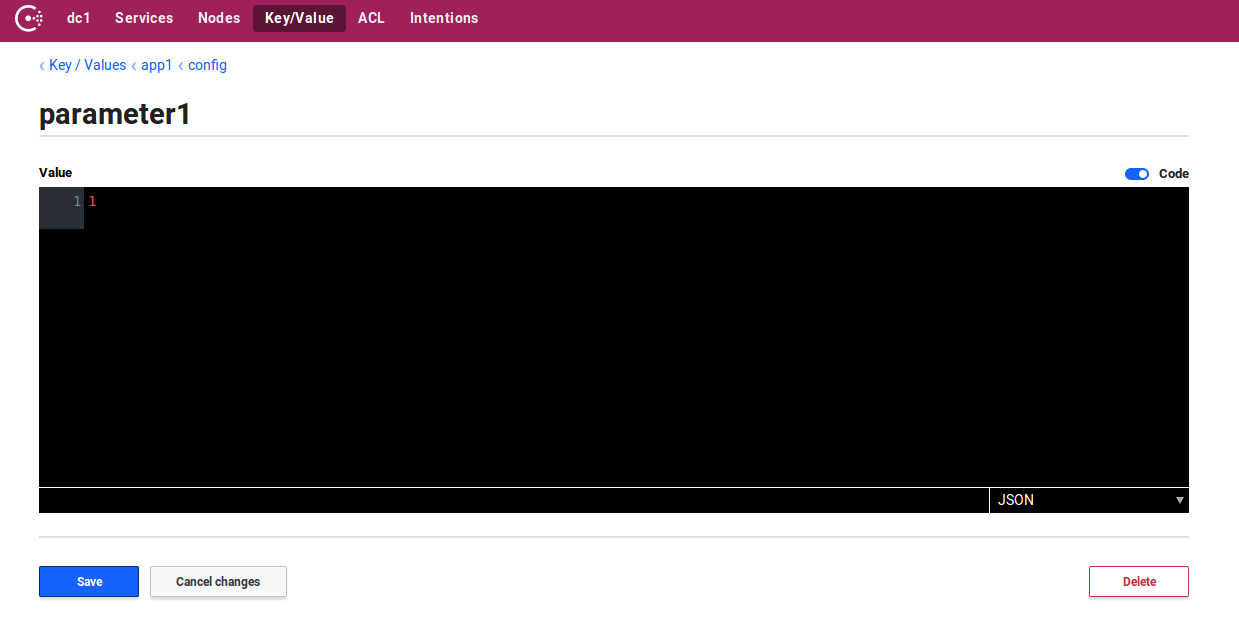
put命令
consul kv put app1/config/parameter1 1

Success! Data written to: app1/config/parameter1
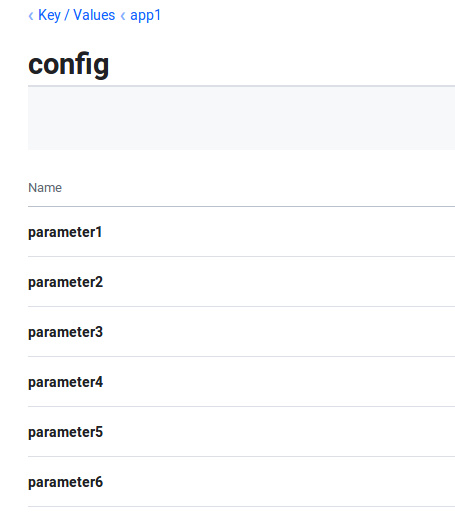
put成功之后,就可以在页面中看到该配置
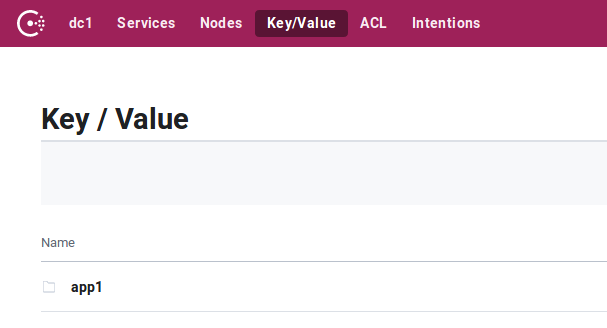
具体数值
put之后可以使用get命令来获取这个配置
consul kv get app1/config/parameter1

1
递归获取
consul kv get -recurse app1

app1/config/parameter1:1

app1/config/parameter2:2

app1/config/parameter3:3
删除
consul kv delete app1/config/parameter2 2
HTTP api
get kv
curl http://xxxx:8500/v1/kv/app1?recurse

[{"LockIndex":0,"Key":"app1/config/parameter1","Flags":0,"Value":"MQ==","CreateIndex":5986,"ModifyIndex":5986},{"LockIndex":0,"Key":"app1/config/parameter2","Flags":0,"Value":"Mg==","CreateIndex":5987,"ModifyIndex":5987}]
get单个
curl http://xxx:8500/v1/kv/app1/config/parameter1

[{"LockIndex":0,"Key":"app1/config/parameter1","Flags":0,"Value":"MQ==","CreateIndex":5986,"ModifyIndex":5986}]
其中kv存储的v的值是经过base64编码过的,需要进行解码
echo 'MQ==' | base64 -d

1
put kv
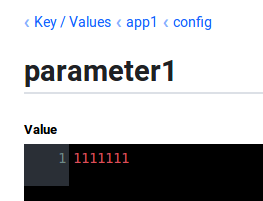
curl -X PUT -d '1111111' http://xxxx:8500/v1/kv/app1/config/parameter1
delete kv
curl -X DELETE -d http://xxx:8500/v1/kv/app1/config/parameter2
consul配置导入和导出
export命令
./consul kv export app1/config

[

	{

		"key": "app1/config/parameter1",

		"flags": 0,

		"value": "MTExMTExMWZmcmZmZg=="

	},

	{

		"key": "app1/config/parameter2",

		"flags": 0,

		"value": "Mg=="

	},

	{

		"key": "app1/config/parameter3",

		"flags": 0,

		"value": "Mw=="

	}

]
import命令
./consul kv import @test.json

Imported: app1/config/parameter4

Imported: app1/config/parameter5

Imported: app1/config/parameter6
watch
https://www.consul.io/docs/agent/watches.html
当配置更新能自动回调
需要写一个配置文件,比如 consul-watch.json
{

  "watches": [

    {

      "type": "key",

      "key": "app1/conf/parameter1",

      "handler_type": "http",

      "http_handler_config": {

         "path":"http://localhost:8000",

         "method": "GET",

         "header": {"x-foo":["bar", "baz"]},

         "timeout": "10s",

         "tls_skip_verify": false

      }

    }

  ]

}
上面的配置是监听单个key的变化,如果想监听多个
"type": "keyprefix",

"prefix": "app1/",
然后在启动命令中加上配置文件夹的地址,比如
-config-dir /home/lintong/software/consul-1.5.3/consul-conf
然后当配置发生变动的时候,会自动调用这个回调接口
如果修改了配置,比如把GET接口换成POST接口,需要reload这个配置,执行下面命令
consul reload
如果是post的回调接口的话,consul回调的时候会往post请求的request中放入更新的这一条配置,headers和body如下
Host: localhost:8000

User-Agent: Go-http-client/1.1

Content-Length: 124

Content-Type: application/json

X-Consul-Index: 5131

X-Foo: bar

X-Foo: baz

Accept-Encoding: gzip

Connection: close

{"Key":"app1/config/parameter1","CreateIndex":7,"ModifyIndex":5131,"LockIndex":0,"Flags":0,"Value":"IjEyMyI=","Session":""}
Ubuntu16.04安装Consul的更多相关文章
- ubuntu16.04安装jdk,tomcat
ubuntu16.04安装jdk,tomcat 最近装了一下tomcat,网上的教程很多,我也试了很多次,但是有一些教程关于tomcat配置是错误的,让我走上了歧途.差点重装系统,还好王总及时出手帮助 ...
- Ubuntu16.04 安装openjdk-7-jdk
Ubuntu16.04 安装openjdk-7-jdk sudo apt-get install openjdk-7-jre 或者sudo apt-get install openjdk-7-jdk ...
- Ubuntu16.04安装GTK3主题:OSX-Arc
Ubuntu16.04安装GTK3主题:OSX-Arc GTK3主题:OSX-Arc描述: 前几个月,Gnome3.20升3.22的时候,出现了大量主题崩溃的现象,其中包括Arc.Flatabulou ...
- Ubuntu16.04安装opencv for python/c++
Ubuntu16.04安装opencv for python/c++ 网上关于opencv的安装已经有了不少资料,但是没有一篇资料能让我一次性安装成功,因此花费了大量时间去解决各种意外,希望这篇能给一 ...
- ubuntu16.04安装不上有道词典的解决办法
转自:http://www.linuxdiyf.com/linux/21143.html ubuntu16.04安装不上有道词典,提示: le@hu-pc:~/下载$ sudo dpkg -i you ...
- Ubuntu16.04安装mongodb
Ubuntu16.04安装mongodb copy from: http://blog.csdn.net/zhushh/article/details/52451441 1.导入软件源的公钥 sudo ...
- 【Tools】ubuntu16.04安装搜狗输入法
Ubuntu16,04 安装搜狗输入法 1.下载搜狗输入法的安装包 下载地址为:http://pinyin.sogou.com/linux/ 2.按键Ctr+Alt+T打开终端,输入以下命令切换到下载 ...
- Ubuntu16.04安装cuda9.0+cudnn7.0
Ubuntu16.04安装cuda9.0+cudnn7.0 这篇记录拖了好久,估计是去年6月份就已经安装过几遍,然后一方面因为俺比较懒,一方面后面没有经常在自己电脑上跑算法,比较少装cuda和cudn ...
- Ubuntu16.04安装TensorFlow及Mnist训练
版权声明:本文为博主原创文章,欢迎转载,并请注明出处.联系方式:460356155@qq.com TensorFlow是Google开发的开源的深度学习框架,也是当前使用最广泛的深度学习框架. 一.安 ...
随机推荐
- 摘:Selenium api学习
selenium: selenium2(WebDriver) API1.1 下载selenium2.0的包 官方download包地址:http://code.google.com/p/seleniu ...
- 图论 - 图的深度优先遍历c++实现
图的深度优先遍历c++实现 深度优先搜索 邻接矩阵的创建 int i, j, m, a, b; cin >> n >> m; //初始化二维矩阵 for (i = 1; i & ...
- Maven 学习(一)-Maven 使用入门
http://www.cnblogs.com/xdp-gacl/p/3498271.html http://www.cnblogs.com/xdp-gacl/p/4240930.html 一.Mave ...
- 类数组对象与arguments
类数组对象 所谓的类数组对象: 拥有一个 length 属性和若干索引属性的对象 举个例子: var array = ['name', 'age', 'sex']; var arrayLike = { ...
- UEditor富文本WEB编辑器设置代码高亮
UEditor编译器支持代码高亮显示,设置方法如下: 1.页面head引入UEditor类包文件shCore.js.shCoreDefault.css代码 (注:引入文件路径根据需求变更即可) < ...
- [React] Fix "React Error: Rendered fewer hooks than expected"
In this lesson we'll see an interesting situation where we're actually calling a function component ...
- 使用jenkins exporter 监控jenkins 构建任务
jenkins 提供了rest api,我们可以基于rest api 暴露prometheus metrics,社区已经有了好多 开源的实现了,使用起来也比较方便,以下集成几个进行简单的测试 环境准备 ...
- ssh配置连接远程主机 彻底解放你的双手
查看ssh支持配置 man ssh_config 打开ssh并配置 vi ~/.ssh/config 基本配置示例说明 密钥文件连接 Host <别名> Port <机器端口号> ...
- [RN] React Native 再按一次退出
实现 React Native 再按一次退出 单页面: ... componentWillMount() { BackHandler.addEventListener('hardwareBackPre ...
- bzoj1176: [Balkan2007]Mokia cdq
链接 bzoj 思路 cdq入门题,拆成4个矩阵,然后cdq. 代码 /************************************************************** P ...