OSGI嵌入jetty应用服务器
1、搭建osgi基础环境,参考:https://www.cnblogs.com/dyh004/p/10642383.html
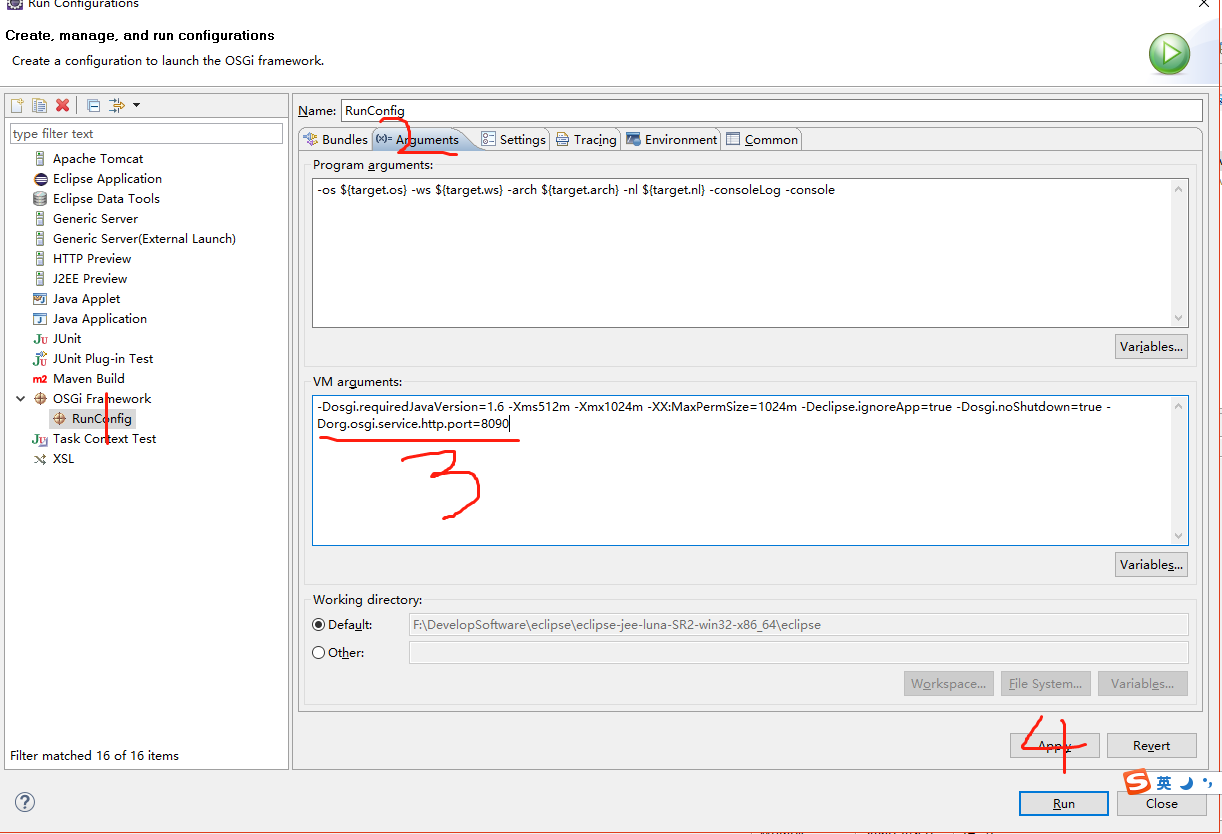
2、引入jetty相关的依赖包
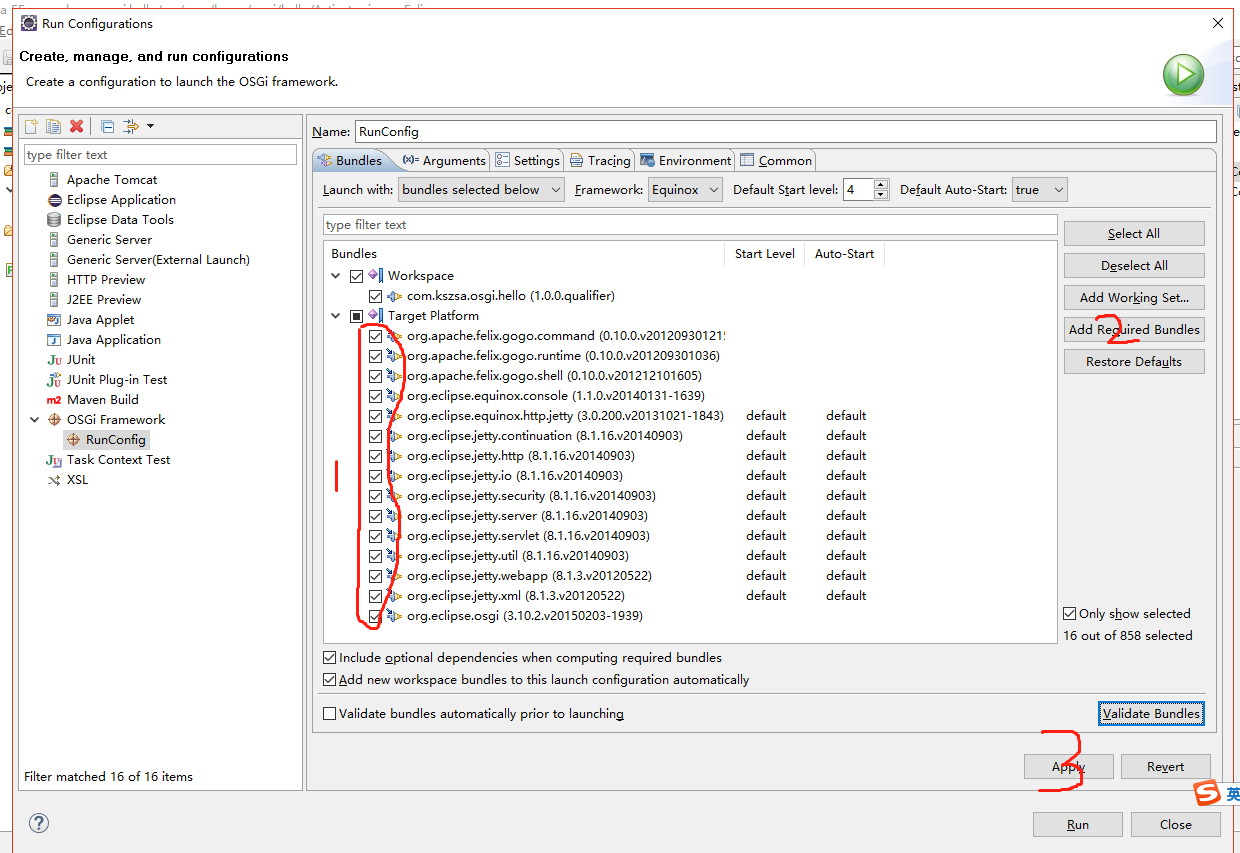
修改jetty启动端口
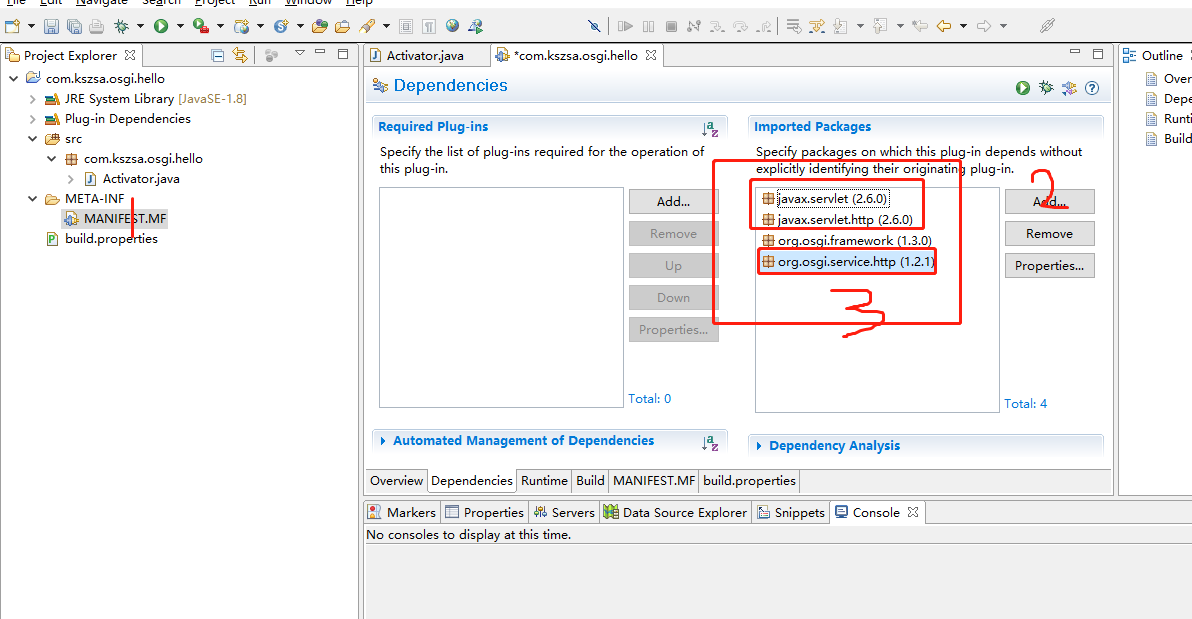
3、com.kszsa.osgi.hello这个bundle中,引入相关的依赖
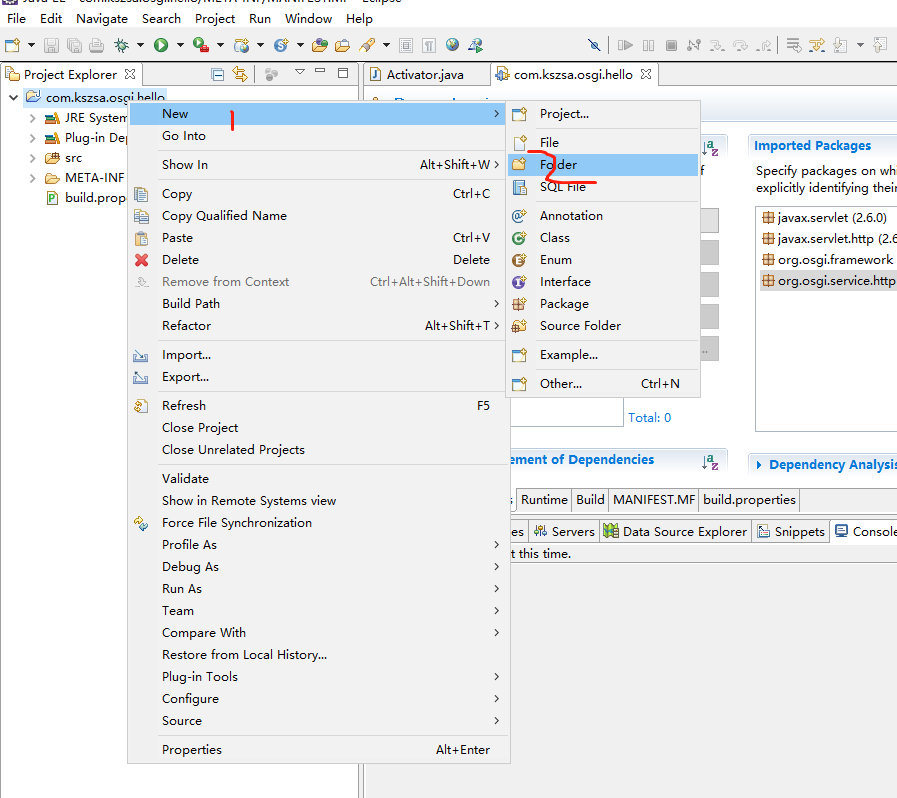
4、准备静态页面
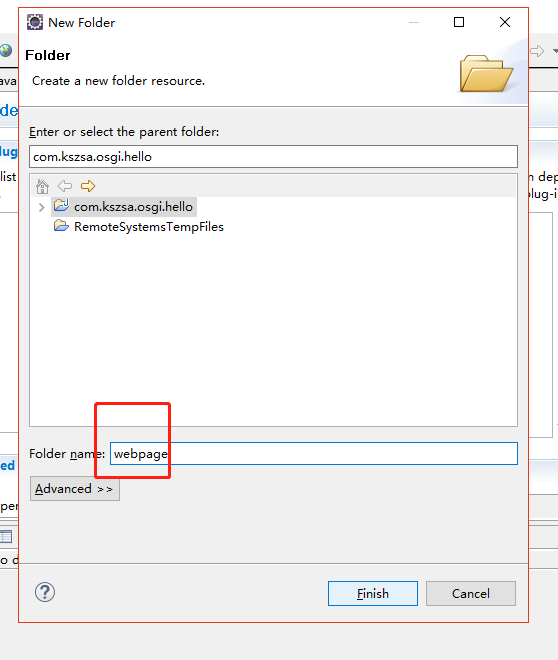

jetty.html内容如下
<!DOCTYPE html>

<html>

<head>

<meta charset="UTF-8">

<title>jetty说明</title>

</head>

<body>

<h2>这是jetty使用说明</h2>

<font color="green">//用来注册诸如表态页面等等</font><br>

registerResources(String alias, String name, HttpContext context) <br><br>

<font color="green">//用来注册servlet类</font><br>

registerServlet(String alias, Servlet servlet, Dictionary initparams, HttpContext context)

</body>

</html>
5、注册静态资源,修改Activator.java
package com.kszsa.osgi.hello;

import org.osgi.framework.BundleActivator;

import org.osgi.framework.BundleContext;

import org.osgi.framework.ServiceReference;

import org.osgi.service.http.HttpContext;

import org.osgi.service.http.HttpService;

public class Activator implements BundleActivator {

    private static BundleContext context;

    private HttpService service;

    static BundleContext getContext() {

        return context;

    }

    /**

     * 启动bundle

     */

    public void start(BundleContext bundleContext) throws Exception {

        Activator.context = bundleContext;

        ServiceReference serviceReference = bundleContext

                .getServiceReference(HttpService.class.getName());

        service = (HttpService) bundleContext.getService(serviceReference);

        // 注册

        HttpContext httpContext = service.createDefaultHttpContext();

        // 用来注册诸如表态页面等等

        // 设置别名,所有对"/osgi"映射到"web"目录

        service.registerResources("/osgi", "/webpage", httpContext);

    }

    /**

     * 停止bundle

     */

    public void stop(BundleContext bundleContext) throws Exception {

        service.unregister("/osgi");

        Activator.context = null;

    }

}
6、启动osgi项目,查看结果,访问http://127.0.0.1:8090/osgi/jetty.html
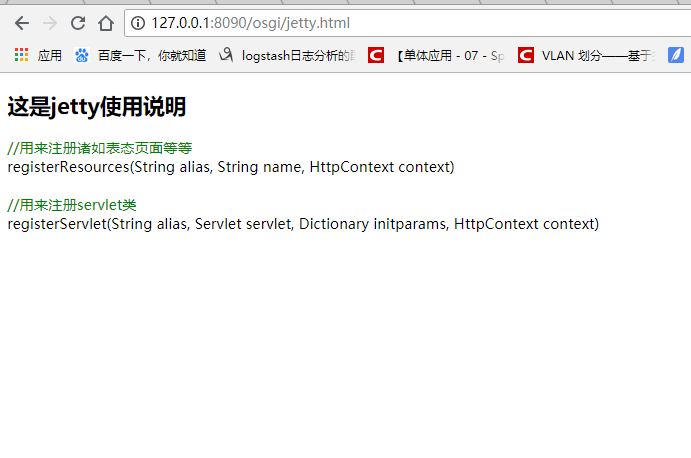
说明静态资源访问成功。
7、注册servlet资源,新建servlet
package com.kszsa.osgi.servlet;

import java.io.BufferedWriter;

import java.io.IOException;

import java.io.OutputStreamWriter;

import javax.servlet.ServletException;

import javax.servlet.http.HttpServlet;

import javax.servlet.http.HttpServletRequest;

import javax.servlet.http.HttpServletResponse;

import org.osgi.framework.BundleContext;

public class PrintNameServlet extends HttpServlet{

    private static final long serialVersionUID = -9080875068147052401L;

    private BundleContext context;

    public PrintNameServlet(BundleContext context) {

        super();

        this.context = context;

    }

    @Override

    protected void doPost(HttpServletRequest req, HttpServletResponse resp)

            throws ServletException, IOException {

        doGet(req, resp);

    }

    @Override

    protected void doGet(HttpServletRequest req, HttpServletResponse resp)

            throws ServletException, IOException {

        resp.setCharacterEncoding("UTF-8");

        String name = req.getParameter("name");

        System.out.println(name);

        String s = "Hello,world!";

        StringBuilder sb = new StringBuilder();

        sb.append("<html><title>Response</title><meta http-equiv=\"Content-Type\" content=\"text/html; charset=utf-8\" />");

        sb.append("<body>");

        sb.append(s);

        sb.append("</body></html>");

        BufferedWriter bw = new BufferedWriter(new OutputStreamWriter(resp.getOutputStream(),"UTF-8"));

        bw.write(sb.toString());

        bw.flush();

        bw.close();

    }

}
8、修改修改Activator.java,注册servlet
package com.kszsa.osgi.hello;

import org.osgi.framework.BundleActivator;

import org.osgi.framework.BundleContext;

import org.osgi.framework.ServiceReference;

import org.osgi.service.http.HttpContext;

import org.osgi.service.http.HttpService;

import com.kszsa.osgi.servlet.PrintNameServlet;

public class Activator implements BundleActivator {

    private static BundleContext context;

    private HttpService service;

    static BundleContext getContext() {

        return context;

    }

    /**

     * 启动bundle

     */

    public void start(BundleContext bundleContext) throws Exception {

        Activator.context = bundleContext;

        ServiceReference serviceReference = bundleContext

                .getServiceReference(HttpService.class.getName());

        service = (HttpService) bundleContext.getService(serviceReference);

        // 注册

        HttpContext httpContext = service.createDefaultHttpContext();

        // 用来注册诸如表态页面等等

        // 设置别名,所有对"/osgi"映射到"web"目录

        service.registerResources("/osgi", "/webpage", httpContext);

        // 注册servlet

        // 设置servlet别名,'/osgi/print"映射到servlet的实现

        service.registerServlet("/osgi/print", new PrintNameServlet(

                bundleContext), null, httpContext);

    }

    /**

     * 停止bundle

     */

    public void stop(BundleContext bundleContext) throws Exception {

        service.unregister("/osgi");

        Activator.context = null;

    }

}
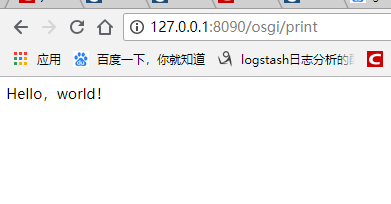
9、重启osgi,访问http://127.0.0.1:8090/osgi/print
参考地址:https://liugang594.iteye.com/blog/1328050
OSGI嵌入jetty应用服务器的更多相关文章
- OSGI嵌入tomcat应用服务器(gem-web)——tomcat插件环境搭建
相关的资源下载,参考:https://www.cnblogs.com/dyh004/p/10642769.html 新建普通的plugin工程 新建工程运行环境 在工程中,新建运行环境 新建存放运行环 ...
- OSGI嵌入tomcat应用服务器(gem-web)——资源下载
Gem-Web官网介绍: 官网地址:https://www.eclipse.org/gemini/web/download/milestones.php 1.1. 官方正式发布版 https://ww ...
- Jetty应用服务器的安装详解
Jetty是一个开源的Servlet容器和应用服务器,它极度轻量级.高便携性.功能强大.灵活和扩展性好,而且支持各种技术如SPDY.WebSocket.OSGi.JMX.JNDI和JAAS.Jetty ...
- web项目嵌入Jetty运行的两种方式(Jetty插件和自制Jetty服务器)
在开发Java web项目时候,可以在项目中嵌入Jetty服务的方式来运行web程序. 由于最近开发web项目,自己使用的是比较旧的eclipse不支持导入tomcat来运行项目,于是就学习了下使用项 ...
- eclipse 项目中嵌入jetty
Jetty是一个提供HHTP服务器.HTTP客户端和javax.servlet容器的开源项目,Jetty 目前的是一个比较被看好的 Servlet 引擎,它的架构比较简单,也是一个可扩展性和非常灵活的 ...
- 润乾在jetty应用服务器下的JNDI配置一
一. 此处绑定的数据源是以 DBCP 为实现.首先必须将数据库驱动(这里用了MYSQL数据库)和DBCP所需要的 Jar 包复制到 Jetty 根目录的 lib 目录下.DBCP主要需要以下3个 ...
- 嵌入jetty到Java代码
在做Demo实例时,使用的jetty版本号为8.x. 为了避免麻烦,将全部的包都导入到MyEclipse的lib文件夹下. 实例1:自己定义handler的服务器 package com.jetty. ...
- 将jetty嵌入到应用中的简单案例
前面说过jetty最广泛的应用是可以方便的嵌入到应用程序中,而不是作为应用服务器,下面就用最简单的demo来演示一个最简单的应用 1.下载并导入依赖 首先应该建立一个普通的java项目,然后把依赖包导 ...
- Jetty 9嵌入式开发
官方网址:http://www.eclipse.org/jetty/ 下载地址:http://download.eclipse.org/jetty/stable-9/dist/ 文档网址:http:/ ...
随机推荐
- Mysql----修改MySQL5.7的root的密码
在开始服务的情况之下 进入mysql 更改密码:update mysql.user set authentication_string=password('新的密码') where user='r ...
- [20190306]奇怪的查询结果.txt
[20190306]奇怪的查询结果.txt--//链接http://www.itpub.net/thread-2108588-1-1.html提到一个非常古怪的问题,我自己重复测试看看:1.环境:SC ...
- [20180926]查询相似索引.txt
[20180926]查询相似索引.txt --//有时候在表上建立索引比如A,B字段,可能又建立B字段索引,甚至A字段索引以及B,A字段索引,或者还建立C,A字段索引,--//需要有1个脚本查询这些索 ...
- Incorrect key file for table错误解决方法
问题现象: alter table portal_app_xxxx_xxx add devno varchar(64) NOT NULL DEFAULT '' COMMENT '设备机编',add s ...
- Unity的AssetDatabase路径格式
开发环境 windows 7 Unity 5.3 及更高版本 前言 使用AssetDatabase.Load或AnimatorController.CreateAnimatorControllerAt ...
- DubboAdmin部署
1.软件下载 部署管理后台和监控中心需要以下软件 opensesame 下载地址:https://github.com/alibaba/opensesame Dubbo源码下载 https://g ...
- 使用epoll实现聊天室功能,同时比较epoll和select的异同
1.首先介绍一下select和epoll的异同,如下(摘抄自https://www.cnblogs.com/Anker/p/3265058.html) select的几大缺点: (1)每次调用sele ...
- ubuntu使用遇到的问题
1.不适当操作,改了sudoers的权限 scdev@scdev1005:~$ sudo vim /etc/profilesudo: /etc/sudoers is owned by uid 1000 ...
- 一个特别好用的属性:inline-block
说起inline-block,大家都不陌生,如果我要保证:有一个内联元素,保证它换行时,不被截断,而要整体换行,那么设置:display:inline-block 即可
- JavaScript 概述
什么是JavaScriptJavaScript 是一种具有面向对象能力的.解释型的程序设计语言. 它是基于对象和事件驱动并具有相对安全性的客户端脚本语言. 主要目的是,验证发往服务器端的数据.增加 W ...