
spring boot 入门之 helloworld
第一步:创建一个普通的maven项目

第二步:配置springboot基础依赖配置(即配置pom和启动类)
POM配置
<project xmlns="http://maven.apache.org/POM/4.0.0" xmlns:xsi="http://www.w3.org/2001/XMLSchema-instance" xsi:schemaLocation="http://maven.apache.org/POM/4.0.0 http://maven.apache.org/xsd/maven-4.0.0.xsd">

  <modelVersion>4.0.0</modelVersion>

  <groupId>spring-boot-example</groupId>

  <artifactId>spring-boot-example</artifactId>

  <version>0.0.1-SNAPSHOT</version>

  <name>spring-boot-example</name>

  <description>spring-boot-example</description>

  <!-- 继承父包 -->

    <parent>

        <groupId>org.springframework.boot</groupId>

        <artifactId>spring-boot-starter-parent</artifactId>

        <version>1.5.19.RELEASE</version>

        <relativePath></relativePath>

    </parent>

  <dependencies>

        <dependency>

            <groupId>org.springframework.boot</groupId>

            <artifactId>spring-boot-starter-web</artifactId>

        </dependency>

        <dependency>

            <groupId>org.springframework.boot</groupId>

            <artifactId>spring-boot-starter-test</artifactId>

            <scope>test</scope>

        </dependency>

  </dependencies>

  <properties>

        <java.version>1.8</java.version>

  </properties>

  <build>

        <plugins>

            <plugin>

                <groupId>org.springframework.boot</groupId>

                <artifactId>spring-boot-maven-plugin</artifactId>

            </plugin>

        </plugins>

   </build>

</project>
配置启动类
@RestController      // @RestController  相当于 @Controller 加上  @ResponseBody

@EnableAutoConfiguration

public class HelloController {

    public static void main(String[] args) {

        SpringApplication.run(HelloController.class, args);

    }

    @RequestMapping("/example/hello")

    public int hello(){

        return 1;

    }

}
最后,启动springboot应用
方式一:eclipse中直接运行main方法
方式二:命令行执行 java -jar spring-boot-example.jar &
方式三:打包成war文件,放tomcat中运行
结果如下图所示:
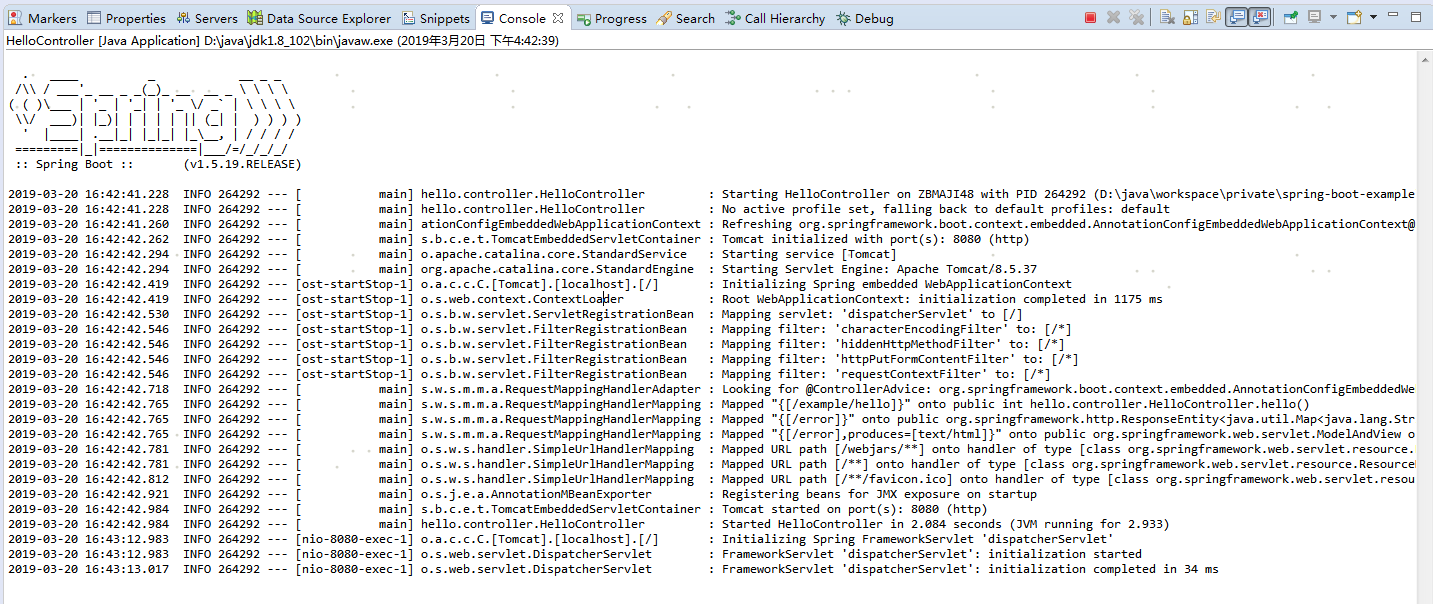
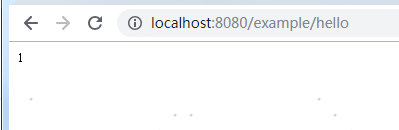
发布的http服务测试:http://localhost:8080/example/hello,测试成功!,如下图所示
关于打包成war形式,放入tomcat中运行需要注意:
第一步:修改pom文件:新增黑色字体部分内容
<project xmlns="http://maven.apache.org/POM/4.0.0" xmlns:xsi="http://www.w3.org/2001/XMLSchema-instance" xsi:schemaLocation="http://maven.apache.org/POM/4.0.0 http://maven.apache.org/xsd/maven-4.0.0.xsd">

  <modelVersion>4.0.0</modelVersion>

  <groupId>spring-boot-example</groupId>

  <artifactId>spring-boot-example</artifactId>

  <version>0.0.1-SNAPSHOT</version>

  <name>spring-boot-example</name>

  <description>spring-boot-example</description>

  <packaging>war</packaging>

  <!-- 继承父包 -->

    <parent>

        <groupId>org.springframework.boot</groupId>

        <artifactId>spring-boot-starter-parent</artifactId>

        <version>1.5.19.RELEASE</version>

        <relativePath></relativePath>

    </parent>

  <dependencies>

          <dependency>

            <groupId>org.springframework.boot</groupId>

            <artifactId>spring-boot-starter-web</artifactId>

        </dependency>

          <dependency>

            <groupId>org.springframework.boot</groupId>

            <artifactId>spring-boot-starter-test</artifactId>

            <scope>test</scope>

        </dependency>

        <!-- 确保内置servlet container 不会干涉发布该war包的servlet container,方案是标记内置servlet container 的依赖为    provided -->

        <dependency>

            <groupId>org.springframework.boot</groupId>

            <artifactId>spring-boot-starter-tomcat</artifactId>

            <scope>provided</scope>

        </dependency>

  </dependencies>
第二步:更改程序入口类 Application.java 使其继承SpringBootServletInitializer,并重写configure方法,(即加粗字体部分)
@RestController      // @RestController  相当于 @Controller 加上  @ResponseBody

@SpringBootApplication

public class HelloController extends SpringBootServletInitializer{

    @Override

    public SpringApplicationBuilder configure(SpringApplicationBuilder application){

        return  application.sources(HelloController.class);

    }

    public static void main(String[] args) {

        SpringApplication.run(HelloController.class, args);

    }

    @RequestMapping("/example/hello")

    public int hello(){

        return 1;

    }

}
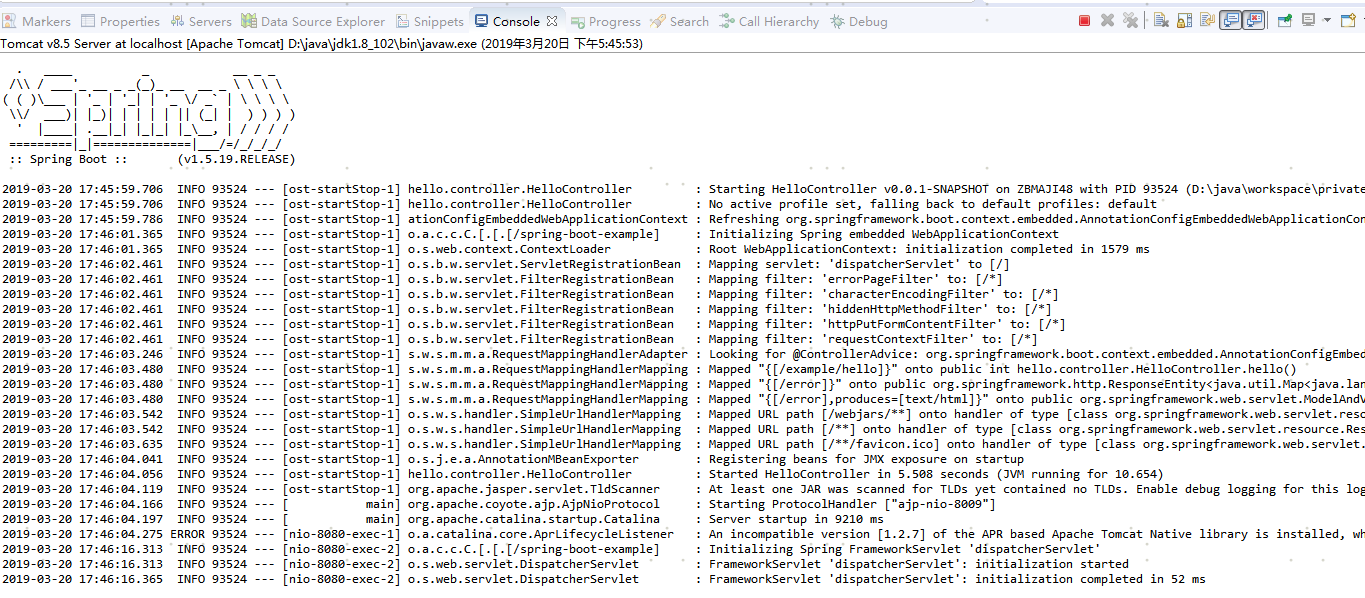
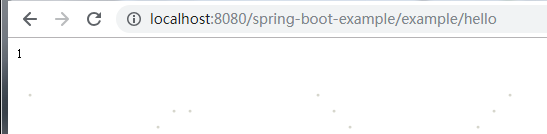
用 tomcat验证结果:

spring boot 入门之 helloworld的更多相关文章
- Spring Boot入门 and Spring Boot与ActiveMQ整合
1.Spring Boot入门 1.1什么是Spring Boot Spring 诞生时是 Java 企业版(Java Enterprise Edition,JEE,也称 J2EE)的轻量级代替品.无 ...
- Spring Boot 入门之基础篇(一)
原文地址:Spring Boot 入门之基础篇(一) 博客地址:http://www.extlight.com 一.前言 Spring Boot 是由 Pivotal 团队提供的全新框架,其设计目的是 ...
- 161103、Spring Boot 入门
Spring Boot 入门 spring Boot是Spring社区较新的一个项目.该项目的目的是帮助开发者更容易的创建基于Spring的应用程序和服务,让更多人的人更快的对Spring进行入门体验 ...
- spring boot 入门操作(二)
spring boot入门操作 使用FastJson解析json数据 pom dependencies里添加fastjson依赖 <dependency> <groupId>c ...
- spring boot 入门操作(三)
spring boot入门操作 devtools热部署 pom dependencies里添加依赖 <dependency> <groupId>org.springframew ...
- Spring Boot入门教程1、使用Spring Boot构建第一个Web应用程序
一.前言 什么是Spring Boot?Spring Boot就是一个让你使用Spring构建应用时减少配置的一个框架.约定优于配置,一定程度上提高了开发效率.https://zhuanlan.zhi ...
- Spring Boot入门教程2-1、使用Spring Boot+MyBatis访问数据库(CURD)注解版
一.前言 什么是MyBatis?MyBatis是目前Java平台最为流行的ORM框架https://baike.baidu.com/item/MyBatis/2824918 本篇开发环境1.操作系统: ...
- Spring Boot 入门教程
Spring Boot 入门教程,包含且不仅限于使用Spring Boot构建API.使用Thymeleaf模板引擎以及Freemarker模板引擎渲染视图.使用MyBatis操作数据库等等.本教程示 ...
- Spring Boot入门(五):使用JDBC访问MySql数据库
本系列博客记录自己学习Spring Boot的历程,如帮助到你,不胜荣幸,如有错误,欢迎指正! 在程序开发的过程中,操作数据库是必不可少的部分,前面几篇博客中,也一直未涉及到数据库的操作,本篇博客 就 ...
随机推荐
- js重点--this关键字
推荐博客:https://www.cnblogs.com/huaxili/p/5407559.html this是JavaScript的一个关键字,表示的不是对象本身,而是指被调用的上文. 主要用于以 ...
- 081、Weave Scope 多主机监控(2019-04-29 周一)
参考https://www.cnblogs.com/CloudMan6/p/7674011.html Weave Scope 除了监控容器,还可以监控Docker Host. 点击顶部 HOS ...
- Python——built-in module Help: math
Help on built-in module math: NAME math DESCRIPTION This module is always available. It provides acc ...
- python学习07
函数中的模块及包管理1)1.模块查找的顺序:运行代码时当前目录 -> PYTHONPATH ->系统环境变量PATH设置的路径2.导入模块的书写规范:内置模块-------第三方模块--- ...
- 读取FTP上的某个文本文档内容到本地
/// <summary> /// 读取FTP服务器文本内容 /// </summary> /// <param name="strPath"> ...
- Base64 加密解密
/// <summary> /// 编码 Base64 /// </summary> /// <param name="code"></p ...
- vue内置的标签(组件)
component:用于动态组件,查看博文vue学习之组件. <component :is="componentId"></component> trans ...
- Theano.tensor.round函数学习,同时解决输出Elemwise{xxx,no_inplace}.0的问题
1. 出现Elemwise{xxx,no_inplace}.0 这是因为没有定义theano.function所致,参考下面错误示范: y = np.random.normal(size=(2,2 ...
- SQL Server 数据库限制单用户使用和解除单用户使用
一个在单用户(SINGLE_USER)模式下的数据库一次只能有一个连接.在限制用户(RESTRICTED_USER)模式下的数据库只能接受被认为是“合格”用户的连接——这些用户属于dbcreator或 ...
- 我的redis入门之路
1:操作环境:vmware12 , centOs7 ,redis5.0.3 centOs7安装与下载链接(原文地址): https://blog.csdn.net/qq_42570879/articl ...