对狂神说java的springboot中spring security的总结
1.spring security的环境搭建
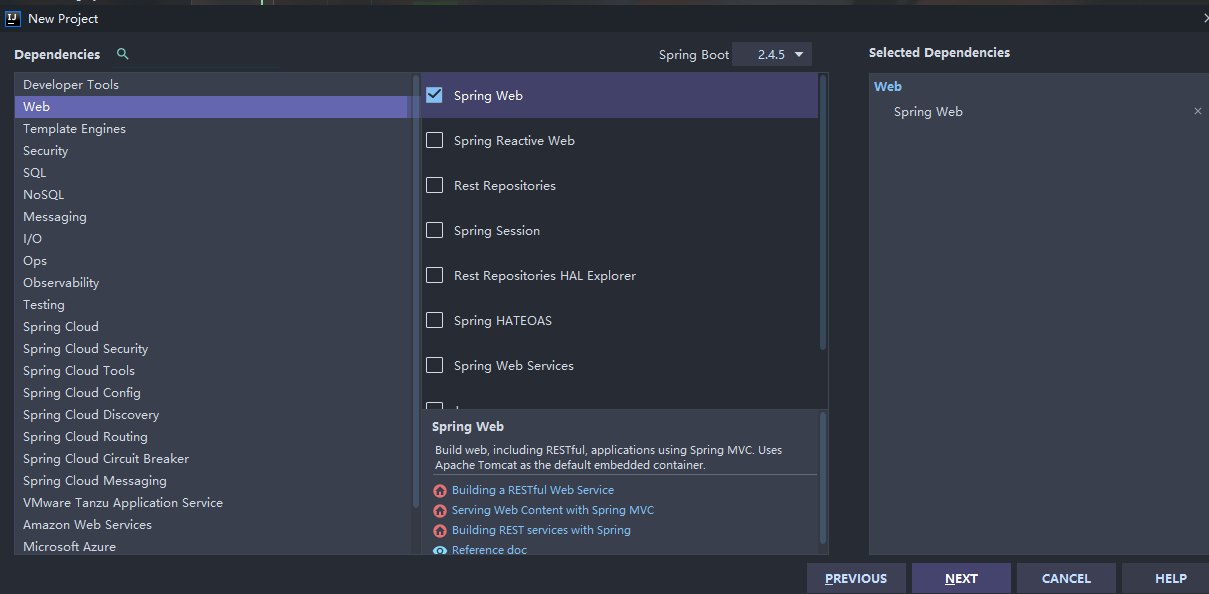
首先新建一个springboot项目,只够选web中的spring web依赖
然后在pom.xml导入相关依赖
        <!--thymeleaf模块-->

        <dependency>

            <groupId>org.thymeleaf</groupId>

            <artifactId>thymeleaf-spring5</artifactId>

        </dependency>

        <dependency>

            <groupId>org.thymeleaf.extras</groupId>

            <artifactId>thymeleaf-extras-java8time</artifactId>

        </dependency>
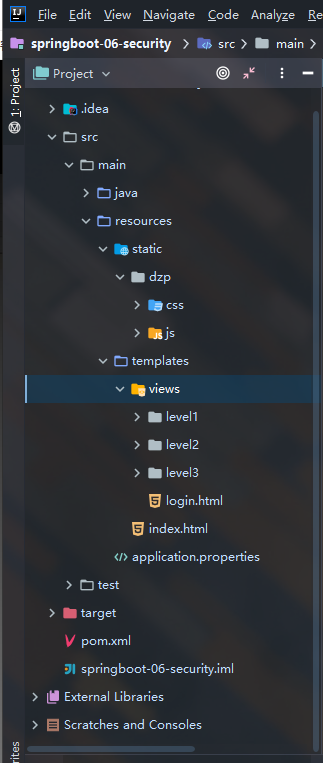
然后导入素材
项目所需要的素材我放到我的github上,需要的自取
导入资源并删掉多余的东西,如图
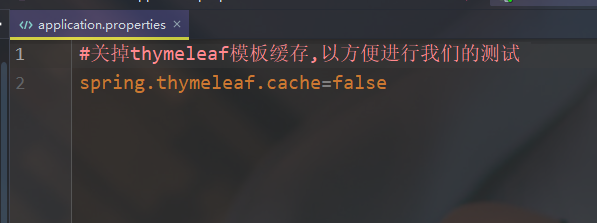
在application.properties配置文件里关掉thymeleaf模板缓存,以方便进行我们的测试
#关掉thymeleaf模板缓存,以方便进行我们的测试

spring.thymeleaf.cache=false
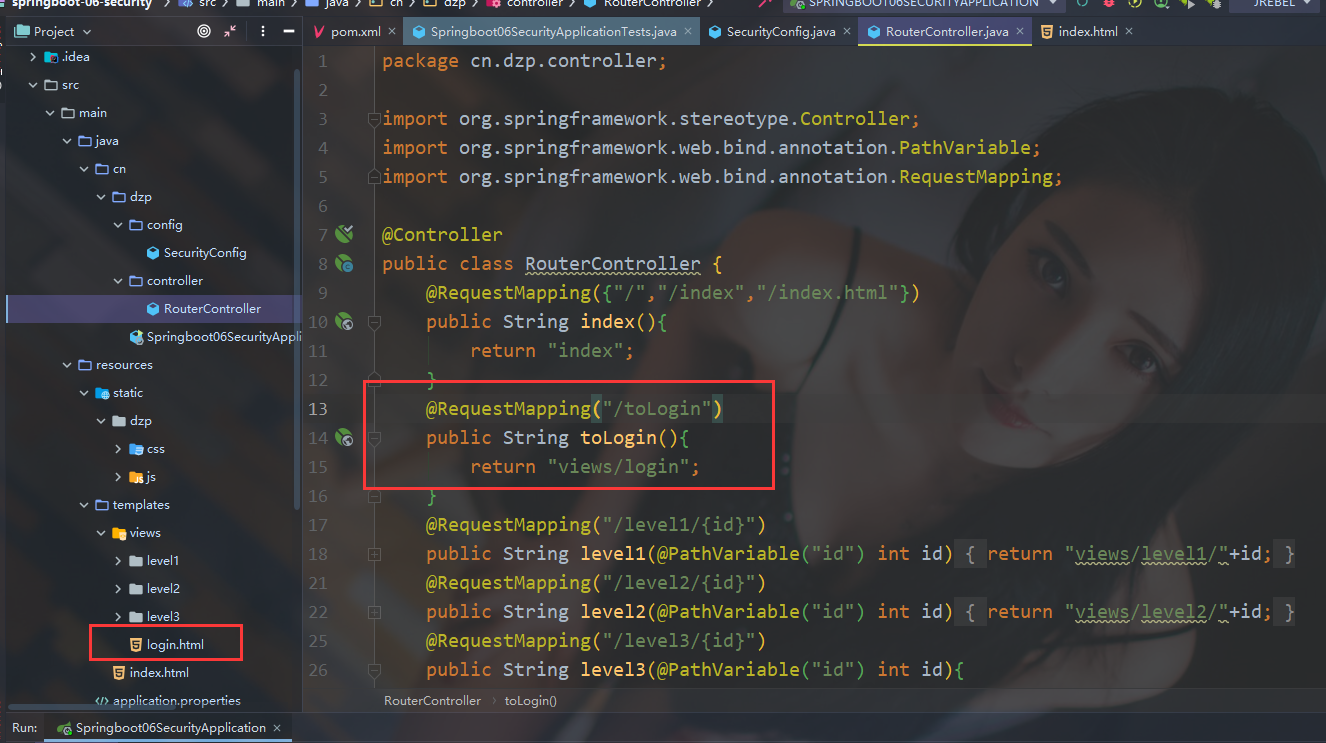
紧接着新建一个controller包,在包下编写一个controller类RouterController,作为我们的路由转发
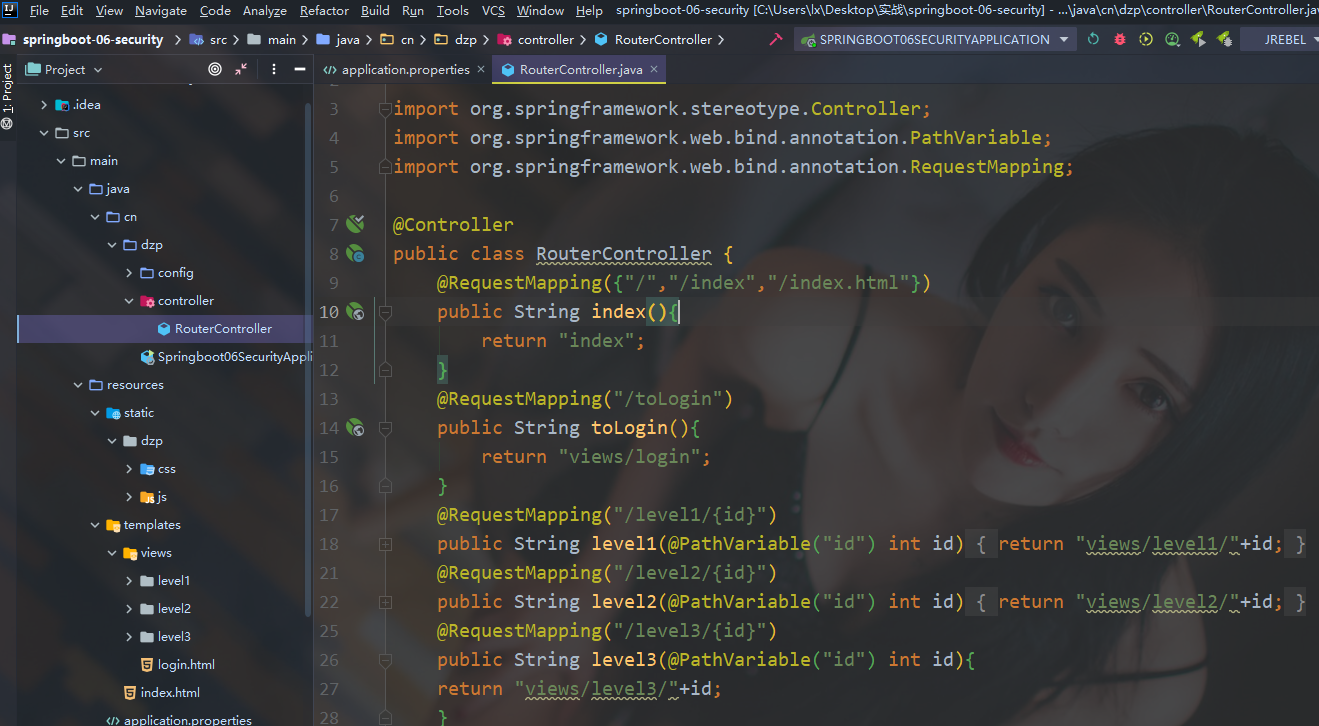
完整代码如下:
package cn.dzp.controller;

import org.springframework.stereotype.Controller;

import org.springframework.web.bind.annotation.PathVariable;

import org.springframework.web.bind.annotation.RequestMapping;

@Controller

public class RouterController {

//使得访问/,/index,/index.html都能跳到主页

    @RequestMapping({"/","/index","/index.html"})

    public String index(){

        return "index";

    }

    @RequestMapping("/toLogin")

    public String toLogin(){

        return "views/login";

    }

//实现对level的三个页面的跳转,下面也是如此

    @RequestMapping("/level1/{id}")

    public String level1(@PathVariable("id") int id){

        return "views/level1/"+id;

    }

    @RequestMapping("/level2/{id}")

    public String level2(@PathVariable("id") int id){

        return "views/level2/"+id;

    }

    @RequestMapping("/level3/{id}")

    public String level3(@PathVariable("id") int id){

    return "views/level3/"+id;

    }

}
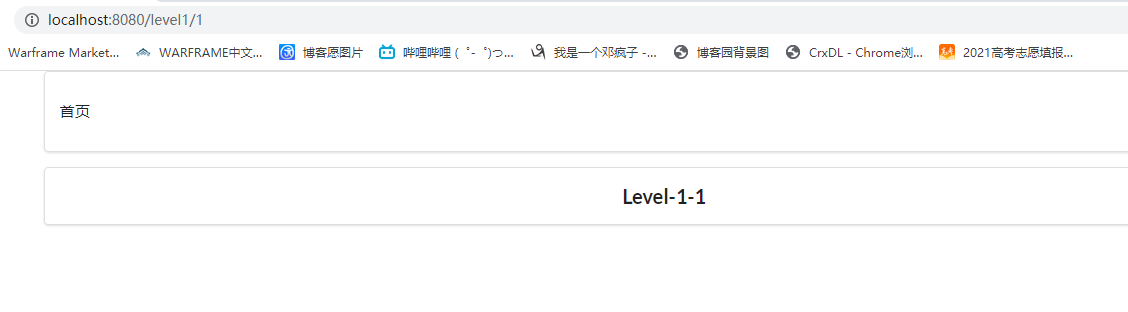
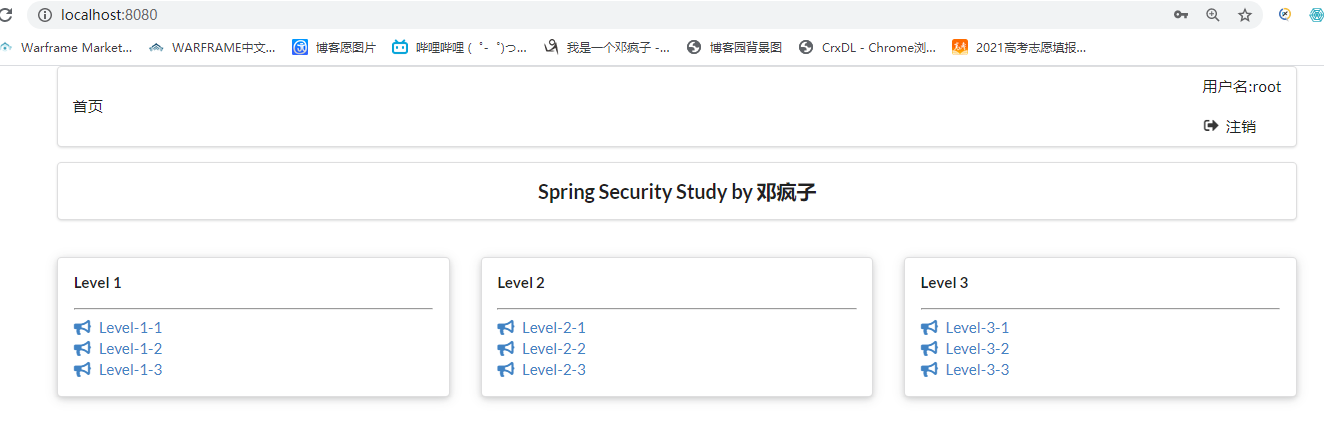
启动项目查看效果
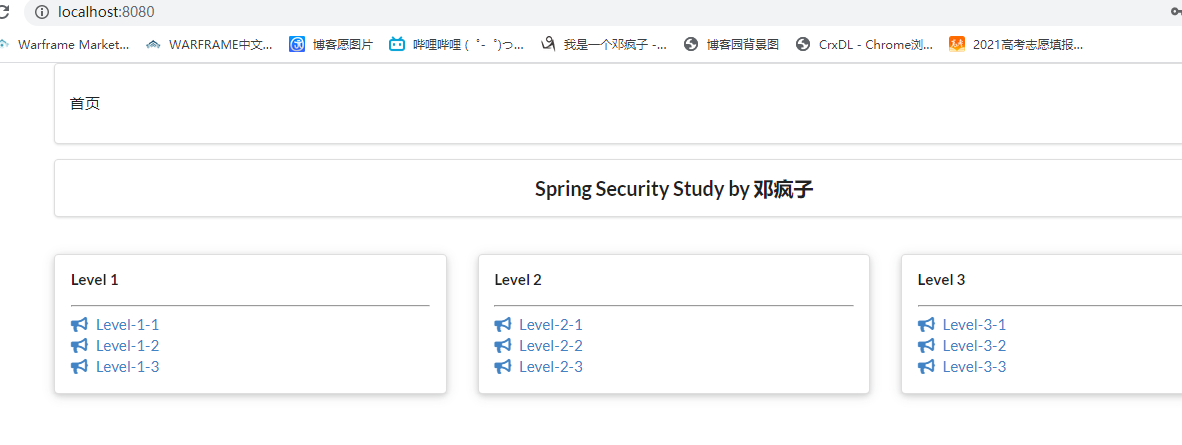
点击对应的level等级页面也能跳转
2.用户认证和授权
"认证"(Authentication)
"授权"(Authorization)
这两个概念是通用的,而不是只在Spring security中存在
导入security依赖
<!--security-->

        <dependency>

            <groupId>org.springframework.boot</groupId>

            <artifactId>spring-boot-starter-security</artifactId>

        </dependency>
创建一个config包,编写一个SecurityConfig类
完整代码如下:
package cn.dzp.config;
import org.springframework.security.config.annotation.authentication.builders.AuthenticationManagerBuilder;
import org.springframework.security.config.annotation.web.builders.HttpSecurity;
import org.springframework.security.config.annotation.web.configuration.EnableWebSecurity;
import org.springframework.security.config.annotation.web.configuration.WebSecurityConfigurerAdapter;
import org.springframework.security.crypto.bcrypt.BCryptPasswordEncoder;
@EnableWebSecurity
public class SecurityConfig extends WebSecurityConfigurerAdapter {
//链式编程
// 授权
@Override
protected void configure(HttpSecurity http) throws Exception {
// 首页所有人可以访问,功能页只有对应权限的人才能访问
// 请求授权的规则
http.authorizeRequests()
.antMatchers("/").permitAll()
.antMatchers("/level1/**").hasRole("level1")
.antMatchers("/level2/**").hasRole("level2")
.antMatchers("/level3/**").hasRole("level3");
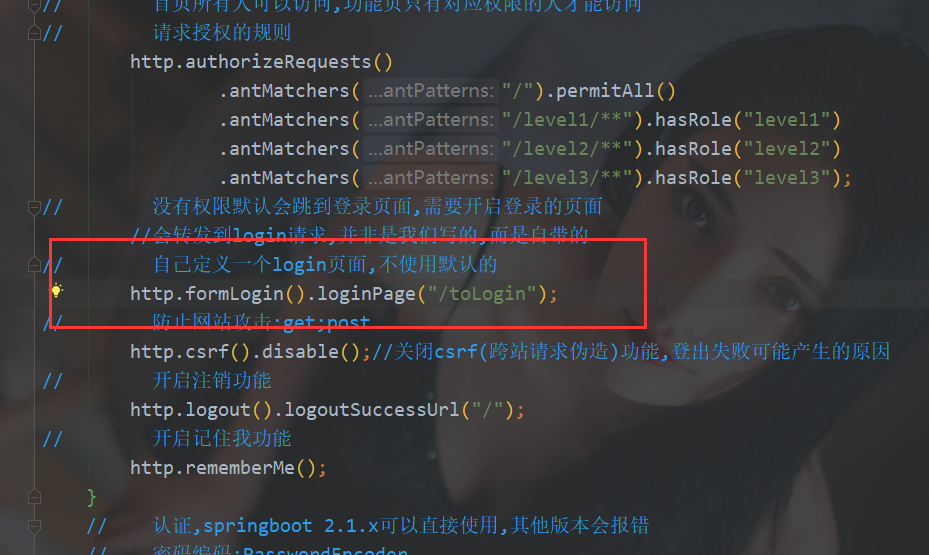
// 没有权限默认会跳到登录页面,需要开启登录的页面
http.formLogin();
// 防止网站攻击:get;post
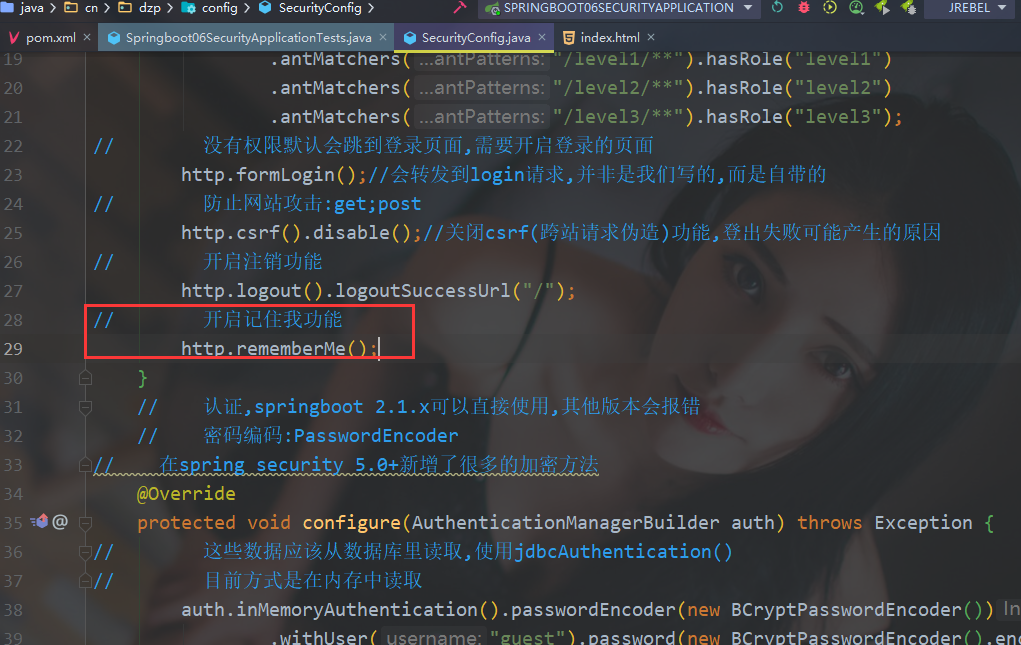
http.csrf().disable();//关闭csrf(跨站请求伪造)功能,登出失败可能产生的原因
// 开启注销功能
http.logout().logoutSuccessUrl("/");
}
// 认证,springboot 2.1.x可以直接使用,其他版本会报错(或者采用下面的密码编码解决)
// 密码编码:PasswordEncoder
// 在spring security 5.0+新增了很多的加密方法
@Override
protected void configure(AuthenticationManagerBuilder auth) throws Exception {
// 这些数据应该从数据库里读取,使用jdbcAuthentication()
// 目前方式是在内存中读取
auth.inMemoryAuthentication().passwordEncoder(new BCryptPasswordEncoder())
.withUser("guest").password(new BCryptPasswordEncoder().encode("123456")).roles("level1")
.and()
.withUser("dzp").password(new BCryptPasswordEncoder().encode("456789")).roles("level1","level2")
.and()
.withUser("root").password(new BCryptPasswordEncoder().encode("root")).roles("level3","level2","level1");
}
}
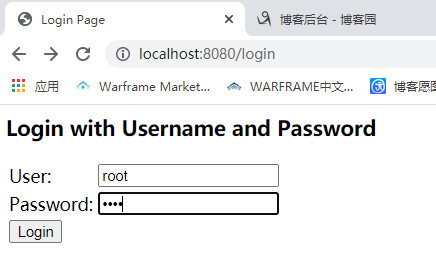
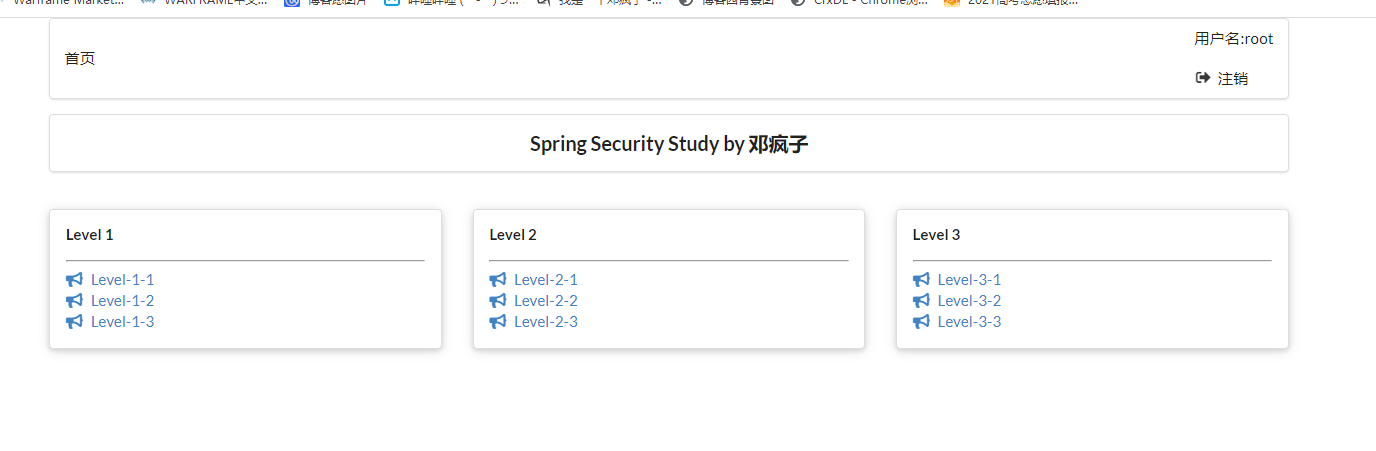
登录最高权限账户
3.注销以及权限控制
由于本次使用到了thymeleaf与spring security的整合,所以需要导入依赖
<!-- security与themeleaf整合包       -->

        <dependency>

            <groupId>org.thymeleaf.extras</groupId>

            <artifactId>thymeleaf-extras-springsecurity4</artifactId>

            <version>3.0.4.RELEASE</version>

        </dependency>
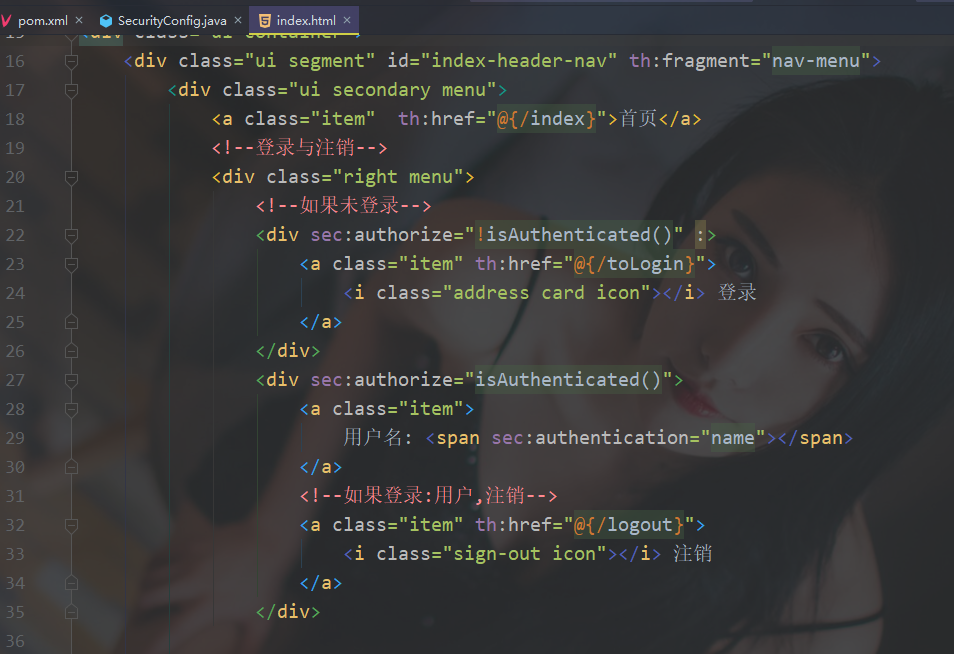
并且要在index.html中导入对应的约束
xmlns:sec="http://www.thymeleaf.org/thymeleaf-extras-springsecurity4"
在index.html实现对应的登录与注销
注意:运行会出现一下结果
这是因为springboot版本太高不支持,最低支持2.0.9.RELEASE版本
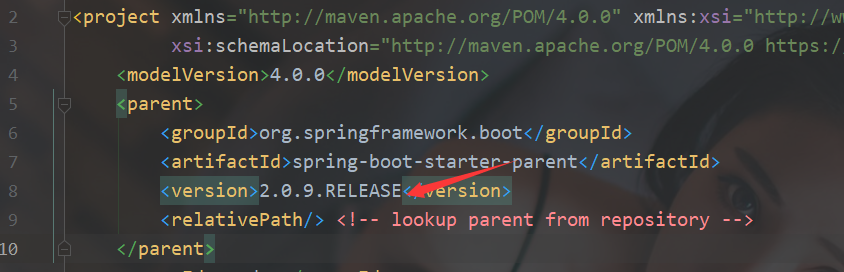
启动项目Springboot06SecurityApplicationTests会报错,修改下即可,因为降低了版本对应的导入也不相同

启动项目
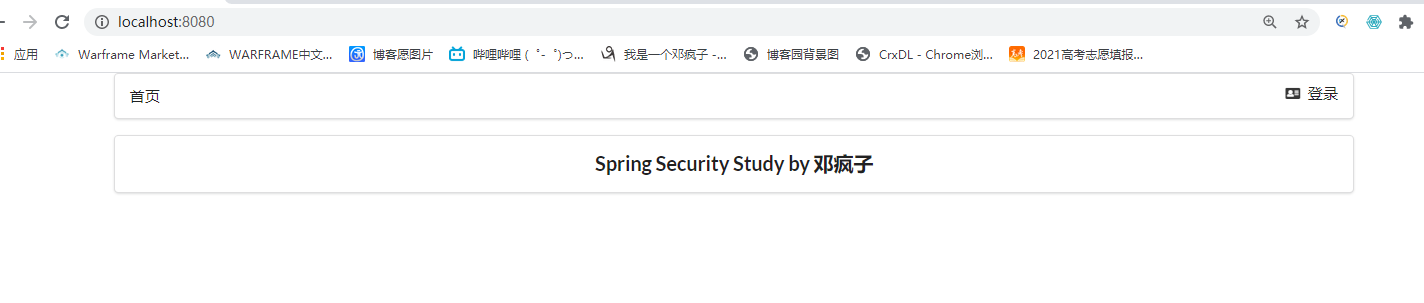
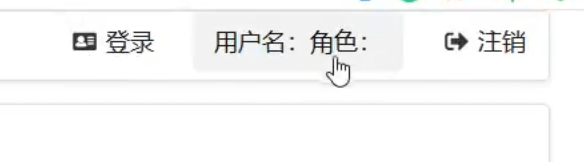
然后登录,可以查看到对应的注销按钮和用户名
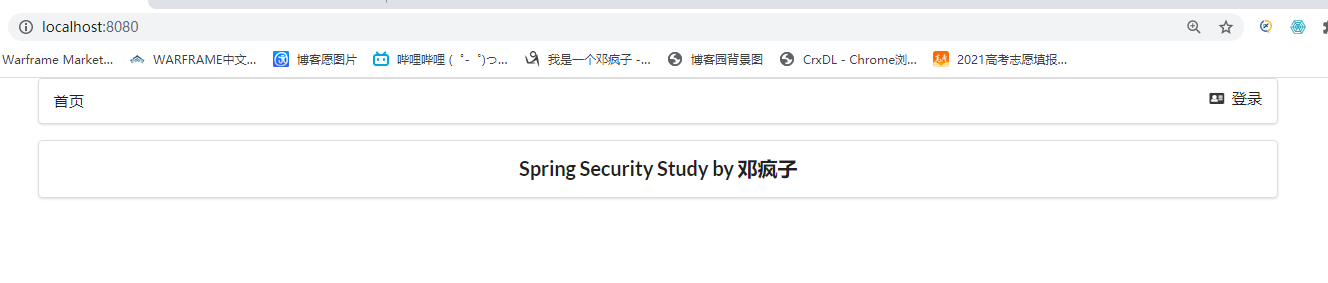
点击注销,成功回到首页,可以看到对应的用户名也清除掉了
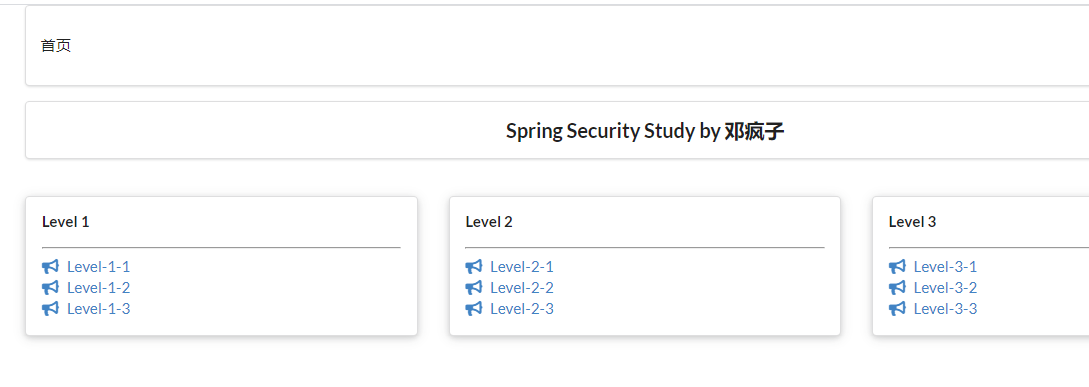
再来看看实现的根据用户权限展示相对应的页面,展示我们用dzp用户更清楚

也成功实现
4.记住我以及首页定制
开启记住我功能(cookie的实现)
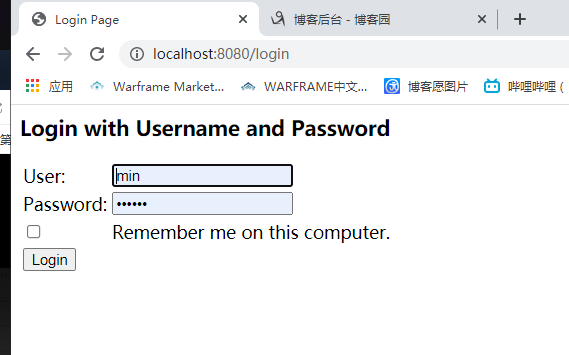
启动项目试试
虽然不好看,但是已经看到实现了remember me的功能
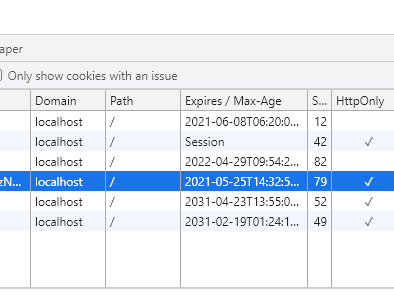
开启记住我登录root用户在关掉浏览器重新打开检查是否还存在root

可以看到再次打开有了remember me的cookie,说明成功

remember me默认保存的世界为14天==两周,如果清掉cookie,主页则会自动跳到首页(测试时间为2021.5.11)

自己定义登录页面
重启项目测试,确实跳转成功
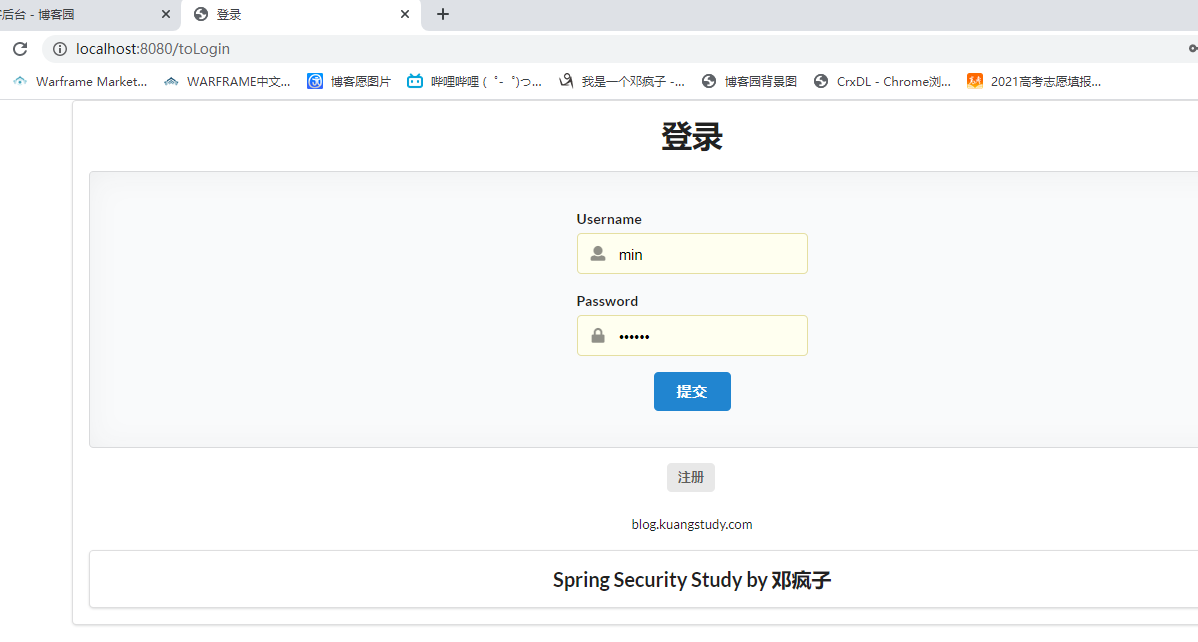
注意坑:前端登录页面传的参数可能和默认的username,password不一样,则会传递参数失败,可以根据前端的name进行设置
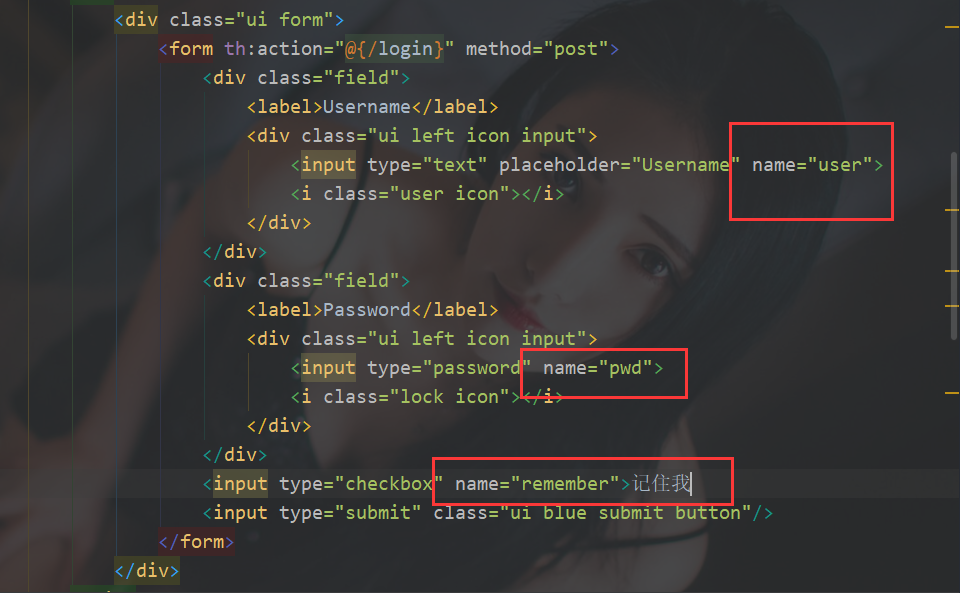
http.formLogin().loginPage("/toLogin").usernameParameter("user").passwordParameter("pwd").loginProcessingUrl("/login");

http.rememberMe().rememberMeParameter("remember");
重启项目测试
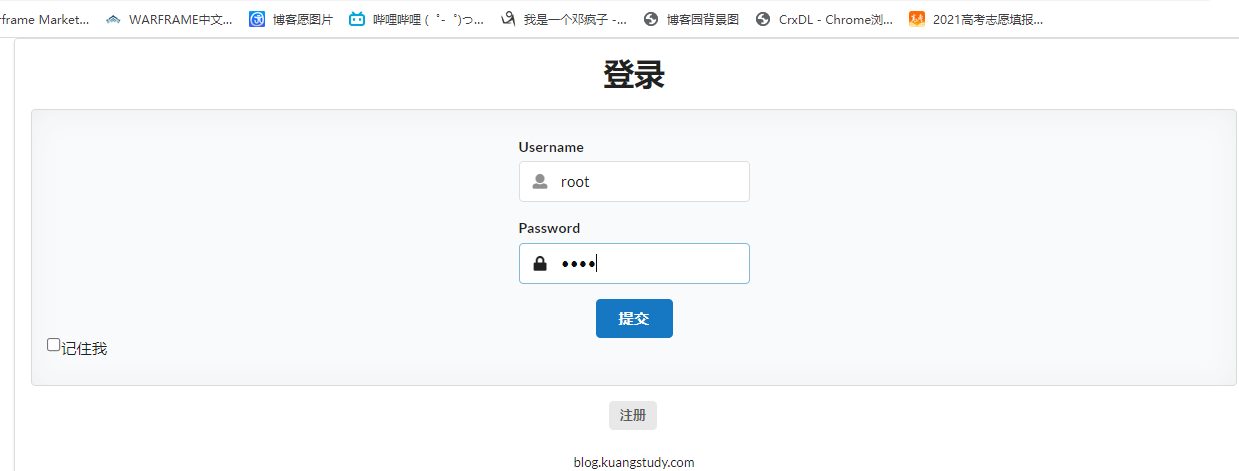
成功登录
到此关于security所有功能实现!
对狂神说java的springboot中spring security的总结的更多相关文章
- springboot中spring.profiles.include
springboot中spring.profiles.include的妙用. 我们有这样的一个springboot项目.项目分为开发.测试.生产三个不同阶段(环境),每个阶段都会有db.ftp.red ...
- SpringBoot集成Spring Security入门体验
一.前言 Spring Security 和 Apache Shiro 都是安全框架,为Java应用程序提供身份认证和授权. 二者区别 Spring Security:重量级安全框架 Apache S ...
- SpringBoot集成Spring Security(5)——权限控制
在第一篇中,我们说过,用户<–>角色<–>权限三层中,暂时不考虑权限,在这一篇,是时候把它完成了. 为了方便演示,这里的权限只是对角色赋予权限,也就是说同一个角色的用户,权限是 ...
- SpringBoot集成Spring Security(4)——自定义表单登录
通过前面三篇文章,你应该大致了解了 Spring Security 的流程.你应该发现了,真正的 login 请求是由 Spring Security 帮我们处理的,那么我们如何实现自定义表单登录呢, ...
- springBoot整合spring security实现权限管理(单体应用版)--筑基初期
写在前面 在前面的学习当中,我们对spring security有了一个小小的认识,接下来我们整合目前的主流框架springBoot,实现权限的管理. 在这之前,假定你已经了解了基于资源的权限管理模型 ...
- springBoot整合spring security+JWT实现单点登录与权限管理--筑基中期
写在前面 在前一篇文章当中,我们介绍了springBoot整合spring security单体应用版,在这篇文章当中,我将介绍springBoot整合spring secury+JWT实现单点登录与 ...
- springboot配置spring security 静态资源不能访问
在springboot整合spring security 过程中曾遇到下面问题:(spring boot 2.0以上版本 spring security 5.x (spring secur ...
- SpringBoot集成Spring Security(7)——认证流程
文章目录 一.认证流程 二.多个请求共享认证信息 三.获取用户认证信息 在前面的六章中,介绍了 Spring Security 的基础使用,在继续深入向下的学习前,有必要理解清楚 Spring Sec ...
- SpringBoot集成Spring Security(6)——登录管理
文章目录 一.自定义认证成功.失败处理 1.1 CustomAuthenticationSuccessHandler 1.2 CustomAuthenticationFailureHandler 1. ...
随机推荐
- Python 并行计算那点事 -- 译文 [原创]
Python 并行计算的那点事1(The Python Concurrency Story) 英文原文:https://powerfulpython.com/blog/python-concurren ...
- 仅用一句SQL更新整张表的涨跌幅、涨跌率
问题场景 各大平台店铺的三项评分(物流.服务.商品)变化情况: 商品每日价格的变化记录: 股票的实时涨跌浮: 复现场景 表:主键ID,商品编号,记录时的时间,记录时的价格,创建时间. 问题:获取每个商 ...
- POJ 2752 同一个串的前后串
题解东北赛回来再补 #include<stdio.h> #include<string.h> int next[500000]; int ans[500000]; char s ...
- Windows核心编程 第七章 线程的调度、优先级和亲缘性(下)
7.6 运用结构环境 现在应该懂得环境结构在线程调度中所起的重要作用了.环境结构使得系统能够记住线程的状态,这样,当下次线程拥有可以运行的C P U时,它就能够找到它上次中断运行的地方. 知道这样低层 ...
- Caddy-基于go的微型serve用来做反向代理和Gateway
1.简单配置 2.go实现,直接一个二进制包,没依赖. 3.默认全站https 常用 反向代理,封装多端口gateway 使用:启动直接执行二进制文件 caddy 就行 根据输出信息 直接https: ...
- Day007 数组的声明与创建
数组 数组的定义 数组是相同类型数据的有序集合. 数组描述的是相同类型的若干个数据,按照一定的先后次序排列组合而成. 其中,每一个数据称作一个数组元素,每个数组元素可以通过一个下标来访问它们. 数组声 ...
- idea中注释变成繁体字
原因:idea中快捷键与输入法快捷键冲突:crtl+shift+f 解决方法:修改输入法的简繁切换快捷键的设置,crtl+shift+f切换回简体输入方式 注意:如果调出全局搜索用crtl+shift ...
- 缓冲流以及JAVA路径相关问题
缓冲流 缓冲流的基本原理,是在创建流对象时,会创建一个内置的默认大小的缓冲区数组,通过缓冲区读写,减少系统IO 次数,从而提高读写的效率. 字节缓冲流 按字节处理 字符缓冲流 按字符处理 实例练习:文 ...
- NIOSII IDE在WIN7下 couldn't allocate heap
首先,所有的文件夹都不能有空格和中文 其次,出现这些SB错误 make -s all includes 3 [main] ? (3732) c:\altera\91\quartus\bin\cygwi ...
- 深度理解Python迭代器
迭代器 迭代是什么 迭代指的是一个重复的过程,每次重复都必须基于上一次的结果而继续,单纯的重复并不是迭代,如Python中的for循环就是一个非常好的迭代例子. for item in range(1 ...