iOS常用第三方库之Masonry
有更新,请往最下边查看。
一、前言
关于苹果的布局一直是我比较纠结的问题,是写代码来控制布局,还是使用storyboard来控制布局呢?以前我个人开发的时候很少使用代码去写约束,因为太麻烦了。所以最终选择的都是AutoLayout进行布局,然后拖线设置约束。不过好多公司进行iOS开发的时候都会去动态的修改约束,而且有的会使用约束去创建一些动画,所以不太去用storyboard进行开发(还有就是使用storyboard几个人合作的时候比较麻烦)。反倒更多的是写代码开发看起来更加的高效。所以好多开发者都开始去使用Masonry。它是一个封装的第三方类库,作用就是来简化开发者写布局约束。
二、“安装”Masonry
因为它是一个第三方的类库,我们可以从这里下载,然后解压将Masonry那个文件夹拖入自己的项目文件夹下即可。
三、开始使用Masonry
我们在使用它的时候,最好在AppDelegate.m的
- (BOOL)application:(UIApplication *)application didFinishLaunchingWithOptions:(NSDictionary *)launchOptions;
方法中去自定义加载自己的控制器。例如我写的时候就是这样:
- (BOOL)application:(UIApplication *)application didFinishLaunchingWithOptions:(NSDictionary *)launchOptions {

    self.window = [[UIWindow alloc] initWithFrame:[UIScreen mainScreen].bounds];

    self.window.backgroundColor = [UIColor whiteColor];

    UINavigationController *nav = [[UINavigationController alloc] initWithRootViewController:[[ViewController alloc] init]];

    self.window.rootViewController = nav;

    [self.window makeKeyAndVisible];

    return YES;

}
直接加载的我自己写的ViewController。(建议把系统自带的Main.stoaryboard删除掉,如果运行报错自己修改,问题不大)。
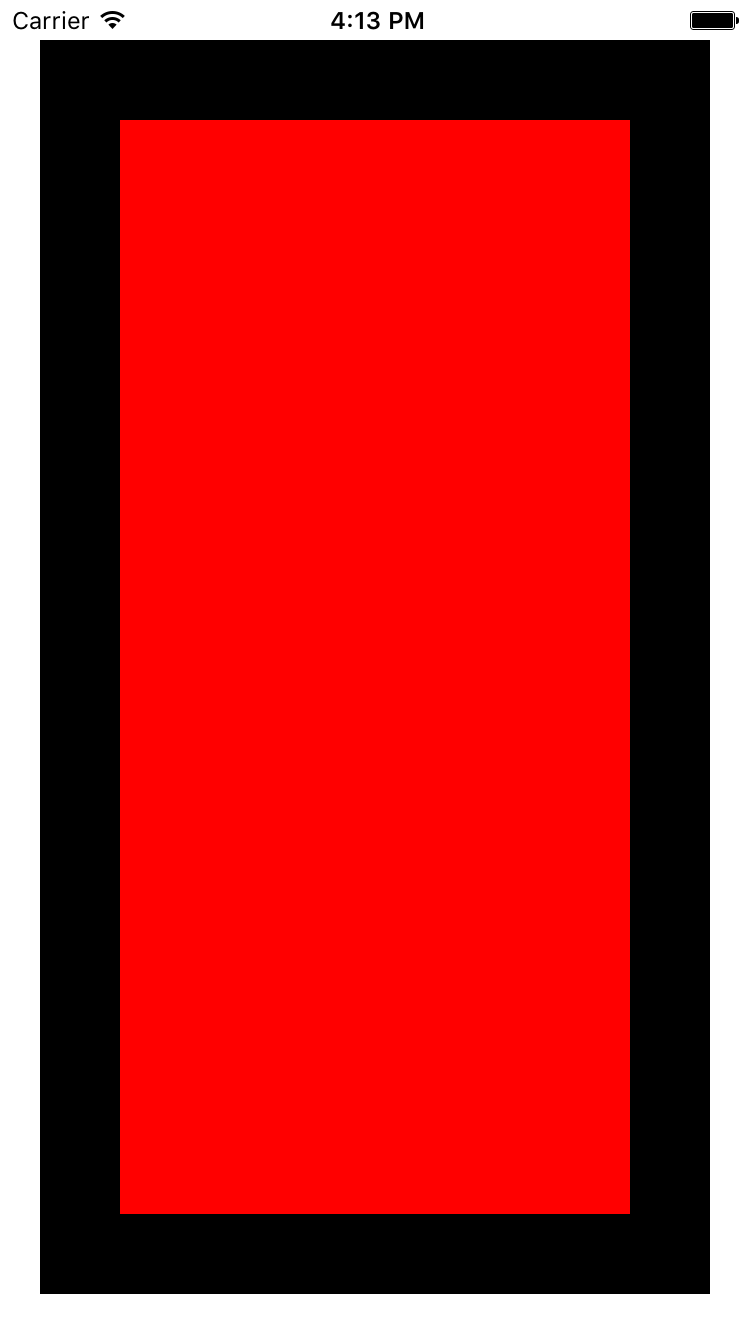
先来一个不用Masonry写的最简单的布局:(目的是在视图中添加一个视图)
- (void)viewDidLoad {

    [super viewDidLoad];

    self.title  = @"Basic View";

    UIView *view1 = [[UIView alloc] init];

    view1.translatesAutoresizingMaskIntoConstraints = NO;

    view1.backgroundColor = [UIColor greenColor];

    [superview addSubview:view1];

    UIEdgeInsets padding = UIEdgeInsetsMake(, , , );

    [superview addConstraints:@[

                                //view1 constraints

                                [NSLayoutConstraint constraintWithItem:view1

                                                             attribute:NSLayoutAttributeTop

                                                             relatedBy:NSLayoutRelationEqual

                                                                toItem:superview

                                                             attribute:NSLayoutAttributeTop

                                                            multiplier:1.0

                                                              constant:padding.top],

                                [NSLayoutConstraint constraintWithItem:view1

                                                             attribute:NSLayoutAttributeLeft

                                                             relatedBy:NSLayoutRelationEqual

                                                                toItem:superview

                                                             attribute:NSLayoutAttributeLeft

                                                            multiplier:1.0

                                                              constant:padding.left],

                                [NSLayoutConstraint constraintWithItem:view1

                                                             attribute:NSLayoutAttributeBottom

                                                             relatedBy:NSLayoutRelationEqual

                                                                toItem:superview

                                                             attribute:NSLayoutAttributeBottom

                                                            multiplier:1.0

                                                              constant:-padding.bottom],

                                [NSLayoutConstraint constraintWithItem:view1

                                                             attribute:NSLayoutAttributeRight

                                                             relatedBy:NSLayoutRelationEqual

                                                                toItem:superview

                                                             attribute:NSLayoutAttributeRight

                                                            multiplier:

                                                              constant:-padding.right],

                                ]];

}
运行效果如下:
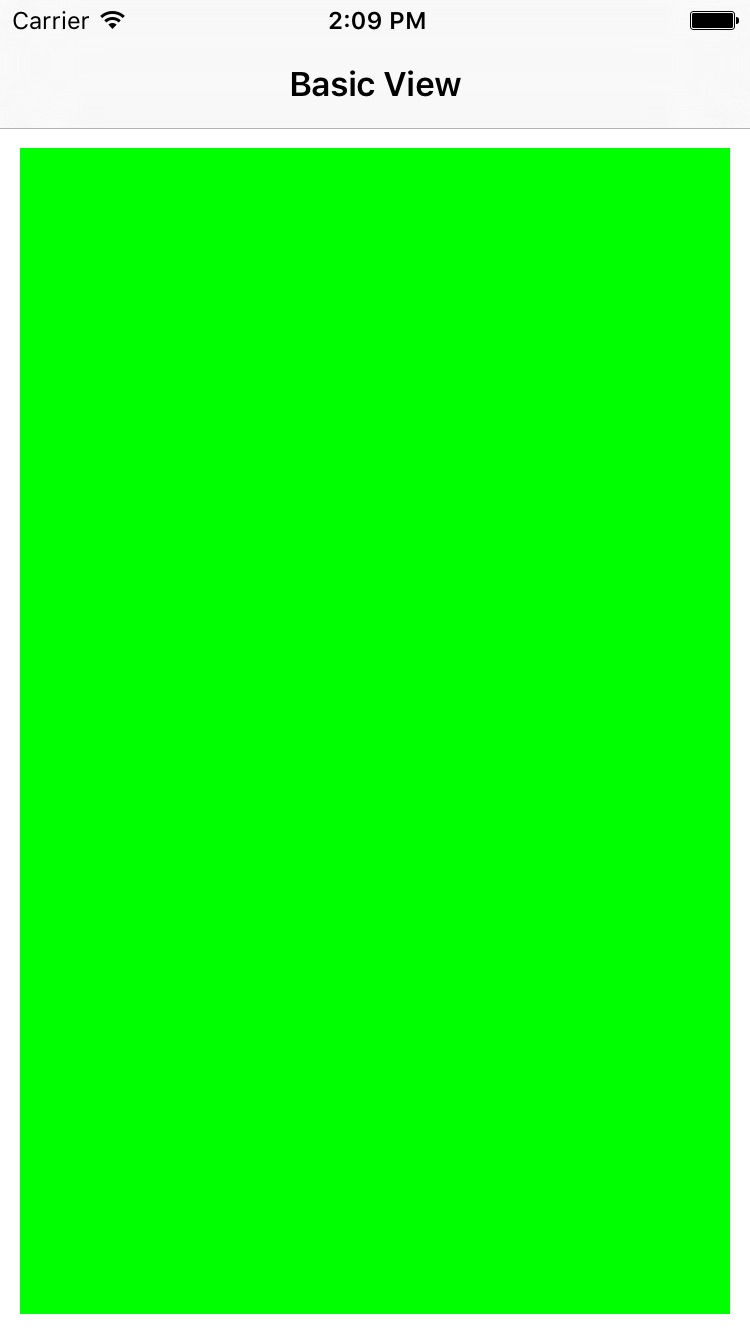
这就是我们用系统的NSLayoutConstraint写的一个view,然后将这个view加载到根view中。现在我们用Masonry来实现和上边一样的效果:
第一步、导入类库
#import "Masonry.h"
然后修改代码如下:
- (void)viewDidLoad {

    [super viewDidLoad];

    self.title  = @"Basic View";

    UIView *superview = self.view;

    UIView *view1 = [[UIView alloc] init];

    view1.translatesAutoresizingMaskIntoConstraints = NO;

    view1.backgroundColor = [UIColor greenColor];

    [superview addSubview:view1];

    UIEdgeInsets padding = UIEdgeInsetsMake(, , , );

    [view1 mas_makeConstraints:^(MASConstraintMaker *make) {

        make.top.equalTo(superview.mas_top).offset(padding.top);

        make.left.equalTo(superview.mas_left).offset(padding.left);

        make.bottom.equalTo(superview.mas_bottom).offset(-padding.bottom);

        make.right.equalTo(superview.mas_right).offset(-padding.right);

    }];

}
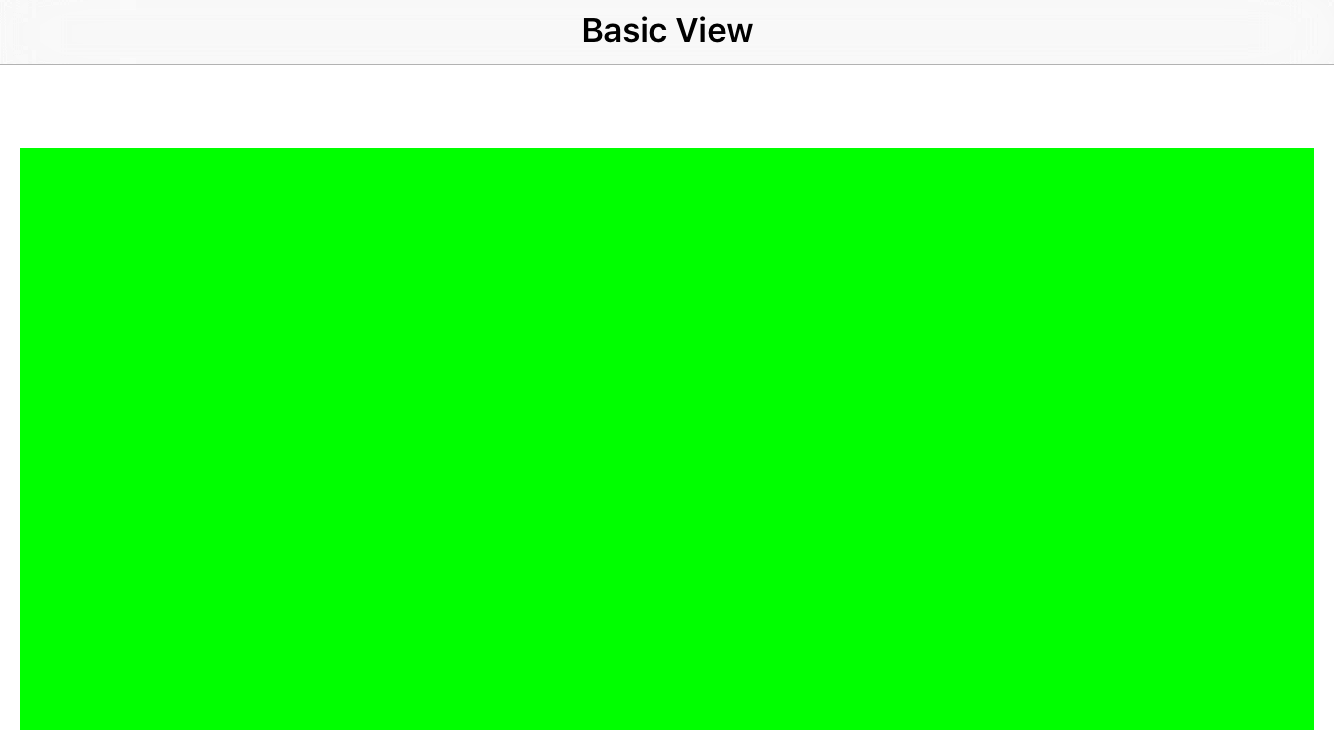
上面的效果和原来用NSLayoutConstraint实现的效果是一样的,所以就不再贴图。
我们可以看到,我们使用的一个mas_makConstrints块来进行约束设置。view1指代的就是要添加约束的view(也可以是button,label等等)。然后make的top,left,bottom,right就相当于view1的上下左右,然后equalTo()括号内的就是相对的view,然后offset是偏移量。
还可以更简单的实现:
- (void)viewDidLoad {

    [super viewDidLoad];

    self.title  = @"Basic View";

    UIView *superview = self.view;

    UIView *view1 = [[UIView alloc] init];

    view1.translatesAutoresizingMaskIntoConstraints = NO;

    view1.backgroundColor = [UIColor greenColor];

    [superview addSubview:view1];

    UIEdgeInsets padding = UIEdgeInsetsMake(, , , );

    [view1 mas_makeConstraints:^(MASConstraintMaker *make) {

        make.edges.equalTo(superview).with.insets(padding);

    }];

//    [view1 mas_makeConstraints:^(MASConstraintMaker *make) {

//        make.top.equalTo(superview.mas_top).offset(padding.top);

//        make.left.equalTo(superview.mas_left).offset(padding.left);

//        make.bottom.equalTo(superview.mas_bottom).offset(-padding.bottom);

//        make.right.equalTo(superview.mas_right).offset(-padding.right);

//    }];

}
以上的三种方式都是实现上边图种的效果。
| MASViewAttribute | NSLayoutAttribute |
|---|---|
| view.mas_left | NSLayoutAttributeLeft |
| view.mas_right | NSLayoutAttributeRight |
| view.mas_top | NSLayoutAttributeTop |
| view.mas_bottom | NSLayoutAttributeBottom |
| view.mas_leading | NSLayoutAttributeLeading |
| view.mas_trailing | NSLayoutAttributeTrailing |
| view.mas_width | NSLayoutAttributeWidth |
| view.mas_height | NSLayoutAttributeHeight |
| view.mas_centerX | NSLayoutAttributeCenterX |
| view.mas_centerY | NSLayoutAttributeCenterY |
| view.mas_baseline | NSLayoutAttributeBaseline |
以上的属性对应相应的NSLayoutAttribute。
下面就来看它的使用吧。(先上效果图,然后再上代码)
使用一、简单的三个视图的布局

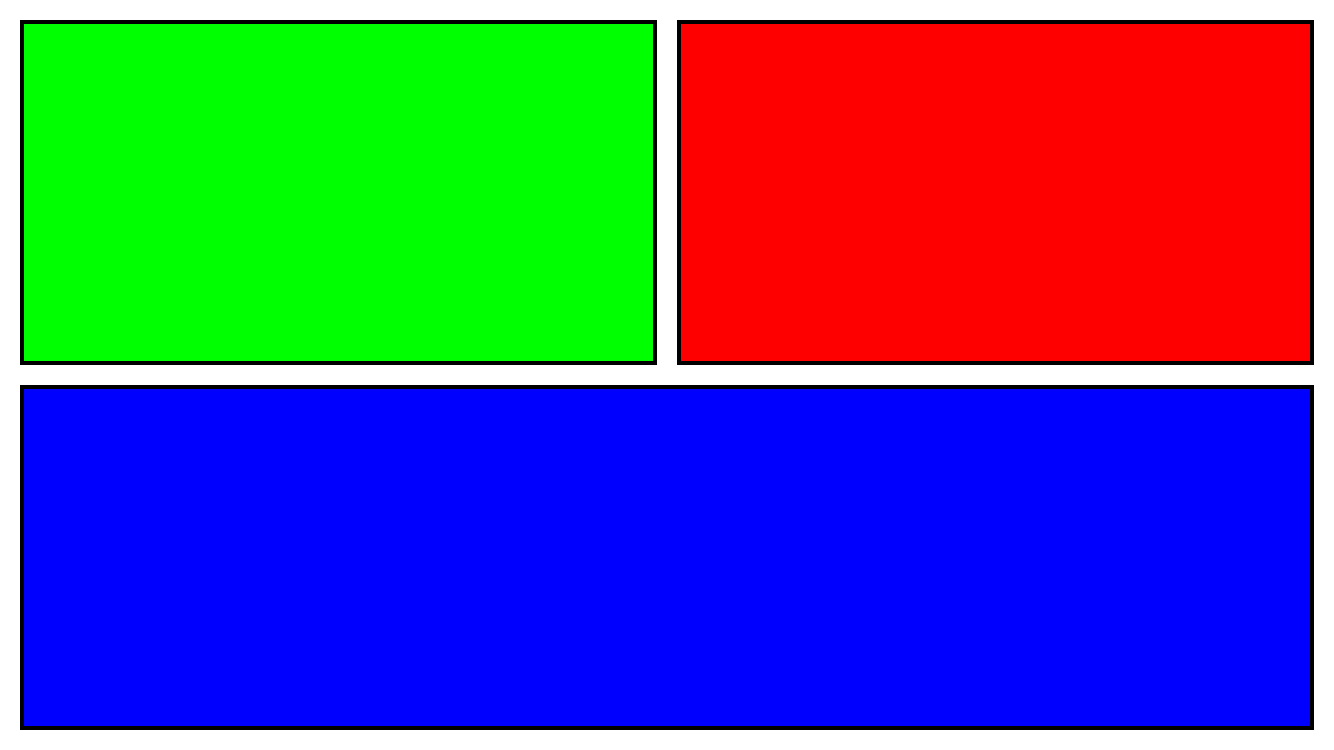
这个时我直接自定义了一个ZGBasicView视图,然后添加到了ViewController中。
关键代码如下:
//

//  ZGBasicView.m

//  MasonryDemo

//

//  Created by zhanggui on 15/10/26.

//  Copyright © 2015年 zhanggui. All rights reserved.

//

#import "ZGBasicView.h"

#import "View+MASShorthandAdditions.h"

@implementation ZGBasicView

/*

// Only override drawRect: if you perform custom drawing.

// An empty implementation adversely affects performance during animation.

- (void)drawRect:(CGRect)rect {

    // Drawing code

}

*/

- (id)init {

    self = [super init];

    if (!self) {

        return nil;

    }

//        self.translatesAutoresizingMaskIntoConstraints = YES;

        //红色视图

        UIView *redView = [UIView new];

        redView.backgroundColor = [UIColor redColor];

        redView.layer.borderColor = [UIColor blackColor].CGColor;

        redView.layer.borderWidth = ;

        [self addSubview:redView];

        //绿色视图

        UIView *greenView = [[UIView alloc] init];

        greenView.backgroundColor = [UIColor greenColor];

        greenView.layer.borderColor = [UIColor blackColor].CGColor;

        greenView.layer.borderWidth = ;

        [self addSubview:greenView];

        //蓝色视图

        UIView *blueView = [[UIView alloc] init];

        blueView.backgroundColor = [UIColor blueColor];

        blueView.layer.borderWidth = ;

        blueView.layer.borderColor = [UIColor blackColor].CGColor;

        [self addSubview:blueView];

        int padding = ;

        UIView *superview = self;

        //with is semantic and option

        [redView mas_makeConstraints:^(MASConstraintMaker *make) {

            make.top.equalTo(superview.mas_top).offset(padding); //with with

            make.left.equalTo(greenView.mas_right).offset(padding); //without with

            make.bottom.equalTo(blueView.mas_top).offset(-padding);

            make.right.equalTo(superview.mas_right).offset(-padding);

            make.width.equalTo(greenView.mas_width);

            make.height.equalTo(@[greenView, blueView]); //can pass array of views

        }];

        [greenView mas_makeConstraints:^(MASConstraintMaker *make) {

            make.top.equalTo(superview.mas_top).offset(padding);

            make.left.equalTo(superview.mas_left).offset(padding);

            make.bottom.equalTo(blueView.mas_top).offset(-padding);

            make.right.equalTo(redView.mas_left).offset(-padding);

            make.width.equalTo(redView.mas_width);

            make.height.equalTo(redView.mas_height);

//            make.height.equalTo(blueView.mas_height);

        }];

        [blueView mas_makeConstraints:^(MASConstraintMaker *make) {

            make.top.equalTo(greenView.mas_bottom).offset(padding);

            make.left.equalTo(superview.mas_left).offset(padding);

            make.bottom.equalTo(superview.mas_bottom).offset(-padding);

            make.right.equalTo(superview.mas_right).offset(-padding);

            make.height.equalTo(greenView.mas_height); //can pass array of attributes

        }];

    return self;

}

@end
三个视图之间的关系。
场景二、更新视图
效果图如下:
实现代码如下:(这里也是自定义了一个View,然后将这个view加入到了根视图中)
//

//  UpdateConstraintsView.m

//  MasonryDemo

//

//  Created by zhanggui on 15/10/26.

//  Copyright © 2015年 zhanggui. All rights reserved.

//

#import "UpdateConstraintsView.h"

#import "Masonry.h"

@interface UpdateConstraintsView ()

@property (nonatomic,strong)UIButton *myButton;

@property (nonatomic,assign)CGSize buttonSize;

@end

@implementation UpdateConstraintsView

- (id)init {

    self = [super init];

    if (self) {

        self.myButton = [UIButton buttonWithType:UIButtonTypeSystem];

        [self.myButton setTitle:@"更新约束" forState:UIControlStateNormal];

        self.myButton.layer.borderColor = [UIColor blackColor].CGColor;

        self.myButton.layer.borderWidth = ;

        [self.myButton addTarget:self action:@selector(changeAction:) forControlEvents:UIControlEventTouchUpInside];

        [self addSubview:self.myButton];

        self.buttonSize = CGSizeMake(, );

    }

    return self;

}

/**

 Returns whether the receiver depends on the constraint-based layout system.

 YES if the view must be in a window using constraint-based layout to function properly, NO otherwise.

 */

+ (BOOL)requiresConstraintBasedLayout {

    return YES;

}

/**

 Updates constraints for the view.

 Custom views that set up constraints themselves should do so by overriding this method. When your custom view notes that a change has been made to the view that invalidates one of its constraints, it should immediately remove that constraint, and then call setNeedsUpdateConstraints to note that constraints need to be updated. Before layout is performed, your implementation of updateConstraints will be invoked, allowing you to verify that all necessary constraints for your content are in place at a time when your custom view’s properties are not changing.

 You must not invalidate any constraints as part of your constraint update phase. You also must not invoke a layout or drawing phase as part of constraint updating.

 Important:Important

 Call [super updateConstraints] as the final step in your implementation.

 苹果推荐在这个方法里面添加或者更新约束

 */

- (void)updateConstraints {

    [self.myButton mas_updateConstraints:^(MASConstraintMaker *make) {

        make.center.equalTo(self);

        make.width.equalTo(@(self.buttonSize.width)).priorityLow();  //设置优先级以及width

        make.height.equalTo(@(self.buttonSize.height)).priorityLow();

        //设置myButton的大小小于等于自身view的大小

        make.width.lessThanOrEqualTo(self);

        make.height.lessThanOrEqualTo(self);

    }];

    [super updateConstraints];

}

- (void)changeAction:(UIButton *)button {

    self.buttonSize = CGSizeMake(self.buttonSize.width*1.2, self.buttonSize.height*1.2);

    //告诉约束他们需要更新

    [self setNeedsUpdateConstraints];

    //update constraints now

    [self updateConstraintsIfNeeded];

    //设置更新大小动画

    [UIView animateWithDuration:0.5 animations:^{

        /**

         Lays out the subviews immediately.

         Use this method to force the layout of subviews before drawing. Using the view that receives the message as the root view, this method lays out the view subtree starting at the root.

         */

        [self layoutIfNeeded];

    }];

}

@end
这里主要使用了mas_updateConstraints:方法
场景三、让约束复原
实现代码如下:
//

//  ReBackConstraintsView.m

//  MasonryDemo

//可以恢复原来的约束

//  Created by zhanggui on 15/10/26.

//  Copyright © 2015年 zhanggui. All rights reserved.

//

#import "ReBackConstraintsView.h"

#import "Masonry.h"

@interface ReBackConstraintsView ()

@property (nonatomic,strong)UIButton *myButton;

@property (nonatomic,assign)BOOL isAtTop;

@end

@implementation ReBackConstraintsView

- (id)init {

    self = [super init];

    if (self) {

        self.myButton = [UIButton buttonWithType:UIButtonTypeSystem];;

        [self.myButton setTitle:@"Move Me!" forState:UIControlStateNormal];

        self.myButton.layer.borderColor = UIColor.greenColor.CGColor;

        self.myButton.layer.borderWidth = ;

        [self.myButton addTarget:self action:@selector(moveAction:) forControlEvents:UIControlEventTouchUpInside];

        [self addSubview:self.myButton];

        self.isAtTop = YES;

    }

    return self;

}

+ (BOOL)requiresConstraintBasedLayout {

    return YES;

}

- (void)updateConstraints {

    [self.myButton mas_remakeConstraints:^(MASConstraintMaker *make) {

        make.width.equalTo(@());

        make.height.equalTo(@());

        if (self.isAtTop) {

            make.left.equalTo(self.mas_left).offset();

            make.top.equalTo(self.mas_top).offset();

        }else {

            make.bottom.equalTo(self.mas_bottom).offset(-);

            make.right.equalTo(self.mas_right).offset(-);

        }

    }];

    [super updateConstraints];

}

- (void)moveAction:(UIButton *)myButton {

    self.isAtTop = !self.isAtTop;

    //告诉约束他们需要更新

    [self setNeedsUpdateConstraints];

    //立刻更新视图约束

    [self updateConstraintsIfNeeded];

    [UIView animateWithDuration:0.3 animations:^{

        [self layoutIfNeeded];

    }];

}

/*

// Only override drawRect: if you perform custom drawing.

// An empty implementation adversely affects performance during animation.

- (void)drawRect:(CGRect)rect {

    // Drawing code

}

*/

@end
这里主要使用了mas_remakeConstraints:方法。
场景四、两个视图的嵌套
实现代码:
//

//  NestConstraintsView.m

//  MasonryDemo

//

//  Created by zhanggui on 15/10/26.

//  Copyright © 2015年 zhanggui. All rights reserved.

//

#import "NestConstraintsView.h"

#import "Masonry.h"

@implementation NestConstraintsView

- (id)init {

    self = [super init];

    if (self) {

        UIView *bigView = [[UIView alloc] init];

        bigView.backgroundColor = [UIColor blackColor];

        [self addSubview:bigView];

        UIView *smallView = [[UIView alloc] init];

        smallView.backgroundColor = [UIColor redColor];

        [self addSubview:smallView];

        [bigView mas_makeConstraints:^(MASConstraintMaker *make) {

            make.top.equalTo(self).offset();

            make.left.equalTo(self).offset();

            make.bottom.equalTo(self).offset(-);

            make.right.equalTo(self).offset(-);

        }];

        [smallView mas_makeConstraints:^(MASConstraintMaker *make) {

            make.top.equalTo(bigView.mas_top).offset();

            make.left.equalTo(bigView.mas_left).offset();

            make.bottom.equalTo(bigView.mas_bottom).offset(-);

            make.right.equalTo(bigView.mas_right).offset(-);

        }];

    }

    return self;

}

@end
这里和第一个场景一样,都是最基本的实现约束的添加,只不过相对参照物不同。
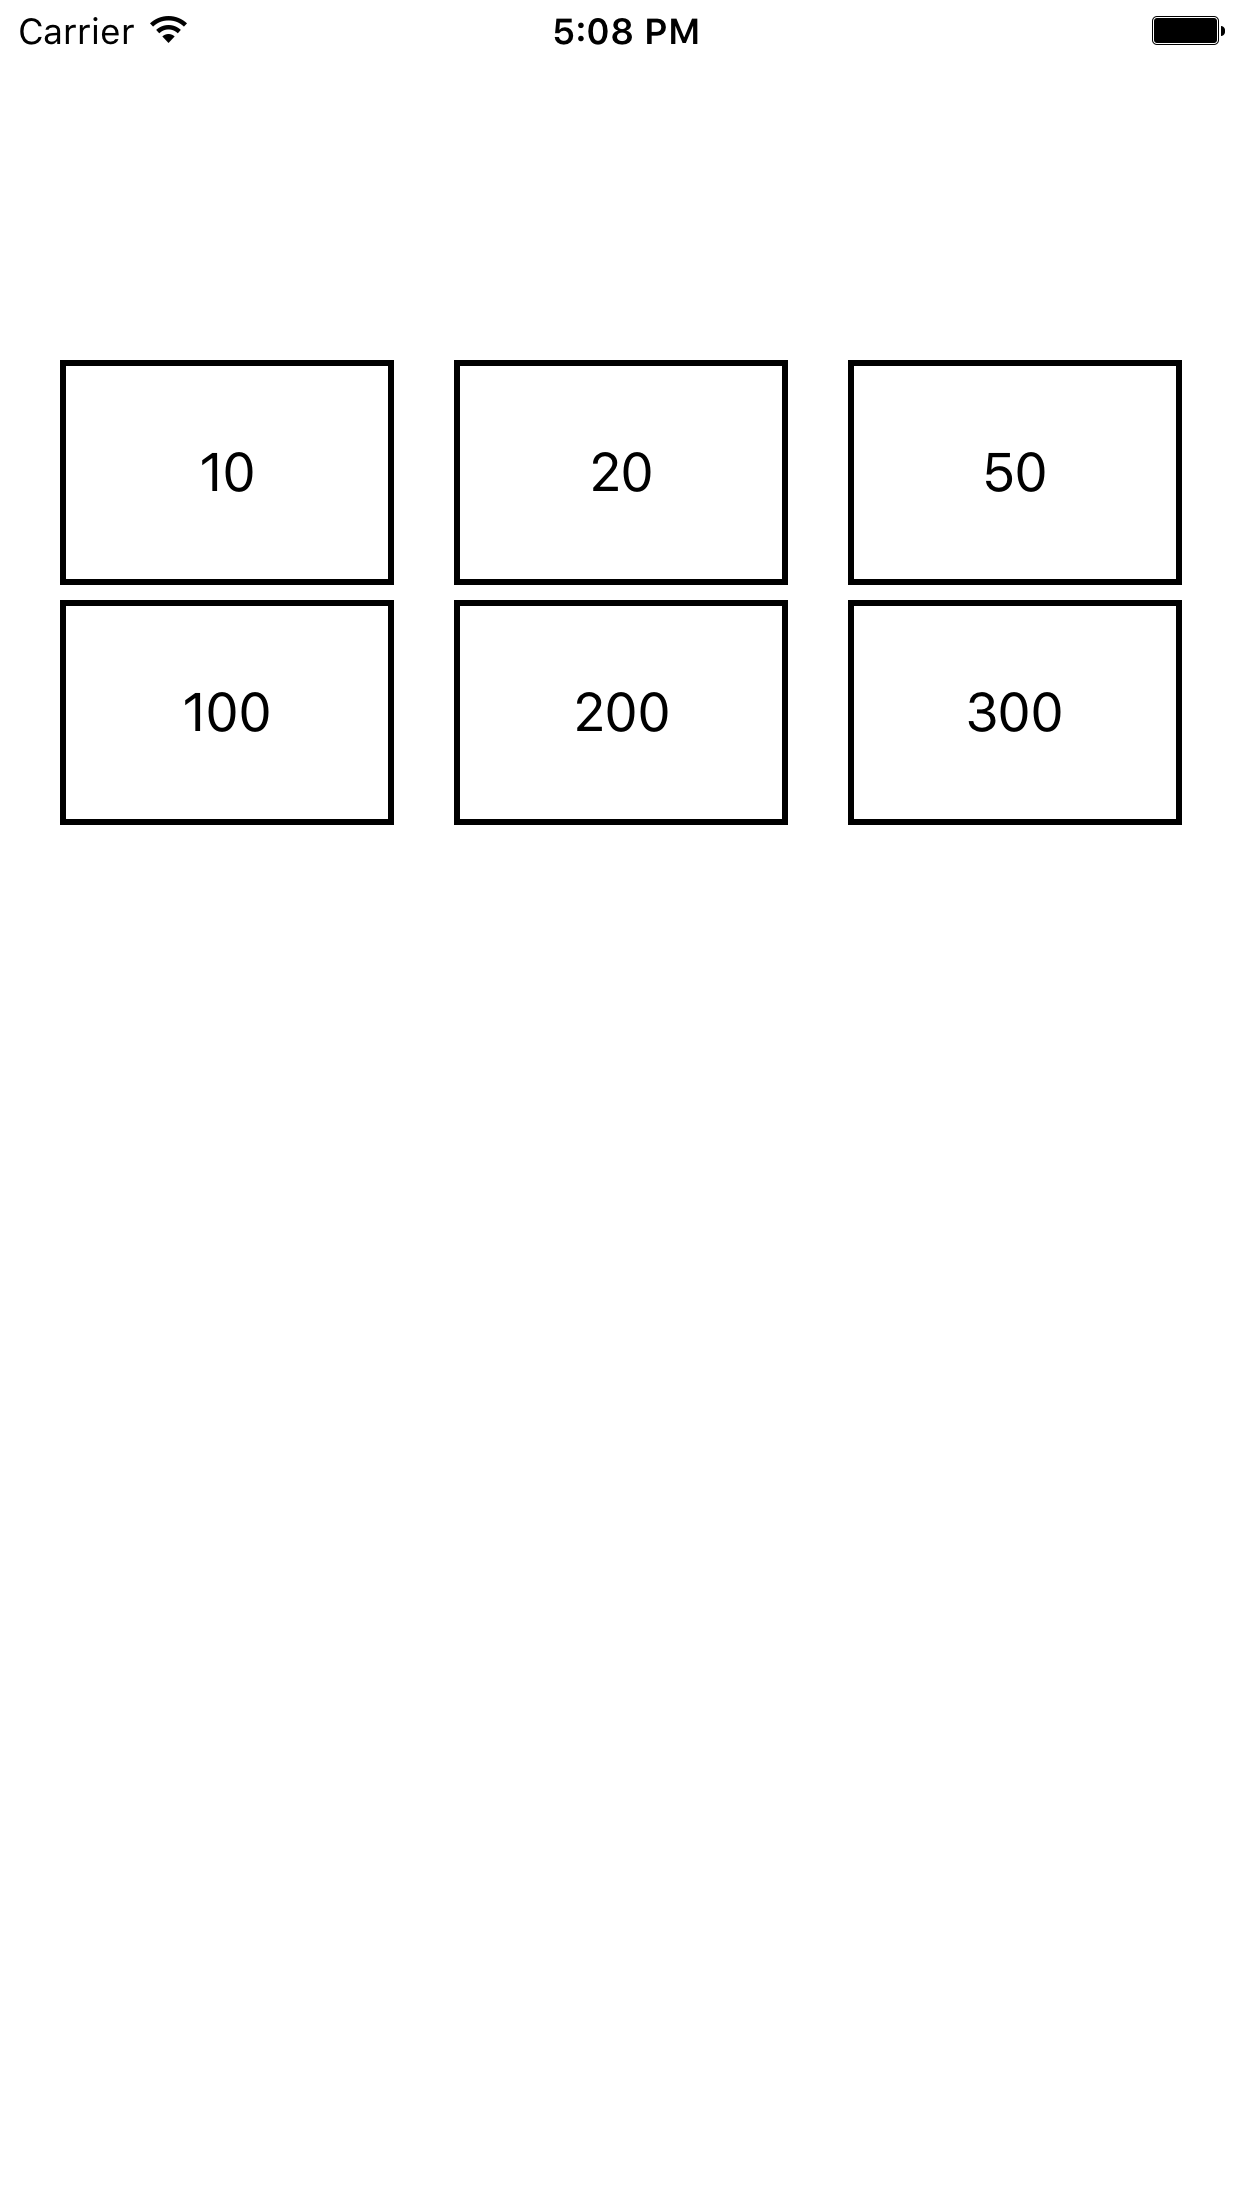
场景五、多个view一起布局(以组为单位布局)
效果:
实现代码:
//

//  GroupButtonView.m

//  MasonryDemo

//

//  Created by zhanggui on 15/10/26.

//  Copyright © 2015年 zhanggui. All rights reserved.

//

#import "GroupButtonView.h"

#import "Masonry.h"

@implementation GroupButtonView

- (instancetype)init {

    self  = [super init];

    if (self) {

        NSArray *strArr = @[@"",@"",@"",@"",@"",@""];

        NSMutableArray *mutableArr = [[NSMutableArray alloc] initWithCapacity:];

        for (int i=; i<; i++) {

            UIButton *button = [[UIButton alloc] init];

            [button setTitle:strArr[i] forState:UIControlStateNormal];

            [button setTitleColor:[UIColor blackColor] forState:UIControlStateNormal];

            button.layer.borderColor = [UIColor blackColor].CGColor;

            [button addTarget:self action:@selector(show:) forControlEvents:UIControlEventTouchUpInside];

            button.layer.borderWidth = ;

            [self addSubview:button];

            [mutableArr addObject:button];

        }

                [mutableArr mas_distributeViewsAlongAxis:MASAxisTypeHorizontal withFixedSpacing: leadSpacing: tailSpacing:];

                [mutableArr mas_makeConstraints:^(MASConstraintMaker *make) {

                    make.top.equalTo(@);

                    make.height.equalTo(@);

                }];

        /**

         *  -----------------------

         */

        NSMutableArray *marr = [NSMutableArray new];

        for (int i=; i<; i++) {

            UIButton *button = [[UIButton alloc] init];

            [button setTitle:strArr[i] forState:UIControlStateNormal];

            [button setTitleColor:[UIColor blackColor] forState:UIControlStateNormal];

            button.layer.borderColor = [UIColor blackColor].CGColor;

            [button addTarget:self action:@selector(show:) forControlEvents:UIControlEventTouchUpInside];

            button.layer.borderWidth = ;

            [self addSubview:button];

            [marr addObject:button];

        }

        [marr mas_distributeViewsAlongAxis:MASAxisTypeHorizontal withFixedSpacing: leadSpacing: tailSpacing:];

        [marr mas_makeConstraints:^(MASConstraintMaker *make) {

            make.top.equalTo(@);

            make.height.equalTo(@);

        }];

        }

    return self;

}

- (void)show:(UIButton *)button

{

    NSLog(@"%@",button.titleLabel.text);

}

@end
在这里,我们主要就是用到了mas_distributeViewsAlongAxis:...这个方法,来万曾一组视图的布局。
场景六、自己写的一个简单的登录界面
效果如下:

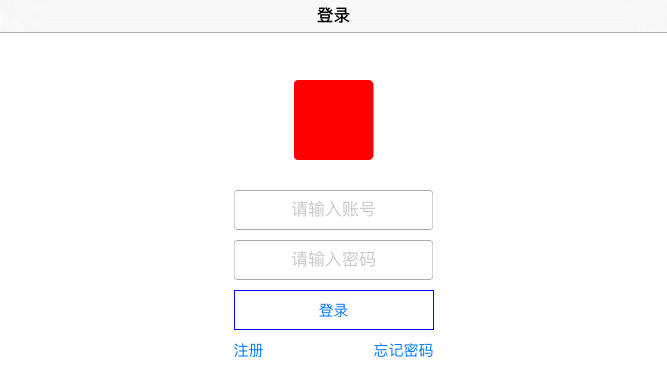
代码如下:
//

//  ViewController.m

//  MasonryDemo

//

//  Created by zhanggui on 15/10/8.

//  Copyright © 2015年 zhanggui. All rights reserved.

//

#import "ViewController.h"

#import "Masonry.h"

#import "ZGBasicView.h"

#import "UpdateConstraintsView.h"

#import "ReBackConstraintsView.h"

#import "NestConstraintsView.h"

#import "GroupButtonView.h"

#import "LoginView.h"

#import "ArrayView.h"

@interface ViewController ()

@end

@implementation ViewController

- (void)viewDidLoad {

    [super viewDidLoad];

    self.title  = @"登录";

    [self loginView];

//    [self addArrayView];

}

- (void)loginView {

    LoginView *loginView = [[LoginView alloc] init];

    self.view = loginView;

//    loginView.frame = self.view.frame;

//    [self.view addSubview:loginView];

}

- (void)addArrayView {

    ArrayView *arrView = [[ArrayView alloc] init];

    self.view = arrView;

}

- (void)groupButtonView {

    GroupButtonView *nestView = [[GroupButtonView alloc] init];

    nestView.frame = self.view.frame;

//    self.view = nestView;

    [self.view addSubview:nestView];

}

- (void)nestConstraintsView {

    NestConstraintsView *nestView = [[NestConstraintsView alloc] init];

    self.view = nestView;

}

- (void)reBackConstraints {

    ReBackConstraintsView *rebackView = [[ReBackConstraintsView alloc] init];

    self.view = rebackView;

}

- (void)updateConstraintsView {

    UpdateConstraintsView *updateView = [[UpdateConstraintsView alloc] init];

    self.view = updateView;

}

- (void)simpleView {

    ZGBasicView *basicView = [[ZGBasicView alloc] init];

//    [self.view addSubview:basicView];

    self.view = basicView;

}

- (void)firstSimpleView {

    UIView *superview = self.view;

    UIView *view1 = [[UIView alloc] init];

    view1.translatesAutoresizingMaskIntoConstraints = NO;

    view1.backgroundColor = [UIColor greenColor];

    [superview addSubview:view1];

    UIEdgeInsets padding = UIEdgeInsetsMake(, , , );

    [view1 mas_makeConstraints:^(MASConstraintMaker *make) {

        make.edges.equalTo(superview).with.insets(padding);

    }];

    //    [view1 mas_makeConstraints:^(MASConstraintMaker *make) {

    //        make.top.equalTo(superview.mas_top).offset(padding.top);

    //        make.left.equalTo(superview.mas_left).offset(padding.left);

    //        make.bottom.equalTo(superview.mas_bottom).offset(-padding.bottom);

    //        make.right.equalTo(superview.mas_right).offset(-padding.right);

    //    }];

}

@end
大家可以简单的看一下,写的比较简单,应该很容易理解的。(横屏的距离上边的高度没有处理太好,将就着看吧)
简单就介绍这么多了。
附:
1、源码下载地址:http://pan.baidu.com/s/1o6083G2
2、Masonry Git地址:https://github.com/SnapKit/Masonry
--------------------------------------------------------------------------------------------------------------------------------------------
更新记录1
我们经常会遇到这种情况:
三个控件之间的距离知道,三个控件距离底部或者顶部的距离知道,那么我们要做的就是让三个控件的距离和UI设计的距离一样,然后让他们三个整体居中。比如现在有三个Label,我们来看看他们是如何三个整体居中的(三个距离顶部的距离是20,第一个控件到第二个控件的距离是10,第二个到第三个控件的距离是15)。直接上代码:
//

//  ViewController.m

//  MasonryDemo1

//

//  Created by zhanggui on 16/1/13.

//  Copyright © 2016年 zhanggui. All rights reserved.

//

#import "ViewController.h"

#import "Masonry.h"

@interface ViewController ()

@property (nonatomic,strong)UILabel *firstLabel;

@property (nonatomic,strong)UILabel *secondLabel;

@property (nonatomic,strong)UILabel *thirdLabel;

@property (nonatomic,strong)UIView *containerView;

@end

@implementation ViewController

- (void)viewDidLoad {

    [super viewDidLoad];

    [self initConstarints];

}

#pragma mark - 添加约束

- (void)initConstarints {

    [self.containerView mas_makeConstraints:^(MASConstraintMaker *make) {

        make.top.equalTo(self.view.mas_top).offset();

        make.centerX.equalTo(self.view);

    }];

    [self.firstLabel mas_makeConstraints:^(MASConstraintMaker *make) {

        make.top.equalTo(self.containerView.mas_top);

        make.left.equalTo(self.containerView.mas_left);

        make.bottom.equalTo(self.containerView.mas_bottom);

    }];

    [self.secondLabel mas_makeConstraints:^(MASConstraintMaker *make) {

        make.centerY.equalTo(self.firstLabel);

        make.left.equalTo(self.firstLabel.mas_right).offset();

    }];

    [self.thirdLabel mas_makeConstraints:^(MASConstraintMaker *make) {

        make.centerY.equalTo(self.firstLabel);

        make.left.equalTo(self.secondLabel.mas_right).offset();

        make.right.equalTo(self.containerView.mas_right);

    }];

}

#pragma mark - Lazy Load

- (UIView *)containerView {

    if (!_containerView) {

        _containerView = [[UIView alloc] init];

        [self.view addSubview:_containerView];

    }

    return _containerView;

}

- (UILabel *)firstLabel {

    if (!_firstLabel) {

        _firstLabel = [[UILabel alloc] init];

        _firstLabel.text = @"第一个Label";

        _firstLabel.font = [UIFont systemFontOfSize:18.0f];

        [self.containerView addSubview:_firstLabel];

    }

    return _firstLabel;

}

- (UILabel *)secondLabel {

    if (!_secondLabel) {

        _secondLabel = [[UILabel alloc] init];

        _secondLabel.text = @"第二个Label";

        _secondLabel.font = [UIFont systemFontOfSize:18.0f];

        [self.containerView addSubview:_secondLabel];

    }

    return _secondLabel;

}

- (UILabel *)thirdLabel {

    if (!_thirdLabel) {

        _thirdLabel = [[UILabel alloc] init];

        _thirdLabel.text = @"第三个Label";

        _thirdLabel.font = [UIFont systemFontOfSize:18.0f];

        [self.containerView addSubview:_thirdLabel];

    }

    return _thirdLabel;

}

@end
运行结果如下:
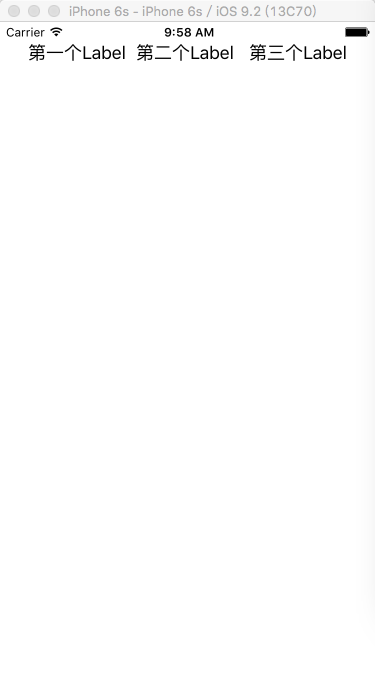

这样就达到了我们期望的效果。
其实就是加了一个UIView,然后把三个label放到view里面,然后让这个view居中。
附更新测试源码:点击这里源码下载
转载请标明原文地址:http://www.cnblogs.com/zhanggui/p/4911780.html
iOS常用第三方库之Masonry的更多相关文章
- ios 常用第三方库要加的framework,ARC的设置
一,常用第三方库要加的framework 1,SQLite3数据库:FMDatabase 需要添加:libsqlite3.dylib 2,网络请求:ASIHTTPRequest 需要添加:CFNetw ...
- IOS常用第三方库《转》
UI 动画 网络相关 Model 其他 数据库 缓存处理 PDF 图像浏览及处理 摄像照相视频音频处理 响应式框架 消息相关 版本新API的Demo 代码安全与密码 测试及调试 AppleWatch ...
- iOS常用第三方库大全,史上最全第三方库收集
下拉刷新 EGOTableViewPullRefresh – 最早的下拉刷新控件. SVPullToRefresh – 下拉刷新控件. MJRefresh – 仅需一行代码就可以为UITableVie ...
- ios常用第三方库git下载地址
本文转载至 http://blog.csdn.net/cerastes/article/details/38348599 iOS第三方库下载常用git 1.FMDB https://github.co ...
- iOS常用第三方库
1.AFNetworking 轻量级的通讯类库,使用非常简单. 下载地址:https://github.com/AFNetworking/AFNetworking 2.FMDB fmdb是一个数据 ...
- IOS 常用第三方库
名称 特性 效果图 FXBlurView 实时背景模糊效果 FDFullscreenPopGesture 让UINavigationController在屏幕任何位置均可滑动返回 NJKWebVi ...
- iOS常用第三方库 -转
转自 http://www.cnblogs.com/jukaiit/p/4956419.html 1.AFNetworking 轻量级的通讯类库,使用非常简单. 下载地址:https://github ...
- IOS学习:常用第三方库(GDataXMLNode:xml解析库)
IOS学习:常用第三方库(GDataXMLNode:xml解析库) 解析 XML 通常有两种方式,DOM 和 SAX: DOM解析XML时,读入整个XML文档并构建一个驻留内存的树结构(节点树),通过 ...
- python 3.x 爬虫基础---常用第三方库(requests,BeautifulSoup4,selenium,lxml )
python 3.x 爬虫基础 python 3.x 爬虫基础---http headers详解 python 3.x 爬虫基础---Urllib详解 python 3.x 爬虫基础---常用第三方库 ...
随机推荐
- SNF开发平台WinForm之八-自动升级程序部署使用说明-SNF快速开发平台3.3-Spring.Net.Framework
9.1运行效果: 9.2开发实现: 1.首先配置服务器端,把“SNFAutoUpdate2.0\服务器端部署“目录按网站程序进行发布到IIS服务器上. 2.粘贴语句,生成程序 需要调用的应用程序的Lo ...
- Android 布局之LinearLayout
Android 布局之LinearLayout 1 LinearLayout简介 LinearLayout是线程布局.它包括2个方向(android:orientation):“水平”(horizon ...
- 主机访问虚拟机中linux上的web服务
环境:主机windows xp 虚拟机centos 6.4 [root@localhost /]# iptables -I INPUT -p tcp --dport 80 -j ACCEPT[root ...
- python进阶学习笔记(四)--多线程thread
在使用多线程之前,我们首页要理解什么是进程和线程. 什么是进程? 计算机程序只不过是磁盘中可执行的,二进制(或其它类型)的数据.它们只有在被读取到内存中,被操作系统调用的时候才开始它们的生命期.进程( ...
- [C] static和extern的作用
static: 当用于函数定义或者代码块之外的变量声明时,static关键字用于修改标识符的链接属性,从external改为internal. 当用于代码块内部的变量声明时,static关键字用于修改 ...
- 11.22 点餐APP第一阶段总结
第一个冲刺结束了,任务也算是完成了. 团队合作不像单独做那样想怎么来就怎么来,各个人都不同的意见,最后方案的需要每个人一致同意通过才能执行. 不过团队合作分配到每个人的任务也相对轻一点,而且遇到问题解 ...
- [水煮 ASP.NET Web API2 方法论](3-5)路由约束
问题 怎么样限制路由中参数的值. 解决方案 ASP.NET WEB API 允许我们通过 IHttpRouteConstraint 接口设置路由约束.集中式路由和直接式路由都可以使用 IHttpRou ...
- asp.net Get和Post传参和接收参数
asp.netGet和Post传参和接收参数 Get请求: 对于传参:test.aspx?name=%e5%bc%a0%e4%b8%89 接收参数的方法: Request.QueryString[&q ...
- 【AngularJS学习笔记】02 小杂烩及学习总结
表格示例 <div ng-app="myApp" ng-controller="customersCtrl"> <table> < ...
- 360 webscan中防注入跨站攻击的核心
//get拦截规则 $getfilter = "\\<.+javascript:window\\[.{1}\\\\x|<.*=(&#\\d+?;?)+?>|< ...