springboot 学习笔记(六)
(六)springboot整合activemq
1、现下载activemq,下载链接:http://activemq.apache.org/download.html,windows系统解压后进入bin目录,分32位、64位操作系统,运行activemq.bat启动程序,访问http://http://127.0.0.1:8161
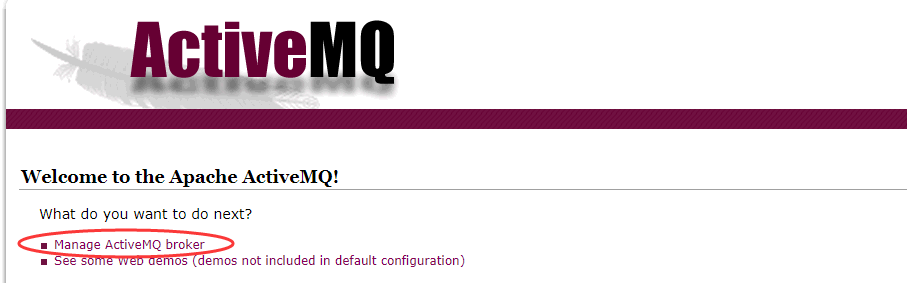 出现该界面说明安装成功,点击broker,输入账号admin 密码admin 进入管理界面
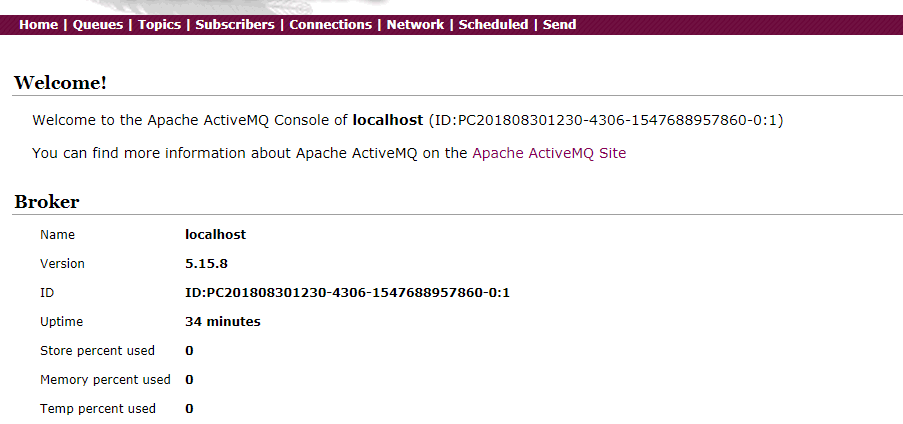 点击queue按钮,可以创建消息队列。
2、pom文件中增加以下依赖,在application.properties对activema进行配置
        <dependency>

            <groupId>org.springframework.boot</groupId>

            <artifactId>spring-boot-starter-activemq</artifactId>

        </dependency>

        <dependency>

            <groupId>org.apache.activemq</groupId>

            <artifactId>activemq-pool</artifactId>

        </dependency>
#访问地址

spring.activemq.broker-url=tcp://127.0.0.1:61616

spring.activemq.user=admin

spring.activemq.password=admin

#是否开启线程池

spring.activemq.pool.enabled=true

#最大连接数

spring.activemq.pool.max-connections=50
3、在Application.class中添加如下代码,方便注入队列
package com.zc.app.test;

import javax.jms.Queue;

import org.apache.activemq.command.ActiveMQQueue;

import org.springframework.boot.SpringApplication;

import org.springframework.boot.autoconfigure.SpringBootApplication;

import org.springframework.context.annotation.Bean;

@SpringBootApplication

public class TestApplication {

    @Bean

    public Queue queue(){

        return new ActiveMQQueue("test.queue");

    }

    public static void main(String[] args) {

        SpringApplication.run(TestApplication.class, args);

    }

}
TestApplication
4、新建一个service接口用来发送消息,并实现发送消息
/**

 *

 */

package com.zc.app.test.service;

import javax.jms.Destination;

public interface MsgService {

    public void sendMessage(Destination destination,String message);

    public void sendMessage(String message);

}
MsgService
/**

 *

 */

package com.zc.app.test.service.impl;

import javax.jms.Destination;

import javax.jms.Queue;

import org.springframework.beans.factory.annotation.Autowired;

import org.springframework.jms.core.JmsMessagingTemplate;

import org.springframework.stereotype.Service;

import com.zc.app.test.service.MsgService;

@Service

public class MsgServiceImpl implements MsgService{

    @Autowired

    private Queue queue;

    @Autowired

    private JmsMessagingTemplate jms; //用来发送消息

    @Override

    public void sendMessage(Destination destination,String message) {

        jms.convertAndSend(this.queue, message);

    }

    @Override

    public void sendMessage(String message) {

        jms.convertAndSend(message);

    }

}
MsgServiceImpl
5、写controller来调用接口
/**

 *

 */

package com.zc.app.test.controller;

import javax.jms.Destination;

import org.apache.activemq.command.ActiveMQQueue;

import org.springframework.beans.factory.annotation.Autowired;

import org.springframework.web.bind.annotation.GetMapping;

import org.springframework.web.bind.annotation.RequestMapping;

import org.springframework.web.bind.annotation.RestController;

import com.zc.app.test.service.MsgService;

@RestController

@RequestMapping("/msg")

public class SendController {

    @Autowired

    private MsgService msgService;

    @GetMapping("send")

    public String order(String message) {

        Destination destination = new ActiveMQQueue("test.queue");

        msgService.sendMessage(destination, message);

        return "send message success";

    }

}
SendController
6、启动程序,这时程序出现错误,提示JmsMessagingTemplate注入失败
Field jms in com.zc.app.test.service.impl.MsgServiceImpl required a bean of type 'org.springframework.jms.core.JmsMessagingTemplate' that could not be found.
7、通过测试,将acticemq线程池配置删除后,程序可以正常启动,最后找到原因是因为少了jms的pool依赖包,在pom文件添加以下依赖后可以正常启动
        <dependency>

            <groupId>org.messaginghub</groupId>

            <artifactId>pooled-jms</artifactId>

        </dependency>
8、然后访问url:localhost:8080/msg/send?message=124515,提示成功后,可以从activemq的管理界面看到test.queue消息增加
springboot 学习笔记(六)的更多相关文章
- Springboot学习笔记(六)-配置化注入
前言 前面写过一个Springboot学习笔记(一)-线程池的简化及使用,发现有个缺陷,打个比方,我这个线程池写在一个公用服务中,各项参数都定死了,现在有两个服务要调用它,一个服务的线程数通常很多,而 ...
- java之jvm学习笔记六-十二(实践写自己的安全管理器)(jar包的代码认证和签名) (实践对jar包的代码签名) (策略文件)(策略和保护域) (访问控制器) (访问控制器的栈校验机制) (jvm基本结构)
java之jvm学习笔记六(实践写自己的安全管理器) 安全管理器SecurityManager里设计的内容实在是非常的庞大,它的核心方法就是checkPerssiom这个方法里又调用 AccessCo ...
- SpringBoot学习笔记
SpringBoot个人感觉比SpringMVC还要好用的一个框架,很多注解配置可以非常灵活的在代码中运用起来: springBoot学习笔记: .一.aop: 新建一个类HttpAspect,类上添 ...
- Learning ROS for Robotics Programming Second Edition学习笔记(六) indigo xtion pro live
中文译著已经出版,详情请参考:http://blog.csdn.net/ZhangRelay/article/category/6506865 Learning ROS for Robotics Pr ...
- Typescript 学习笔记六:接口
中文网:https://www.tslang.cn/ 官网:http://www.typescriptlang.org/ 目录: Typescript 学习笔记一:介绍.安装.编译 Typescrip ...
- python3.4学习笔记(六) 常用快捷键使用技巧,持续更新
python3.4学习笔记(六) 常用快捷键使用技巧,持续更新 安装IDLE后鼠标右键点击*.py 文件,可以看到Edit with IDLE 选择这个可以直接打开编辑器.IDLE默认不能显示行号,使 ...
- Go语言学习笔记六: 循环语句
Go语言学习笔记六: 循环语句 今天学了一个格式化代码的命令:gofmt -w chapter6.go for循环 for循环有3种形式: for init; condition; increment ...
- SpringBoot学习笔记(14):使用SpringBootAdmin管理监控你的应用
SpringBoot学习笔记(14):使用SpringBootAdmin管理监控你的应用 Spring Boot Admin是一个管理和监控Spring Boot应用程序的应用程序.本文参考文档: 官 ...
- SpringBoot学习笔记(3):静态资源处理
SpringBoot学习笔记(3):静态资源处理 在web开发中,静态资源的访问是必不可少的,如:Html.图片.js.css 等资源的访问. Spring Boot 对静态资源访问提供了很好的支持, ...
- SpringBoot学习笔记(2):引入Spring Security
SpringBoot学习笔记(2):用Spring Security来保护你的应用 快速开始 本指南将引导您完成使用受Spring Security保护的资源创建简单Web应用程序的过程. 参考资料: ...
随机推荐
- mvn jetty:run 出现PermGen space outofmemeryerror
使用mvn jetty:run跑别人的项目时出现了PermGen space outofmemeryerror异常 http://stackoverflow.com/questions/1451648 ...
- Learning Python 008 正则表达式-003 search()方法
Python 正则表达式 - search()方法 findall()方法在找到第一个匹配之后,还会继续找下去,findall吗,就是找到所有的匹配的意思.如果你只是想找到第一个匹配的信息后,就不在继 ...
- 微观SOA:服务设计原则及其实践方式
大 量互联网公司都在拥抱SOA和服务化,但业界对SOA的很多讨论都比较偏向高大上.本文试图从稍微不同的角度,以相对接地气的方式来讨论SOA, 集中讨论SOA在微观实践层面中的缘起.本质和具体操作方式, ...
- 11.Weblogic-SSRF漏洞复现
应为这一阵正好在学习SSRF漏洞,又苦于本人太菜没有挖到SSRF,只能复现... 先贴出很早之前央视网SSRF可窥探内网(Weblogic SSRF案例):https://www.secpulse.c ...
- 理解linux服务器mcelog如何工作
What are Machine Check Exceptions (or MCE)? A machine check exception is an error dedected by your s ...
- 缓存处理类(MemoryCache结合文件缓存)
想提升站点的性能,于是增加了缓存,但是站点不会太大,于是不会到分布式memcached的缓存和redis这个nosql库,于是自己封装了.NET内置的缓存组件 原先使用System.Web.Cachi ...
- Jenkins+Jmeter+Ant自动化持续集成环境搭建
[前言] 今天让我们先把准备工作做好 >> 搭建环境! [正文] JDK+Jmeter安装教程: 参考博客:https://www.cnblogs.com/baoziluo/p/79056 ...
- 因为.patch_storage目录丢失,导致opatch打补丁失败
一套新装的ORACLE Restart环境(11.2.0.3.0),计划最新的PSU,在使用opath auto方式安装补丁时报错,表面上的错误信息提示opatch工具不满足版本要求: [root@d ...
- jmeter读取本地CSV文件
用jmeter录制考试上传成绩等脚本时,出现的问题及解决方法如下: 1.beanshell前置处理器,不能读取本地csv文件里的数据: 方法一: 在beanshell里不能直接从本地的csv文件里读取 ...
- js校验金额输入
//验证非负实数,保留2位小数,不采取四舍五入,不能去掉无效零,obj是this //示例:<input type="text" onkeyup="IWS_Chec ...