
spring boot + vue 前后分离实现登录功能(一)
使用webpack 打包初始化项目
vue init webpack book-vue
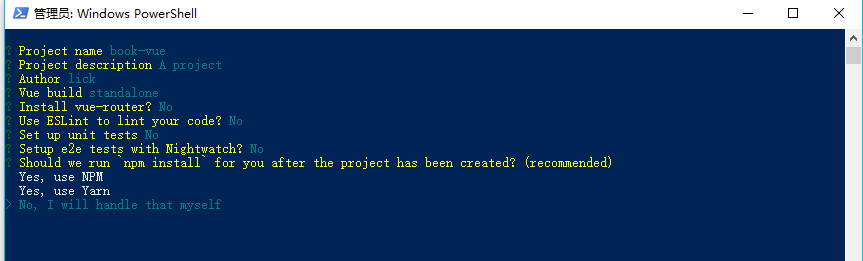
进入工程目录
cd hello-vue
安装 vue-router
npm install vue-router --save-dev
安装 element-ui
npm i element-ui -S
安装 SASS 加载器
npm install sass-loader node-sass --save-dev
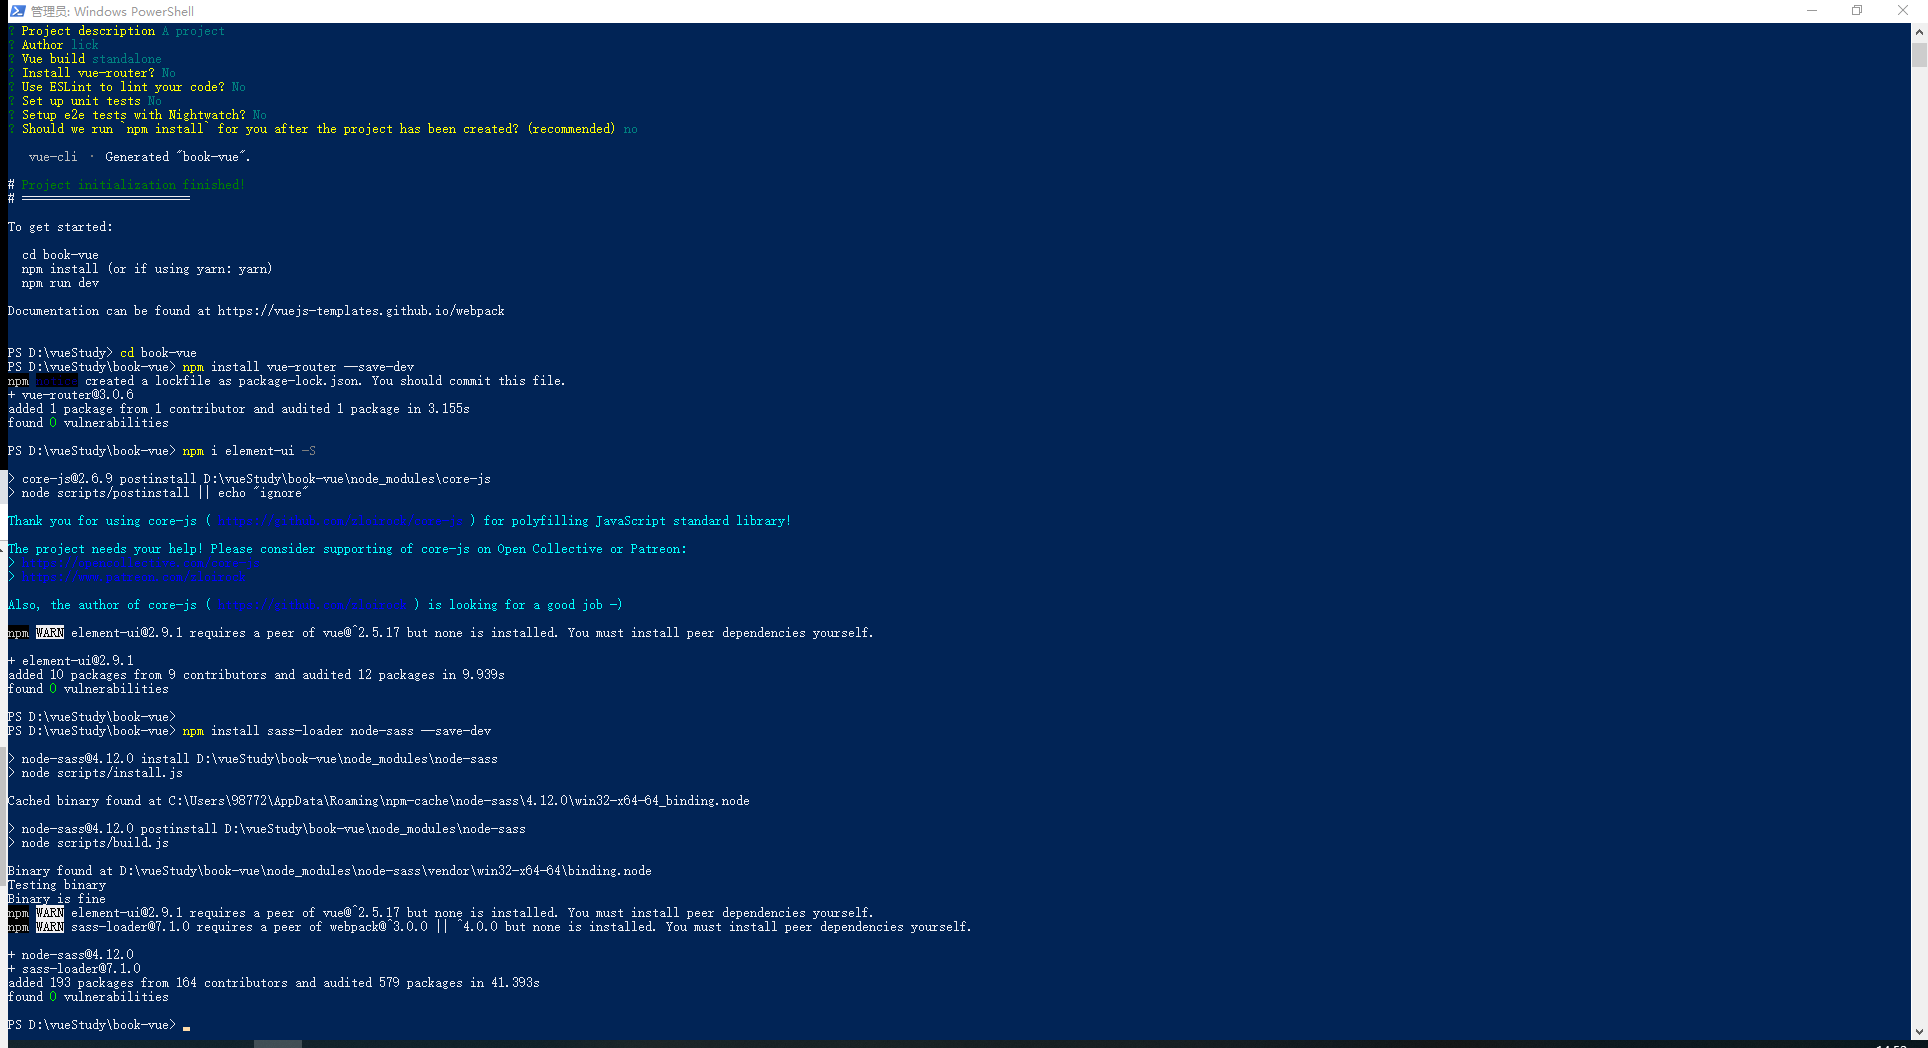
下载依赖
npm install
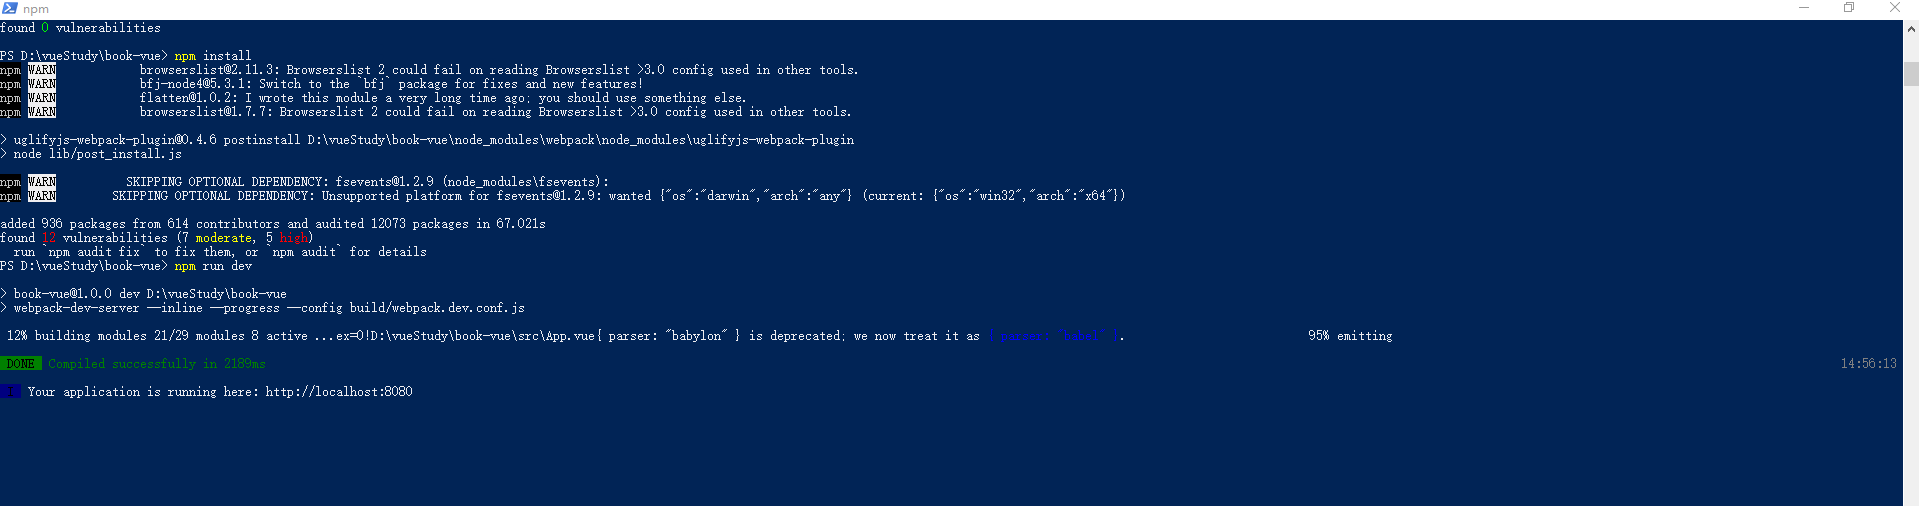
启动工程
npm run dev
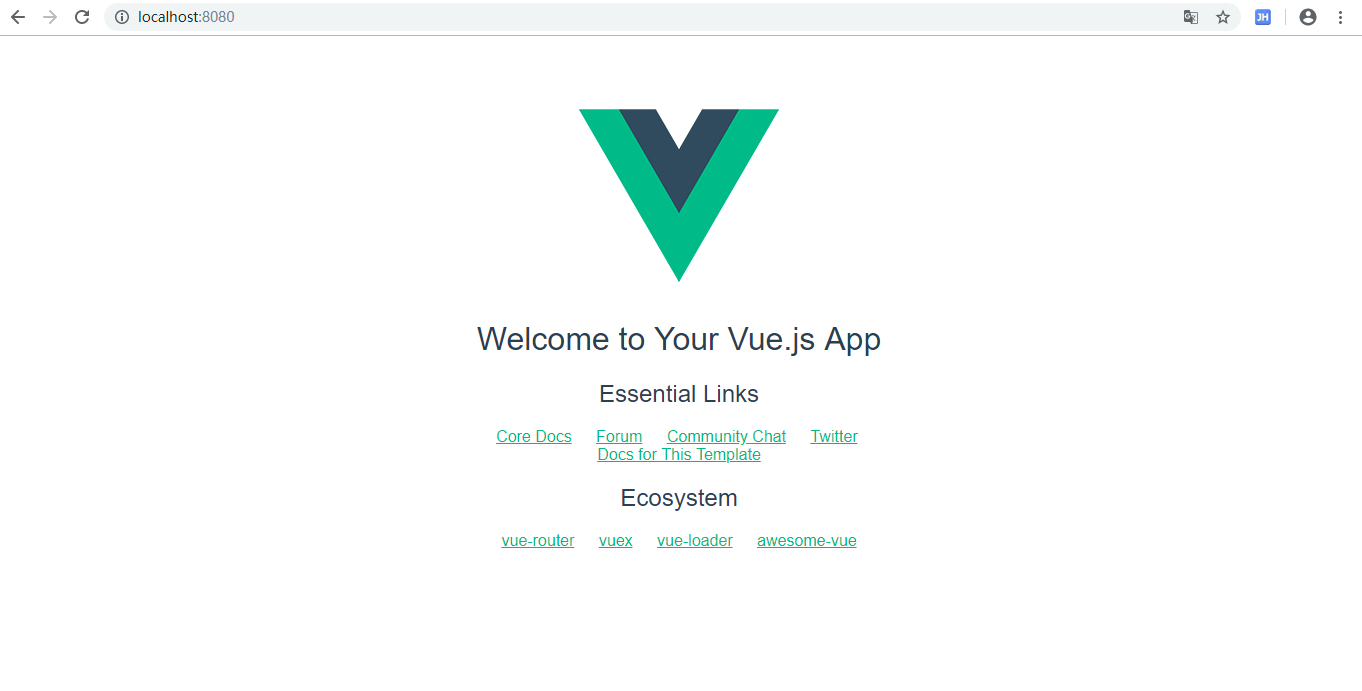
浏览器输入 http://localhost:8080
使用VS Code 打开项目(随便一款IDE打开即可)
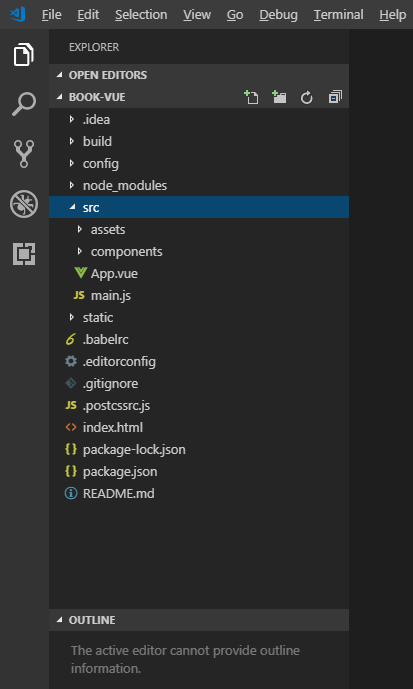
新建几个目录文件
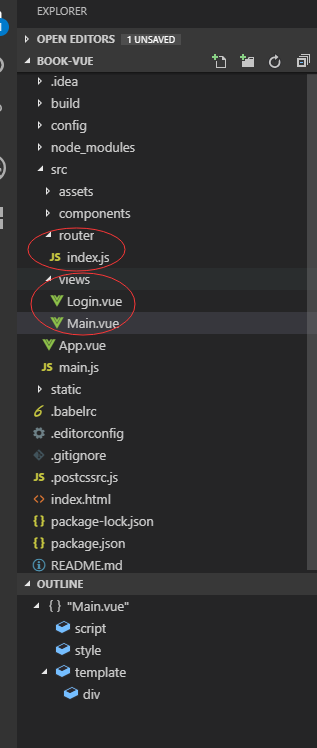
新建 views/Login.vue
<template>

  <div>

    <el-form ref="loginForm" :model="form" :rules="rules" label-width="80px" class="login-box">

      <h3 class="login-title">欢迎登录</h3>

      <el-form-item label="账号" prop="username">

        <el-input type="text" placeholder="请输入账号" v-model="form.username"/>

      </el-form-item>

      <el-form-item label="密码" prop="password">

        <el-input type="password" placeholder="请输入密码" v-model="form.password"/>

      </el-form-item>

      <el-form-item>

        <el-button type="primary" v-on:click="onSubmit('loginForm')">登录</el-button>

      </el-form-item>

    </el-form>

    <el-dialog

      title="温馨提示"

      :visible.sync="dialogVisible"

      width="30%"

      :before-close="handleClose">

      <span>请输入账号和密码</span>

      <span slot="footer" class="dialog-footer">

        <el-button type="primary" @click="dialogVisible = false">确 定</el-button>

      </span>

    </el-dialog>

  </div>

</template>

<script>

  export default {

    name: "Login",

    data() {

      return {

        form: {

          username: '',

          password: ''

        },

        // 表单验证,需要在 el-form-item 元素中增加 prop 属性

        rules: {

          username: [

            {required: true, message: '账号不可为空', trigger: 'blur'}

          ],

          password: [

            {required: true, message: '密码不可为空', trigger: 'blur'}

          ]

        },

        // 对话框显示和隐藏

        dialogVisible: false

      }

    },

    methods: {

      onSubmit(formName) {

        // 为表单绑定验证功能

        this.$refs[formName].validate((valid) => {

          if (valid) {

            // 使用 vue-router 路由到指定页面,该方式称之为编程式导航

            this.$router.push("/main");

          } else {

            this.dialogVisible = true;

            return false;

          }

        });

      }

    }

  }

</script>

<style lang="scss" scoped>

  .login-box {

    border: 1px solid #DCDFE6;

    width: 350px;

    margin: 180px auto;

    padding: 35px 35px 15px 35px;

    border-radius: 5px;

    -webkit-border-radius: 5px;

    -moz-border-radius: 5px;

    box-shadow: 0 0 25px #909399;

  }

  .login-title {

    text-align: center;

    margin: 0 auto 40px auto;

    color: #303133;

  }

</style>
新建 views/Main.vue
<template>

    <div>

      首页

    </div>

</template>

<script>

    export default {

        name: "Main"

    }

</script>
新建 router/index.js
import Vue from 'vue'

import Router from 'vue-router'

import Login from '../views/Login'

import Main from '../views/Main'

Vue.use(Router);

export default new Router({

  routes: [

    {

      // 登录页

      path: '/login',

      name: 'Login',

      component: Login

    },

    {

      // 首页

      path: '/main',

      name: 'Main',

      component: Main

    }

  ]

});
修改 App.vue
<template>

  <div id="app">

    <router-view/>

  </div>

</template>

<script>

  export default {

    name: 'App',

  }

</script>

<style>

#app {

  font-family: 'Avenir', Helvetica, Arial, sans-serif;

  -webkit-font-smoothing: antialiased;

  -moz-osx-font-smoothing: grayscale;

  text-align: center;

  color: #2c3e50;

  margin-top: 60px;

}

</style>
修改 main.js
import Vue from 'vue'

import VueRouter from 'vue-router'

import router from './router'

// 导入 ElementUI

import ElementUI from 'element-ui'

import 'element-ui/lib/theme-chalk/index.css'

import App from './App'

// 安装路由

Vue.use(VueRouter);

// 安装 ElementUI

Vue.use(ElementUI);

new Vue({

  el: '#app',

  // 启用路由

  router,

  // 启用 ElementUI

  render: h => h(App)

});
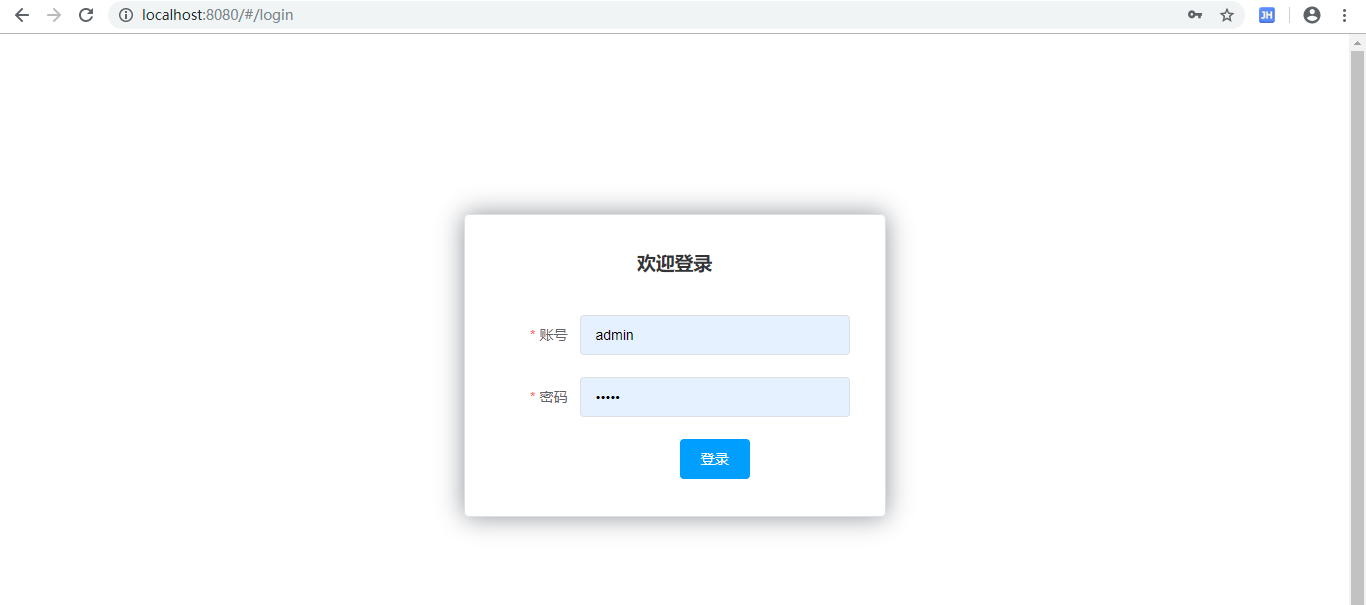
浏览器输入 : http://localhost:8080/#/login
未完待续
spring boot + vue 前后分离实现登录功能(一)的更多相关文章
- spring boot + vue 前后分离实现登录功能(三)
Spring boot 后台 github 地址 SpringBoot-book-vue-demo 使用tk.mytabis 简化mybatis 开发 使用 durid 连接池 连接Mysql pom ...
- spring boot + vue 前后分离实现登录功能(二)
安装 axios 进行路由转发 npm install axios --save-dev 或者 cnpm install axios --save-dev 修改 Main.js 新增 var axio ...
- 喜大普奔,两个开源的 Spring Boot + Vue 前后端分离项目可以在线体验了
折腾了一周的域名备案昨天终于搞定了. 松哥第一时间想到赶紧把微人事和 V 部落部署上去,我知道很多小伙伴已经等不及了. 1. 也曾经上过线 其实这两个项目当时刚做好的时候,我就把它们部署到服务器上了, ...
- 两个开源的 Spring Boot + Vue 前后端分离项目
折腾了一周的域名备案昨天终于搞定了. 松哥第一时间想到赶紧把微人事和 V 部落部署上去,我知道很多小伙伴已经等不及了. 1. 也曾经上过线 其实这两个项目当时刚做好的时候,我就把它们部署到服务器上了, ...
- 一个实际的案例介绍Spring Boot + Vue 前后端分离
介绍 最近在工作中做个新项目,后端选用Spring Boot,前端选用Vue技术.众所周知现在开发都是前后端分离,本文就将介绍一种前后端分离方式. 常规的开发方式 采用Spring Boot 开发项目 ...
- 前后端分离,我怎么就选择了 Spring Boot + Vue 技术栈?
前两天又有小伙伴私信松哥,问题还是职业规划,Java 技术栈路线这种,实际上对于这一类问题我经常不太敢回答,每个人的情况都不太一样,而小伙伴也很少详细介绍自己的情况,大都是一两句话就把问题抛出来了,啥 ...
- spring boot+vue实现H5聊天室客服功能
spring boot+vue实现H5聊天室客服功能 h5效果图 vue效果图 功能实现 spring boot + webSocket 实现 官方地址 https://docs.spring.io/ ...
- Spring Boot +Vue 项目实战笔记(三):数据库的引入
这一篇的主要内容是引入数据库并实现通过数据库验证用户名与密码. 一.引入数据库 之前说过数据库的采用是 MySQL,算是比较主流的选择,从性能和体量等方面都比较优秀,当然也有一些弊端,但数据库不是我们 ...
- Spring Boot + Vue 跨域请求问题
使用Spring Boot + Vue 做前后端分离项目搭建,实现登录时,出现跨域请求 Access to XMLHttpRequest at 'http://localhost/open/login ...
随机推荐
- JqueryAjax 常用复制
$.ajax({ type : "POST", url : "", data : {}, success : function(data) { } }); $. ...
- vue -- 数组过滤 filter (vue 表格)
如下图: 左边表格滑动滚轮,可以自动赋值右边表格: 现在是后台只有一个接口,把整个页面的数据全部返回出来了, 左边表格滑动到每一项时显示右边表格内容,但是需要code相同: 问题: 右边表格 ...
- PimaIndiansdiabetes-数据预处理实验(一)
有趣的事,Python永远不会缺席! 如需转发,请注明出处:小婷儿的python https://www.cnblogs.com/xxtalhr/p/10859517.html 链接:https:// ...
- SAP云平台上的ABAP编程环境里如何消费第三方服务
在ABAP On-Premises环境下,使用ABAP编程消费第三方服务,相信很多ABAP顾问都已经非常熟悉了,无非就是使用CL_HTTP_CLIENT或者CL_REST_HTTP_CLIENT来发送 ...
- Jenkins企业应用
一,CI/CD,DevOps介绍 持续集成(Continuous Integration,CI): 代码合并,构建,部署,测试都在一起,不断地执行这个过程,并对结果反馈 持续交付(Continuous ...
- 使用Ultra Librarian工具生成Altium封装和原理图符号的方法
最近在项目中用到了TI的单通道SPDT 模拟开关TS5A3160芯片,Altium官方的库中没有该元件的封装库,所以需要自己画.Ti在官网的产品介绍中提供了生成原理图符号和 PCB 布局封装的方法. ...
- python打造批量关键词排名查询工具
自己做站点的时候,都看看收录和关键词排名什么的,所以打造的这个批量关键词查询工具. #encoding:utf-8 import urllib,re,random,time,sys,StringIO, ...
- python基础--切片、迭代、列表生成式
原文地址:https://www.liaoxuefeng.com/wiki/0014316089557264a6b348958f449949df42a6d3a2e542c000/00143175684 ...
- python_面向对象——属性方法property
1.属性方法 class Student(object): def __init__(self,name): self.name = name @property #属性方法:把一个方法变成一个静态的 ...
- matlab(7) Regularized logistic regression : mapFeature(将feature增多) and costFunctionReg
Regularized logistic regression : mapFeature(将feature增多) and costFunctionReg ex2_reg.m文件中的部分内容 %% == ...