
原生Js_简易图片轮播模板
功能:图片自动循环轮播,通过点击“上一张”,“下一张”按钮来控制图片的切换
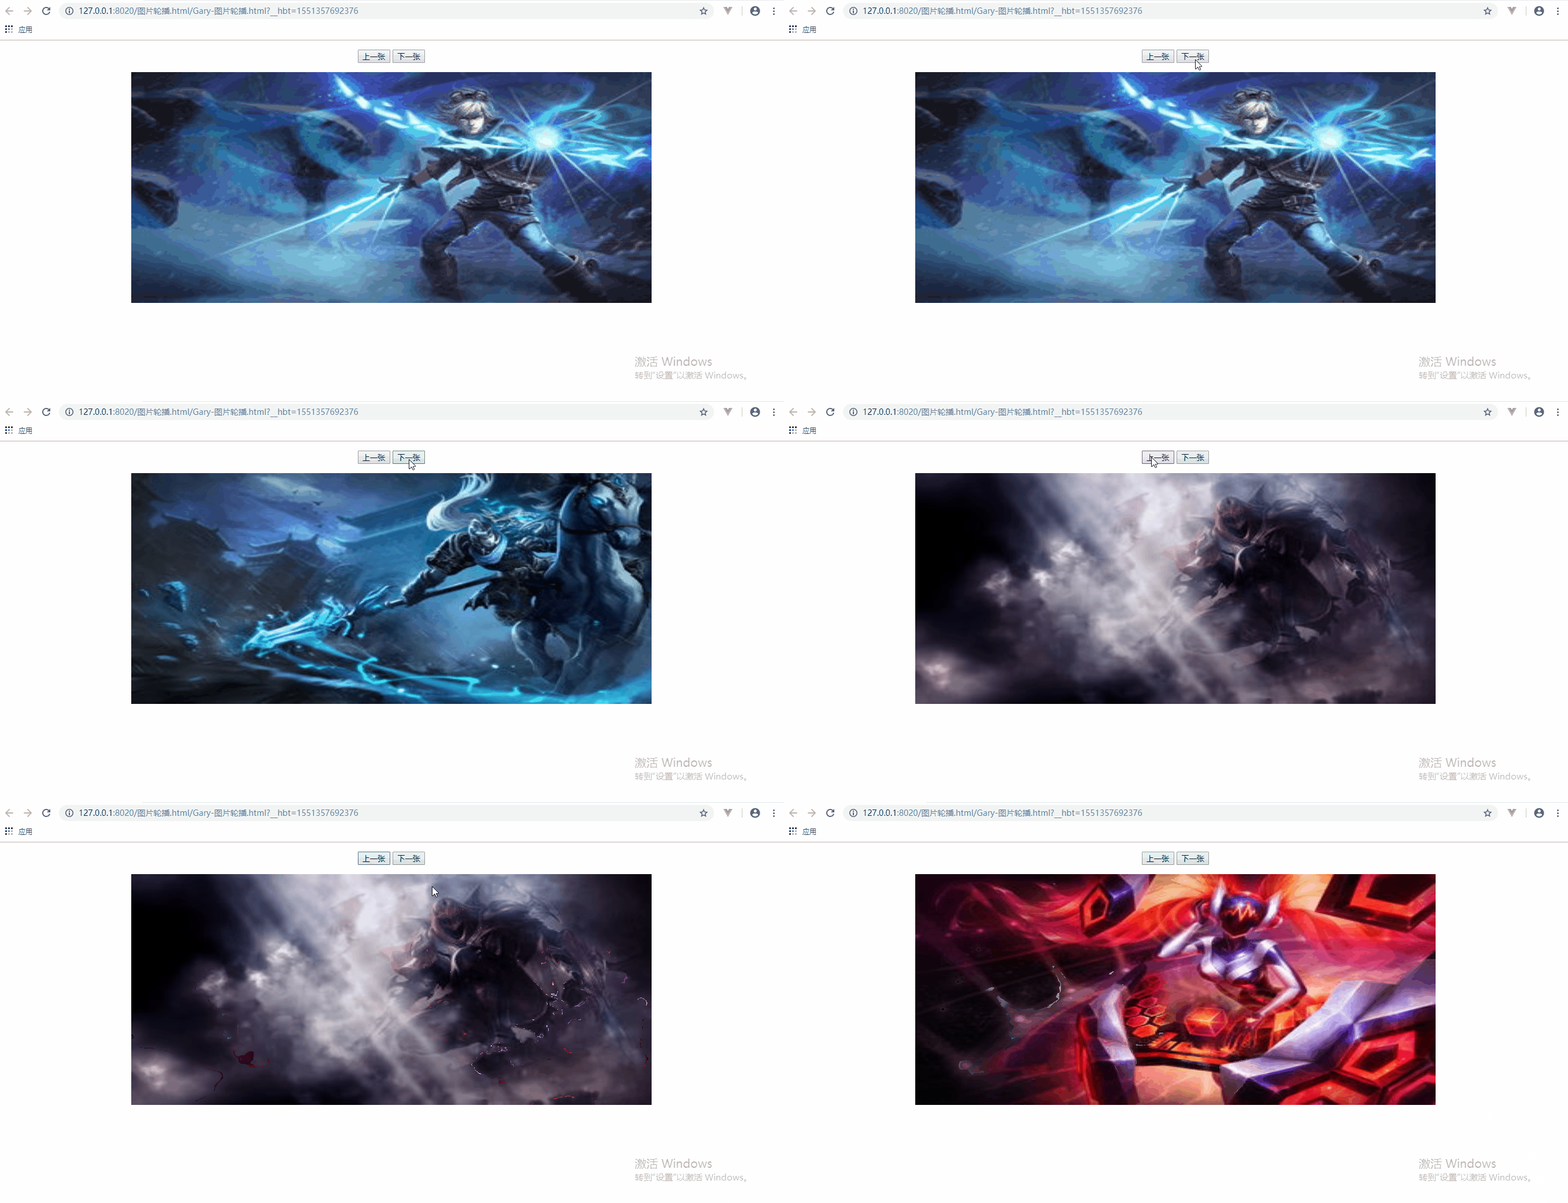
<!DOCTYPE html>

<html>

    <head>

        <meta charset="utf-8" />

        <title>Gary图片轮播</title>

        <style type="text/css">

            div{

                width: 900px;

                height:400px;

                margin: 0 auto;

            }

            div img{

                width:900px;

                height: 400px;

            }

        </style>

        <script type="text/javascript">

//            数组下标从0开始

            var index = 0;

            var pathArr = new Array(

                "img/1.jpg",

                "img/1.png",

                "img/2.jpg",

                "img/2.png"

            );

            function init(){

//                图片两秒进行一次切换

//                window.setTimeout(changeImg,2000);

//                图片每隔两秒循环进行切换

                window.setInterval(changeImg,2000);

            }

            function changeImg(){

                nextImg()

            }

            //点击上一张

            function preImg(){

//                得到img标签

                myimg = document.getElementById("myimg");

                index--;

                if(index<0){

                    index = pathArr.length-1;

                }

                myimg.src =pathArr[index];

            }

            function nextImg(){

                //                得到img标签

                myimg = document.getElementById("myimg");

                index++;

                if(index>pathArr.length){

                    index = 0;

                }

                myimg.src =pathArr[index];

            }

        </script>

    </head>

    <body onload="init()">

            <p align="center">

                <button onclick="preImg()">上一张</button>

                <button onclick="nextImg()">下一张</button>

            </p>

            <div>

                <img src="img/1.jpg" id="myimg"/>

            </div>

    </body>

</html>
Gary-图片轮播.html
Learn
一、设置图片的切换
二、设置图片的变更和循环
三、添加上一张和下一张按钮
四、图片轮播的优化
目录结构
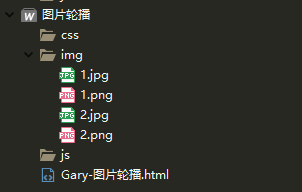
一、设置图片的切换
设置图片div样式
            <div>

                <img src="img/Q1.jpg" id="myimg"/></img>

            </div>
设置图片样式居中对齐
        <style type="text/css">

            div{

                width: 900px;

                height:400px;

                margin: 0 auto;

            }

            div img{

                width:900px;

                height: 400px;

            }

        </style>
使用JavaScript脚本去控制图片的切换
        <script type="text/javascript">

//            图片两秒进行一次切换

            window.setTimeout(changeImg,2000);

            function changeImg(){

//                得到img标签

                myimg = document.getElementById("myimg");

                myimg.src ="img/Q2.jpg";

            }

        </script>
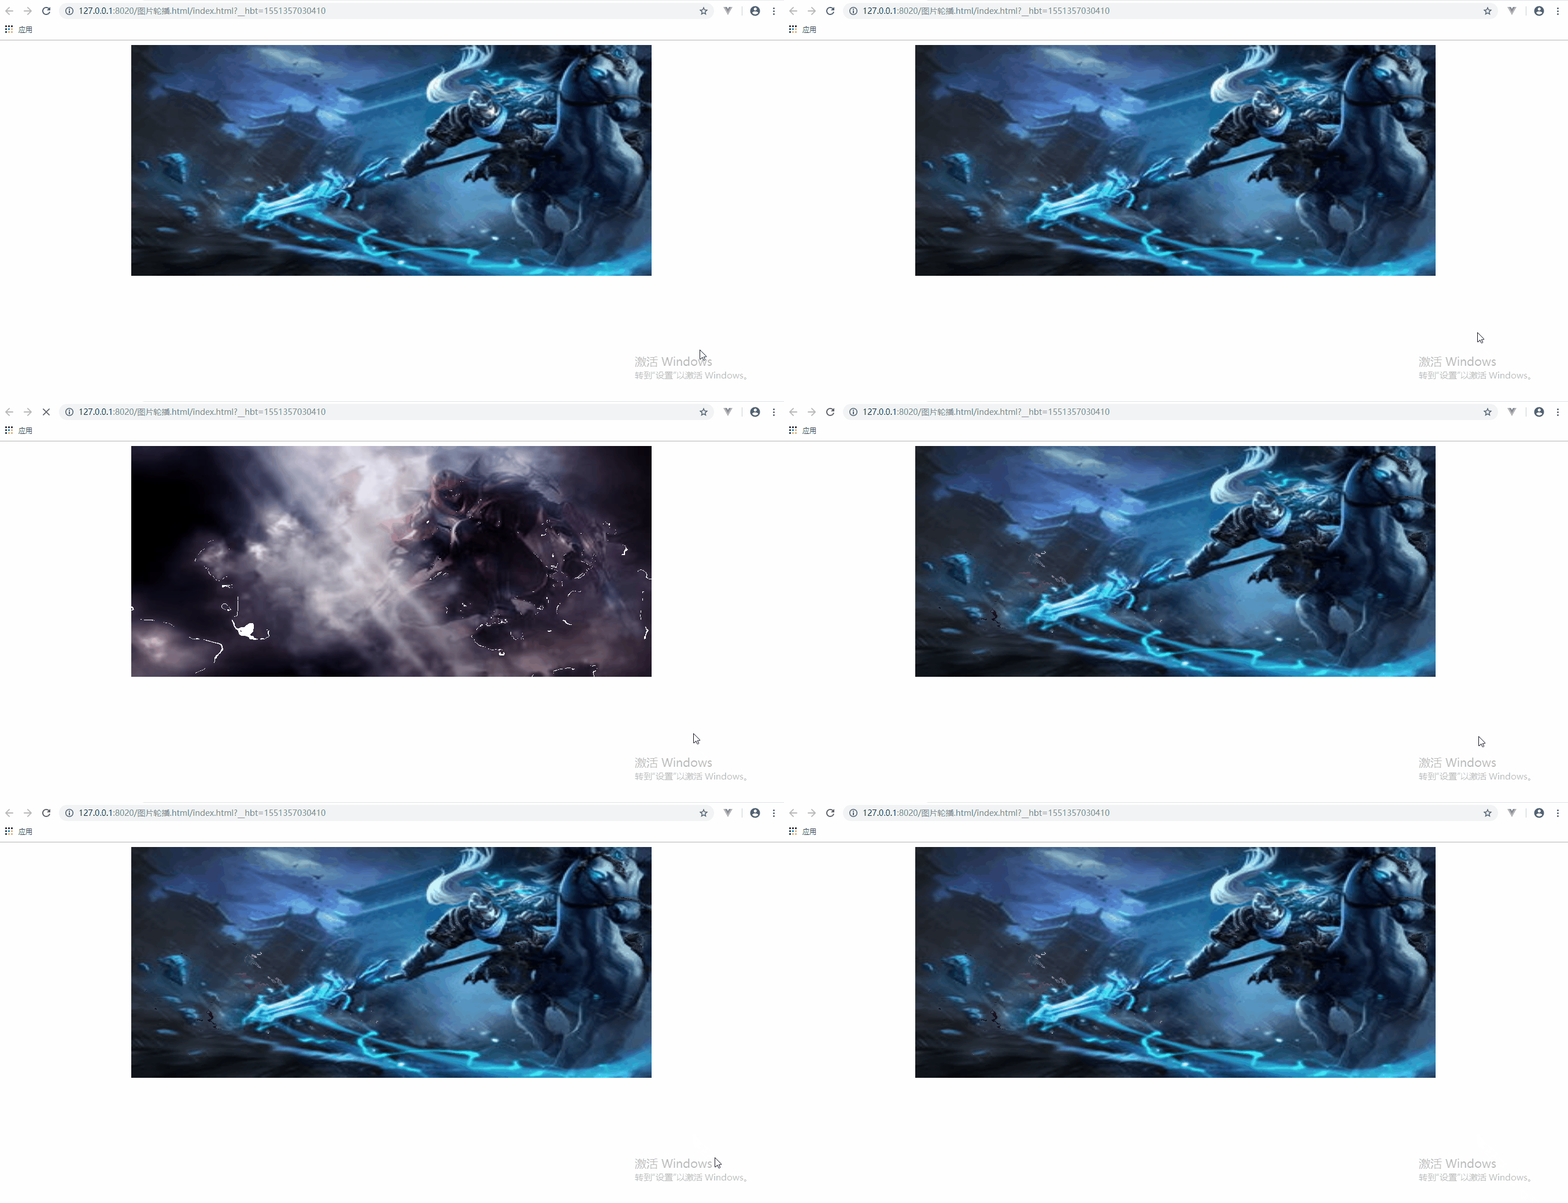
<!DOCTYPE html>

<html>

    <head>

        <meta charset="utf-8" />

        <title>Gary图片轮播</title>

        <style type="text/css">

            div{

                width: 900px;

                height:400px;

                margin: 0 auto;

            }

            div img{

                width:900px;

                height: 400px;

            }

        </style>

        <script type="text/javascript">

//            图片两秒进行一次切换

            window.setTimeout(changeImg,2000);

            function changeImg(){

//                得到img标签

                myimg = document.getElementById("myimg");

                myimg.src ="img/Q2.jpg";

            }

        </script>

    </head>

    <body>

            <div>

                <img src="img/Q1.jpg" id="myimg"/></img>

            </div>

    </body>

</html>
Gary-图片轮播.html
二、设置图片的变更和循环
通过给<body>标签添加onload="init()"方法实现当页面加载的时候再调用init()中初始化方法
    <body onload="init()">

            <div>

                <img src="img/1.jpg" id="myimg"/>

            </div>

    </body>
使用JavaScript控制图片每隔2s循环播放
        <script type="text/javascript">

                var index = 1;

            function init(){

//                图片两秒进行一次切换

//                window.setTimeout(changeImg,2000);

//                图片每隔两秒循环进行切换

                window.setInterval(changeImg,2000);

            }

            function changeImg(){

//                得到img标签

                myimg = document.getElementById("myimg");

                index++;

                if(index>2){

                    index = 1;

                }

                myimg.src ="img/"+index+".jpg";

            }

        </script>
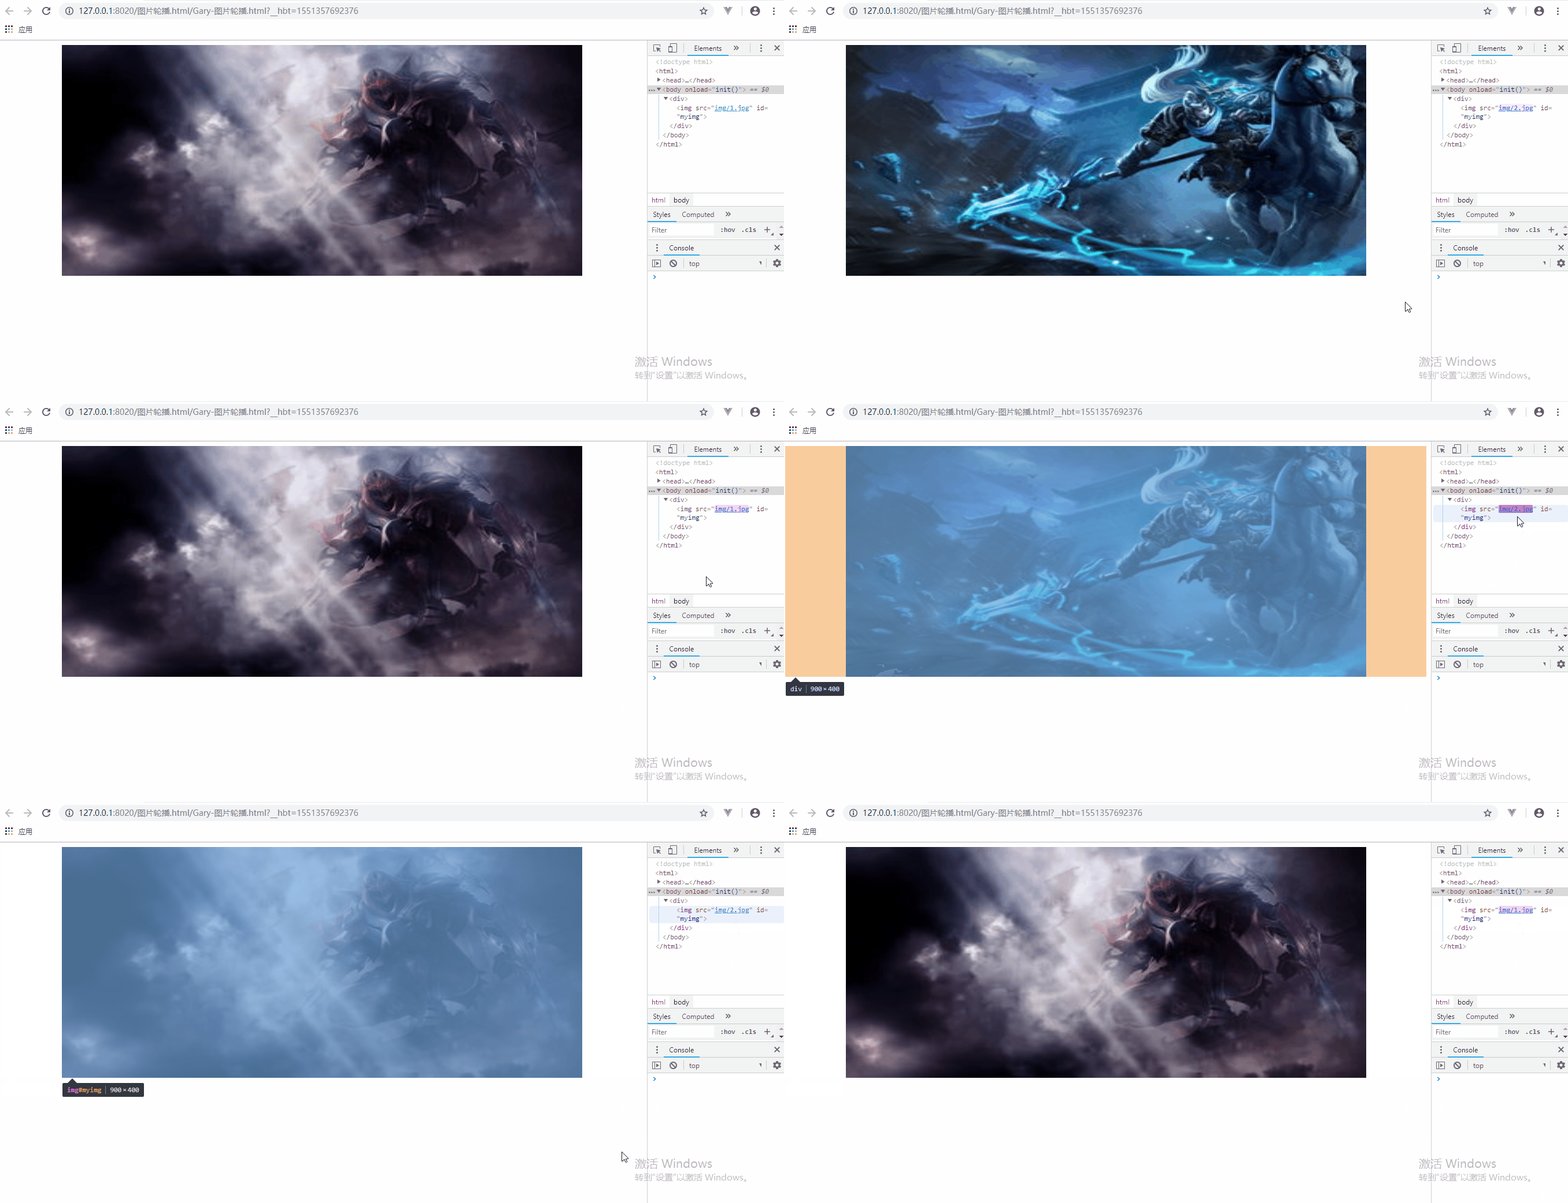
<!DOCTYPE html>

<html>

    <head>

        <meta charset="utf-8" />

        <title>Gary图片轮播</title>

        <style type="text/css">

            div{

                width: 900px;

                height:400px;

                margin: 0 auto;

            }

            div img{

                width:900px;

                height: 400px;

            }

        </style>

        <script type="text/javascript">

                var index = 1;

            function init(){

//                图片两秒进行一次切换

//                window.setTimeout(changeImg,2000);

//                图片每隔两秒循环进行切换

                window.setInterval(changeImg,2000);

            }

            function changeImg(){

//                得到img标签

                myimg = document.getElementById("myimg");

                index++;

                if(index>2){

                    index = 1;

                }

                myimg.src ="img/"+index+".jpg";

            }

        </script>

    </head>

    <body onload="init()">

            <div>

                <img src="img/1.jpg" id="myimg"/>

            </div>

    </body>

</html>
Gary-图片轮播.html
三、添加上一张和下一张按钮
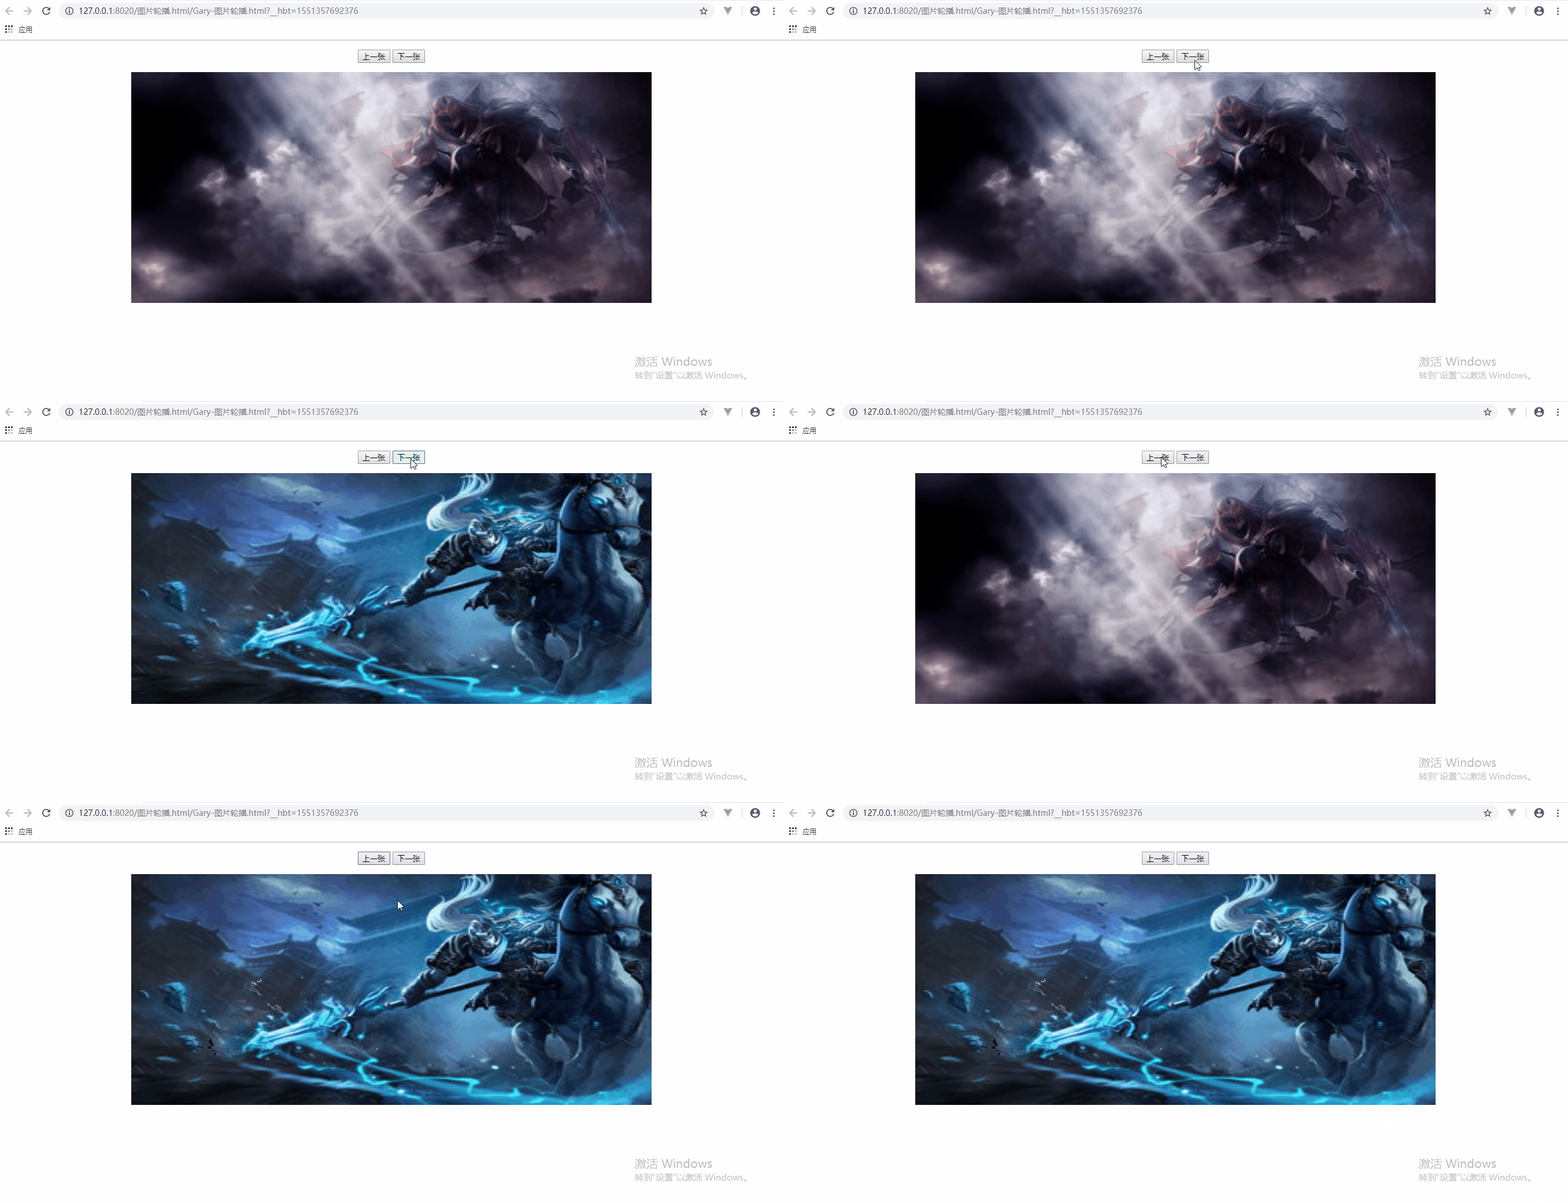
添加两个按钮并设置居中显示
            <p align="center">

                <button onclick="preImg()">上一张</button>

                <button onclick="nextImg()">下一张</button>

            </p>
添加点击按钮时调用上一张和下一张图片
    function changeImg(){

                nextImg()

            }

            //点击上一张

            function preImg(){

//                得到img标签

                myimg = document.getElementById("myimg");

                index--;

                if(index<1){

                    index = 2;

                }

                myimg.src ="img/"+index+".jpg";

            }

            function nextImg(){

                //                得到img标签

                myimg = document.getElementById("myimg");

                index++;

                if(index>2){

                    index = 1;

                }

                myimg.src ="img/"+index+".jpg";

            }
<!DOCTYPE html>

<html>

    <head>

        <meta charset="utf-8" />

        <title>Gary图片轮播</title>

        <style type="text/css">

            div{

                width: 900px;

                height:400px;

                margin: 0 auto;

            }

            div img{

                width:900px;

                height: 400px;

            }

        </style>

        <script type="text/javascript">

                var index = 1;

            function init(){

//                图片两秒进行一次切换

//                window.setTimeout(changeImg,2000);

//                图片每隔两秒循环进行切换

                window.setInterval(changeImg,2000);

            }

            function changeImg(){

                nextImg()

            }

            //点击上一张

            function preImg(){

//                得到img标签

                myimg = document.getElementById("myimg");

                index--;

                if(index<1){

                    index = 2;

                }

                myimg.src ="img/"+index+".jpg";

            }

            function nextImg(){

                //                得到img标签

                myimg = document.getElementById("myimg");

                index++;

                if(index>2){

                    index = 1;

                }

                myimg.src ="img/"+index+".jpg";

            }

        </script>

    </head>

    <body onload="init()">

            <p align="center">

                <button onclick="preImg()">上一张</button>

                <button onclick="nextImg()">下一张</button>

            </p>

            <div>

                <img src="img/1.jpg" id="myimg"/>

            </div>

    </body>

</html>
Gary-图片轮播.html
四、图片轮播的优化
为防止图片名不一定都是按Q1.jpg,Q2.jpg这种类型顺序排序,可以在先前的图片按钮点击遍历的基础上使用数组来存储图片的路径
//            数组下标从0开始

            var index = 0;

            var pathArr = new Array(

                "img/1.jpg",

                "img/1.png",

                "img/2.jpg",

                "img/2.png"

            );
点击上一张图片和下一张图片判定范围设置成pathArr.length
function changeImg(){

                nextImg()

            }

            //点击上一张

            function preImg(){

//                得到img标签

                myimg = document.getElementById("myimg");

                index--;

                if(index<0){

                    index = pathArr.length-1;

                }

                myimg.src =pathArr[index];

            }

            function nextImg(){

                //                得到img标签

                myimg = document.getElementById("myimg");

                index++;

                if(index>pathArr.length){

                    index = 0;

                }

                myimg.src =pathArr[index];

            }

<!DOCTYPE html>

<html>

    <head>

        <meta charset="utf-8" />

        <title>Gary图片轮播</title>

        <style type="text/css">

            div{

                width: 900px;

                height:400px;

                margin: 0 auto;

            }

            div img{

                width:900px;

                height: 400px;

            }

        </style>

        <script type="text/javascript">

//            数组下标从0开始

            var index = 0;

            var pathArr = new Array(

                "img/1.jpg",

                "img/1.png",

                "img/2.jpg",

                "img/2.png"

            );

            function init(){

//                图片两秒进行一次切换

//                window.setTimeout(changeImg,2000);

//                图片每隔两秒循环进行切换

                window.setInterval(changeImg,2000);

            }

            function changeImg(){

                nextImg()

            }

            //点击上一张

            function preImg(){

//                得到img标签

                myimg = document.getElementById("myimg");

                index--;

                if(index<0){

                    index = pathArr.length-1;

                }

                myimg.src =pathArr[index];

            }

            function nextImg(){

                //                得到img标签

                myimg = document.getElementById("myimg");

                index++;

                if(index>pathArr.length){

                    index = 0;

                }

                myimg.src =pathArr[index];

            }

        </script>

    </head>

    <body onload="init()">

            <p align="center">

                <button onclick="preImg()">上一张</button>

                <button onclick="nextImg()">下一张</button>

            </p>

            <div>

                <img src="img/1.jpg" id="myimg"/>

            </div>

    </body>

</html>
Gary-图片轮播.html
原生Js_简易图片轮播模板的更多相关文章
- 原生js实现图片轮播思路分析
一.复习原生js实现图片轮播 1.要点 自动轮播 点击小圆圈按钮,显示相应图片 点击左右箭头,实现向前向后轮播图片 2.实现思路 <div id="container"> ...
- 原生js实现图片轮播效果
思路:设置父容器(一定宽度,一定高度,相对定位,子容器超出部分进行隐藏),子容器图片并排(浮动,绝对定位,每次点击进行相应的左或右偏移量) 1.html: <!DOCTYPE html> ...
- JavaScript学习---简易图片轮播
效果如下: 图片定时轮播 点击左右控制显示下一张或上一张图片 index.html文件 <html> <head> <title> js编写实现幻灯片效果 < ...
- 原生Javascript实现图片轮播效果
首先引入js运动框架 function getStyle(obj,name){ if(obj.currentStyle){ return obj.currentStyle[name]; } else{ ...
- jquery的图片轮播 模板类型
先说一下用到的几个重要的事件 j jQuery on()方法是官方推荐的绑定事件的一个方法. $(selector).on(event,childSelector,data,function,map) ...
- 原生JS实现图片轮播
<!doctype html> <html lang="en"> <head> <meta charset="UTF-8&quo ...
- JS: 图片轮播模板——左右移动,点击编码移动,自动轮播
<!DOCTYPE html><html> <head> <meta charset="UTF-8"> <title> ...
- 原生Js_使用setInterval() 方法实现图片轮播功能
用javascript图片轮播功能 <!DOCTYPE html> <html> <head> <meta charset="utf-8" ...
- 原生JS实现"旋转木马"效果的图片轮播插件
一.写在最前面 最近都忙一些杂七杂八的事情,复习软考.研读经典...好像都好久没写过博客了... 我自己写过三个图片轮播,一个是简单的原生JS实现的,没有什么动画效果的,一个是结合JQuery实现的, ...
随机推荐
- 解决MyEclipse发布按钮无效的办法
删除Workspaces目录(存放您MyEclipse项目的地方)下的 “/.metadata/.plugins/org.eclipse.core.runtime/.settings/com.genu ...
- EntityFramework学习要点记一
一.Entity的注解属性(Annotations)不管是code first还是db first,都需要用到注解属性,至于用System.ComponentModel.DataAnnotations ...
- 如何调试Python程序 通过IDLE
在python3.3环境下 1.写一个简单地Python源文件,比如test.py,内容如下: import sys, osdef test(arg1, arg2): print "begi ...
- node 基本搭建 server.js
const express = require('express'); const expressStatic = require('express-static'); const bodyparse ...
- 描述Cookie和Session的作用,区别和各自的应用范围,Session工作原理
Session用于保存每个用户的专用信息. 每个客户端用户访问时,服务器都为每个用户分配一个唯一的会话ID(Session ID) . 她的生存期是用户持续请求时间再加上一段时间(一般是20分钟左右) ...
- 构建虚拟工控环境系列 - 罗克韦尔虚拟PLC
一. 概述 本篇主要介绍罗克韦尔虚拟PLC的搭建,使用的操作系统为Windows7 x86 Ultimate(DEEP_GHOST_WIN7_SP1_X86_V2015_06.iso),虚拟化软件为 ...
- 自学python:python学习笔记之Ubuntu 16.04网络的配置
Ubuntu 作为一个Linux的发行版,在桌面环境的易用性上做了很多改善,对推动Linux的推广做了很大的贡献.同时,它作为服务器的操作系统也越来越多的被使用.当然,服务器端可能更多的人在使用Red ...
- 第11章 Spring Boot使用Actuator
在生产环境中,需要实时或定期监控服务的可用性,spring-Boot的Actuator 功能提供了很多监控所需的接口. Actuator是Spring Boot提供的对应用系统的自省和监控的集成功能, ...
- JSON跨域读取那点事(JSONP跨域访问)
最近在码一个小项目,需要远程读取json.因为需求很少,如果引用jquery使用其getjson方法就显得很浪费嘛= = 这篇文章很详细的解释了JSON跨域读取的前世今生,把原理讲得很透彻.特此分享. ...
- Selenium(3)
练习1:Ecshop 录制登录后退出业务 打开系统 存储页面的标题 a.点击"登录"按钮 b.输入用户名:testing 存储输入的用户名 c.输入密码:123456 d.点击&q ...