Spring Boot + MyBatis 多模块项目搭建教程
一、前言
1、开发工具及系统环境
- IDE:IntelliJ IDEA 2020.2.2
- 系统环境:Windows
2、项目目录结构
biz层:业务逻辑层
dao层:数据持久层
web层:请求处理层
二、搭建步骤
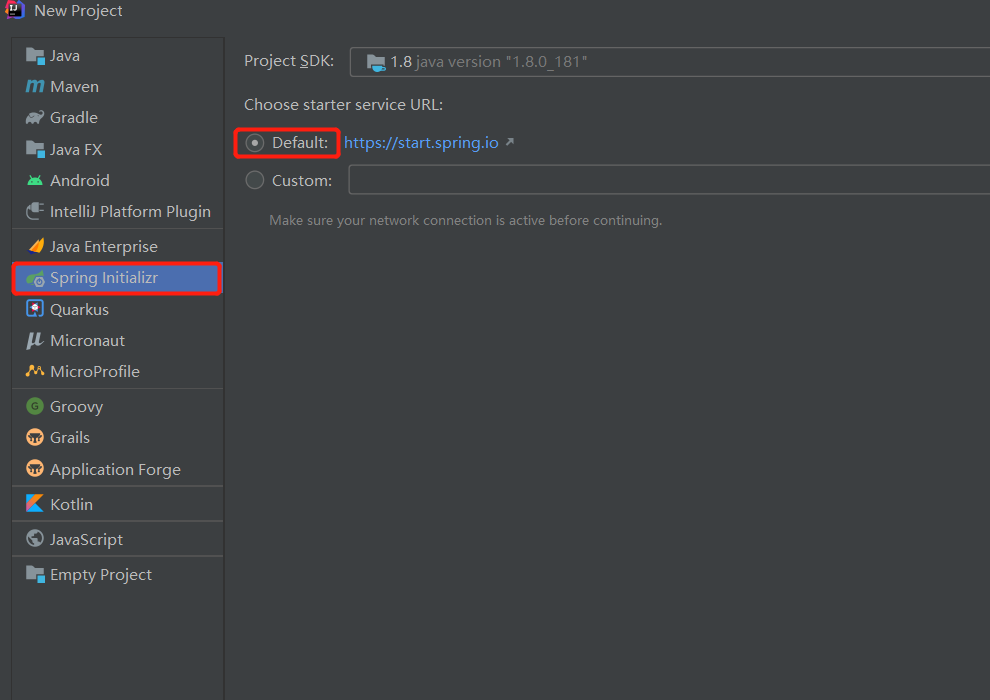
1、创建父工程
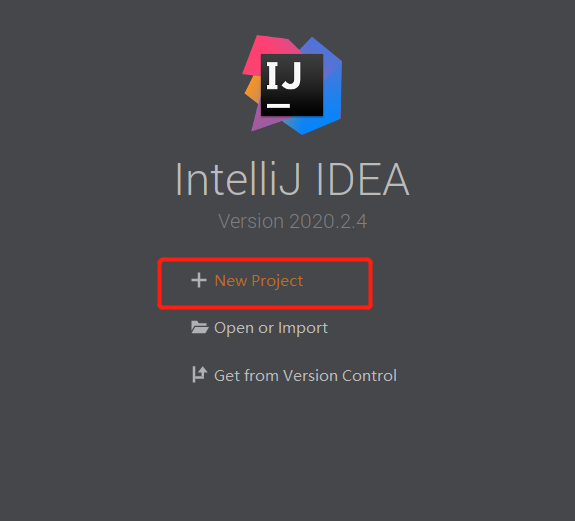
选择Spring Initializr,Initializr默认选择Default,点击Next
点击Next

这一步不需要选择直接Next

点击Finish创建项目

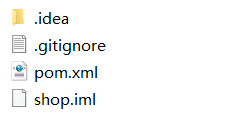
最终得到的项目目录结构如下,删除无用的.mvn目录、src目录、mvnw及mvnw.cmd文件,最终只留.gitignore和pom.xml


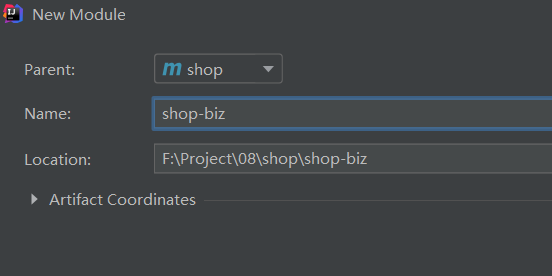
2、创建子模块
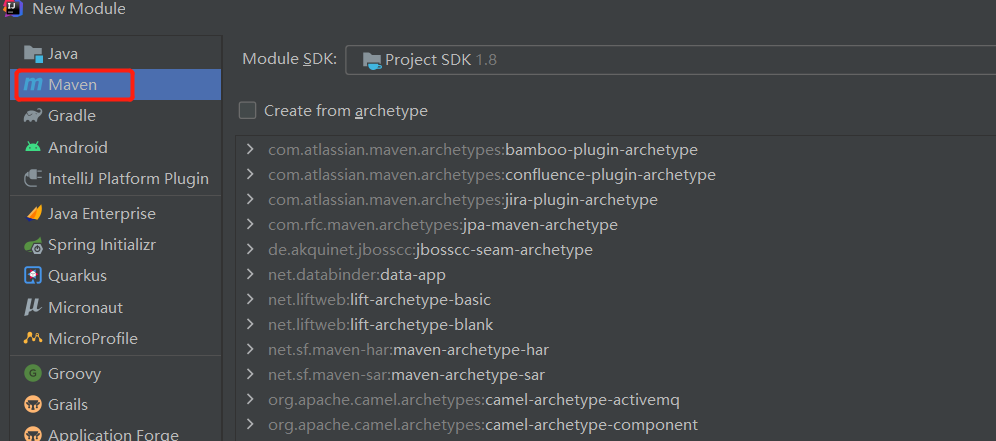
选择项目根目录shop右键呼出菜单,选择New -> Module

选择Maven,点击Next
填写ArifactId,Module name增加横杠提升可读性,点击Finish
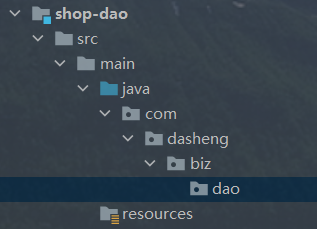
同理添加shop-dao、shop-web子模块,最终得到项目目录结构如下图

3、运行项目
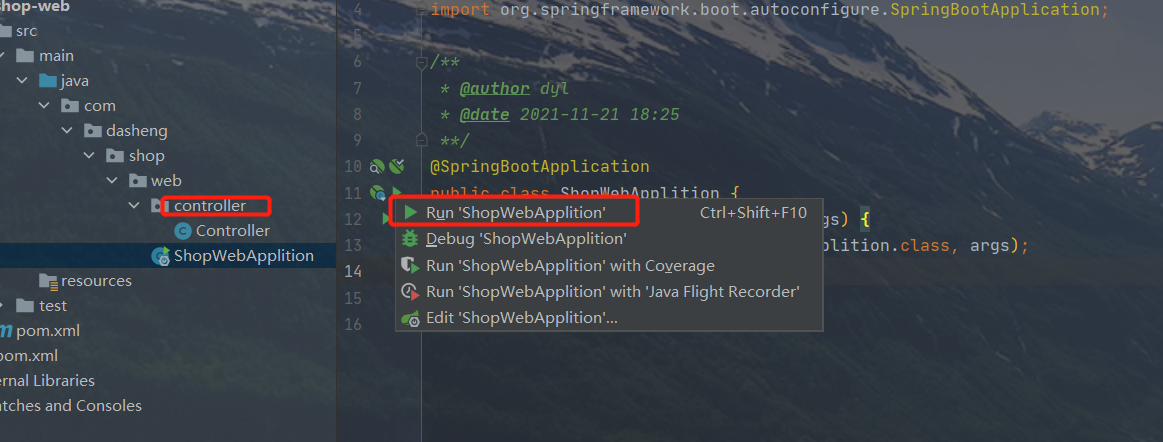
在shop-web层创建com.dasheng.shop.web包(注意:这是多层目录结构并非单个目录名,com >> dasheng >> shop>> web)并添加入口类ShopWebApplication.java
@SpringBootApplication

public class ShopWebApplition {

    public static void main(String[] args) {

        SpringApplication.run(ShopWebApplition.class, args);

    }

}
在com.dasheng.shop.web包中新建controller文件目录并新建一个controller,添加test方法测试接口是否可以正常访问
@RestController

@RequestMapping("demo")

public class Controller {

    @GetMapping("test")

    public String test() {

        return "Hello World!";

    }

}
运行ShopWebApplication类中的main方法启动项目,默认端口为8080
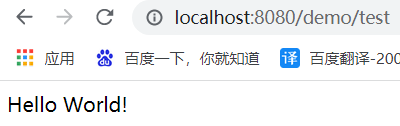
访问http://localhost:8080/demo/test得到如下效果
以上虽然项目能正常启动,但是模块间的依赖关系却还未添加,下面继续完善。
4、配置模块间的依赖关系
各个子模块的依赖关系:
biz层依赖dao层,
web层依赖biz层
父pom文件中声明所有子模块依赖(dependencyManagement及dependencies的区别自行查阅文档)
<dependencyManagement>
    <dependencies>
        <dependency>
            <groupId>com.dasheng.shop</groupId>
            <artifactId>shop-biz</artifactId>
            <version>0.0.1-SNAPSHOT</version>
        </dependency>
        <dependency>
            <groupId>com.dasheng.shop</groupId>
            <artifactId>shop-dao</artifactId>
            <version>0.0.1-SNAPSHOT</version>
        </dependency>
        <dependency>
            <groupId>com.dasheng.shop</groupId>
            <artifactId>shop-web</artifactId>
            <version>0.0.1-SNAPSHOT</version>
        </dependency>
    </dependencies>
</dependencyManagement>
在shop-web层中的pom文件中添加shop-biz依赖
<dependencies>

    <dependency>

        <groupId>com.dasheng.shop</groupId>

        <artifactId>shop-biz</artifactId>

    </dependency>

</dependencies>
在shop-biz层中的pom文件中添加shop-dao依赖
<dependencies>

    <dependency>

        <groupId>com.dasheng.shop</groupId>

        <artifactId>shop-dao</artifactId>

    </dependency>

</dependencies>
5. web层调用biz层接口测试
在shop-biz层创建com.dasheng.shop.biz包,添加service目录并在其中创建DemoService接口类
public interface DemoService {

    String test();

}
@Service("DemoService")

public class DemoServiceImpl implements DemoService {

    @Override

    public String test() {

        return null;

    }

}
com.dasheng.biz.web.controllerController通过@Autowired注解注入DemoService,修改DemoController的test方法使之调用DemoService的test方法,最终如下所示:
@Autowired

    private DemoService demoService;

@GetMapping("test2")

    public String test2() {

        return demoService.test();

    }
再次运行ShopWebApplication类中的main方法启动项目,发现如下报错
***************************

APPLICATION FAILED TO START

***************************

Description:

Field demoService in com.dasheng.biz.web.controller.Controller required a bean of type 'com.dasheng.biz.service.DemoService' that could not be found.

The injection point has the following annotations:

	- @org.springframework.beans.factory.annotation.Autowired(required=true)

Action:

Consider defining a bean of type 'com.dasheng.biz.service.DemoService' in your configuration.

Process finished with exit code 1
原因是找不到DemoService类,此时需要在ShopWebApplication入口类中增加包扫描,设置@SpringBootApplication注解中的scanBasePackages值为com.dasheng.shop,最终如下所示
shop-web的pom加入
<dependency>

            <groupId>org.mybatis.spring.boot</groupId>

            <artifactId>mybatis-spring-boot-starter</artifactId>

            <version>1.1.1</version>

        </dependency>

        <dependency>

            <groupId>mysql</groupId>

            <artifactId>mysql-connector-java</artifactId>

            <scope>runtime</scope>

            <version>5.1.27</version>

        </dependency>

        <dependency>

            <groupId>org.mybatis</groupId>

            <artifactId>mybatis-spring</artifactId>

            <version>1.3.2</version>

        </dependency>

applicatio.yml配置 新建applicatio.yml配置文件:https://blog.csdn.net/weixin_44848573/article/details/106445457
spring:

  datasource:

    driver-class-name: com.mysql.jdbc.Driver

    username: root

    password: root

    url:  jdbc:mysql://localhost:3306/test01?useUnicode=true&characterEncoding=utf8&allowMultiQueries=true
@SpringBootApplication(scanBasePackages = "com.dasheng.biz")

@MapperScan("com.dasheng.biz.dao")

public class ShopWebApplition {

    public static void main(String[] args) {

        SpringApplication.run(ShopWebApplition.class, args);

    }

}
完成!!

业务层直接调用(@Autowired)dao层(Mybatis)就完事了这不在叙述了,因为没有到入实体,项目放到gitee了,有需要的同学可以下载哦!
https://gitee.com/diaoyulin/shop.git
Spring Boot + MyBatis 多模块项目搭建教程的更多相关文章
- SpringBoot+Mybatis多模块项目搭建教程
一.前言 框架为SpringBoot+Mybatis,本篇主要记录了在IDEA中搭建SpringBoot多模块项目的过程. 1.开发工具及系统环境 IDE:IntelliJ IDEA 2018.2 系 ...
- Spring Boot + JPA 多模块项目无法注入 JpaRepository 接口
问题描述 Spring Boot + JPA 多模块项目,启动报异常: nested exception is org.springframework.beans.factory.NoSuchBean ...
- Spring框架学习笔记(8)——spring boot+mybatis plus+mysql项目环境搭建
之前写的那篇Spring框架学习笔记(5)--Spring Boot创建与使用,发现有多小细节没有提及,,正好现在又学习了mybatis plus这款框架,打算重新整理一遍,并将细节说清楚 1.通过I ...
- spring boot:构建多模块项目(spring boot 2.3.1)
一,为什么要使用多模块? 1,结构更清晰,方便管理 如果只是一个小项目当然没有问题, 但如果功能越增越多则管理越来越复杂, 多模块可以使项目中模块间的结构分离 2,把项目划分成多 ...
- 在Idea创建Spring Boot + MyBatis的web项目
创建步骤如下 选择Spring initializr 2. 修改group 与 atifact id,点击next 3. dependencies里面选择Web->Web , SQL -> ...
- Spring Boot 项目实战(一)Maven 多模块项目搭建
一.前言 最近公司项目准备开始重构,框架选定为 Spring Boot ,本篇主要记录了在 IDEA 中搭建 Spring Boot Maven 多模块项目的过程. 二.软件及硬件环境 macOS S ...
- Spring boot Mybatis整合构建Rest服务(超细版)
Springboot+ Mybatis+MySql整合构建Rest服务(涵盖增.删.改.查) 1.概要 1.1 为什么要使用Spring boot? 1.1.1 简单方便.配置少.整合了大多数框架 ...
- SpringBoot+Mybatis多模块(module)项目搭建教程
一.前言 最近公司项目准备开始重构,框架选定为SpringBoot+Mybatis,本篇主要记录了在IDEA中搭建SpringBoot多模块项目的过程. 1.开发工具及系统环境 IDE:Intelli ...
- spring boot+mybatis+quartz项目的搭建完整版
1. 利用spring boot提供的工具(http://start.spring.io/)自动生成一个标准的spring boot项目架构 2. 因为这里我们是搭建spring boot+mybat ...
随机推荐
- 【死磕NIO】— 阻塞IO,非阻塞IO,IO复用,信号驱动IO,异步IO,这你真的分的清楚吗?
通过上篇文章([死磕NIO]- 阻塞.非阻塞.同步.异步,傻傻分不清楚),我想你应该能够区分了什么是阻塞.非阻塞.异步.非异步了,这篇文章我们来彻底弄清楚什么是阻塞IO,非阻塞IO,IO复用,信号驱动 ...
- 12种 vo2dto 方法,就 BeanUtils.copyProperties 压测最拉胯!【快双11了,别用错喽】
作者:小傅哥 博客:https://bugstack.cn 原文:https://mp.weixin.qq.com/s/Xq7oQg7dYESMYxHVnxX8Dw 沉淀.分享.成长,让自己和他人都能 ...
- 迁移appseting.json创建自定义配置中心
创建一个自定义的配置中心,将框架中各类配置,迁移至数据库,支持切换数据库,热重载. 说在前面的话 自使用.net Core框架以来,配置大多存在json文件中: [框架默认加载配置]文件为appset ...
- C++学习 2 指针
指针:指针保存的是数据的地址: #include<iostream> using namespace std; int main() { //1.定义指针 int a = 10; //指针 ...
- Spring IOC Container原理解析
Spring Framework 之 IOC IOC.DI基础概念 关于IOC和DI大家都不陌生,我们直接上martin fowler的原文,里面已经有DI的例子和spring的使用示例 <In ...
- 微信小程序 开发 “婚礼邀请函”
成品展示: 5个页面 我们来讲解哈(上面地图位置随便定的点) 1.首页开发 一开始进来显示首页 然后默认开始播放背景音乐,这个背景音乐点击右上角图标可以暂停(有动画),然后点击新郎和新娘文字可以调到 ...
- 题解 2020.10.24 考试 T3 数列
题目传送门 题目大意 给出一个数 \(n\),你要构造一个数列,满足里面每个数都是 \(n\) 的因子,且每一个数与前面不互质的个数不超过 \(1\).问有多少种合法方案. 保证 \(n\) 的不同质 ...
- nmap常用命令汇总
nmap常用命令 选项 解释 使用举例 举例说明 Nmap主机发现 -sP Ping扫描 -P0 无Ping扫描 -PS TCP SYN Ping扫描 -PA TCP ACK ...
- JavaScript05
显示和隐藏 元素的显示和隐藏 元素display属性可控制元素的显示和隐藏,先获取元素对象,再通过点语法调用style对象中的display属性 语法格式: 元素.style.display='non ...
- 【UE4 C++】UKismetMathLibrary 源代码
// Copyright Epic Games, Inc. All Rights Reserved. #pragma once #include "CoreMinimal.h" # ...