xadmin引入django-debug-toolbar调试工具
一、安装:
pip install django-debug-toolbar
安装django-debug-toolbar库
https://github.com/jazzband/django-debug-toolbar
GitHub主页
二、设置demo/settings.py:


import os # Build paths inside the project like this: os.path.join(BASE_DIR, ...)
BASE_DIR = os.path.dirname(os.path.dirname(os.path.abspath(__file__))) # Quick-start development settings - unsuitable for production
# See https://docs.djangoproject.com/en/2.2/howto/deployment/checklist/ # SECURITY WARNING: keep the secret key used in production secret!
SECRET_KEY = 'db@02^k!pw$6kx*0$+9#%2h@vro-*h^+xs%5&(+q*b181&o$)l' # SECURITY WARNING: don't run with debug turned on in production!
DEBUG = True ALLOWED_HOSTS = [] # Application definition INSTALLED_APPS = [
'django.contrib.admin',
'django.contrib.auth',
'django.contrib.contenttypes',
'django.contrib.sessions',
'django.contrib.messages',
'django.contrib.staticfiles',
'product.apps.ProductConfig', 'xadmin',
'crispy_forms',
'reversion',
# 添加django-xadmin 'import_export',
# 导入导出 'ckeditor',
'ckeditor_uploader',
# 富文本编辑器 'rest_framework',
# django-rest-framework 'drf_yasg',
# drf-yasg 'debug_toolbar',
# django-debug-toolbar
] MIDDLEWARE = [
'django.middleware.security.SecurityMiddleware',
'django.contrib.sessions.middleware.SessionMiddleware',
'django.middleware.common.CommonMiddleware',
'django.middleware.csrf.CsrfViewMiddleware',
'django.contrib.auth.middleware.AuthenticationMiddleware',
'django.contrib.messages.middleware.MessageMiddleware',
'django.middleware.clickjacking.XFrameOptionsMiddleware', 'debug_toolbar.middleware.DebugToolbarMiddleware',
# 启用debug_toolbar中间件
] ROOT_URLCONF = 'demo.urls' TEMPLATES = [
{
'BACKEND': 'django.template.backends.django.DjangoTemplates',
'DIRS': [os.path.join(BASE_DIR, 'templates')]
,
'APP_DIRS': True,
'OPTIONS': {
'context_processors': [
'django.template.context_processors.debug',
'django.template.context_processors.request',
'django.contrib.auth.context_processors.auth',
'django.contrib.messages.context_processors.messages',
],
},
},
] WSGI_APPLICATION = 'demo.wsgi.application' # Database
# https://docs.djangoproject.com/en/2.2/ref/settings/#databases DATABASES = {
'default': {
'ENGINE': 'django.db.backends.mysql',
'NAME': 'demo',
'HOST': '192.168.1.106',
'PORT': '3306',
'USER': 'root',
'PASSWORD': 'Abcdef@123456',
}
}
# MySQL数据库配置 # Password validation
# https://docs.djangoproject.com/en/2.2/ref/settings/#auth-password-validators AUTH_PASSWORD_VALIDATORS = [
{
'NAME': 'django.contrib.auth.password_validation.UserAttributeSimilarityValidator',
},
{
'NAME': 'django.contrib.auth.password_validation.MinimumLengthValidator',
},
{
'NAME': 'django.contrib.auth.password_validation.CommonPasswordValidator',
},
{
'NAME': 'django.contrib.auth.password_validation.NumericPasswordValidator',
},
] # Internationalization
# https://docs.djangoproject.com/en/2.2/topics/i18n/ LANGUAGE_CODE = 'zh-hans'
# 简体中文界面 TIME_ZONE = 'Asia/Shanghai'
# 亚洲/上海时区 USE_I18N = True USE_L10N = True USE_TZ = False
# 不使用国际标准时间 # Static files (CSS, JavaScript, Images)
# https://docs.djangoproject.com/en/2.2/howto/static-files/ STATIC_URL = '/static/'
STATIC_ROOT = os.path.join(BASE_DIR, 'static')
# 定义静态文件的目录 MEDIA_URL = '/media/'
MEDIA_ROOT = os.path.join(BASE_DIR, 'media')
# 定义图片存放的目录 IMPORT_EXPORT_USE_TRANSACTIONS = True
# 在导入数据时使用数据库事务,默认False CKEDITOR_BASEPATH = os.path.join(BASE_DIR, "/static/ckeditor/ckeditor/")
# 配置CKEditor的模板路径
CKEDITOR_CONFIGS = {
'default': {
'toolbar': 'full',
'height': 300,
'width': 900,
},
}
# 使用默认的主题名称
CKEDITOR_UPLOAD_PATH = "uploads/"
# 配置图片存储的目录,不用创建
# 默认使用MEDIA_ROOT,所以路径是media/uploads
CKEDITOR_RESTRICT_BY_DATE = True
# 按年/月/日的目录存储图片
CKEDITOR_BROWSE_SHOW_DIRS = True
# 按存储在其中的目录对图像进行分组,并按日期排序
CKEDITOR_IMAGE_BACKEND = "pillow"
# 启用缩略图 REST_FRAMEWORK = {
'DEFAULT_PAGINATION_CLASS': 'rest_framework.pagination.PageNumberPagination',
'PAGE_SIZE': 5
# 分页
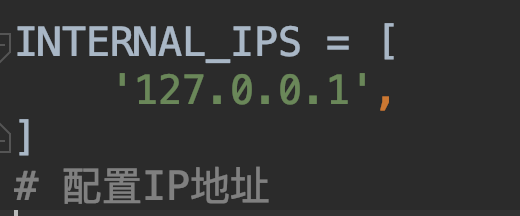
} INTERNAL_IPS = [
'127.0.0.1',
]
# 配置IP地址
三、复制静态资源文件:
python manage.py collectstatic
四、路由demo/urls.py:

import xadmin

from django.conf import settings
from django.conf.urls import url
from django.conf.urls.static import static
from django.urls import path, include
from rest_framework import routers, permissions
from drf_yasg.views import get_schema_view
from drf_yasg import openapi

from product import views

router = routers.DefaultRouter()
router.register('product_info', views.ProductInfoViewSet)

schema_view = get_schema_view(
   openapi.Info(
      title="测试工程API",
      default_version='v1.0',
      description="测试工程接口文档",
      terms_of_service="https://www.google.com/policies/terms/",
      contact=openapi.Contact(email="contact@snippets.local"),
      license=openapi.License(name="BSD License"),
   ),
   public=True,
   permission_classes=(permissions.AllowAny,),
)

urlpatterns = [
    path('admin/', xadmin.site.urls),

    path('ckeditor/', include('ckeditor_uploader.urls')),
    # 添加CKEditor的URL映射

    path('api/', include(router.urls)),
    path('api-auth/', include('rest_framework.urls', namespace='rest_framework')),
    # 配置django-rest-framwork API路由

    url(r'^swagger(?P<format>\.json|\.yaml)$', schema_view.without_ui(cache_timeout=0), name='schema-json'),
    path('swagger', schema_view.with_ui('swagger', cache_timeout=0), name='schema-swagger-ui'),
    path('redoc/', schema_view.with_ui('redoc', cache_timeout=0), name='schema-redoc'),
    # 配置drf-yasg路由
]

urlpatterns += static(settings.MEDIA_URL, document_root=settings.MEDIA_ROOT)
# 配置图片文件url转发

if settings.DEBUG:
    import debug_toolbar
    urlpatterns = [
        path('__debug__/', include(debug_toolbar.urls)),
    ] + urlpatterns
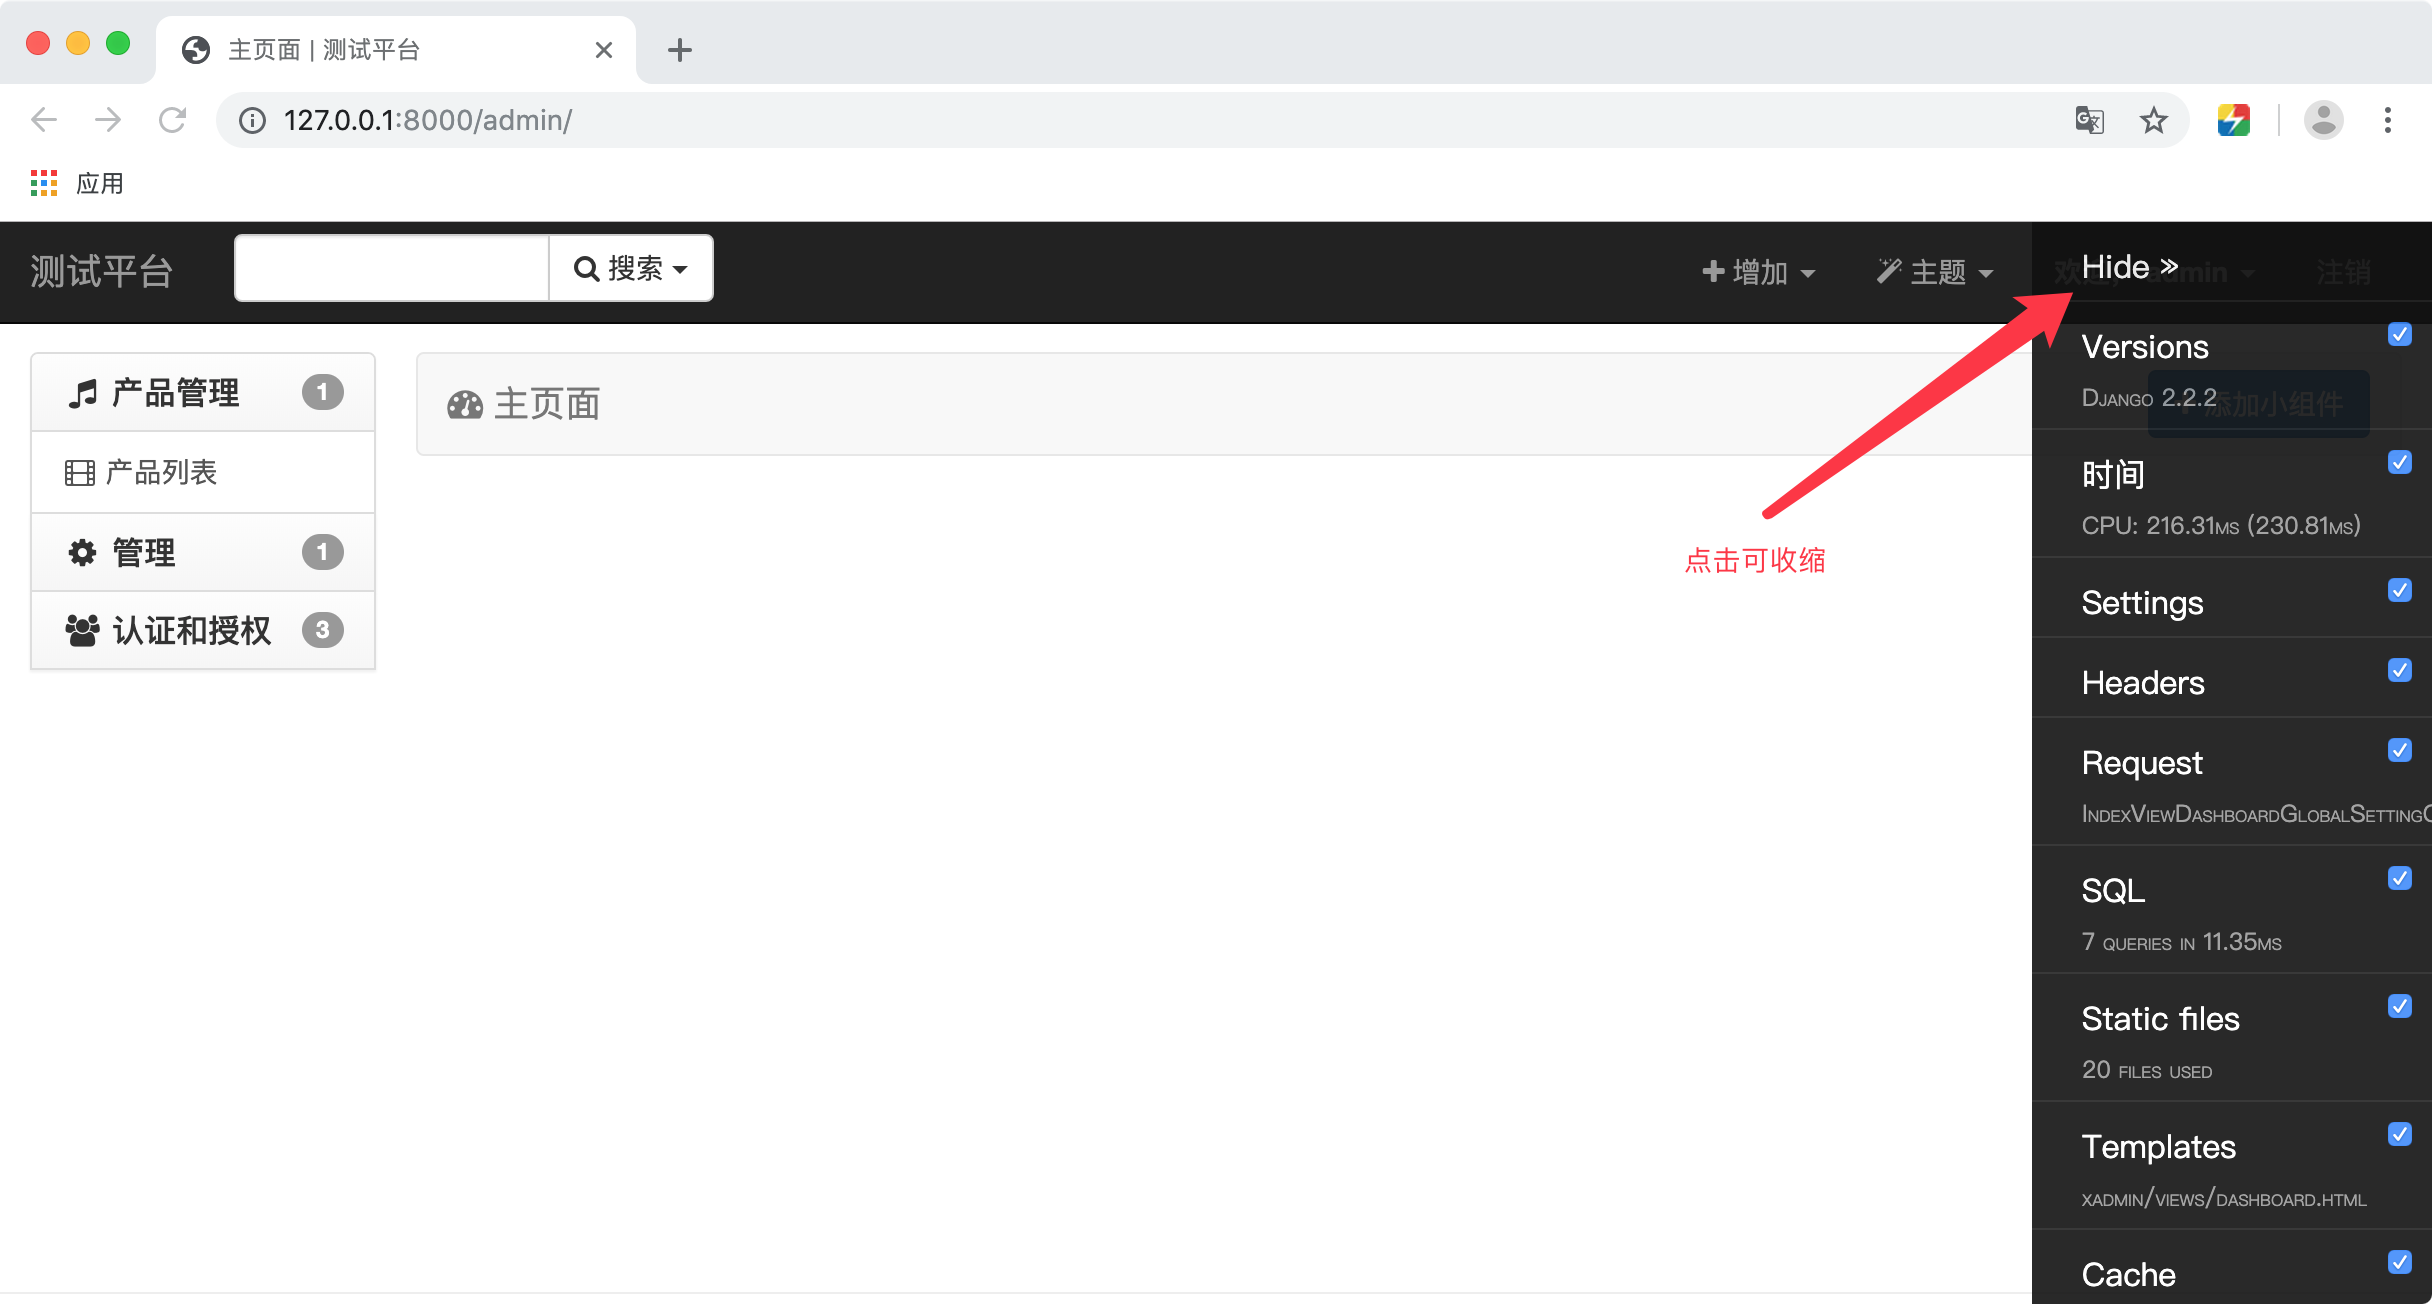
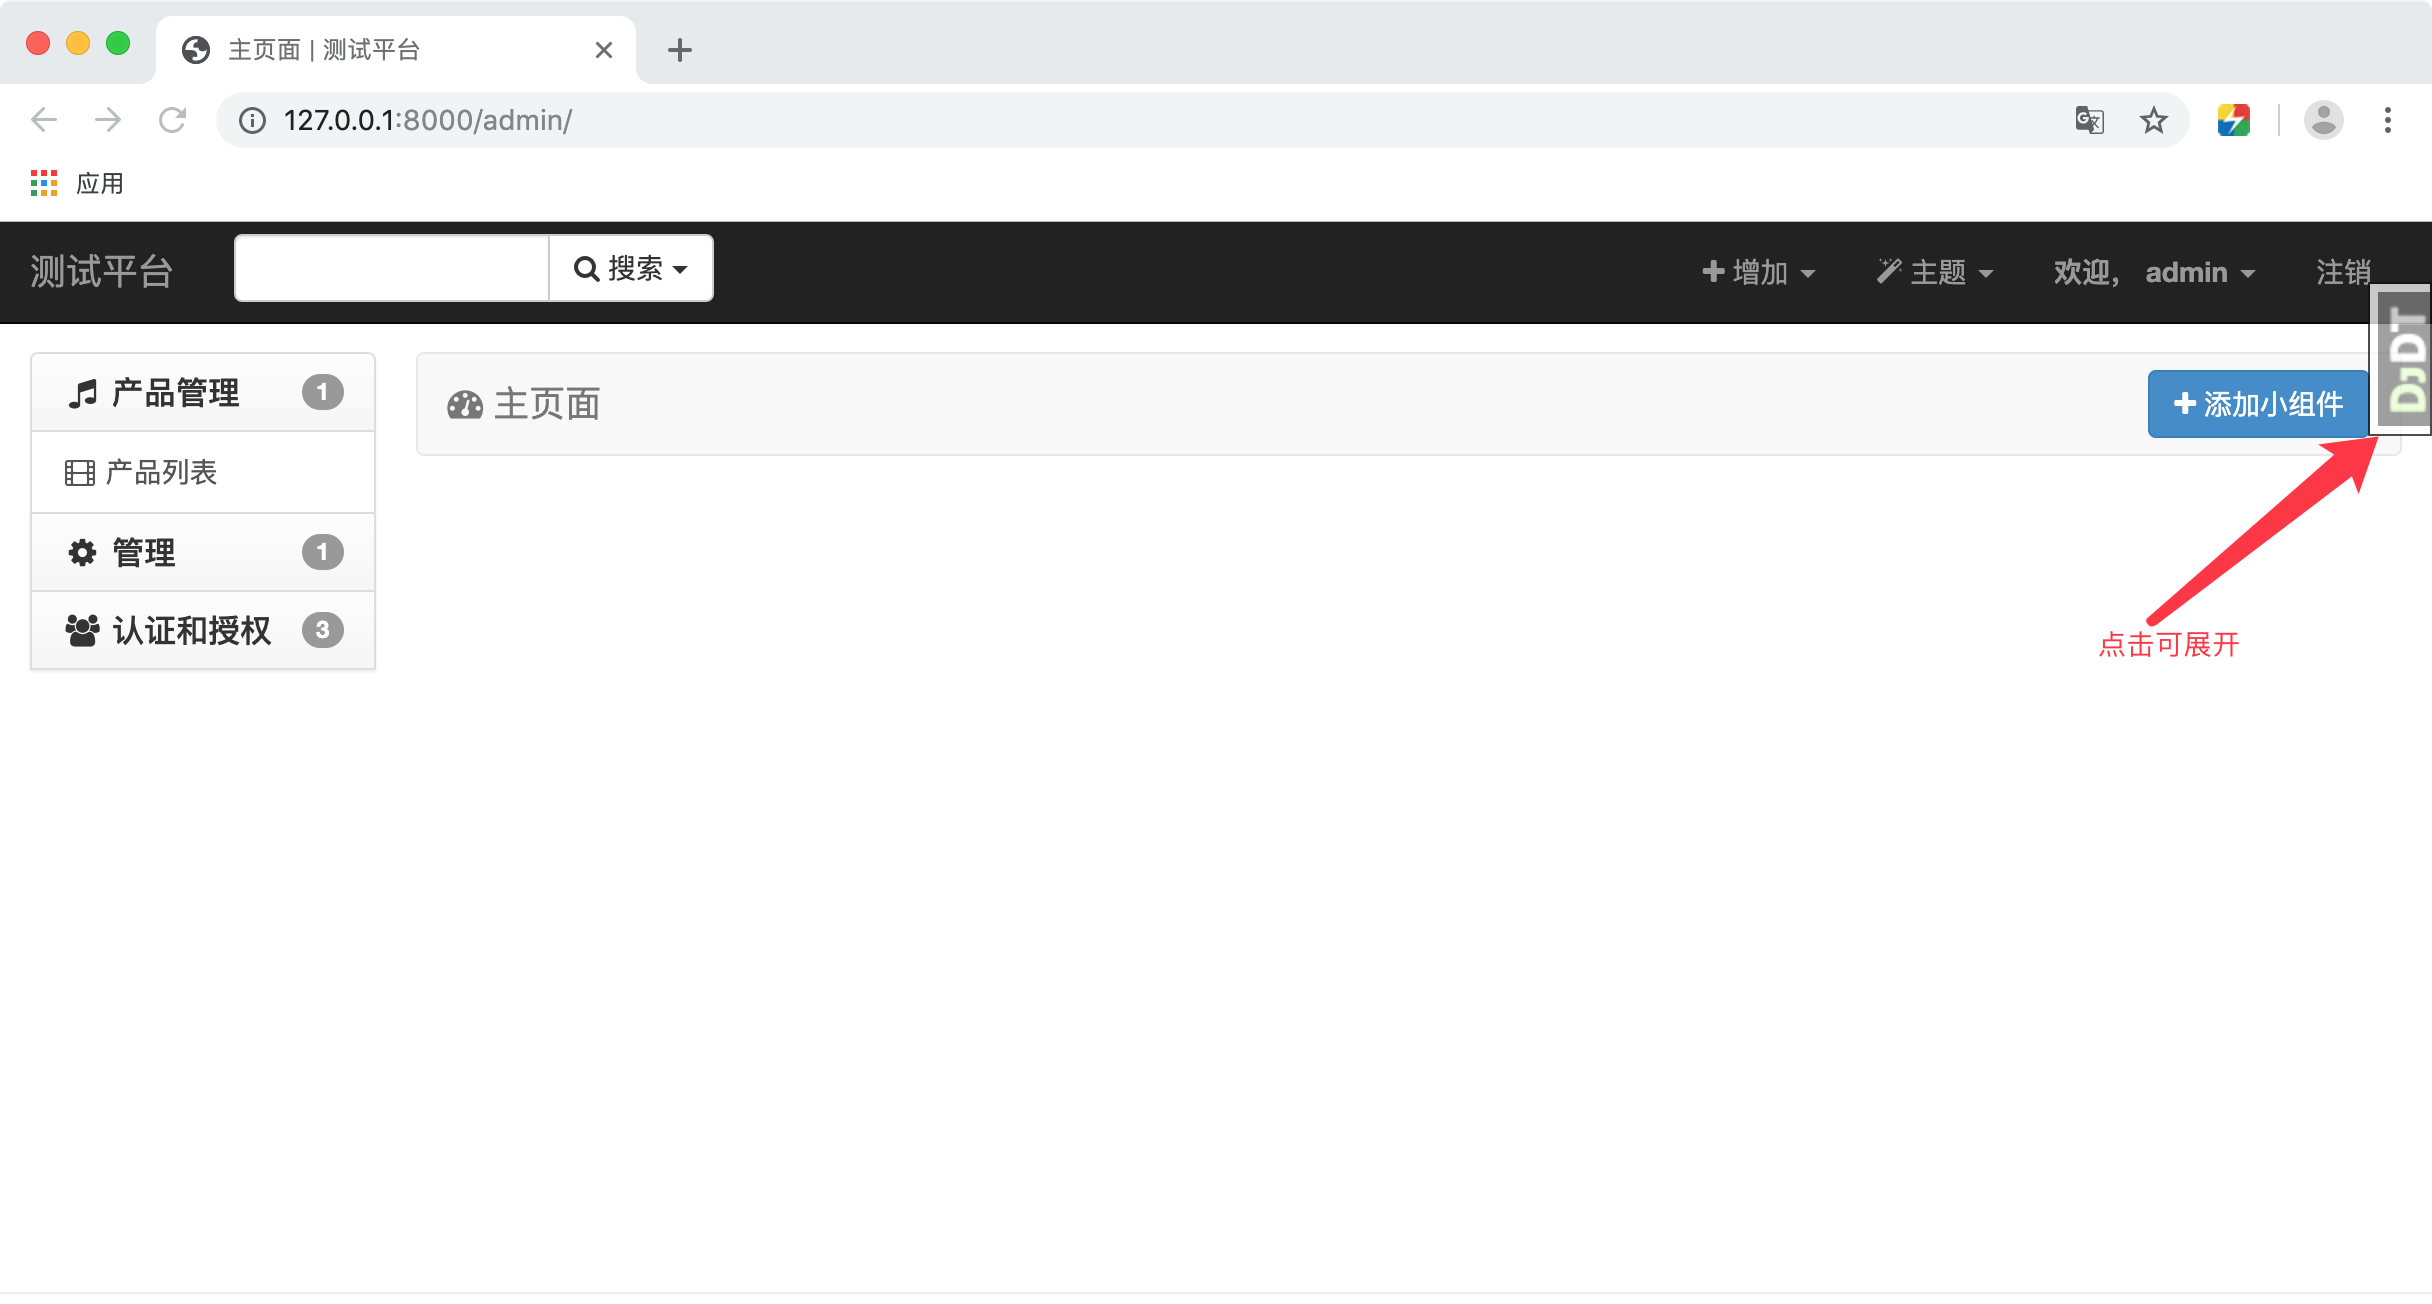
五、调试页面:
python manage.py runserver
启动服务

xadmin引入django-debug-toolbar调试工具的更多相关文章
- Django之Django debug toolbar调试工具
一.安装Django debug toolbar调试工具 pip3 install django-debug-toolbar 如果出错命令为 pip install django_debug_tool ...
- 【Django】Django Debug Toolbar调试工具配置
正在发愁怎么调试Django,就遇到了Django Debug Toolbar这个利器. 先说遇到的问题: 网上也有教程,不过五花八门的,挨个尝试了一遍,也没有成功运行.最后终于找到问题所在: 从开发 ...
- 部署前准备--使用Mysql之Django Debug Toolbar安装以及配置
python -c "import django ;print(django.__path__);" 查看python的全局配置 vi /usr/local/lib/python3 ...
- django debug toolbar jquery加载配置
默认加载谷歌cdn的jquery: 显然国内是会悲剧的. 破解方案: 在settings.py中增加以下配置: DEBUG_TOOLBAR_CONFIG = {"JQUERY_URL&quo ...
- Django xadmin引入DjangoUeditor
Django xadmin引入DjangoUeditor 版本:python3.6.1,Django1.11.1 DjangoUeditor下载地址:https://github.com/twz915 ...
- django入门8之xadmin引入富文本和excel插件
django入门8之xadmin引入富文本和excel插件 Xadmin引入富文本 插件的文档 https://xadmin.readthedocs.io/en/docs-chinese/make_p ...
- xadmin引入drf-yasg生成Swagger API文档
一.安装drf-yasg: 由于django-rest-swagger已经废弃了 所以引入了drf-yasg pip install drf-yasg 安装install drf-yasg库 http ...
- xadmin引入django-ckeditor富文本编辑器
一.安装: pip install django-ckeditor 安装django-ckeditor库 https://github.com/django-ckeditor/django-ckedi ...
- django debug
django_debug_toolbar(略). debug toolbar还不够用,看下面. 1. 在对应的位置设置断点 import pdb pdb.set_trace() 2. runserve ...
随机推荐
- GPG实践
遇见的问题 安装之后没有显示如教程中的 直接提示真实姓名于电子邮件的地址 公钥与密钥 设置吊销证书
- Golang(三)Goroutine原理
前言 最近用到了一些 Golang 异步编程的地方,感觉 Golang 相对于其他语言(如 Java)对多线程编程的支持非常大,使用起来也非常方便.于是决定了解一下 Goroutine 的底层原理. ...
- nginx开启gzip的方法
nginx开启gzip的方法 1.vi打开Nginx配置文件 <pre>vi /usr/local/nginx/conf/nginx.conf</pre> 2.找到如下一段,进 ...
- 【题解】选数字 [51nod1354]
[题解]选数字 [51nod1354] 传送门:选数字 \([51nod1354]\) [题目描述] 共 \(T\) 组测试点,每一组给定一个长度为 \(n\) 的序列和一个整数 \(K\),找出有多 ...
- python中 jsonchema 与 shema 效率比较
前面几篇文章总结了python中jsonschema与schema的用法,这里测试一下两者的效率: 上代码: import time from jsonschema import validate, ...
- K8S学习笔记之K8S日志搜集实战
详细参考这篇文章,几乎覆盖了了K8S的各种日志搜集方案 https://juejin.im/post/5b6eaef96fb9a04fa25a0d37#heading-8
- framework7 总结之前遇到的问题和踩过的坑
官网上写的案例比较简单明了,我这里就将我使用时踩过的坑做一个总结,与大家共勉! 最近使用framework,基本全靠浏览官方文档,当然,有遇到了许多的错误,开始不知道哪里出问题也很着急,到最后发现问题 ...
- 基于react-app搭建react-router+redux项目
前言 总括: 本文采用react+redux+react-router+less+es6+webpack,以实现一个简易备忘录(todolist)为例尽可能全面的讲述使用react全家桶实现一个完整应 ...
- 前端有用的CSS属性和JS方法
1.CSS属性: 透明属性(值越大越不透明): IE:filter:alpha(opacity:30) Google:opacity:0.3 层次属性(值大的会在上面): z-index:100 2. ...
- 虚拟环境和pip相关的命令
# 虚拟环境 mkvirtualenv # 创建虚拟环境 rmvirtualenv # 删除虚拟环境 workon # 进入虚拟环境.查看所有虚拟环境 deactivate # 退出虚拟环境 eg: ...