
pyqt4_应用例子(计算器,对话框,进度条,日历等等)
sklearn实战-乳腺癌细胞数据挖掘(博客主亲自录制视频教程)
http://zetcode.com/gui/pyqt4/layoutmanagement/
zetcode官网
PyQt4 tutorial
This is PyQt4 tutorial. The tutorial is suited for beginners and intermediate programmers. After reading this tutorial, you will be able to program non trivial PyQt4 applications. PyQt5 tutorial is the successor of this tutorial.
目录内容
Table of contents
- Introduction
- First programs
- Menus and toolbars
- Layout management
- Events and signals
- Dialogs
- Widgets
- Widgets II
- Drag & drop
- Drawing
- Custom widgets
- The Tetris game
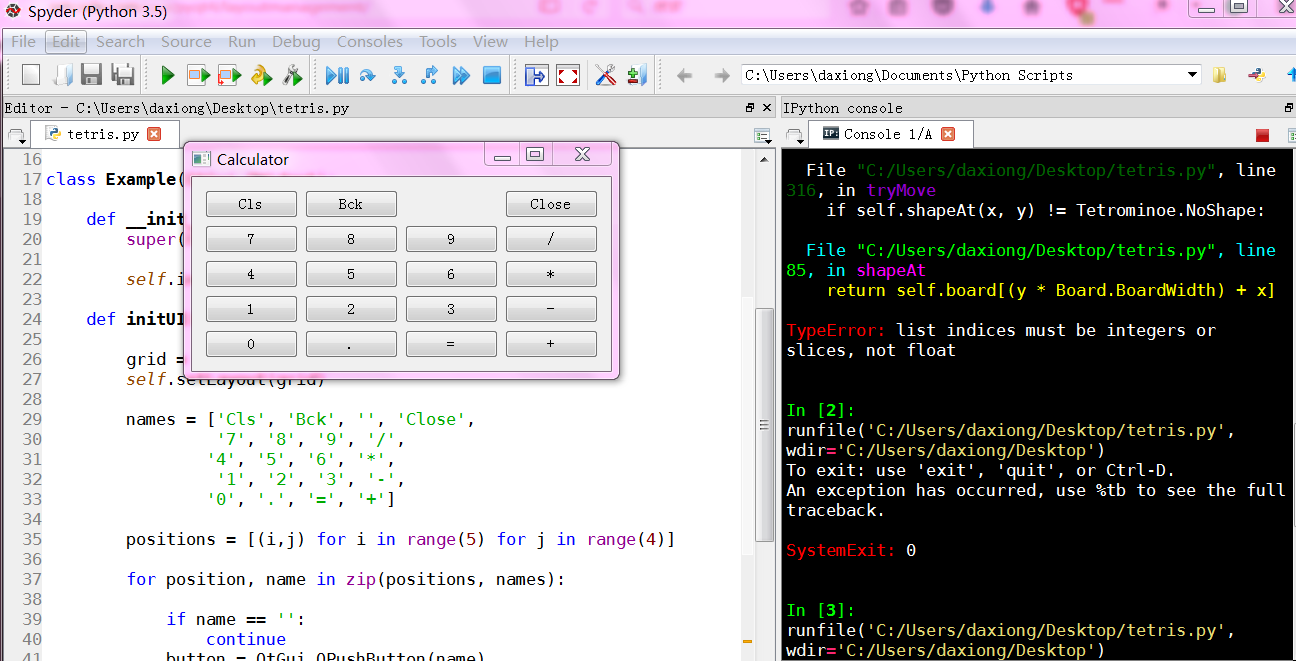
计算器
# -*- coding: utf-8 -*-

"""

ZetCode PyQt4 tutorial

In this example, we create a skeleton

of a calculator using a QtGui.QGridLayout.

author: Jan Bodnar

website: zetcode.com

last edited: July 2014

"""

import sys

from PyQt4 import QtGui

class Example(QtGui.QWidget):

    def __init__(self):

        super(Example, self).__init__()

        self.initUI()

    def initUI(self):

        grid = QtGui.QGridLayout()

        self.setLayout(grid)

        names = ['Cls', 'Bck', '', 'Close',

                 '7', '8', '9', '/',

                '4', '5', '6', '*',

                 '1', '2', '3', '-',

                '0', '.', '=', '+']

        positions = [(i,j) for i in range(5) for j in range(4)]

        for position, name in zip(positions, names):

            if name == '':

                continue

            button = QtGui.QPushButton(name)

            grid.addWidget(button, *position)

        self.move(300, 150)

        self.setWindowTitle('Calculator')

        self.show()

def main():

    app = QtGui.QApplication(sys.argv)

    ex = Example()

    sys.exit(app.exec_())

if __name__ == '__main__':

    main()
"""

ZetCode PyQt4 tutorial

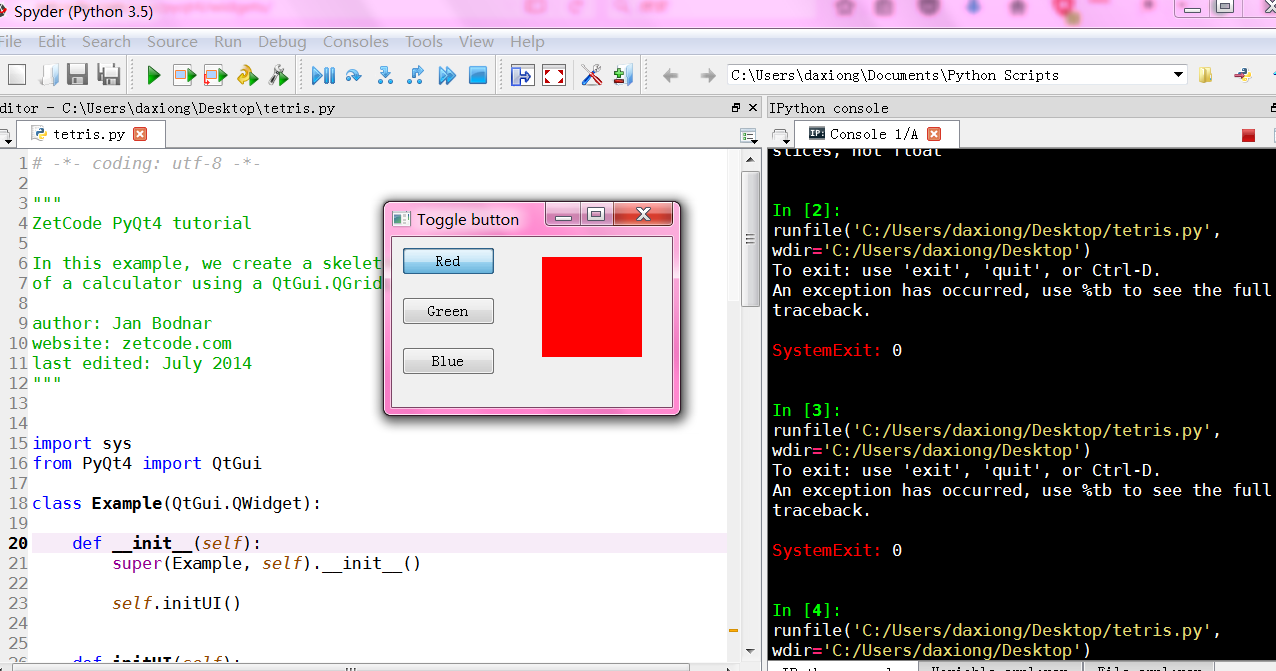
In this example, we create three toggle buttons.

They will control the background color of a

QtGui.QFrame.

author: Jan Bodnar

website: zetcode.com

last edited: September 2011

"""

import sys

from PyQt4 import QtGui

class Example(QtGui.QWidget):

    def __init__(self):

        super(Example, self).__init__()

        self.initUI()

    def initUI(self):

        self.col = QtGui.QColor(0, 0, 0)

        redb = QtGui.QPushButton('Red', self)

        redb.setCheckable(True)

        redb.move(10, 10)

        redb.clicked[bool].connect(self.setColor)

        greenb = QtGui.QPushButton('Green', self)

        greenb.setCheckable(True)

        greenb.move(10, 60)

        greenb.clicked[bool].connect(self.setColor)

        blueb = QtGui.QPushButton('Blue', self)

        blueb.setCheckable(True)

        blueb.move(10, 110)

        blueb.clicked[bool].connect(self.setColor)

        self.square = QtGui.QFrame(self)

        self.square.setGeometry(150, 20, 100, 100)

        self.square.setStyleSheet("QWidget { background-color: %s }" %

            self.col.name())

        self.setGeometry(300, 300, 280, 170)

        self.setWindowTitle('Toggle button')

        self.show()

    def setColor(self, pressed):

        source = self.sender()

        if pressed:

            val = 255

        else: val = 0

        if source.text() == "Red":

            self.col.setRed(val)

        elif source.text() == "Green":

            self.col.setGreen(val)

        else:

            self.col.setBlue(val)

        self.square.setStyleSheet("QFrame { background-color: %s }" %

            self.col.name())

def main():

    app = QtGui.QApplication(sys.argv)

    ex = Example()

    sys.exit(app.exec_())

if __name__ == '__main__':

    main()
# -*- coding: utf-8 -*-

"""

ZetCode PyQt4 tutorial

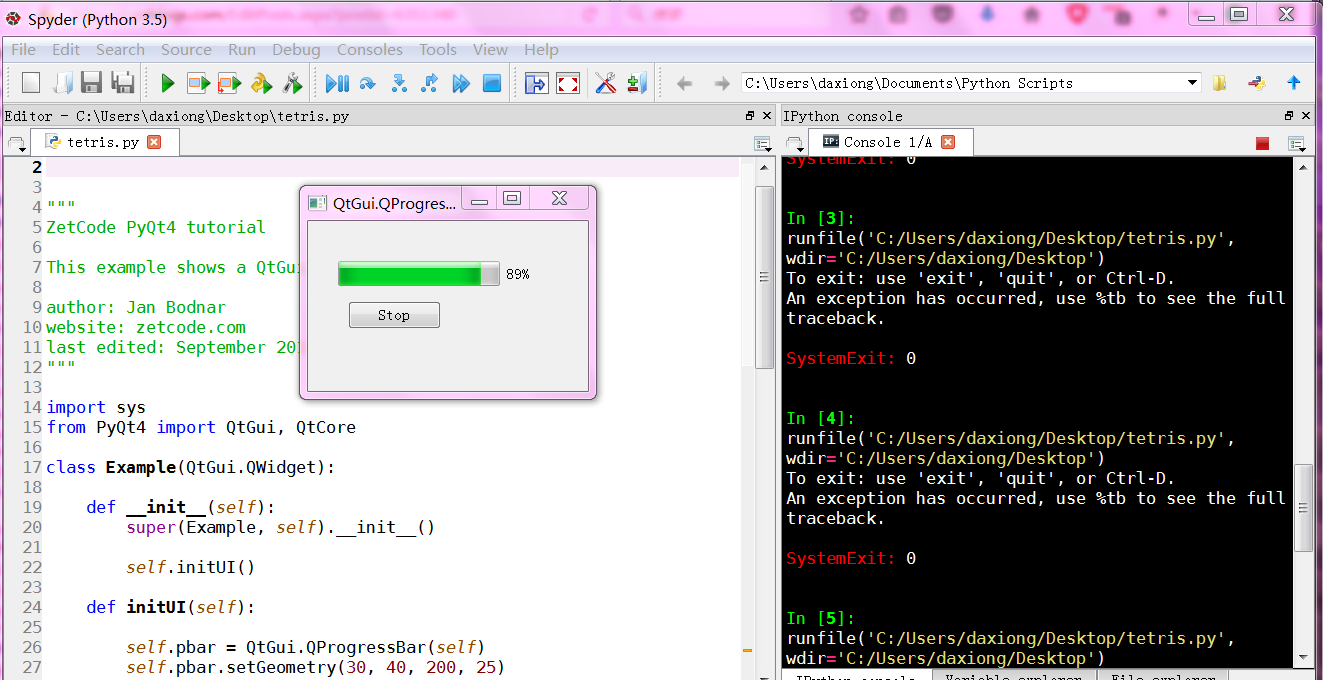
This example shows a QtGui.QProgressBar widget.

author: Jan Bodnar

website: zetcode.com

last edited: September 2011

"""

import sys

from PyQt4 import QtGui, QtCore

class Example(QtGui.QWidget):

    def __init__(self):

        super(Example, self).__init__()

        self.initUI()

    def initUI(self):

        self.pbar = QtGui.QProgressBar(self)

        self.pbar.setGeometry(30, 40, 200, 25)

        self.btn = QtGui.QPushButton('Start', self)

        self.btn.move(40, 80)

        self.btn.clicked.connect(self.doAction)

        self.timer = QtCore.QBasicTimer()

        self.step = 0

        self.setGeometry(300, 300, 280, 170)

        self.setWindowTitle('QtGui.QProgressBar')

        self.show()

    def timerEvent(self, e):

        if self.step >= 100:

            self.timer.stop()

            self.btn.setText('Finished')

            return

        self.step = self.step + 1

        self.pbar.setValue(self.step)

    def doAction(self):

        if self.timer.isActive():

            self.timer.stop()

            self.btn.setText('Start')

        else:

            self.timer.start(100, self)

            self.btn.setText('Stop')

def main():

    app = QtGui.QApplication(sys.argv)

    ex = Example()

    sys.exit(app.exec_())

if __name__ == '__main__':

    main()
下拉菜单

# -*- coding: utf-8 -*-

import sys

from PyQt4 import QtGui, QtCore

class Example(QtGui.QWidget):

    def __init__(self):

        super(Example, self).__init__()

        self.initUI()

    def initUI(self):

        self.lbl = QtGui.QLabel("Ubuntu", self)

        combo = QtGui.QComboBox(self)

        combo.addItem("Ubuntu")

        combo.addItem("Mandriva")

        combo.addItem("Fedora")

        combo.addItem("Red Hat")

        combo.addItem("Gentoo")

        combo.move(50, 50)

        self.lbl.move(50, 150)

        combo.activated[str].connect(self.onActivated)

        self.setGeometry(300, 300, 300, 200)

        self.setWindowTitle('QtGui.QComboBox')

        self.show()

    def onActivated(self, text):

        self.lbl.setText(text)

        self.lbl.adjustSize()

def main():

    app = QtGui.QApplication(sys.argv)

    ex = Example()

    sys.exit(app.exec_())

if __name__ == '__main__':

    main()
拖动技术
# -*- coding: utf-8 -*-

import sys

from PyQt4 import QtGui

class Button(QtGui.QPushButton):

    def __init__(self, title, parent):

        super(Button, self).__init__(title, parent)

        self.setAcceptDrops(True)

    def dragEnterEvent(self, e):

        if e.mimeData().hasFormat('text/plain'):

            e.accept()

        else:

            e.ignore()

    def dropEvent(self, e):

        self.setText(e.mimeData().text())

class Example(QtGui.QWidget):

    def __init__(self):

        super(Example, self).__init__()

        self.initUI()

    def initUI(self):

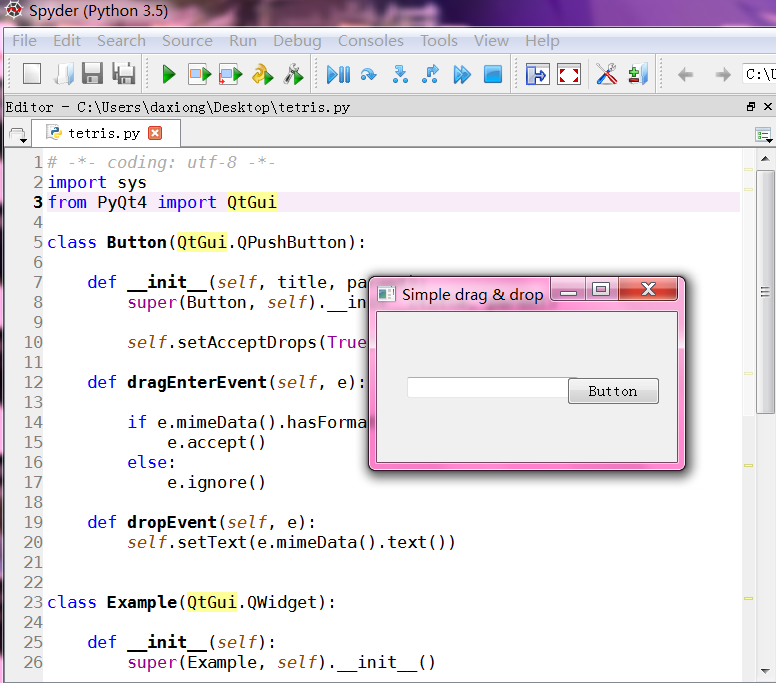
        edit = QtGui.QLineEdit('', self)

        edit.setDragEnabled(True)

        edit.move(30, 65)

        button = Button("Button", self)

        button.move(190, 65)

        self.setWindowTitle('Simple drag & drop')

        self.setGeometry(300, 300, 300, 150)

def main():

    app = QtGui.QApplication(sys.argv)

    ex = Example()

    ex.show()

    app.exec_()

if __name__ == '__main__':

    main()
绘图
#!/usr/bin/python

# -*- coding: utf-8 -*-

"""

ZetCode PyQt4 tutorial

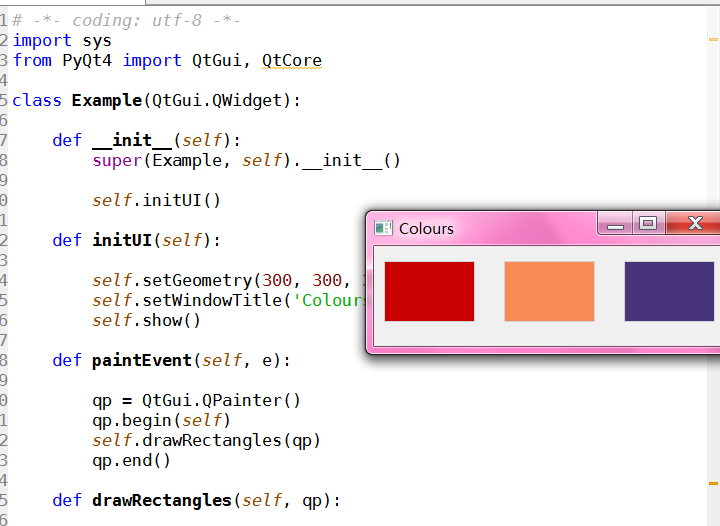
This example draws three rectangles in three

different colours.

author: Jan Bodnar

website: zetcode.com

last edited: September 2011

"""

import sys

from PyQt4 import QtGui, QtCore

class Example(QtGui.QWidget):

    def __init__(self):

        super(Example, self).__init__()

        self.initUI()

    def initUI(self):

        self.setGeometry(300, 300, 350, 100)

        self.setWindowTitle('Colours')

        self.show()

    def paintEvent(self, e):

        qp = QtGui.QPainter()

        qp.begin(self)

        self.drawRectangles(qp)

        qp.end()

    def drawRectangles(self, qp):

        color = QtGui.QColor(0, 0, 0)

        color.setNamedColor('#d4d4d4')

        qp.setPen(color)

        qp.setBrush(QtGui.QColor(200, 0, 0))

        qp.drawRect(10, 15, 90, 60)

        qp.setBrush(QtGui.QColor(255, 80, 0, 160))

        qp.drawRect(130, 15, 90, 60)

        qp.setBrush(QtGui.QColor(25, 0, 90, 200))

        qp.drawRect(250, 15, 90, 60)

def main():

    app = QtGui.QApplication(sys.argv)

    ex = Example()

    sys.exit(app.exec_())

if __name__ == '__main__':

    main()
其它例子
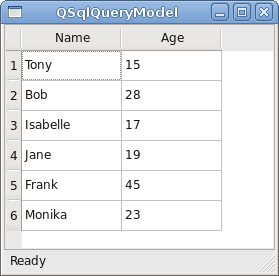
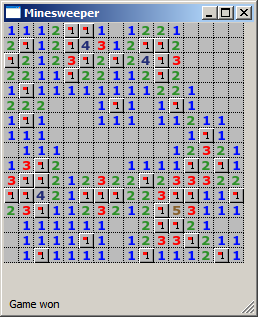
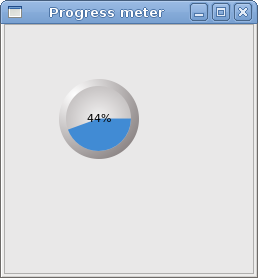
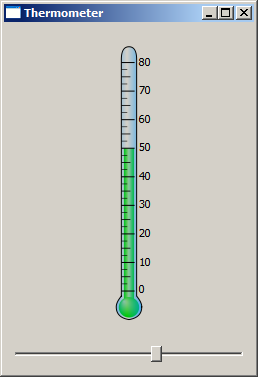
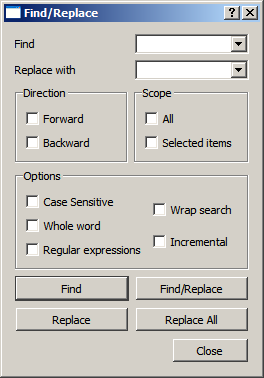
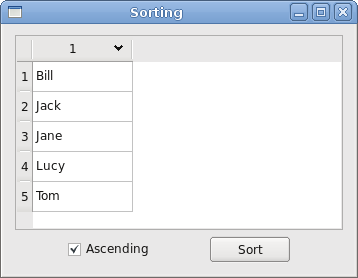
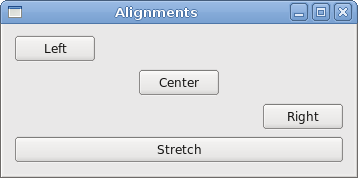
Screenshots
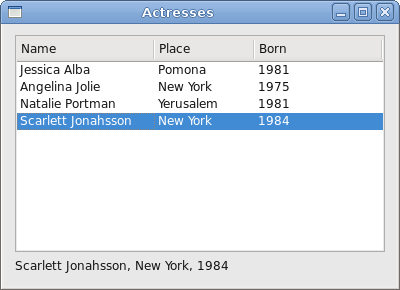
Here you can see some of the screenshots from the e-book.
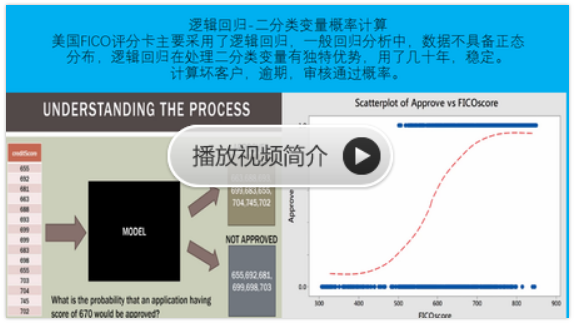
俄罗斯方块

pyqt4_应用例子(计算器,对话框,进度条,日历等等)的更多相关文章
- 使用Uploadify实现上传图片生成缩略图例子,实时显示进度条
不了解Uploadify的,先看看前一篇详细说明 http://www.cnblogs.com/XuebinDing/archive/2012/04/26/2470995.html Uploadify ...
- python3应用例子01(进度条)
#!/usr/bin/env python# -*- coding:utf-8 -*- import sysimport time def bar(num, total): rate = num / ...
- android学习笔记20——ProgressDialog进度条对话框
ProgressDialog==>进度条对话框 ProgressDialog本身就代表一个进度条对话框,程序只需要创建ProgressDialog实例,并将其显示出来就是一个进度条对话框:开发者 ...
- 关于JFace中的进度条对话框(ProgressMonitorDialog类)
在Windows操作系统中,最常用的进度条对话框就是文件复制时的弹出框,如果想让用户愉快的使用你开发 的软件,那么在执行某个较长时间的操作时候,就应该弹出一个进度条提示框,告诉用户程序正在做什么. 做 ...
- android 对话框中的进度条 (ProgressDialog)
from:http://byandby.iteye.com/blog/817214 显然要定义对话框进度条就要用ProgressDialog,首先我们需要创建ProgressDialog对象,当然这里 ...
- Android -- ProgressBar(进度条的使用)
我们在开发程序是经常会需要软件全屏显示.自定义标题(使用按钮等控件)和其他的需求,今天这一讲就是如何控制Android应用程序的窗体显示. requestWindowFeature可以设置的值有:(具 ...
- Android的ProgressBar以及自定义进度条
1.xml文件 activity_main.xml <LinearLayout xmlns:android="http://schemas.android.com/apk/res/an ...
- android:异步任务asyncTask介绍及异步任务下载图片(带进度条)
为什么要用异步任务? 在android中仅仅有在主线程才干对ui进行更新操作.而其他线程不能直接对ui进行操作 android本身是一个多线程的操作系统,我们不能把全部的操作都放在主线程中操作 .比方 ...
- Android开发 ---构建对话框Builder对象,消息提示框、列表对话框、单选提示框、多选提示框、日期/时间对话框、进度条对话框、自定义对话框、投影
效果图: 1.activity_main.xml 描述: a.定义了一个消息提示框按钮 点击按钮弹出消息 b.定义了一个选择城市的输入框 点击按钮选择城市 c.定义了一个单选提示框按钮 点击按钮选择某 ...
- Dialog详解(包括进度条、PopupWindow、自定义view、自定义样式的对话框)
Dialog详解(包括进度条.PopupWindow.自定义view.自定义样式的对话框) Android中提供了多种对话框,在实际应用中我们可能会需要修改这些已有的对话框.本实例就是从实际出发, ...
随机推荐
- PSP总结报告1
回答作业问题 1.回想一下你曾经对计算机专业的畅想 我高考后报考的是计算机科学与技术,当时对计算机技术基本了解为零,当时以为什么东西都会用到计算机,学计算机以后不会找不到工作,刚开学的时候对计算机一窍 ...
- Java程序设计第四次实验报告
北京电子科技学院(BESTI) 实 验 报 告 课程:java程序设计 班级:1352 姓名:何伟钦 学号:20135223 成绩: 指导教师:娄嘉鹏 ...
- 2018-2019-20172329 《Java软件结构与数据结构》第七周学习总结
2018-2019-20172329 <Java软件结构与数据结构>第七周学习总结 教材学习内容总结 <Java软件结构与数据结构>第十一章-二叉查找树 一.概述 1.什么是二 ...
- 手机端学习助手的说明书需求以及团队PM选择
1.产品的背景 课堂上知识容量大.密度高,学生不能立刻掌握所学知识点,同时,网上资料冗杂繁复,指向性不强,导致学生不能高效的学习,为了充分利用学生的课余时间,培养学生自学能力,辅助老师教学,我们小组希 ...
- Task 10 统计从1到某个整数之间出现的1的次数
任务:给定一个十进制的正整数,写下从1开始,到N的所有整数,然后数一下其中出现“1”的个数. 要求: 写一个函数 f(N) ,返回1 到 N 之间出现的 “1”的个数.例如 f(12) = 5. 在3 ...
- 第三章 深入Servlet技术
3.1 配置Servlet <servlet-name>,<servlet-class>是必须配置的,以便于web容器知道浏览器具体访问的是哪个servlet. <ini ...
- Tuscany glossary of terms
SOA(service-oriented architecture) 面向服务的架构 解决问题:面向服务.多语言.多种数据格式.多协议 SCA(Service Component Architectu ...
- pxe前期接入H3C交换机网络准备
环境:一个装机vlan3010,一个业务vlan,将接入交换机的下联,上联设置好vlan 如果服务器一直出于dhcp状态,有可能是交换机到服务器的光纤线路有问题,建议在交换机查看端口是否是down的. ...
- paperOne基于java web的简易四则运算出题网站
项目成员:张金生 张政 需求概要 1.运算数均为正整数 2.包含的运算符有+,-,*,/ 3.除法运算结果为整除运算 4.批量生成题目并判题 核心功能分析 1.题目生成——java后端 题目生 ...
- CASE (Transact-SQL)
A. 使用带有 CASE 简单表达式的 SELECT 语句Using a SELECT statement with a simple CASE expression在 SELECT 语句中,CASE ...