spring boot + thymeleaf +security自定义规则 的简单使用
1.前言
以前开发一直使用 springMVC模式开发 ,前端页面常使用 JSP ,现在html5淘汰了 ,要么使用html ,要么使用vue ,
现在使用spring boot ,有必要总结一下 spring boot 对html 的操作 。
2.环境
spring boot 2.1.6.RELEASE
3.操作
(1)下载依赖
  <!--spring security 依赖-->

        <dependency>

            <groupId>org.springframework.boot</groupId>

            <artifactId>spring-boot-starter-security</artifactId>

        </dependency>

        <dependency>

            <groupId>org.springframework.boot</groupId>

            <artifactId>spring-boot-starter-web</artifactId>

        </dependency>

        <!--访问静态资源-->

        <dependency>

            <groupId>org.springframework.boot</groupId>

            <artifactId>spring-boot-starter-thymeleaf</artifactId>

        </dependency>
完整pom
<?xml version="1.0" encoding="UTF-8"?>

<project xmlns="http://maven.apache.org/POM/4.0.0" xmlns:xsi="http://www.w3.org/2001/XMLSchema-instance"

         xsi:schemaLocation="http://maven.apache.org/POM/4.0.0 https://maven.apache.org/xsd/maven-4.0.0.xsd">

    <modelVersion>4.0.0</modelVersion>

    <parent>

        <groupId>org.springframework.boot</groupId>

        <artifactId>spring-boot-starter-parent</artifactId>

        <version>2.1.6.RELEASE</version>

        <relativePath/> <!-- lookup parent from repository -->

    </parent>

    <groupId>com.example</groupId>

    <artifactId>security-5500</artifactId>

    <version>0.0.1-SNAPSHOT</version>

    <name>security-5500</name>

    <description>Demo project for Spring Boot</description>

    <properties>

        <java.version>1.8</java.version>

    </properties>

    <dependencies>

        <!--spring security 依赖-->

        <dependency>

            <groupId>org.springframework.boot</groupId>

            <artifactId>spring-boot-starter-security</artifactId>

        </dependency>

        <dependency>

            <groupId>org.springframework.boot</groupId>

            <artifactId>spring-boot-starter-web</artifactId>

        </dependency>

        <!--访问静态资源-->

        <dependency>

            <groupId>org.springframework.boot</groupId>

            <artifactId>spring-boot-starter-thymeleaf</artifactId>

        </dependency>

        <dependency>

            <groupId>org.springframework.boot</groupId>

            <artifactId>spring-boot-starter-test</artifactId>

            <scope>test</scope>

            <exclusions>

                <exclusion>

                    <groupId>org.junit.vintage</groupId>

                    <artifactId>junit-vintage-engine</artifactId>

                </exclusion>

            </exclusions>

        </dependency>

        <dependency>

            <groupId>org.springframework.security</groupId>

            <artifactId>spring-security-test</artifactId>

            <scope>test</scope>

        </dependency>

    </dependencies>

    <build>

        <plugins>

            <plugin>

                <groupId>org.springframework.boot</groupId>

                <artifactId>spring-boot-maven-plugin</artifactId>

            </plugin>

        </plugins>

    </build>

</project>
(2)目录结构
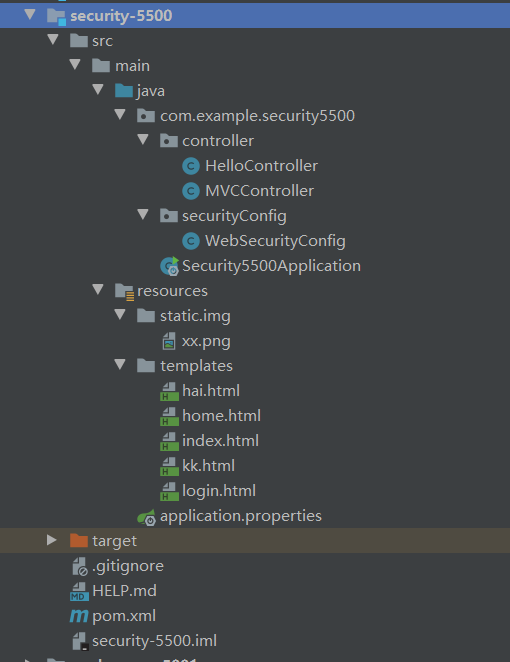
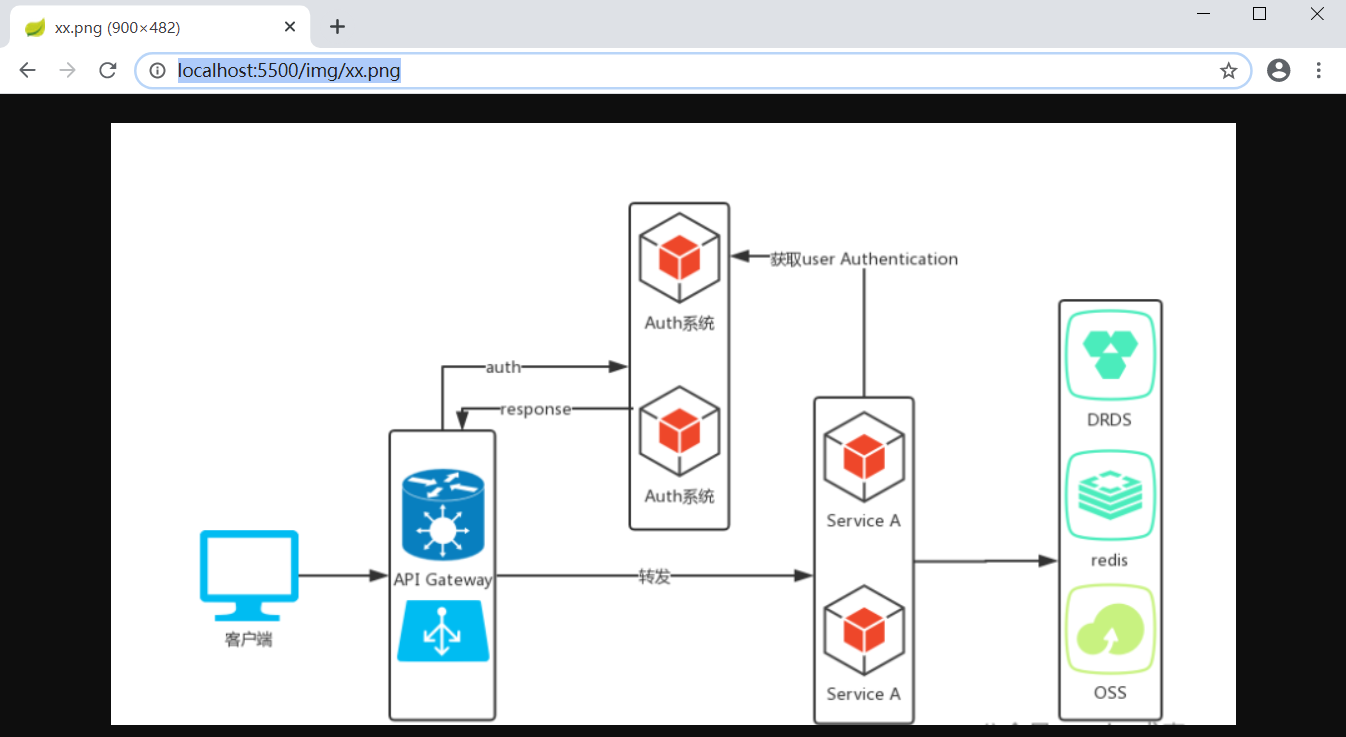
(3)resources 里的static包是存放静态资源的 ,static下面新建一个img包 ,里面放一个图片文件
启动后,直接输入网址 http://localhost:5500/img/xx.png 即可访问 ,不会被security拦截
【只要pom加了security依赖包 ,将默认启动security,默认账户名 为 user
密码是打印台打印的 随机数
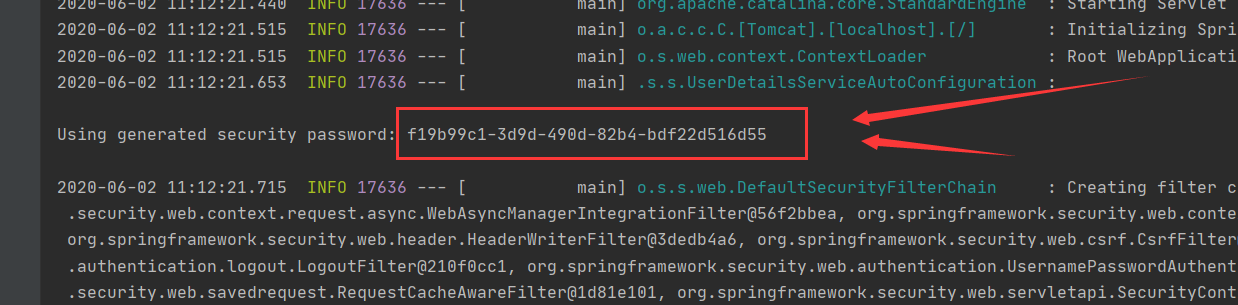
】
(4)使用了thymeleaf 模板 ,那么html文件必须放在 路径为 resources/templates 的文件夹里面
否则spring boot 扫描不到文件 ,当然,也是可以修改的需要在application配置文件里修改

完整的pom.xml
spring.application.name=security-5500

# 应用服务web访问端口

server.port=5500

#配置security登录账户密和密码  ,不配置则默认账户是user,密码是随机生成的字符串,打印在启动栏中

#spring.security.user.name=11

#spring.security.user.password=22

#

##

##

##

## Enable template caching.

#spring.thymeleaf.cache=true

## Check that the templates location exists.

#spring.thymeleaf.check-template-location=true

## Content-Type value.

##spring.thymeleaf.content-type=text/html

## Enable MVC Thymeleaf view resolution.

#spring.thymeleaf.enabled=true

## Template encoding.

#spring.thymeleaf.encoding=utf-8

## Comma-separated list of view names that should be excluded from resolution.

#spring.thymeleaf.excluded-view-names=

## Template mode to be applied to templates. See also StandardTemplateModeHandlers.

#spring.thymeleaf.mode=HTML5

## Prefix that gets prepended to view names when building a URL.

##设置html文件位置

#spring.thymeleaf.prefix=classpath:/templates/

## Suffix that gets appended to view names when building a URL.

#spring.thymeleaf.suffix=.html  spring.thymeleaf.template-resolver-order= # Order of the template resolver in the chain. spring.thymeleaf.view-names= # Comma-separated list of view names that can be resolved.
(5)新建html文件
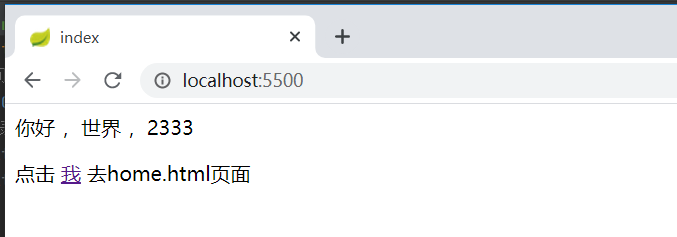
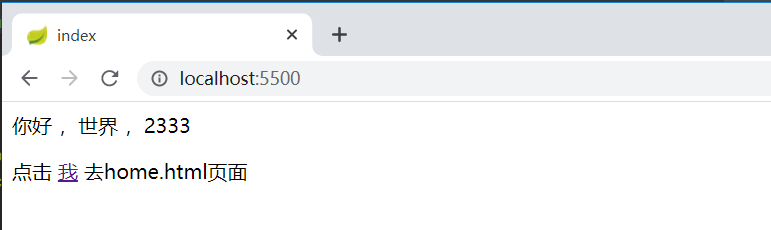
新建一个名为 index.html的文件 ,使用了 thymeleaf 模板的语法 th:href="@{/home}" 进行跳转 ,这个 /home路径是虚拟路径 ,需要设置的,待会展示
<!DOCTYPE html>

<html lang="zh" xmlns="http://www.w3.org/1999/xhtml"

      xmlns:th="http://www.thymeleaf.org" xmlns:sec="http://www.thymeleaf.org/thymeleaf-extras-springsecurity3">

<head>

    <meta charset="UTF-8">

    <title>index</title>

</head>

<body>

你好 ,世界 ,2333

<p>点击 <a th:href="@{/home}">我</a> 去home.html页面</p>

</body>

</html>
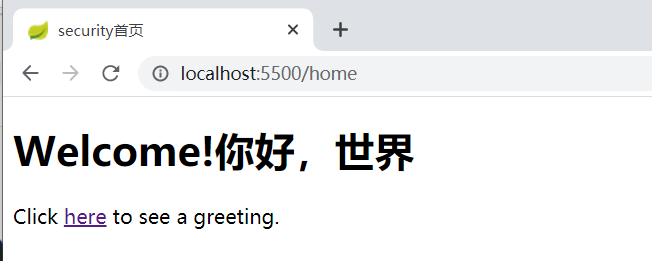
新建一个名为 home.html的文件
<!DOCTYPE html>

<html lang="zh" xmlns="http://www.w3.org/1999/xhtml"

      xmlns:th="http://www.thymeleaf.org" xmlns:sec="http://www.thymeleaf.org/thymeleaf-extras-springsecurity3">

<head>

    <meta charset="UTF-8">

    <title>security首页</title>

</head>

<body>

<h1>Welcome!你好,世界</h1>

<p>Click <a th:href="@{/hai}">here</a> to see a greeting.</p>

</body>

</html>
新建一个名为 hai.html的文件
<!DOCTYPE html>

<html lang="zh" xmlns="http://www.w3.org/1999/xhtml"

      xmlns:th="http://www.thymeleaf.org" xmlns:sec="http://www.thymeleaf.org/thymeleaf-extras-springsecurity3">

<head>

    <meta charset="UTF-8">

    <title>hai文件</title>

</head>

<body>

    你好呀世界,成功登录进来了

</body>

</html>
新建一个名为 kk.html的文件,用于测试html文件获取静态文件
<!DOCTYPE html>

<html lang="en">

<head>

    <meta charset="UTF-8">

    <title>kk</title>

</head>

<body>

<img src="img/xx.png" alt="">

</body>

</html>
还需要新建一个login.html文件 ,待会用来作为security的自定义登录页面
<!DOCTYPE html>

<html xmlns="http://www.w3.org/1999/xhtml" xmlns:th="http://www.thymeleaf.org"

      xmlns:sec="http://www.thymeleaf.org/thymeleaf-extras-springsecurity3">

<head>

    <title>Spring Security自定义</title>

</head>

<body>

<div th:if="${param.error}">

    Invalid username and password.

</div>

<div th:if="${param.logout}">

    You have been logged out.

</div>

<form th:action="@{/login}" method="post">

    <div><label> User Name : <input type="text" name="username"/> </label></div>

    <div><label> Password: <input type="password" name="password"/> </label></div>

    <div><input type="submit" value="Sign In"/></div>

</form>

<br>

lalallalalal啊是德国海

</body>

</html>
(6)设置虚拟路径用于访问html文件 【springMVC的视图设置一样,但是,不需要配置,直接引入 thymeleaf 即可使用】
在controller层
package com.example.security5500.controller;

import org.springframework.stereotype.Controller;

import org.springframework.web.bind.annotation.RequestMapping;

import org.springframework.web.bind.annotation.RestController;

import org.springframework.web.servlet.ModelAndView;

@Controller

public class MVCController {

    @RequestMapping("/home")

    public String home() {

        return "home";

    }

    @RequestMapping("/login")

    public String login(){

        return "login";

    }

    @RequestMapping("/hai")

    public String hai() {

        return "hai";

    }

    @RequestMapping("/")

    public String index() {

        return "index";

    }

    @RequestMapping("kk")

    public String kk() {

        return "kk";

    }

    //心得,index.html默认是首页,当没有指定路径 / 是哪个文件时 index.html将默认是根路径/

}
(7)测试
启动类没有改变 ,默认即可
启动程序,访问 http://localhost:5500/ 将会弹出security页面
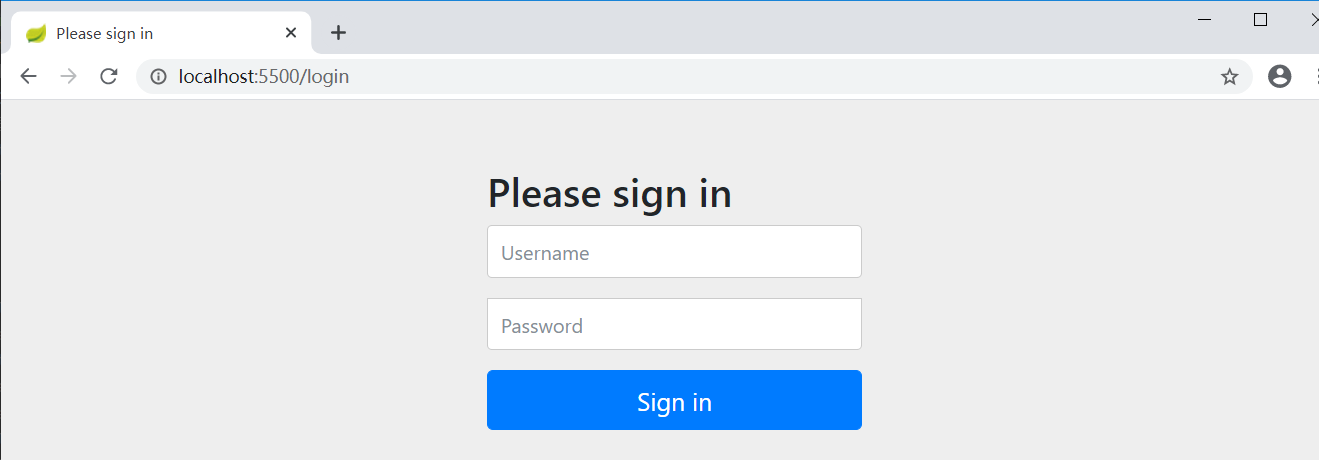
输入默认账户和密码 即可跳转index.html页面
点击 “我” ,可跳转到home.html页面
【注意 ,必须配置好了 html文件的虚拟路径
thymeleaf 模板语法

才可以使用,否则提示404
】
好了,到了这里已经完整的解释了 spring boot 怎么使用html作为前端页面开发
(8)修改security的拦截规则
新建 文件 WebSecurityConfig

源码
package com.example.security5500.securityConfig;

import org.springframework.beans.factory.annotation.Autowired;

import org.springframework.context.annotation.Bean;

import org.springframework.context.annotation.Configuration;

import org.springframework.security.config.annotation.authentication.builders.AuthenticationManagerBuilder;

import org.springframework.security.config.annotation.web.builders.HttpSecurity;

import org.springframework.security.config.annotation.web.configuration.WebSecurityConfigurerAdapter;

import org.springframework.security.config.annotation.web.configuration.EnableWebSecurity;

@Configuration

@EnableWebSecurity

public class WebSecurityConfig extends WebSecurityConfigurerAdapter {

    //定义了哪些URL路径应该被保护,哪些不应该。具体来说,“/”和“/ home”路径被配置为不需要任何身份验证。所有其他路径必须经过身份验证。

    @Override

    protected void configure(HttpSecurity http) throws Exception {

        http

                //设置不拦截页面,可直接通过,路径访问 "/", "/index", "/home" 则不拦截

                .authorizeRequests()

                .antMatchers("/", "/index", "/home").permitAll()

                .anyRequest().authenticated()

                .and()

                //设置自定义登录页面

                .formLogin()

                .loginPage("/login")

                .permitAll()

                .and()

                //设置自定义登出页面

                .logout()

//                .logoutUrl("/mylogout")

                .permitAll();

    }

}
再次启动工程
访问 http://localhost:5500/ 可直接进入页面了 ,不需要security 验证
访问 http://localhost:5500/hai 会被security拦截 ,将进入配置的自定义登录页面
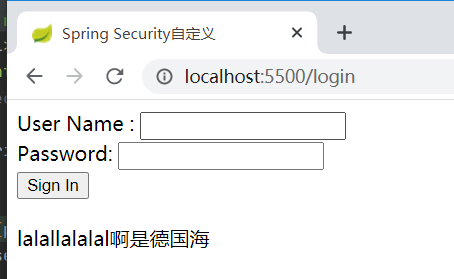
登录后才可以跳转 hai.html
(9)登出
登出 security 网址访问 http://localhost:5500/login?logout ,点击蓝色大按钮即可
4.如何修改security的账户与密码?
(1)方法一 :
application配置文件添加属性
#配置security登录账户密和密码  ,不配置则默认账户是user,密码是随机生成的字符串,打印在启动栏中

spring.security.user.name=11

spring.security.user.password=22
完整源码
spring.application.name=security-5500

# 应用服务web访问端口

server.port=5500

#配置security登录账户密和密码  ,不配置则默认账户是user,密码是随机生成的字符串,打印在启动栏中

spring.security.user.name=11

spring.security.user.password=22

#

##

##

##

## Enable template caching.

#spring.thymeleaf.cache=true

## Check that the templates location exists.

#spring.thymeleaf.check-template-location=true

## Content-Type value.

##spring.thymeleaf.content-type=text/html

## Enable MVC Thymeleaf view resolution.

#spring.thymeleaf.enabled=true

## Template encoding.

#spring.thymeleaf.encoding=utf-8

## Comma-separated list of view names that should be excluded from resolution.

#spring.thymeleaf.excluded-view-names=

## Template mode to be applied to templates. See also StandardTemplateModeHandlers.

#spring.thymeleaf.mode=HTML5

## Prefix that gets prepended to view names when building a URL.

##设置html文件位置

#spring.thymeleaf.prefix=classpath:/templates/

## Suffix that gets appended to view names when building a URL.

#spring.thymeleaf.suffix=.html  spring.thymeleaf.template-resolver-order= # Order of the template resolver in the chain. spring.thymeleaf.view-names= # Comma-separated list of view names that can be resolved.
(2)方法二:
进入刚才配置security规则的文件 WebSecurityConfig ,直接将用户设置在内存中
 //将单个用户设置在内存中  ,在这里设置了用户信息,那么application的登录信息则不需要写

    @Bean

    @Override

    protected UserDetailsService userDetailsService() {

        PasswordEncoder encoder = PasswordEncoderFactories.createDelegatingPasswordEncoder();

        UserDetails user = User

                .withUsername("user")

                .password(encoder.encode("11"))

                .roles("USER")

                .build();

        return new InMemoryUserDetailsManager(user);

    }
完整源码
package com.example.security5500.securityConfig;

import org.springframework.beans.factory.annotation.Autowired;

import org.springframework.context.annotation.Bean;

import org.springframework.context.annotation.Configuration;

import org.springframework.security.config.annotation.authentication.builders.AuthenticationManagerBuilder;

import org.springframework.security.config.annotation.web.builders.HttpSecurity;

import org.springframework.security.config.annotation.web.configuration.WebSecurityConfigurerAdapter;

import org.springframework.security.config.annotation.web.configuration.EnableWebSecurity;

import org.springframework.security.core.userdetails.User;

import org.springframework.security.core.userdetails.UserDetails;

import org.springframework.security.core.userdetails.UserDetailsService;

import org.springframework.security.crypto.factory.PasswordEncoderFactories;

import org.springframework.security.crypto.password.PasswordEncoder;

import org.springframework.security.provisioning.InMemoryUserDetailsManager;

@Configuration

@EnableWebSecurity

public class WebSecurityConfig extends WebSecurityConfigurerAdapter {

    //定义了哪些URL路径应该被保护,哪些不应该。具体来说,“/”和“/ home”路径被配置为不需要任何身份验证。所有其他路径必须经过身份验证。

    @Override

    protected void configure(HttpSecurity http) throws Exception {

        http

                //设置不拦截页面,可直接通过,路径访问 "/", "/index", "/home" 则不拦截

                .authorizeRequests()

                .antMatchers("/", "/index", "/home").permitAll()

                .anyRequest().authenticated()

                .and()

                //设置自定义登录页面

                .formLogin()

                .loginPage("/login")

                .permitAll()

                .and()

                //设置自定义登出页面

                .logout()

//                .logoutUrl("/mylogout")

                .permitAll();

    }

    //将单个用户设置在内存中  ,在这里设置了用户信息,那么application的登录信息则不需要写

    @Bean

    @Override

    protected UserDetailsService userDetailsService() {

        PasswordEncoder encoder = PasswordEncoderFactories.createDelegatingPasswordEncoder();

        UserDetails user = User

                .withUsername("user")

                .password(encoder.encode("11"))

                .roles("USER")

                .build();

        return new InMemoryUserDetailsManager(user);

    }

}
(3)方法三:
仍然是修改 配置security规则的文件 WebSecurityConfig
 //可以使用以下配置在内存中进行注册公开内存的身份验证{@link UserDetailsService}:

    // 在内存中添加 user 和 admin 用户

    @Override

    protected void configure(AuthenticationManagerBuilder auth) throws Exception {

        auth

                .inMemoryAuthentication().withUser("user").password("11").roles("USER").and()

                .withUser("admin").password("11").roles("USER", "ADMIN");

    }

    // 将 UserDetailsService 显示为 Bean

    @Bean

    @Override

    public UserDetailsService userDetailsServiceBean() throws Exception {

        return super.userDetailsServiceBean();

    }

    @Bean

    public static NoOpPasswordEncoder passwordEncoder() {

        return (NoOpPasswordEncoder) NoOpPasswordEncoder.getInstance();

    }
完整源码
package com.example.security5500.securityConfig;

import org.springframework.beans.factory.annotation.Autowired;

import org.springframework.context.annotation.Bean;

import org.springframework.context.annotation.Configuration;

import org.springframework.security.config.annotation.authentication.builders.AuthenticationManagerBuilder;

import org.springframework.security.config.annotation.web.builders.HttpSecurity;

import org.springframework.security.config.annotation.web.configuration.WebSecurityConfigurerAdapter;

import org.springframework.security.config.annotation.web.configuration.EnableWebSecurity;

import org.springframework.security.core.userdetails.User;

import org.springframework.security.core.userdetails.UserDetails;

import org.springframework.security.core.userdetails.UserDetailsService;

import org.springframework.security.crypto.factory.PasswordEncoderFactories;

import org.springframework.security.crypto.password.NoOpPasswordEncoder;

import org.springframework.security.crypto.password.PasswordEncoder;

import org.springframework.security.provisioning.InMemoryUserDetailsManager;

@Configuration

@EnableWebSecurity

public class WebSecurityConfig extends WebSecurityConfigurerAdapter {

    //定义了哪些URL路径应该被保护,哪些不应该。具体来说,“/”和“/ home”路径被配置为不需要任何身份验证。所有其他路径必须经过身份验证。

    @Override

    protected void configure(HttpSecurity http) throws Exception {

        http

                .authorizeRequests()

                //设置不拦截页面,可直接通过,路径访问 "/", "/index", "/home" 则不拦截

                .antMatchers("/", "/index", "/home").permitAll()

                .anyRequest().authenticated()

                .and()

                //设置自定义登录页面

                .formLogin()

                .loginPage("/login")

                .permitAll()

                .and()

                //设置自定义登出页面

                .logout()

//                .logoutUrl("/mylogout")

                .permitAll();

    }

    //可以使用以下配置在内存中进行注册公开内存的身份验证{@link UserDetailsService}:

    // 在内存中添加 user 和 admin 用户

    @Override

    protected void configure(AuthenticationManagerBuilder auth) throws Exception {

        auth

                .inMemoryAuthentication().withUser("user").password("11").roles("USER").and()

                .withUser("admin").password("11").roles("USER", "ADMIN");

    }

    // 将 UserDetailsService 显示为 Bean

    @Bean

    @Override

    public UserDetailsService userDetailsServiceBean() throws Exception {

        return super.userDetailsServiceBean();

    }

    @Bean

    public static NoOpPasswordEncoder passwordEncoder() {

        return (NoOpPasswordEncoder) NoOpPasswordEncoder.getInstance();

    }

}
注意:
@Bean
public static NoOpPasswordEncoder passwordEncoder() {
return (NoOpPasswordEncoder) NoOpPasswordEncoder.getInstance();
}
这一个方法是用来设置加密方式的额 ,NoOpPasswordEncoder是不加密的意思,虽然不加密,但是少了会报错,
处理该加密方式外还有 BCryptPasswordEncoder 、SCryptPasswordEncoder 等 ,详细可查看我的其他随笔
【注意: 三个方法任选一个都可以修改登录账号密码,但是,方法2和3不能同时使用 ,如果WebSecurityConfig 和application 文件 都写上 ,会导致application配置文件设置的账号密码失效,仅WebSecurityConfig内的方法设置的有效】
spring boot + thymeleaf +security自定义规则 的简单使用的更多相关文章
- Spring Boot Thymeleaf 使用详解
在上篇文章Spring Boot (二):Web 综合开发中简单介绍了一下 Thymeleaf,这篇文章将更加全面详细的介绍 Thymeleaf 的使用.Thymeleaf 是新一代的模板引擎,在 S ...
- spring boot + thymeleaf 3 国际化
在给spring boot 1.5.6 + thymeleaf 3进行国际化时,踩了一个坑(其实不止一个). 现象: 看到了吧, 就是取值的key, 后面被加了_en_US 或 _zh_CN, 以及前 ...
- spring boot + Thymeleaf开发web项目
"Spring boot非常适合Web应用程序开发.您可以轻松创建自包含的HTTP应用.web服务器采用嵌入式Tomcat,或者Jetty等.大多数情况下Web应用程序将使用 spring- ...
- Spring Boot Thymeleaf 实现国际化
开发传统Java WEB工程时,我们可以使用JSP页面模板语言,但是在SpringBoot中已经不推荐使用了.SpringBoot支持如下页面模板语言 Thymeleaf FreeMarker Vel ...
- Spring Boot 快速入门 史上最简单
1.Spring Boot 概述 Spring Boot 是所有基于 Spring 开发的项目的起点.Spring Boot 的设计是为了让你尽可能快的跑起来 Spring 应用程序并且尽可能减少你的 ...
- spring boot + thymeleaf 乱码问题
spring boot + thymeleaf 乱码问题 hellotrms 发布于 2017/01/17 15:27 阅读 1K+ 收藏 0 答案 1 开发四年只会写业务代码,分布式高并发都不会还做 ...
- spring boot / cloud (四) 自定义线程池以及异步处理@Async
spring boot / cloud (四) 自定义线程池以及异步处理@Async 前言 什么是线程池? 线程池是一种多线程处理形式,处理过程中将任务添加到队列,然后在创建线程后自动启动这些任务.线 ...
- Spring boot+Thymeleaf+easyui集成:js创建组件页面报错
开发工具:Ideal 使用场景:Demo 前提: 环境:Spring boot +Thymeleaf+easyui 引入thymeleaf模板引擎 <html lang=" ...
- spring boot: thymeleaf模板引擎使用
spring boot: thymeleaf模板引擎使用 在pom.xml加入thymeleaf模板依赖 <!-- 添加thymeleaf的依赖 --> <dependency> ...
随机推荐
- Windows下mysql5.6升级到5.7的方法(亲测有效哦!)
Mysql的升级方式分为两种:原地升级和逻辑升级.这两种升级方式,本质没有什么区别的. 只是在对数据文件的处理上有些区别而已.原地升级是直接将数据文件进行拷贝,而逻辑升级对数据文件的处理方式是通过逻辑 ...
- centos添加本地yum源
一.简介 centos6系列于2020年11月份已经停止提供服务,现在各大镜像源已经关闭centos6的yum源,需要下载镜像后在本地搭建yum源方便使用. 最好将镜像下载后传到OSS中,这样从阿里云 ...
- 如何查看Python中所有关键字
一.保留字即关键字,我们不能把它们用作任何标识符名称.Python的标准库提供了一个keyword模块,可以输出当前版本的所有关键字 import keyword print(keyword.kwli ...
- mit6.830 - lab1 - 存储模型 - 题解
1.Intro github : https://github.com/CreatorsStack/CreatorDB lab1实现数据库基本的存储逻辑结构,具体包括:Tuple,TupleDesc, ...
- mrctf2020_shellcode_revenge(可见符shellcode)!!!!
第一次碰到这种题目,需要用可见符shellcode来做 题目我就不放了,我认为网上大佬会比我说的更加详细 [原创]纯字母shellcode揭秘-软件逆向-看雪论坛-安全社区|安全招聘|bbs.pedi ...
- LuoguP7713 「EZEC-10」打分 题解
Content 某个人去参加比赛,\(n\) 个评委分别给他打分 \(a_1,a_2,\dots,a_n\).这个人可以最多执行 \(m\) 次操作,每次操作将一个评委的分数加 \(1\).定义他的最 ...
- java 数据类型:<泛型>在方法中和在构造器中的应用
背景: Java不允许我们把对象放在一个未知的集合中. import java.util.ArrayList; import java.util.List; /** * @ClassName Meth ...
- pycharm字体放大的设置
一.pycharm字体放大的设置 File -> setting -> Keymap ->在搜寻框中输入:increase -> Increase Font Size(双击) ...
- listitems.ListItemCollectionPosition属性为空
SPListItemCollection listitems = list1.GetItems(query);//当执行完上面的代码后,listitems.ListItemCollectionPosi ...
- AcWing 466. 回文日期
题目: 在日常生活中,通过年.月.日这三个要素可以表示出一个唯一确定的日期. 牛牛习惯用 8 位数字表示一个日期,其中,前 4 位代表年份,接下来 2 位代表月份,最后 2 位代表日期. 显然:一个日 ...