实验四 Android程序设计 实验报告 20162305李昱兴
实验四 Android程序设计 实验报告 20162305李昱兴
一、Android Studio的安装测试
1、有关该软件
- Android Studio,是基于Itellij IDEA的一款流行的IDE。该软件包包含了Android SDK。SDK中包含了各种工具,包括一个不需要物理设备就能测试应用程序的模拟器。而Android Studio则提供了一个集成开发环境。
2、Android Studio的安装
- 程序的安装可以参考Java For Android 2nd版教材的第24章教程指导,也可以按照娄老师的博客教程去做。
- Android Studio安装教程
3、有关res
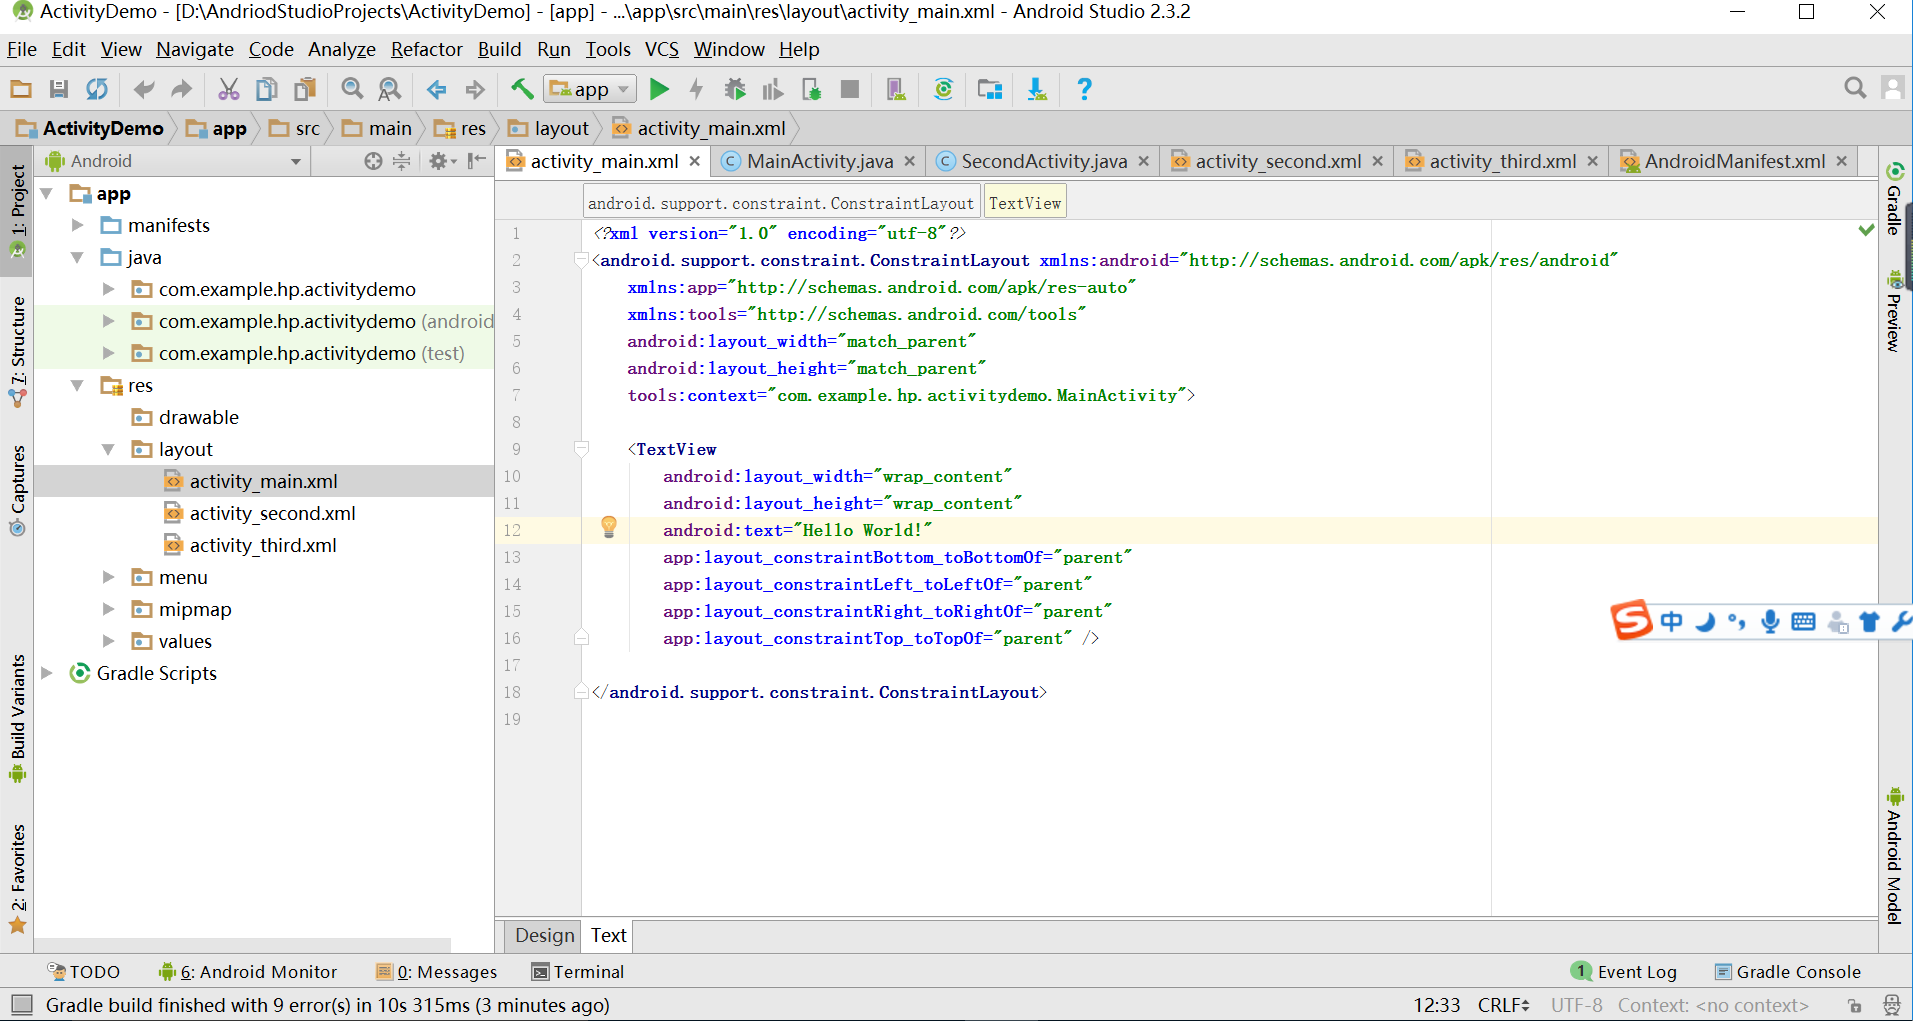
- 当我们建立好了一个新的项目的时候,在APP中我们会发现有一个叫res的文件夹,res是resource的简写,这个文件夹当中包含着整个app的layout文件(布局),menu文件(菜单),mipmap(图像)文件,values(资源)文件,drawable(图片状态列表资源)文件。我们可以通过修改其中的一些代码,从而实现对app界面和其显示内容的修改。
- HelloWorld显示截图


二、Activity测试
1、什么是活动
- 活动是Android.app.Activity类的一个实例。启动一个活动就意味着显示一个窗口。应用程序所创建的第一个窗口,叫作主窗口,它充当应用程序的入口点。Android应用程序可以包含多个活动,并且通过在应用程序清单文件中声明来指定主活动。
2、有关活动的一些代码
<LinearLayout xmlns:android="http://schemas.android.com/apk/res/android"

    xmlns:tools="http://schemas.android.com/tools"

    android:layout_width="match_parent"

    android:layout_height="match_parent"

    android:paddingBottom="@dimen/activity_vertical_margin"

    android:paddingLeft="@dimen/activity_horizontal_margin"

    android:paddingRight="@dimen/activity_horizontal_margin"

    android:paddingTop="@dimen/activity_vertical_margin"

    tools:context=".SecondActivity">

    <TextView

        android:id="@+id/textView1"

        android:layout_width="wrap_content"

        android:layout_height="wrap_content" />

</LinearLayout>
3、代码和活动截图

三、UI测试
1、有关UI
- UI即User Interface(用户界面)的简称。泛指用户的操作界面,包含移动APP,网页,智能穿戴设备等。UI设计主要指界面的样式,美观程度。而使用上,对软件的人机交互、操作逻辑、界面美观的整体设计则是同样重要的另一个门道。好的UI不仅是让软件变得有个性有品味,还要让软件的操作变得舒适、简单、自由,充分体现软件的定位和特点。使用UI工具所做的事情都会反应到布局当中文件当中,以XML元素的形式体现出来。要查看你生成了什么,单击UI工具底部的XML视图即可。
2、有关Toast
- Toast是一个小的弹出对话框,用于显示一条消息作为给用户的反馈。Toast并不会替代当前的活动,并且只是占据了一条消息那么大的空间。
- 如何在一个活动类中创建并显示一个Toast
Toast.makeText(this, "Downloading...", Toast.LENGTH_LONG).show();
3、实验结果测试截图
(实验截图)

四、布局测试
1、有关LinearLayout
- LinearLayout是根据orientation的属性,将子视图水平地或垂直地排列的一种布局。LinearLayout是最容易使用的布局。
- 水平的LinearLayout
<LinearLayout

xmlns:android="http://schemas.android.com/apk/res/android"

xmlns:tools="http://schemas.android.com/tools"

android:orientation="horizontal"

android:layout_width="match_parent"

android:layout_height="match_parent">

<ImageButton

android:src="@android:drawable/btn_star_big_on"

android:layout_width="wrap_content"

android:layout_height="wrap_content"/>

<TextView

android:layout_width="wrap_content"

android:layout_height="wrap_content"

android:text="@string/hello_world" />

<Button

android:text="Button1"

android:layout_width="wrap_content"

android:layout_height="wrap_content"/>

</LinearLayout>
- 垂直的LinaerLayout
<LinearLayout

xmlns:android="http://schemas.android.com/apk/res/android"

    xmlns:tools="http://schemas.android.com/tools"

android:orientation="vertical"

android:layout_width="match_parent"

android:layout_height="match_parent">

<ImageButton

android:src="@android:drawable/btn_star_big_on"

android:layout_gravity="center"

android:layout_width="wrap_content"

android:layout_height="wrap_content"/>

<TextView

android:layout_gravity="center"

android:layout_width="wrap_content"

android:layout_height="wrap_content"

android:layout_marginLeft="15dp"

android:text="@string/hello_world"/>

<Button

android:text="Button1"

android:layout_gravity="center"

android:layout_width="wrap_content"

android:layout_height="wrap_content"/>

</LinearLayout>
- RelativeLayout
<RelativeLayout

xmlns:android="http://schemas.android.com/apk/res/android"

 xmlns:tools="http://schemas.android.com/tools"

android:layout_width="match_parent"

android:layout_height="match_parent"

android:paddingLeft="2dp"

android:paddingRight="2dp">

<Button

android:id="@+id/cancelButton"

android:layout_width="wrap_content"

android:layout_height="wrap_content"

android:text="Cancel" />

<Button

android:id="@+id/saveButton"

android:layout_width="wrap_content"

android:layout_height="wrap_content"

android:layout_toRightOf="@id/cancelButton"

android:text="Save" />

<ImageView

android:layout_width="150dp"

android:layout_height="150dp"

android:layout_marginTop="230dp"

android:padding="4dp"

android:layout_below="@id/cancelButton"

android:layout_centerHorizontal="true"

android:src="@android:drawable/ic_btn_speak_now" />

<LinearLayout

android:id="@+id/filter_button_container"

android:layout_width="match_parent"

android:layout_height="wrap_content"

android:layout_alignParentBottom="true"

android:gravity="center|bottom"

android:background="@android:color/white"

android:orientation="horizontal" >

<Button

android:id="@+id/filterButton"

android:layout_width="wrap_content"

android:layout_height="fill_parent"

android:text="Filter" />

<Button

android:id="@+id/shareButton"

android:layout_width="wrap_content"

android:layout_height="fill_parent"

android:text="Share" />

<Button

android:id="@+id/deleteButton"

android:layout_width="wrap_content"

android:layout_height="fill_parent"

android:text="Delete" />

</LinearLayout>

</RelativeLayout>
2、运行截图

五、监听器
1、有关监听器
- 大多数Android程序都是可交互的。通过Android框架所提供的事件驱动的编程泛型,用户可以很容易地与应用交互。要让程序响应某一个事件,需要为该事件编写一个监听器。
2、相关方法
OnClickListener  ——  onClick()

OnLongClickListner  ——   OnLongClick()

OnFocusChangeListener  ——  OnFocusChange()

OnKeyListener  ——  OnKey()

OnTouchListener  —— OnTouch()
3、实验成果截图
(实验截图)

六、代码托管
七、其他
- 本次实验,我学习到了有关Android的一些知识,了解了Android Studio这个全新的集成开发环境。通过这部分的实验学习,我明白了Java的主要用途和用法,以Java为基础的集成环境的Android Studio也随着Android的广泛应用而变得十分重要在日后的学习中也要重视这部分的学习。
实验四 Android程序设计 实验报告 20162305李昱兴的更多相关文章
- 实验四 Android程序设计 实验报告
实验四 Android程序设计 实验报告 目录 代码托管地址 Android程序设计-1 Android程序设计-2 Android程序设计-3 Android程序设计-4 Android程序设计-5 ...
- 20155326 实验四 Android程序设计实验报告
20155326 实验四 Android程序设计实验报告 实验内容 1.基于Android Studio开发简单的Android应用并部署测试; 2.了解Android.组件.布局管理器的使用: 3. ...
- 20165230 《Java程序设计》实验四 Android程序设计实验报告
20165230 <Java程序设计>实验四 Android程序设计实验报告 一.实验报告封面 课程:Java程序设计 班级:1652班 姓名:田坤烨 学号:20165230 成绩: 指导 ...
- 20162325金立清 实验四 Android程序设计 实验报告
实验四 Android程序设计 实验报告 代码托管地址 码云链接 实验内容 安装使用Android Stuidio Activity测试 UI测试 布局测试 事件处理测试 Android程序设计-1 ...
- 20172302《程序设计与数据结构》实验四Android程序设计实验报告
课程:<程序设计与数据结构> 班级: 1723 姓名: 侯泽洋 学号:20172302 实验教师:王志强老师 实验日期:2018年5月30日 必修/选修: 必修 1.实验内容 (1)And ...
- 20155328 实验四 Android程序设计 实验报告
20155328 实验四 Android程序设计 第24章 初识Android 提交点1:完成HelloWorld并显示自己的学号 安装Android Studio后,创建了属于自己的Project( ...
- 2016-2017-2 20155312 实验四Android程序设计实验报告
遇到的问题及解决过程 「问题1」Android Studio-R文件出错 解决:参考Android Studio-R文件错误的解决办法步骤如下: 第一步:检查xml文件,R文件错误通常是由于我们的xm ...
- 第十四周实验报告:实验四 Android程序设计
20162317袁逸灏 第十四周实验报告:实验四 Android程序设计 实验内容 Android Studio 实验要求 学会使用Android Studio 学习 活动 以及相关知识内容 学习 U ...
- 实验四 Android程序设计
20155224 实验四 Android程序设计 实验报告 实验报告封面: 课程:Java程序设计 班级:1652班 姓名:王高源 学号:20165225 指导教师:娄嘉鹏 实验日期:2018年5月1 ...
随机推荐
- 《Start Developing iOS Apps Today》摘抄
原文:<Start Developing iOS Apps Today> Review the Source Code 入口函数main.m #import <UIKit/UIKit ...
- 【分享】DevDocs API Documentation
http://devdocs.io/ 这是一份综合性的在线API列表,很全,方便查找.
- SpringBoot新增监听器Listener
什么是web监听器? web监听器是一种Servlet中的特殊的类,它们能帮助开发者监听web中的特定事件,比如ServletContext,HttpSession,ServletRequest的创建 ...
- server r2 系统更新文件清理
https://support.microsoft.com/zh-cn/kb/2852386
- Http服务器实现文件上传与下载(四)
一.引言 欢迎大家来到和我一起编写Http服务器实现文件的上传和下载,现在我稍微回顾一下之前我说的,第一.二章说明说明了整体的HTTP走向,第三章实现底层的网络编程.接着这一章我想给大家讲的是请求获取 ...
- 总结OpenvSwitch的调试经验
相信相信不少人在开始用OpenvSwitch(以下简称OVS)或者修改源码的时候,都不知道如何去调试,根据我的学习历程以及从网上搜集的资料做一个汇总. 一. 个人经验 从网上找相关资料,熟悉Openv ...
- Web移动端使用localStorage缓存Js和css文件 | 强制不要缓存
1.尽量不把js放在onload事件中,而是放在由用户主动触发的事件 2.加时间戳,时间不同则会加载js而非使用缓存 强制不要缓存: <meta http-equiv=Cache-Control ...
- ipad4丢失查找攻略
如果不幸你的ipad丢失了,你可以通过find my iphone的软件来.它会帮你定位你ipad的位置.还有一种方式是登录你的icloud里面有个功能是查找我的iphone. 你还可以点击下面这个链 ...
- 习惯养成和目标追踪APP推荐
一.习惯和目标的不同 习惯:贵在坚持,每天任务一定,而完成总量不定.坚持时间越久越好. 目标:贵在按时完成,任务总量一定,但是每天完成量不做限制.有一个完成期限,但是越早越好. 上面的差别导致了相关A ...
- 《JAVA多线程编程核心技术》 笔记:第二章:对象及变量的并发访问
一.基本概念1.安全的变量和不安全的变量2.脏读的理解3.锁重入:4.锁释放5.死循环:二.synchronized 的理解:三.synchronized 同步方法3.1 同步方法不具有继承性.3.2 ...