Spring Boot整合Thymeleaf视图层
Spring Boot整合Thymeleaf
Spring Boot整合Thymeleaf(Spring Boot官方推荐的视图层技术)
Thymeleaf特点:thymeleaf通过特定的语法对html的标记进行渲染。
Spring Boot整合Thymeleaf 的项目步骤
- 创建Thymeleaf的项目(maven project的jar类型的spring boot项目)
- 打开pom.xml文件,添加启动器坐标
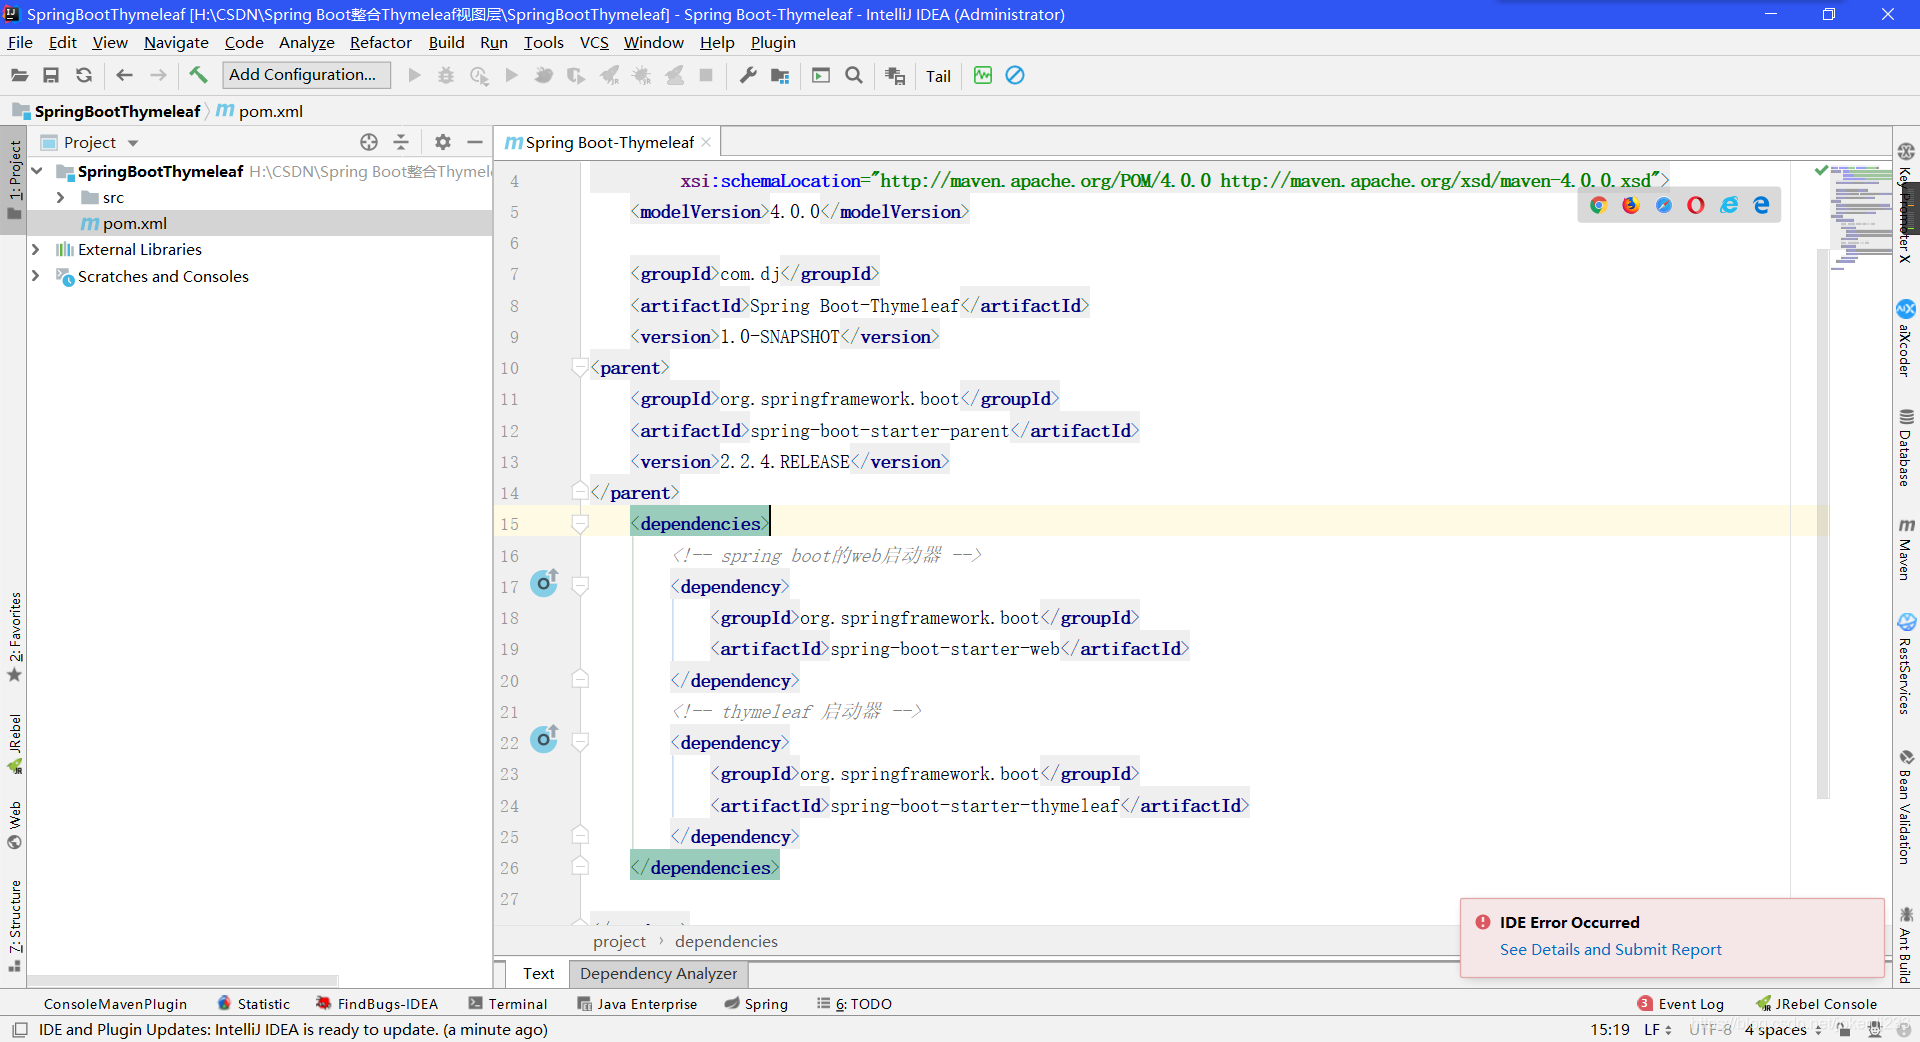
代码:
<parent>

    <groupId>org.springframework.boot</groupId>

    <artifactId>spring-boot-starter-parent</artifactId>

    <version>2.2.4.RELEASE</version>

</parent>

    <dependencies>

        <!-- spring boot的web启动器 -->

        <dependency>

            <groupId>org.springframework.boot</groupId>

            <artifactId>spring-boot-starter-web</artifactId>

        </dependency>

        <!-- thymeleaf 启动器 -->

        <dependency>

            <groupId>org.springframework.boot</groupId>

            <artifactId>spring-boot-starter-thymeleaf</artifactId>

        </dependency>

    </dependencies>
- 编写Controller控制器

代码:
@Controller

public class UserController {

	/**

	 * 返回一个String的返回值(恒跳转),并且不是一个异步的ResponseBoby响应

	 * 框架会自动在templates目录下查找与之对应的html页面,

	 * 由Thymeleaf渲染出来。

	 * 前缀:classpath:/templates  后缀:.html

	 * 如果想要跳转到控制器,必须要让前缀和后缀失效,加上forward或redirect

	 */

	@RequestMapping("/show")

	public String  showInfo(Model model) {

		//存储用户名字符串,显示到页面

		model.addAttribute("username","翠花");

		//前缀:classpath:/templates  后缀:.html

		return "index";

	}

}
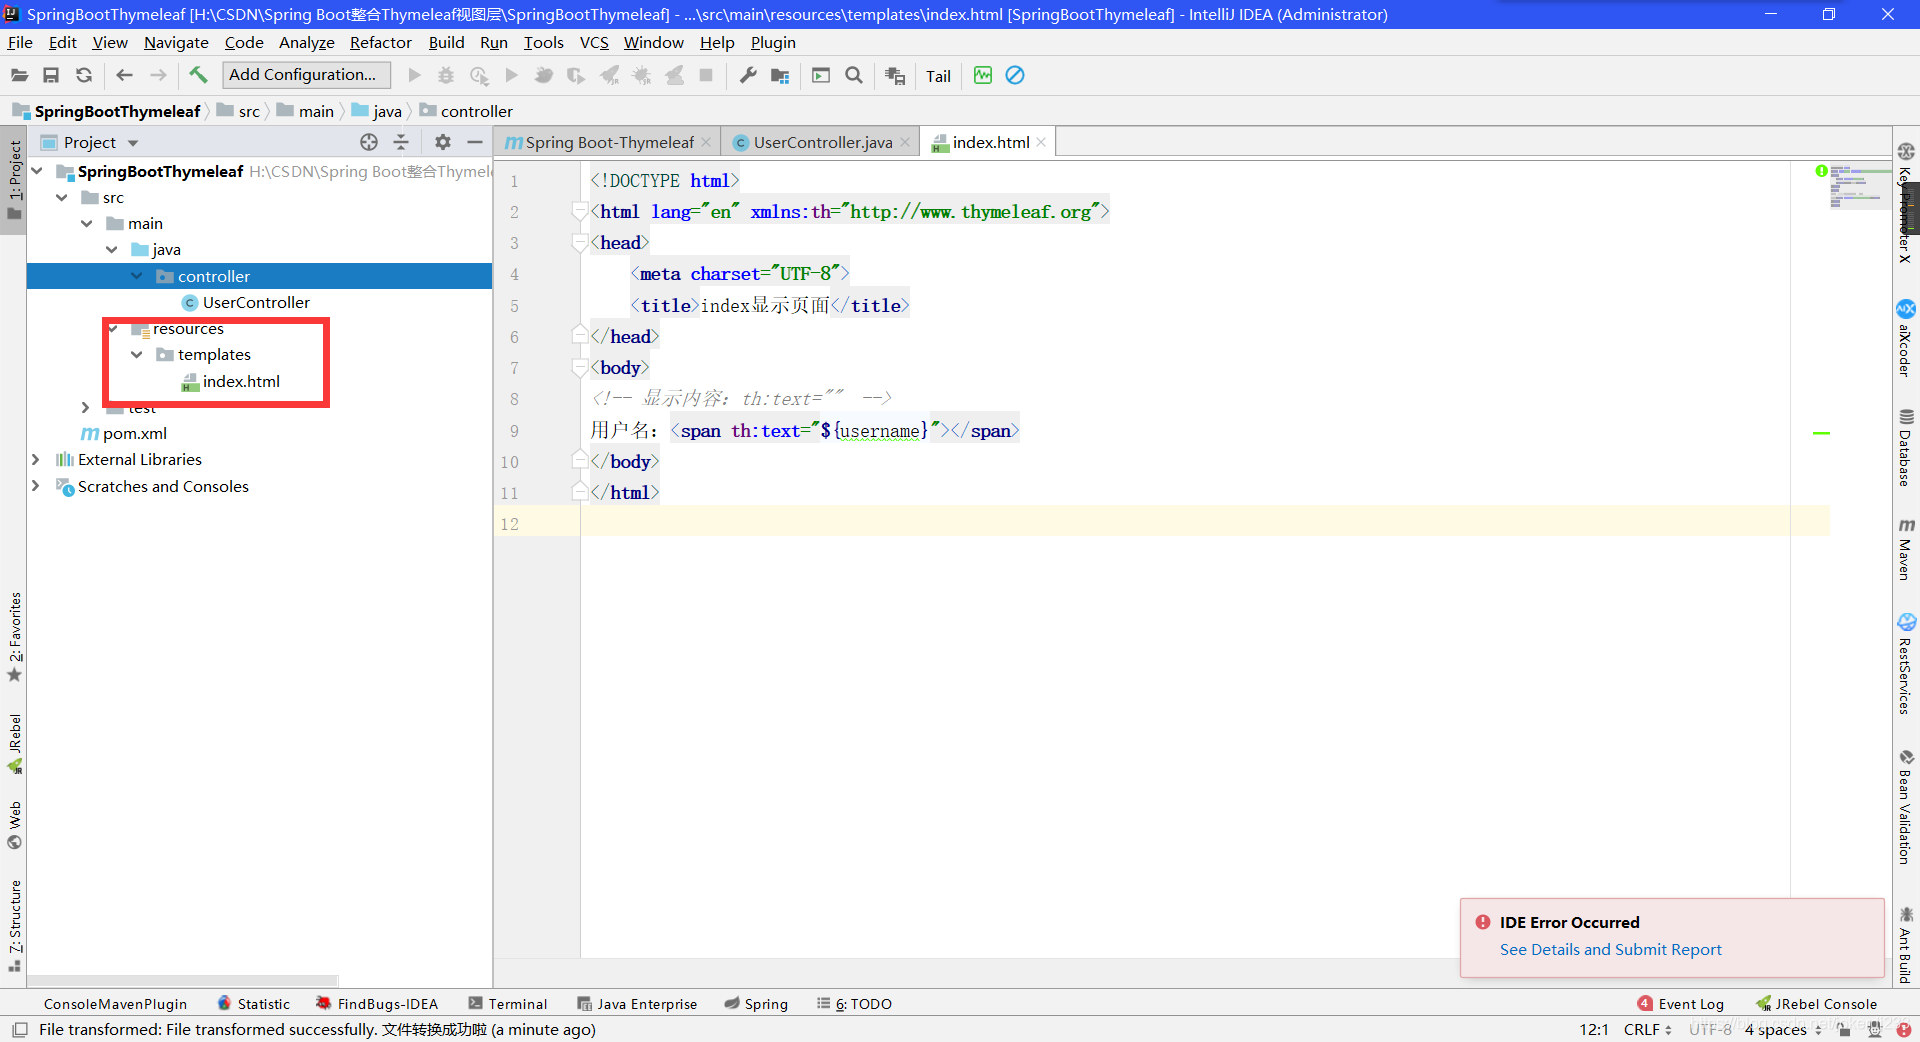
- 编写Thymeleaf视图层页面 (负责数据的展示)
Thymeleaf页面必须要放在src/main/resources/templates下
templates:该目录是安全.意味着目录下的内容不允许外界直接访问。
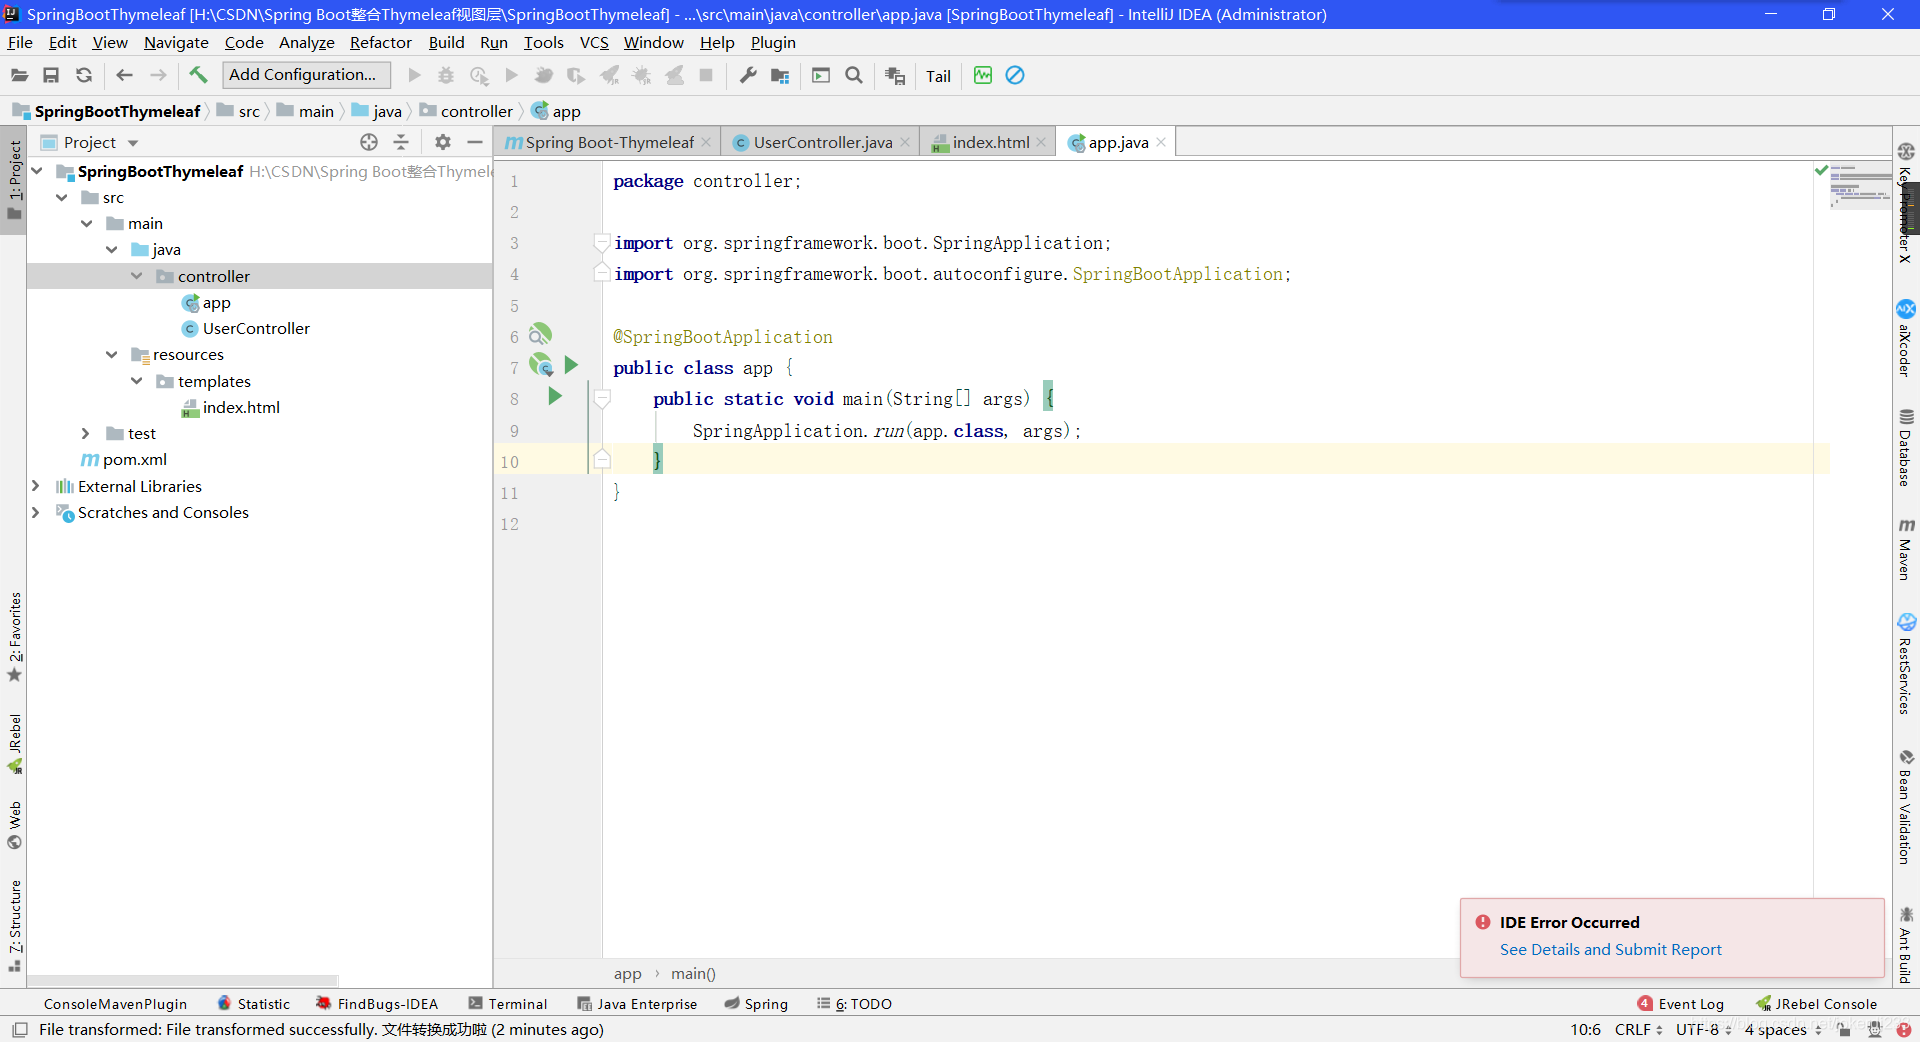
- 启动类
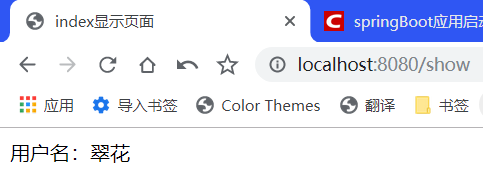
- 浏览器输入: localhost:8080/show
Thymeleaf 语法详解
- 变量输出
th:text :在页面中输出值
th:value : 将值放入input标签的value属性中
用户名:<span th:text="${username}"></span>

<hr/>

用户名: <input th:value="${username}"/>
- Thymeleaf内置对象 (内置对象一定用#)
1:字符串操作 strings
strings.isEmpty() : 判断字符串是否为空。True,false
strings.startsWith() : 判断字符串是否已什么开头。True,false
strings.endsWith() : 判断字符串是否已什么结尾。True,false
strings.length() : 返回字符串的长度
strings.indexOf() : 查找子字符串出现的位置
strings.toUpperCase():转大写
strings.tolowerCase():转小写
Strings.substring() :截取子字符串
用户名的长度:<span th:text="${#strings.length(username)}"></span>

  <hr/>

  获取用户名的姓:<span th:text="${#strings.substring(username,0,1)}"></span>
- 日期格式化处理 dates
dates.format():默认以浏览器作为格式化标签
dates.format(time,’yyyy-MM-dd hh:mm:ss ’): 按照自定义的格式进行转换
dates.year():获取年
dates.month():获取月
dates.day():获取日
当前时间:<span th:text="${time}"></span>

 <hr/>

 格式化日期:<span th:text="${#dates.format(time,'yyyy-MM-dd HH:mm:ss')}"></span>
- 条件判断
1:th: if
controller:
model.addAttribute("sex", "男");
html:
您可能喜欢:<span th:if="${sex}=='男'">篮球,动漫</span>
th:switch
th:case循环迭代遍历
th:each
	1:迭代遍历list

		<table border="1" width="50%">

     <tr>

        <td>序号</td>

        <td>编号</td>

        <td>姓名</td>

        <td>年龄</td>

     </tr>

     <!--var:状态变量  index ,count,first last size  even odd-->

     <tr th:each="user,var:${list}">

        <td th:text="${var.count}"></td>

        <td th:text="${user.id}"></td>

        <td th:text="${user.name}"></td>

        <td th:text="${user.age}"></td>

     </tr>

 </table>
2:迭代遍历map
...
- 作用域的对象数据的获取操作
	//作用域  request,session  application

request.setAttribute("req", "HttpServletRequest");

request.getSession().setAttribute("sess", "HttpSession");

request.getSession().getServletContext().setAttribute("app", "ServletContext");

<!--页面部分-->

Request数据:<span th:text="${#httpServletRequest.getAttribute('req')}"></span><br/>

Session数据:<span th:text="${session.sess}"></span><br/>

Application数据:<span th:text="${application.app}"></span><br/>
- Url表达式
th:href
th:src
th:action
1:表达式语法 @{}
2: 路径类型绝对路径
相对路径
1:相对于当前项目的根目录  /

      <a th:href=”@{/index}”></a>

2: 相对于服务器路径的根目录 ~

      <a th:href=”@{~/项目名/资源}”></a>

<!-- 连接 url表达式 -->

 <a href="http://www.baidu.com">百度一下</a>

 <a th:href="@{http://www.baidu.com}">百度一下</a>

 <a th:href="@{/show}">show</a>

 <hr/>

 <img src="images/3.jpg" />

 <img th:src="@{${img}}"  />
Spring Boot整合Thymeleaf视图层的更多相关文章
- Spring Boot2 系列教程(九)Spring Boot 整合 Thymeleaf
虽然现在慢慢在流行前后端分离开发,但是据松哥所了解到的,还是有一些公司在做前后端不分的开发,而在前后端不分的开发中,我们就会需要后端页面模板(实际上,即使前后端分离,也会在一些场景下需要使用页面模板, ...
- 极简 Spring Boot 整合 Thymeleaf 页面模板
虽然现在慢慢在流行前后端分离开发,但是据松哥所了解到的,还是有一些公司在做前后端不分的开发,而在前后端不分的开发中,我们就会需要后端页面模板(实际上,即使前后端分离,也会在一些场景下需要使用页面模板, ...
- 从零开始的Spring Boot(5、Spring Boot整合Thymeleaf)
Spring Boot整合Thymeleaf 写在前面 从零开始的Spring Boot(4.Spring Boot整合JSP和Freemarker) https://www.cnblogs.com/ ...
- Spring Boot整合 Thymeleaf 模板引擎
什么是Thymeleaf Thymeleaf是一款用于渲染XML.XHTML.HTML5内容的模板引擎.类似Velocity,FreeMaker模板引擎,它也可以轻易的与Spring MVC等Web框 ...
- Spring Boot整合Thymeleaf模板引擎
什么是Thymeleaf Thymeleaf是一款用于渲染XML.XHTML.HTML5内容的模板引擎.类似Velocity,FreeMaker模板引擎,它也可以轻易的与Spring MVC等Web框 ...
- Spring Boot 整合 Thymeleaf 完整 Web 案例
Thymeleaf 是一种模板语言.那模板语言或模板引擎是什么?常见的模板语言都包含以下几个概念:数据(Data).模板(Template).模板引擎(Template Engine)和结果文档(Re ...
- spring boot整合Thymeleaf的那些坑(spring boot 学习笔记之四)
这里简单记录一下Thymeleaf配置和使用的步骤 1.修改pom文件,添加依赖 <dependency> <groupId>org.springframework.boot& ...
- spring boot整合Thymeleaf
1.引入thymeleaf: <dependency> <groupId>org.springframework.boot</groupId> <artifa ...
- spring boot 整合Thymeleaf模板
SpringBoot 是为了简化 Spring 应用的创建.运行.调试.部署等一系列问题而诞生的产物,自动装配的特性让我们可以更好的关注业务本身而不是外部的XML配置,我们只需遵循规范,引入相关的依赖 ...
随机推荐
- zookeeper伪集群搭建
zookeeper伪集群搭建 1. 下载zookeeper: https://zookeeper.apache.org/ 2. 解压: tar -zxvf zookeeper-3.4.14.tar.g ...
- 2.5D地图系统技术方案
1. 2.5D地图概述 1.1. 概述 2.5维地图就是根据dem.dom.dlg等数据,以及真三维模型在一定高度.视角和灯光效果,按照轴侧投影的方式生成的地图.本文以臻图信息ZTMapE ...
- 玩转 .NET Core 3.0:逐浪CMS新版发布,建站更简单、网站更安全
2019年11月11日,在大家都忙于网上体会“双11 ”的热闹气氛的时候,逐浪CMS开发者团队正在做着新版本发布的最后工作.此次更新是基本于 .NET Core 3.0开发,也是全国首个基于 .NET ...
- Go组件学习:如何读取ini配置文件
代码示例全部保存在,欢迎star:https://github.com/EnochZg/golang-examples 安装组件 go get gopkg.in/ini.v1 使用 先创建ini后缀的 ...
- Linux双网卡绑定配置
Linux双网卡绑定配置 环境介绍 Linux Redhat 6.5.4张网卡 需求 4张网卡两两绑定,4张网卡分别是eth ...
- Simulink仿真入门到精通(十九) 总结回顾&自我练习
从2019年12月27到2020年2月12日,学习了Simulink仿真及代码生成技术入门到精通,历时17天. 学习的比较粗糙,有一些地方还没理解透彻,全书梳理总结: Simulink的基础模块已基本 ...
- Ansible Ad-Hoc与常用模块
ansible 执行结果信息–各颜色说明:ansible Ad-Hoc 说明:ansible 如何查看帮助文档与常用模块详解 主机规划 添加用户账号 说明: 1. 运维人员使用的登录账号: 2. 所有 ...
- 数据挖掘算法——K-means算法
k-means中文称为K均值聚类算法,在1967年就被提出 所谓聚类就是将物理或者抽象对象的集合分组成为由类似的对象组成的多个簇的过程 聚类生成的组成为簇 簇内部任意两个对象之间具有较高的相似度,不 ...
- 可运行jar包的几种打包/部署方式(转)
转自:https://www.cnblogs.com/yjmyzz/p/executable-jar.html java项目开发中,最终生成的jar,大概可分为二类,一类是一些通用的工具类(不包含ma ...
- Kafka 详解(转)
转载自:https://blog.csdn.net/lingbo229/article/details/80761778 Kafka Kafka是最初由Linkedin公司开发,是一个分布式.支持分区 ...