使用testng.xml组织测试用例
测试用例类TeseNG.java:

import org.openqa.selenium.By;
import org.openqa.selenium.WebDriver;
import org.openqa.selenium.WebElement;
import org.openqa.selenium.firefox.FirefoxDriver;
import org.testng.Assert;
import org.testng.Reporter;
import org.testng.annotations.*;

public class TestNG {
    private WebDriver driver;

    @BeforeClass
    public void beforeClass() throws InterruptedException {
        System.setProperty("webdriver.firefox.marionette",
                "src/main/resourcec/geckodriver.exe");
        String baiduHomePage;
        baiduHomePage = "https://www.baidu.com/";

        driver = new FirefoxDriver();
        driver.manage().window().maximize();
        driver.get(baiduHomePage);
        Thread.sleep(2000);
        Assert.assertEquals(driver.getTitle(), "百度一下,你就知道");
    }

    @Test(dataProvider = "word")
    public void testNG(String keyword, String case_1, String searchTitle)
            throws InterruptedException {
        WebElement webElement = driver.findElement(By.xpath(".//*[@id='kw']"));
        webElement.clear();
        webElement.sendKeys(keyword);

        driver.findElement(By.xpath(".//*[@id='su']")).click();
        Thread.sleep(3000);

        Reporter.log(case_1);
        Assert.assertEquals(driver.getTitle(), searchTitle);
        driver.navigate().refresh();
    }

    @AfterClass
    public void afterClass(){
        driver.close();
        driver.quit();
    }

    @DataProvider(name = "word")
    public static Object[][] data(){
        return new Object[][]{{"Selenium", "搜索Selenium的测试用例", "Selenium_百度搜索"},
                {"JMeter", "搜索JMeter的测试用例", "JMeter_百度搜索"},
                {"Appium", "搜索Appium的测试用例", "Appium_百度搜索"}
    };
    }
}

testng.xml文件:
<?xml version="1.0" encoding="UTF-8"?>
<!DOCTYPE suite SYSTEM "http://testng.org/testng-1.0.dtd">
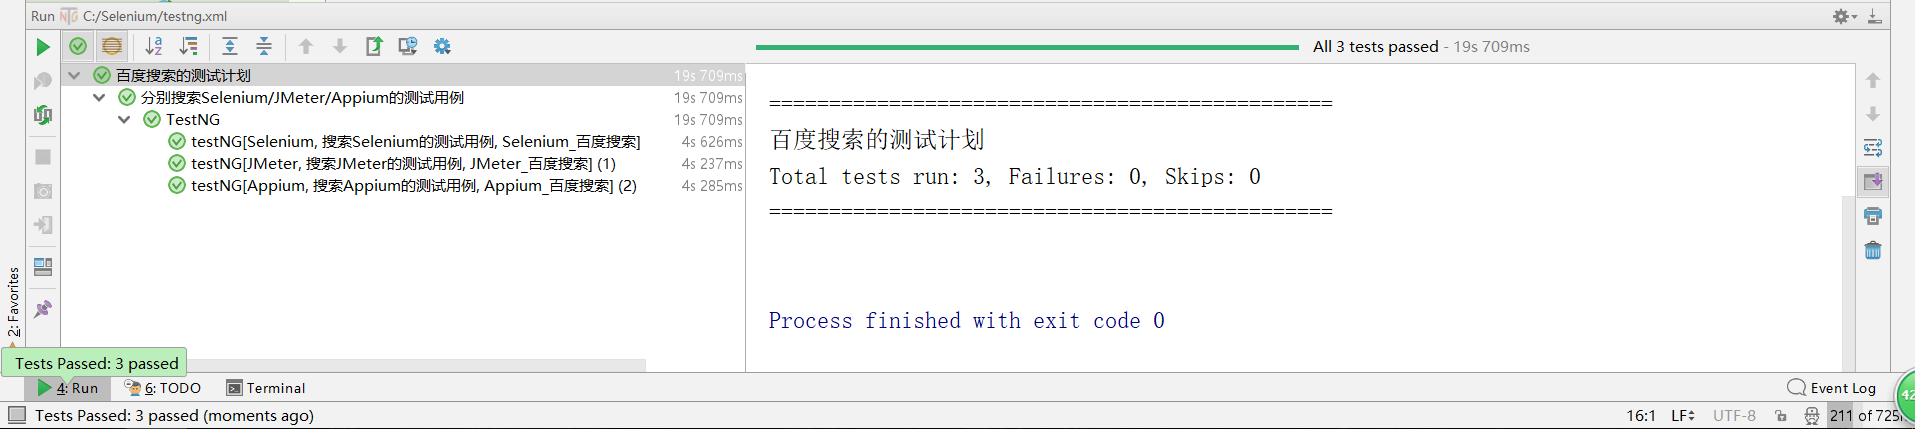
<suite name="百度搜索的测试计划" verbose="2" preserve-order="true"> <test name="分别搜索Selenium/JMeter/Appium的测试用例">
<classes>
<class name="TestNG" />
</classes>
</test> <listeners>
<listener class-name="org.uncommons.reportng.HTMLReporter" />
<listener class-name="org.uncommons.reportng.JUnitXMLReporter" />
</listeners>
</suite>
使用testng.xml组织测试用例的更多相关文章
- testng.xml 执行多个测试用例
1.在工程名字上点击右键,点击[New]-->[File] 2.在弹出的[New File]对话框中的[File name]输入[testng.xml],点击[Finish]即创建了一个test ...
- testng.xml文件的配置
------Web自动化测试之Webdriver+TestNG--从零到熟练(系列) TestNG用来管理测试用例的是testng.xml配置文件,我们可以通过配置这个文件来达到组织测试用例,输出测试 ...
- testng教程之testng.xml的配置和使用,以及参数传递
昨天学习了一下testng基础教程,http://www.cnblogs.com/tobecrazy/p/4579414.html 昨天主要学习的是testng 的annotation基本用法和生命周 ...
- IDEA 单元测试testng入门及testng.xml
直接进入正题: 1.TestNG的运行方式如下: With a testng.xml file 直接run as test suite With ant 使用ant From the command ...
- 接口自动化框架(java)--5.通过testng.xml生成extentreport测试报告
这套框架的报告是自己封装的 由于之前已经通过Extentreport插件实现了Testng的IReport接口,所以在testng.xml中使用listener标签并指向实现IReport接口的那个类 ...
- testng.xml 配置大全
1.TestNG的运行方式如下: 1 With a testng.xml file 直接run as test suite 2 With ant 使用ant 3 From the command li ...
- TestNG 入门指导——理解testng.xml执行/不执行某个包,某个类,某个方法
这一篇我们主要学习如下几个知识点: ⑴关于testng.xml ⑵创建一个测试套件 ⑶执行testng.xml ⑷在测试套件中创建多个测试用例 ⑸在用例中增加class,packages, metho ...
- 【TestNG测试】TestNG、Maven、testng.xml构建测试工程
创建一个maven工程 使用Idea创建maven工程 建立类似如上的工程结构,src/main/java,src/test/java,pom.xml,testng.xml,这里由于我们使用工程是 ...
- TestNG的testng.xml配置概述
TestNG提供的annotaions用来辅助定义测试类. TestNG的testng.xml配置文件用来辅助定义执行什么样的测试,即testng.xml更像是一个测试规划. testng.xml配置 ...
随机推荐
- 2018.12.26 Mac下的Eclipse在编辑Spring配置文件xml时自动提示类class包名配置
1.先查看下自己的Eclipse是什么版本,步骤如下: 2.选择Install New Software 3.输入网址 http://dist.springsource.com/release/TOO ...
- 2018.12.25 Spring中JDBCTemplate模版API学习
1 Spring整合JDBC模版 1.1 spring中土拱了一个可以操作数据库的对象.对象封装了jdbc技术 JDBCTemplateJDBC模板对象 1.2 与DBUtils中的QueryRunn ...
- <jsp:include>和<%@include file=""%>的区别(简单了解)
简单了解 include指令是编译阶段的指令,即include所包含的文件的内容是编译的时候插入到JSP文件中,JSP引擎在判断JSP页面未被修改,否则视为已被修改.由于被包含的文件是在编译时才插入的 ...
- 手机移动端 web整合
meta基础知识 <!DOCTYPE html> <html> <head> <meta charset="utf-8"> < ...
- 史上最简单的SpringCloud教程 | 第五篇: 路由网关(zuul)(Finchley版本)
转载请标明出处: 原文首发于:https://www.fangzhipeng.com/springcloud/2018/08/30/sc-f5-zuul/ 本文出自方志朋的博客 在微服务架构中,需要几 ...
- 名词解释-FrameWork
直接翻译的意思是架构,但这样说可能不懂,下面我从两个方面来给你说吧: 一是比喻来说,假设你现在要盖楼房,framework就好比一个建筑公司,它里面有专门采集石料的,专门的租夹板的,专门的磨砂,搬砖的 ...
- MySQL的数据类型(二)
MySQL中提供了多种对字符数据的存储类型,不同的版本可能有所差异.以5.0版本为例,MySQL包括了CHAR.VARCHAR.BINARY.VARBINARY.BLOB.TEXT等多种字符串类型. ...
- poj_3256_Cow Picnic
The cows are having a picnic! Each of Farmer John's K (1 ≤ K ≤ 100) cows is grazing in one of N (1 ≤ ...
- round函数在oracle和mysql中用法
1.oracle和mysql通用方法 #round(字段1,小数位数) 四舍五入select round('11.123456',4);结果:11.1235 2.mysql的另外2种保留小数位数方法# ...
- vsftpd文件服务参数汇总和虚拟用户使用
FTP文件传输协议 FTP协议特点 基于C/S结构 双通道协议:数据和命令连接 数据传输格式:二进制(默认)和文本(w文本格式会修改文件内容) 两种模式:服务器角度 主动(PORT style):服务 ...