python tensorflow windows环境搭建体验
1. 需先安装python3.7,anaconda包管理器(类似java的maven),tensorflow,pycharm开发工具。文末附件下载地址。
2. 安装tensorflow,开始-Anaconda3-Anaconda3 Prompt。 打开控制台。

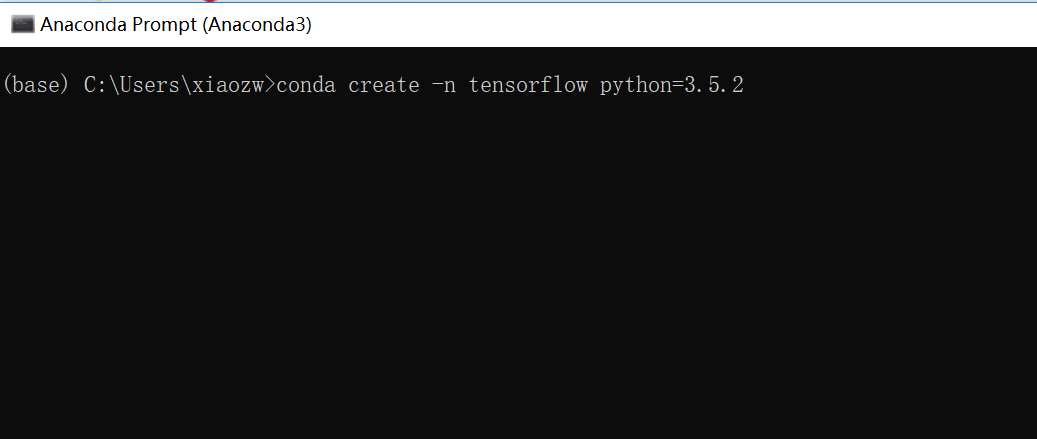
conda create -n tensorflow python=3.5.2
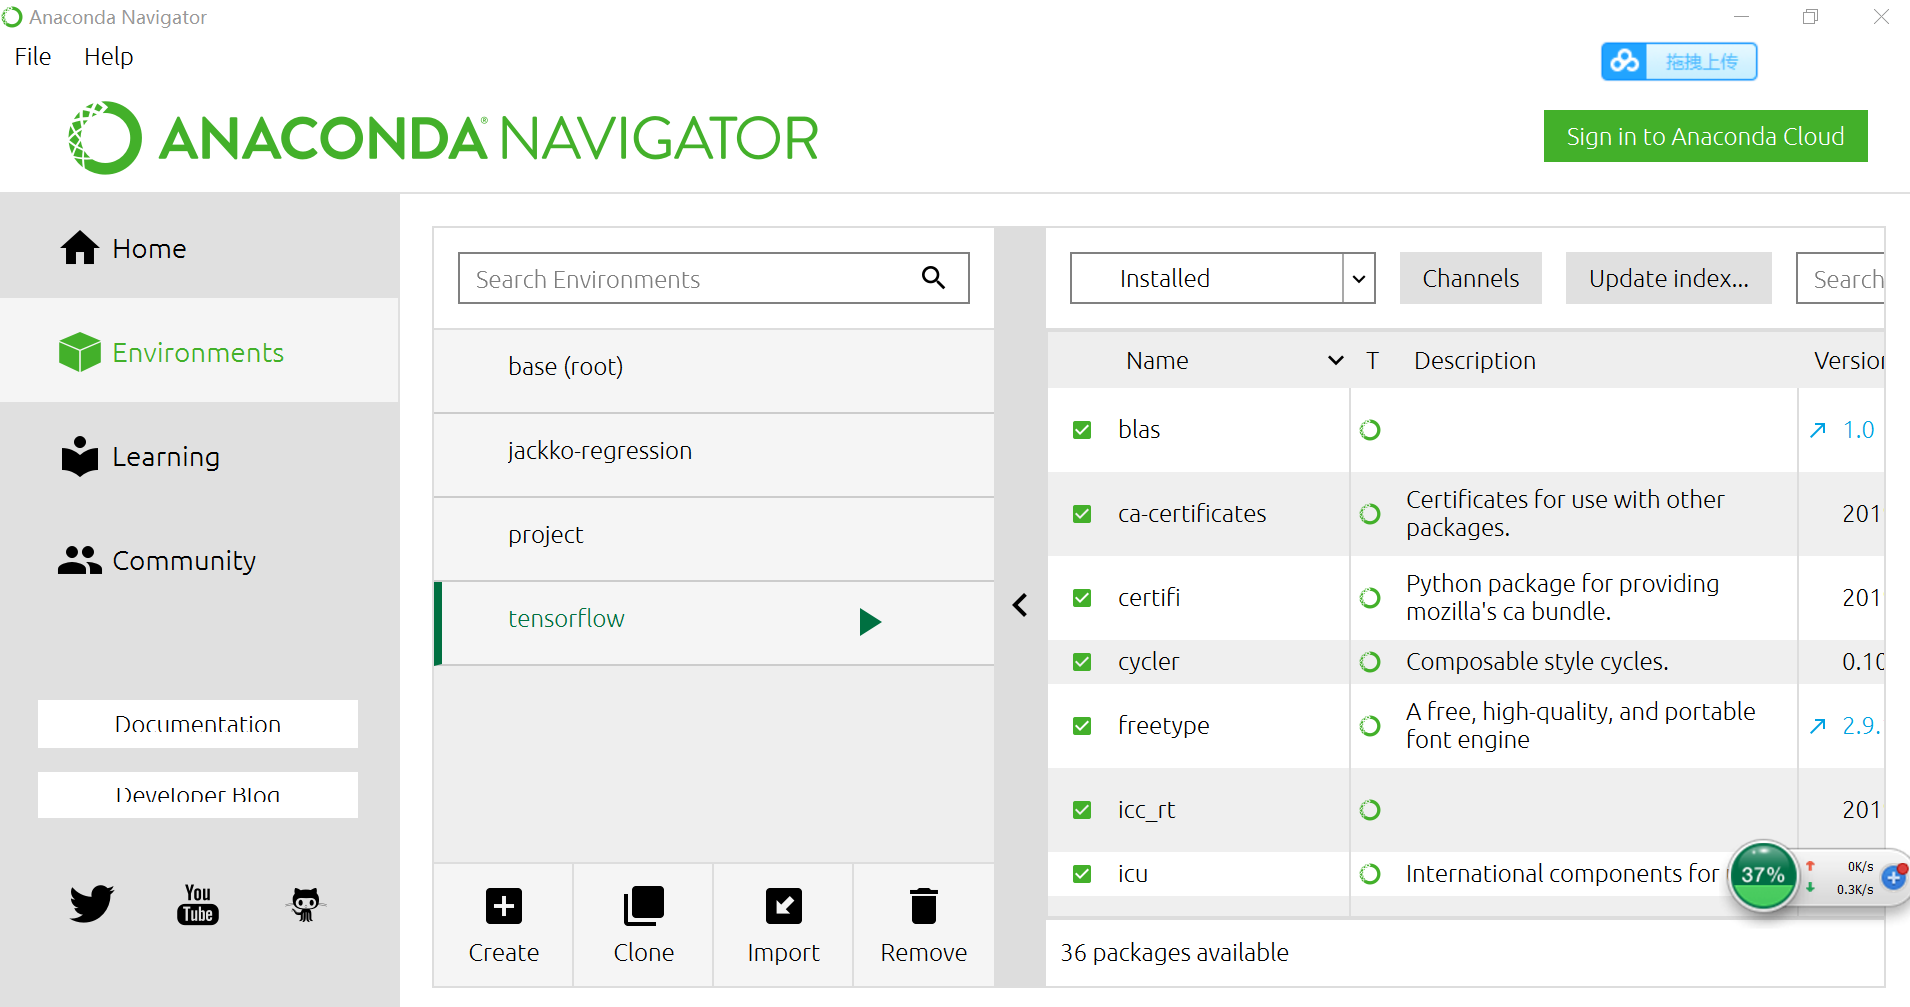
Anaconda首页
3. 常用包,Numpy:数学函数库、Scipy:NumPy开发的高级模块、
pandas:对数据进行导入、清洗、处理、统计和输出、
Scikit-learn:专门面向机器学习的Python开源框架
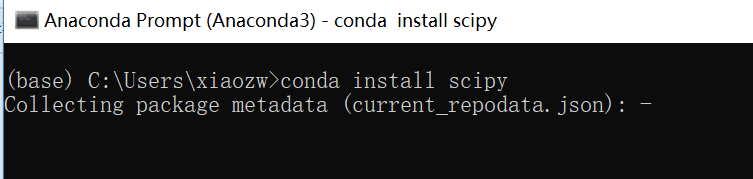
安装命令
conda install XXX
如:conda install scipy
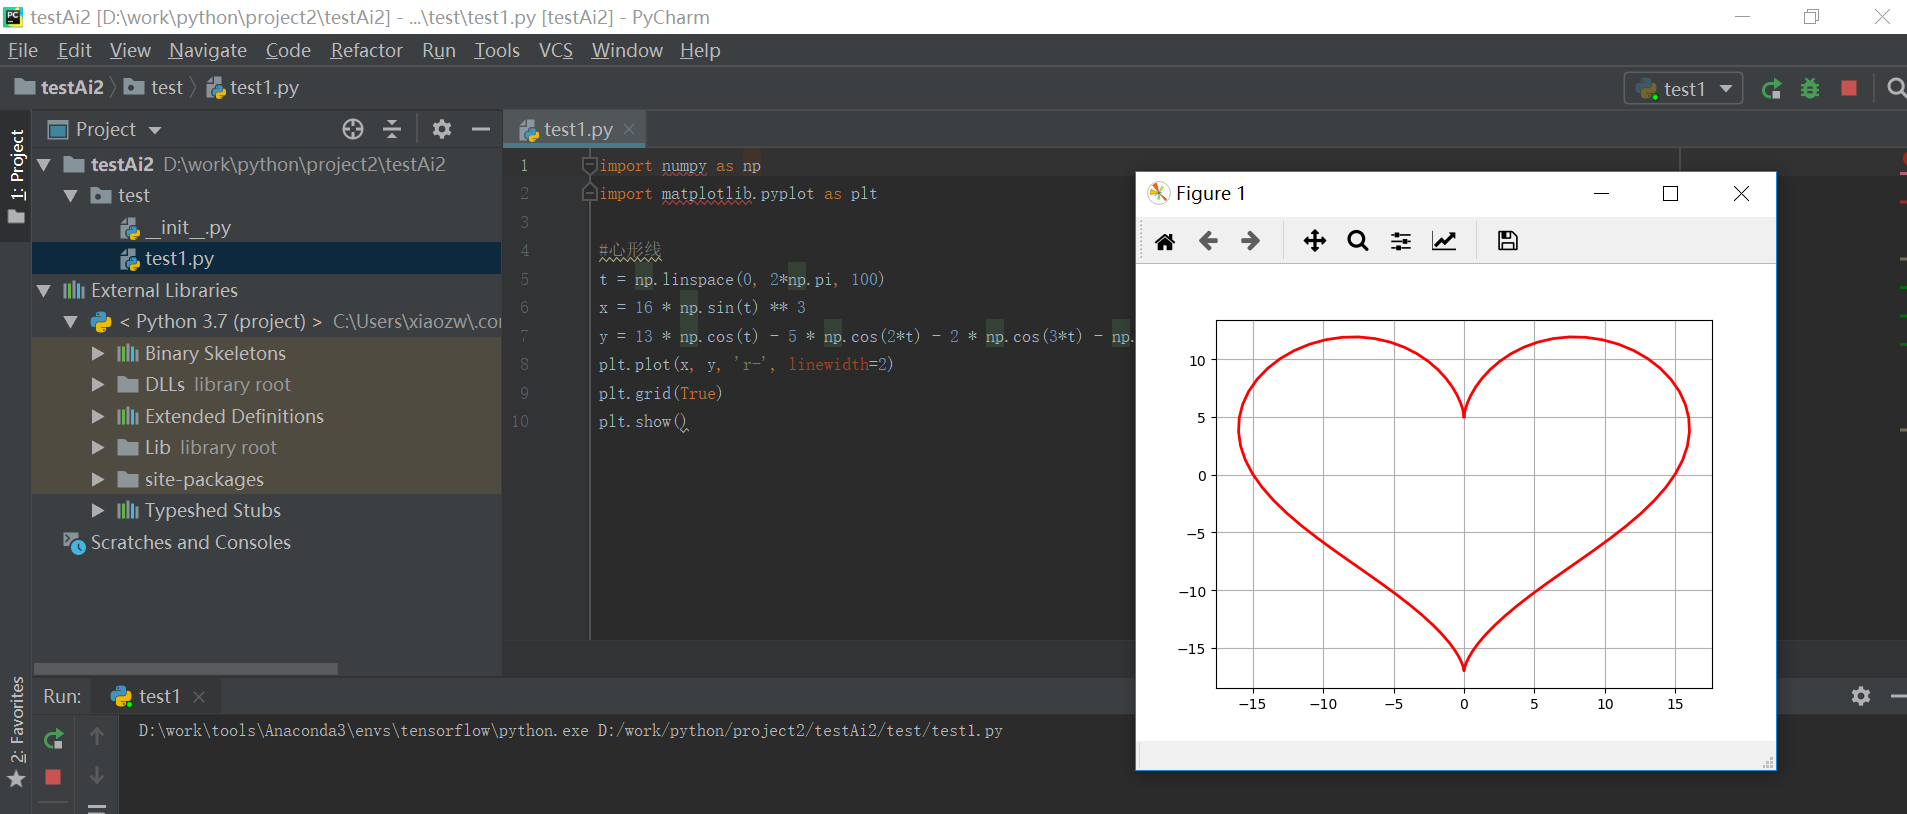
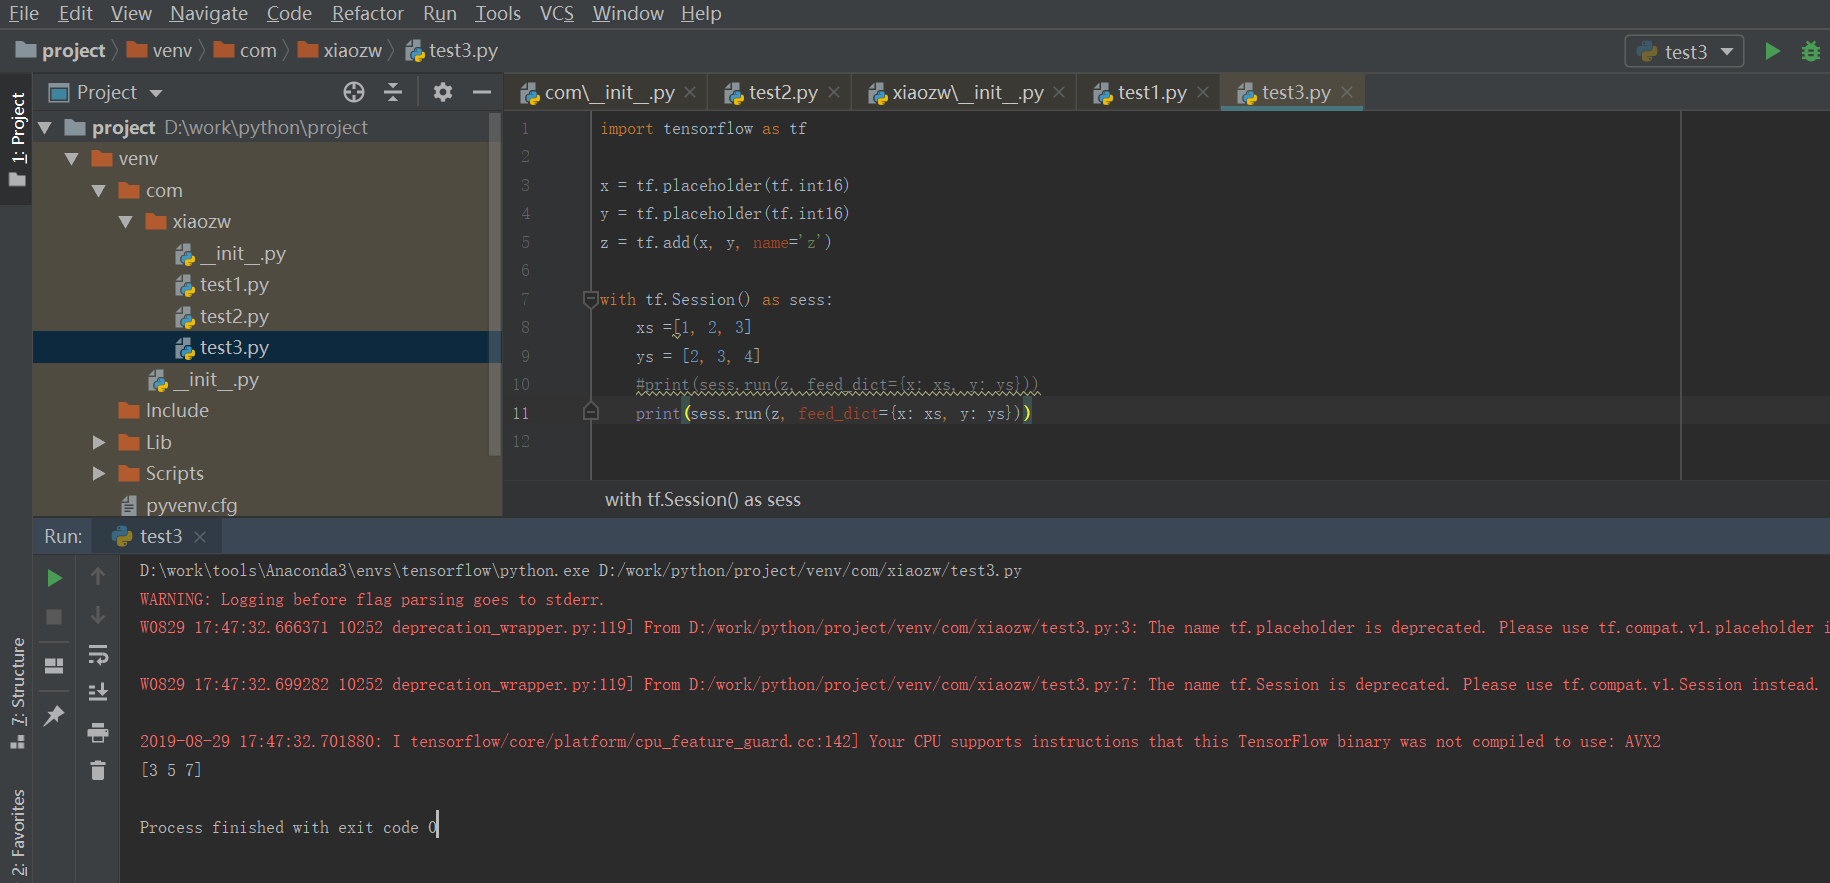
4. 打开开发工具pycharm。
 import numpy as np

 import matplotlib.pyplot as plt

 #心形线

 t = np.linspace(0, 2*np.pi, 100)

 x = 16 * np.sin(t) ** 3

 y = 13 * np.cos(t) - 5 * np.cos(2*t) - 2 * np.cos(3*t) - np.cos(4*t)

 plt.plot(x, y, 'r-', linewidth=2)

 plt.grid(True)

 plt.show()
执行结果:
 # 渐开线

 t = np.linspace(0, 50, num=1000)

 x = t*np.sin(t) + np.cos(t)

 y = np.sin(t) - t*np.cos(t)

 plt.plot(x, y, 'r-', linewidth=2)

 plt.grid()

 plt.show()

import tensorflow as tf

x = tf.placeholder(tf.int16)

y = tf.placeholder(tf.int16)

z = tf.add(x, y, name='z')

with tf.Session() as sess:

    xs =[1, 2, 3]

    ys = [2, 3, 4]

    #print(sess.run(z, feed_dict={x: xs, y: ys}))

    print(sess.run(z, feed_dict={x: xs, y: ys}))
# 胸型线

x = np.arange(1, 0, -0.001)

y = (-3 * x * np.log(x) + np.exp(-(40 * (x - 1 / np.e)) ** 4) / 25) / 2

plt.figure(figsize=(5,7), facecolor='w')

plt.plot(y, x, 'r-', linewidth=2)

plt.grid(True)

plt.title(u'胸型线', fontsize=20)

plt.savefig('breast.png')

plt.show()

代码下载
链接:https://pan.baidu.com/s/1dFnldBSaeJBBs_p_onUX3w
提取码:tk7p
python tensorflow windows环境搭建体验的更多相关文章
- Python 数据分析Windows环境搭建
1. 下载相应的Python软件并安装 python-3.6.0-amd64 2. 配置相应的环境变量path ;C:\Users\Administrator\AppData\Local\Progr ...
- 基于Ubuntu+Python+Tensorflow+Jupyter notebook搭建深度学习环境
基于Ubuntu+Python+Tensorflow+Jupyter notebook搭建深度学习环境 前言一.环境准备环境介绍软件下载VMware下安装UbuntuUbuntu下Anaconda的安 ...
- Python+Selenium+webdriver环境搭建(windows)以及相关资源下载链接
今天记录一下测试小菜鸟alter在测试入门的一点关于python+Selenium+webdriver环境搭建的经历以及资源分享.欢迎交流学习,批评指正. 一.Python的下载与安装 1.pytho ...
- 【selenium+python】之Python Flask 开发环境搭建(Windows)
一.先安装python以及pip 二.其次, Python的虚拟环境安装: 在github上下载https://github.com/pypa/virtualenv/tree/master zip文 ...
- Python介绍及环境搭建
摘自http://www.cnblogs.com/sanzangTst/p/7278337.html Python零基础学习系列之二--Python介绍及环境搭建 1-1.Python简介: Py ...
- python+Eclipse+pydev环境搭建
python+Eclipse+pydev环境搭建 本文重点介绍使用Eclipse+pydev插件来写Python代码, 以及在Mac上配置Eclipse+Pydev 和Windows配置Ecli ...
- Battery Historian for windows环境搭建
Battery Historian for windows环境搭建 简介:Battery historian是一款通过上传bugreport文件分析用户手机中App的电池耗电情况的工具. Batter ...
- 深度学习(TensorFlow)环境搭建:(三)Ubuntu16.04+CUDA8.0+cuDNN7+Anaconda4.4+Python3.6+TensorFlow1.3
紧接着上一篇的文章<深度学习(TensorFlow)环境搭建:(二)Ubuntu16.04+1080Ti显卡驱动>,这篇文章,主要讲解如何安装CUDA+CUDNN,不过前提是我们是已经把N ...
- 深度学习(TensorFlow)环境搭建:(二)Ubuntu16.04+1080Ti显卡驱动
前几天把刚拿到了2台GPU机器组装好了,也写了篇硬件配置清单的文章——<深度学习(TensorFlow)环境搭建:(一)硬件选购和主机组装>.这两台也在安装Ubuntu 16.04和108 ...
随机推荐
- g50打开无线设置 fn+f7
- 安装testlink时,出现”testlink/gui/templates_c、testlink/logs、testlink/upload_area不可写‘解决办法
在Testlink安装到最后,'...目录是否可写(由于用户运行webserver进程)’过程出错,如下图所示 1.首先想到/var/www/html/testlink/gui/templates_c ...
- java项目中,针对缓存问题的处理方式【接口中的处理方式】
1.在service包中,分别建立了关于缓存的一系列的接口.类等,封装到一个工具包中: 临时缓存的接口(代码部分): package com.tools; import java.util.Date; ...
- [THUPC2018] 弗雷兹的玩具商店
link $solution:$ 好久没写数据结构了,那就写道简单题吧! 可以发现 $m\leq 50$,所以可以去取在 $[l,r]$ 中当价格相同时愉悦值最高的做完全背包 $dp$ . 发现修改价 ...
- SQLyog安装
安装 使用 首先看到下面的界面
- 模块之re模块
八.正则表达式 1.1首先我们先了解re模块与正则表达式的关系: re模块与正则表达式之间的关系 正则表达式不是python独有的 它是一门独立的技术所有的编程语言都可以使用正则,但是如果你想在pyt ...
- UNIX网络编程总结一
客户与服务器通信使用TCP在同一网络通信时,大致按下面的方式通信:client→TCP→IP→以太网驱动程序→以太网→以太网驱动程序→IP→TCP→server.若不在同一网络则需要路由器连接. 客户 ...
- Uboot命令U_BOOT_CMD分析
其中U_BOOT_CMD命令格式如下: U_BOOT_CMD(name,maxargs,repeatable,command,"usage","help") 各 ...
- 2018-11-01-weekly
Algorithm 107. 二叉树的层次遍历 II What 给定一个二叉树,返回其节点值自底向上的层次遍历. (即按从叶子节点所在层到根节点所在的层,逐层从左向右遍历).例如:给定二叉树 [3,9 ...
- bzoj4543 [POI2014]Hotel加强版 长链剖分+树形DP
题目传送门 https://lydsy.com/JudgeOnline/problem.php?id=4543 题解 这道题的弱化版 bzoj3522 [POI2014]Hotel 的做法有好几种吧. ...