How To Install and Secure phpMyAdmin on Ubuntu 12.04(MySQL图形管理)
原文参考链接:https://www.digitalocean.com/community/tutorials/how-to-install-and-secure-phpmyadmin-on-ubuntu-12-04
安装完成执行
sudo dpkg-reconfigure phpmyadmin
重新设置,选择tcp/ip方式
About phpMyAdmin
phpMyAdmin is an free web software to work with MySQL on the web—it provides a convenient visual front end to the MySQL capabilities.
Setup
The steps in this tutorial require the user to have root privileges on your virtual private server. You can see how to set that up here in steps 3 and 4.
Before working with phpMyAdmin you need to have LAMP installed on your server. If you don't have the Linux, Apache, MySQL, PHP stack on your server, you can find the tutorial for setting it up here.
Once you have the user and required software, you can start installing phpMyAdmin on your VPS!
Install phpMyAdmin
The easiest way to install phpmyadmin is through apt-get:
sudo apt-get install phpmyadmin apache2-utilsDuring the installation, phpMyAdmin will walk you through a basic configuration. Once the process starts up, follow these steps:
- Select Apache2 for the server
- Choose YES when asked about whether to Configure the database for phpmyadmin with dbconfig-common
- Enter your MySQL password when prompted
- Enter the password that you want to use to log into phpmyadmin
After the installation has completed, add phpmyadmin to the apache configuration.
sudo nano /etc/apache2/apache2.confAdd the phpmyadmin config to the file.
Include /etc/phpmyadmin/apache.confRestart apache:
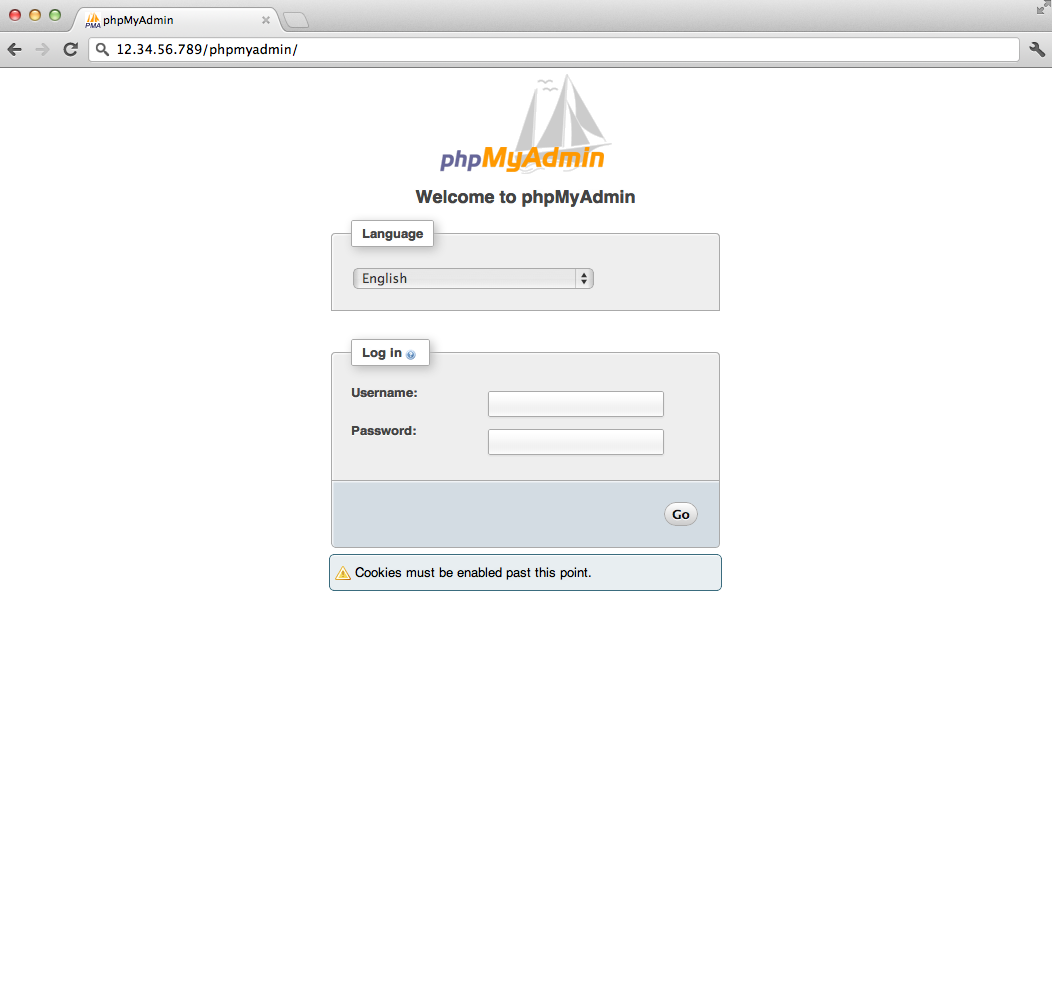
sudo service apache2 restartYou can then access phpmyadmin by going to youripaddress/phpmyadmin. The screen should look likethis
Security
Unfortunately older versions of phpMyAdmin have had serious security vulnerabilities including allowing remote users to eventually exploit root on the underlying virtual private server. One can prevent a majority of these attacks through a simple process: locking down the entire directory with Apache's native user/password restrictions which will prevent these remote users from even attempting to exploit older versions of phpMyAdmin.
Set Up the .htaccess File
To set this up start off by allowing the .htaccess file to work within the phpmyadmin directory. You can accomplish this in the phpmyadmin configuration file:
sudo nano /etc/phpmyadmin/apache.confUnder the directory section, add the line “AllowOverride All” under “Directory Index”, making the section look like this:
<Directory /usr/share/phpmyadmin>

        Options FollowSymLinks

        DirectoryIndex index.php

        AllowOverride All

        [...]
Configure the .htaccess file
With the .htaccess file allowed, we can proceed to set up a native user whose login would be required to even access the phpmyadmin login page.
Start by creating the .htaccess page in the phpmyadmin directory:
sudo nano /usr/share/phpmyadmin/.htaccessFollow up by setting up the user authorization within .htaccess file. Copy and paste the following text in:
AuthType Basic

AuthName "Restricted Files"

AuthUserFile /etc/apache2/.phpmyadmin.htpasswd

Require valid-user
Below you’ll see a quick explanation of each line
- AuthType: This refers to the type of authentication that will be used to the check the passwords. The passwords are checked via HTTP and the keyword Basic should not be changed.
- AuthName: This is text that will be displayed at the password prompt. You can put anything here.
- AuthUserFile: This line designates the server path to the password file (which we will create in the next step.)
- Require valid-user: This line tells the .htaccess file that only users defined in the password file can access the phpMyAdmin login screen.
Create the htpasswd file
Now we will go ahead and create the valid user information.
Start by creating a htpasswd file. Use the htpasswd command, and place the file in a directory of your choice as long as it is not accessible from a browser. Although you can name the password file whatever you prefer, the convention is to name it .htpasswd.
sudo htpasswd -c /etc/apache2/.phpmyadmin.htpasswd usernameA prompt will ask you to provide and confirm your password.
Once the username and passwords pair are saved you can see that the password is encrypted in the file.
FInish up by restarting apache:
sudo service apache2 restartAccessing phpMyAdmin
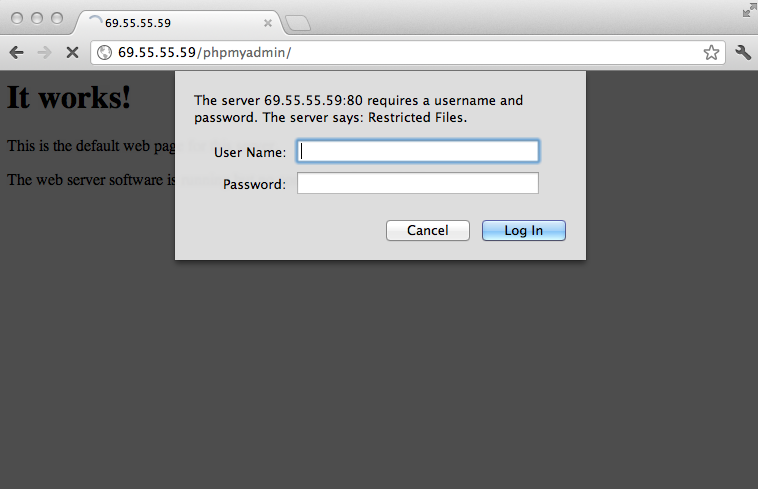
phpMyAdmin will now be much more secure since only authorized users will be able to reach the login page. Accessing youripaddress/phpmyadmin should display a screen like this.
Fill it in with the username and password that you generated. After you login you can access phpmyadmin with the MySQL username and password.
By Etel Sverdlov
How To Install and Secure phpMyAdmin on Ubuntu 12.04(MySQL图形管理)的更多相关文章
- Ruby on Rails Session 2: How to install Aptana Studio 3 on Ubuntu 12.04 LTS
Update: An updated version of these instructions for Ubuntu 12.10 (Quantal Quetzal) is available her ...
- ubuntu 12.04 mysql转移目录后 无法 启动
http://www.boyunjian.com/do/article/snapshot.do?uid=com.iteye.xgbjmxn%2Fblog%2F1208086(转,) 我是用ap ...
- Install Ruby on Rails on Ubuntu 12.04 LTS
1:Update package repository. sudo apt-get update 2:Install git and Curl. Git:是一个简单,快速,高效的版本控制系统. ...
- ubuntu 12.04 install docker-engine1.12.3
root@node3:/data/src# cat /etc/issueUbuntu 12.04.4 LTS \n \l root@node3:/data/src# cat /etc/apt/so ...
- Install Asterisk 11 on Ubuntu 12.04 LTS
http://blogs.digium.com/2012/11/14/how-to-install-asterisk-11-on-ubuntu-12-4-lts/ Last week I put up ...
- (转) How to install eclipse in ubuntu 12.04
源地址:http://www.krizna.com/ubuntu/install-eclipse-in-ubuntu-12-04/ Eclipse installation in ubuntu 12. ...
- Install Cocos2d-x v3.3 on Ubuntu 14.04 & Ubuntu 14.10(转)
Install Cocos2d-x v3.3 on Ubuntu 14.04 & Ubuntu 14.10 1 get the source code sudo apt-get install ...
- How to install / setup /upgrade PHP 5.5.x on Ubuntu 12.04 LTS
原文:http://www.dev-metal.com/how-to-setup-latest-version-of-php-5-5-on-ubuntu-12-04-lts/ 最近遇到了要在ubunt ...
- How to install the NVIDIA drivers on Ubuntu 18.04 Bionic Beaver Linux
Objective The objective is to install the NVIDIA drivers on Ubuntu 18.04 Bionic Beaver Linux. This a ...
随机推荐
- asterisk用 freetds记录 cdr 到mssql
Compile, configure, and install the latest FreeTDS package: [pre] tar -zxvf freetds-0.62.4 ...
- [HAOI 2012] Road
[题目链接] https://www.lydsy.com/JudgeOnline/problem.php?id=2750 [算法] 考虑计算每个点对每条边的贡献 对于每个点首先运行SPFA或Dijks ...
- PHP/Javascript 数组定义 及JSON中的使用 ---OK
PHP数组定义 一维数组: 1.$a=array(1,2,4,5,6); 2.$a= Array("cec"=>"cecValue","logo ...
- Azure Key Vault (2) 使用Azure Portal创建和查看Azure Key Vault
<Windows Azure Platform 系列文章目录> 请注意: 文本仅简单介绍如何在Azure Portal创建和创建Key Vault,如果需要结合Application做二次 ...
- bzoj4520
KD-tree+堆 多年大坑 KD-tree已经是半年前学的了,忘记了.这道题当时一直T,今天重新抄了一遍,A了 KD-tree过程:1.建树:每次依次按x,y划分平面,像二叉搜索树一样建树,每个点维 ...
- SQL编程题-----1
首先,题目给出这个数据库表格 要求写出SQL语句使之变成如下表格 解决方法: SELECT t1.Rq,t1.胜,t2.负 FROM //t1和t2是自己命的新表格的名字 (SELEC ...
- dubbo 使用 filter 报错解决
dubbo可以用filter实现类似tomcat filter过滤器. 实现1.接口请求时间监控. 2.打印输入输出日志(输出日志有应用自己决定) 配置时出现报错. No such extension ...
- 同步数据库bat脚本
在开发中, 如果需要将测试数据库同步到本地进行本地的测试, 可以执行一下脚本进行同步 @ECHO off TITLE databaseBackup REM : 该脚本会将 191 的 database ...
- cocos2dx-lua绑定之代码编辑器
转自:http://blog.csdn.net/wtyqm/article/details/9346863 享受脚本语言灵活.更新方便.免于编译的好处,但也不能忍受离开那些方便的IDE特性(跳转.自动 ...
- Codeforces714B【读题-水】
题意: 给你n个数,然后让你自己选择X,先选择一些+一次:然后选择一些-一次. 思路: 首先要去判断是不是不需要处理或者处理一次的情况: 其实这样的话,你不可能选x然后最小和最大都加减一次,所以肯定是 ...