2023-02-28:moonfdd/ffmpeg-go是用go语言绑定ffmpeg的库,目前是github上最好用的库。请用go语言将yuv文件编码为h264文件。
2023-02-28:moonfdd/ffmpeg-go是用go语言绑定ffmpeg的库,目前是github上最好用的库。请用go语言将yuv文件编码为h264文件。
答案2023-02-28:
使用 github.com/moonfdd/ffmpeg-go 库。
命令如下:
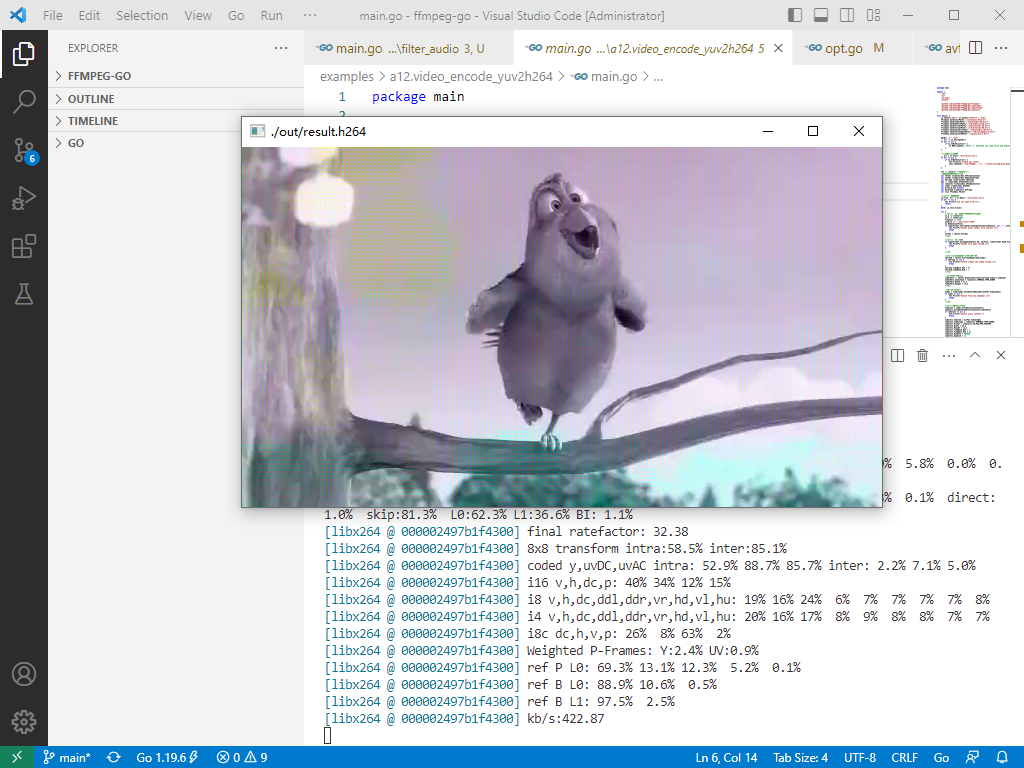
go run ./examples/a12.video_encode_yuv2h264/main.go
参考了12:yuv编码为h264,代码用golang编写。代码如下:
package main

import (

	"fmt"

	"os"

	"os/exec"

	"unsafe"

	"github.com/moonfdd/ffmpeg-go/ffcommon"

	"github.com/moonfdd/ffmpeg-go/libavcodec"

	"github.com/moonfdd/ffmpeg-go/libavformat"

	"github.com/moonfdd/ffmpeg-go/libavutil"

)

func main() {

	os.Setenv("Path", os.Getenv("Path")+";./lib")

	ffcommon.SetAvutilPath("./lib/avutil-56.dll")

	ffcommon.SetAvcodecPath("./lib/avcodec-58.dll")

	ffcommon.SetAvdevicePath("./lib/avdevice-56.dll")

	ffcommon.SetAvfilterPath("./lib/avfilter-56.dll")

	ffcommon.SetAvformatPath("./lib/avformat-58.dll")

	ffcommon.SetAvpostprocPath("./lib/postproc-55.dll")

	ffcommon.SetAvswresamplePath("./lib/swresample-3.dll")

	ffcommon.SetAvswscalePath("./lib/swscale-5.dll")

	genDir := "./out"

	_, err := os.Stat(genDir)

	if err != nil {

		if os.IsNotExist(err) {

			os.Mkdir(genDir, 0777) //  Everyone can read write and execute

		}

	}

	//是否存在yuv文件

	_, err = os.Stat("./out/result.yuv")

	if err != nil {

		if os.IsNotExist(err) {

			fmt.Println("create yuv file")

			exec.Command("./lib/ffmpeg", "-i", "./resources/big_buck_bunny.mp4", "-pix_fmt", "yuv420p", "./out/result.yuv", "-y").CombinedOutput()

		}

	}

	ret := int32(0) //默认返回值

	//需要的变量名并初始化

	var fmtCtx *libavformat.AVFormatContext

	var outFmt *libavformat.AVOutputFormat

	var vStream *libavformat.AVStream

	pkt := libavcodec.AvPacketAlloc()

	var codecCtx *libavcodec.AVCodecContext

	var codec *libavcodec.AVCodec

	var picture_buf uintptr

	var picFrame *libavutil.AVFrame

	var size ffcommon.FSizeT

	//[1]!打开视频文件

	in_file, err := os.Open("./out/result.yuv")

	if err != nil {

		fmt.Printf("can not open file!\n")

		return

	}

	defer in_file.Close()

	for {

		//[2]!打开输出文件,并填充fmtCtx数据

		in_w := int32(640)

		in_h := int32(360)

		frameCnt := 1440

		outFile := "./out/result.h264"

		os.Remove(outFile)

		if libavformat.AvformatAllocOutputContext2(&fmtCtx, nil, "", outFile) < 0 {

			fmt.Printf("Cannot alloc output file context.\n")

			break

		}

		outFmt = fmtCtx.Oformat

		//[2]!

		//[3]!打开输出文件

		if libavformat.AvioOpen(&fmtCtx.Pb, outFile, libavformat.AVIO_FLAG_READ_WRITE) < 0 {

			fmt.Printf("output file open failed.\n")

			break

		}

		//[3]!

		//[4]!创建h264视频流,并设置参数

		vStream = fmtCtx.AvformatNewStream(codec)

		if vStream == nil {

			fmt.Printf("failed create new video stream.\n")

			break

		}

		vStream.TimeBase.Den = 25

		vStream.TimeBase.Num = 1

		//[4]!

		//[5]!编码参数相关

		codecPara := fmtCtx.GetStream(uint32(vStream.Index)).Codecpar

		codecPara.CodecType = libavutil.AVMEDIA_TYPE_VIDEO

		codecPara.Width = in_w

		codecPara.Height = in_h

		//[5]!

		//[6]!查找编码器

		codec = libavcodec.AvcodecFindEncoder(outFmt.VideoCodec)

		if codec == nil {

			fmt.Printf("Cannot find any endcoder.\n")

			break

		}

		//[6]!

		//[7]!设置编码器内容

		codecCtx = codec.AvcodecAllocContext3()

		codecCtx.AvcodecParametersToContext(codecPara)

		if codecCtx == nil {

			fmt.Printf("Cannot alloc context.")

			break

		}

		codecCtx.CodecId = outFmt.VideoCodec

		codecCtx.CodecType = libavutil.AVMEDIA_TYPE_VIDEO

		codecCtx.PixFmt = libavutil.AV_PIX_FMT_YUV420P

		codecCtx.Width = in_w

		codecCtx.Height = in_h

		codecCtx.TimeBase.Num = 1

		codecCtx.TimeBase.Den = 25

		codecCtx.BitRate = 400000

		codecCtx.GopSize = 12

		if codecCtx.CodecId == libavcodec.AV_CODEC_ID_H264 {

			codecCtx.Qmin = 10

			codecCtx.Qmax = 51

			codecCtx.Qcompress = 0.6

		}

		if codecCtx.CodecId == libavcodec.AV_CODEC_ID_MPEG2VIDEO {

			codecCtx.MaxBFrames = 2

		}

		if codecCtx.CodecId == libavcodec.AV_CODEC_ID_MPEG1VIDEO {

			codecCtx.MbDecision = 2

		}

		//[7]!

		//[8]!打开编码器

		if codecCtx.AvcodecOpen2(codec, nil) < 0 {

			fmt.Printf("Open encoder failed.\n")

			break

		}

		//[8]!

		fmtCtx.AvDumpFormat(0, outFile, 1) //输出 输出文件流信息

		//初始化帧

		picFrame = libavutil.AvFrameAlloc()

		picFrame.Width = codecCtx.Width

		picFrame.Height = codecCtx.Height

		picFrame.Format = codecCtx.PixFmt

		size = uint64(libavutil.AvImageGetBufferSize(codecCtx.PixFmt, codecCtx.Width, codecCtx.Height, 1))

		picture_buf = libavutil.AvMalloc(size)

		libavutil.AvImageFillArrays((*[4]*byte)(unsafe.Pointer(&picFrame.Data)), (*[4]int32)(unsafe.Pointer(&picFrame.Linesize)), (*byte)(unsafe.Pointer(picture_buf)), codecCtx.PixFmt,

			codecCtx.Width, codecCtx.Height, 1)

		//[9] --写头文件

		ret = fmtCtx.AvformatWriteHeader(nil)

		//[9]

		y_size := codecCtx.Width * codecCtx.Height

		pkt.AvNewPacket(int32(size * 3))

		buf := make([]byte, size)

		//picture_buf = uintptr(unsafe.Pointer(&buf[0]))

		//[10] --循环编码每一帧

		for i := 0; i < frameCnt; i++ {

			//读入YUV

			n, err := in_file.Read(buf)

			if err != nil {

				fmt.Println("read end")

				break

			}

			if n <= 0 {

				break

			}

			for i := 0; i < n; i++ {

				*(*byte)(unsafe.Pointer(picture_buf + uintptr(i))) = buf[i]

			}

			picFrame.Data[0] = (*byte)(unsafe.Pointer(picture_buf))                       //亮度Y

			picFrame.Data[1] = (*byte)(unsafe.Pointer(picture_buf + uintptr(y_size)))     // U

			picFrame.Data[2] = (*byte)(unsafe.Pointer(picture_buf + uintptr(y_size*5/4))) // V

			// AVFrame PTS

			picFrame.Pts = int64(i)

			//编码

			if codecCtx.AvcodecSendFrame(picFrame) >= 0 {

				for codecCtx.AvcodecReceivePacket(pkt) >= 0 {

					fmt.Printf("encoder success!\n")

					// parpare packet for muxing

					pkt.StreamIndex = uint32(vStream.Index)

					pkt.AvPacketRescaleTs(codecCtx.TimeBase, vStream.TimeBase)

					pkt.Pos = -1

					ret = fmtCtx.AvInterleavedWriteFrame(pkt)

					if ret < 0 {

						fmt.Printf("error is: %s.\n", libavutil.AvErr2str(ret))

					}

					pkt.AvPacketUnref() //刷新缓存

				}

			}

		}

		//[10]

		//[11] --Flush encoder

		ret = flush_encoder(fmtCtx, codecCtx, vStream.Index)

		if ret < 0 {

			fmt.Printf("flushing encoder failed!\n")

			break

		}

		//[11]

		//[12] --写文件尾

		fmtCtx.AvWriteTrailer()

		//[12]

		break

	}

	// //===========================释放所有指针===============================//

	libavcodec.AvPacketFree(&pkt)

	codecCtx.AvcodecClose()

	libavutil.AvFree(uintptr(unsafe.Pointer(picFrame)))

	libavutil.AvFree(picture_buf)

	if fmtCtx != nil {

		fmtCtx.Pb.AvioClose()

		fmtCtx.AvformatFreeContext()

	}

	_, err = exec.Command("./lib/ffplay.exe", "./out/result.h264").Output()

	if err != nil {

		fmt.Println("play err = ", err)

	}

}

//刷新编码器

func flush_encoder(fmtCtx *libavformat.AVFormatContext, codecCtx *libavcodec.AVCodecContext, vStreamIndex int32) int32 {

	var ret int32

	enc_pkt := libavcodec.AvPacketAlloc()

	enc_pkt.Data = nil

	enc_pkt.Size = 0

	if codecCtx.Codec.Capabilities&libavcodec.AV_CODEC_CAP_DELAY == 0 {

		return 0

	}

	fmt.Printf("Flushing stream #%d encoder\n", vStreamIndex)

	ret = codecCtx.AvcodecSendFrame(nil)

	if ret >= 0 {

		for codecCtx.AvcodecReceivePacket(enc_pkt) >= 0 {

			fmt.Printf("success encoder 1 frame.\n")

			// parpare packet for muxing

			enc_pkt.StreamIndex = uint32(vStreamIndex)

			enc_pkt.AvPacketRescaleTs(codecCtx.TimeBase, fmtCtx.GetStream(uint32(vStreamIndex)).TimeBase)

			ret = fmtCtx.AvInterleavedWriteFrame(enc_pkt)

			if ret < 0 {

				break

			}

		}

	}

	return ret

}
2023-02-28:moonfdd/ffmpeg-go是用go语言绑定ffmpeg的库,目前是github上最好用的库。请用go语言将yuv文件编码为h264文件。的更多相关文章
- mac 查看文件编码及转换文件编码
方法是用vim , vim 打开相应文件, :set fileencoding即可显示文件编码格式 将文件编码转换为utf-8 :set fileencoding=utf-8
- 2018-4-25 1.如何在GitHub上新建一个新的项目并下载该项目及如何提交新的文件
- Linux查看文件编码格式及文件编码转换
Linux查看文件编码格式及文件编码转换 如果你需要在Linux 中操作windows下的文件,那么你可能会经常遇到文件编码转换的问题.Windows中默认的文件格式是GBK(gb2312),而L ...
- linux文件编码
linux下新建一个文件,或采用fopen新建,那么文件的编码是什么? 怎么查看文件编码格式: 查看文件编码file命令file ip.txt ip.txt: UTF-8 Unicode text, ...
- iconv 文件编码相互转换
iconv 文件编码相互转换 示例: iconv -f utf-8 -t gbk ~/a.txt > ~/b.txt -f 从哪种格式转换 -t 要转换到哪种格式 a.txt要转换的文件 b.t ...
- 在Linux中查看文件的编码及对文件进行编码转换
如果你需要在Linux中操作windows下的文件,那么你可能会经常遇到文件编码转换的问题.Windows中默认的文件格式是GBK(gb2312),而Linux一般都是UTF-8.下面介绍一下,在Li ...
- linux下查看文件编码及修改编码
http://blog.csdn.net/jnbbwyth/article/details/6991425 查看文件编码在Linux中查看文件编码可以通过以下几种方式:1.在Vim中可以直接查看文件编 ...
- [转] linux下查看文件编码及修改编码
如果无法识别文件编码,可能是文件中已有乱码,此时需要去掉乱码 查看文件编码 在Linux中查看文件编码可以通过以下几种方式: 1.在Vim中可以直接查看文件编码 :set fileencoding 即 ...
- 在Vim中查看文件编码
:set fileencoding 即可显示文件编码格式. 如果你只是想查看其它编码格式的文件或者想解决 用Vim查看文件乱码的问题,那么在 ~/.vimrc 文件中添加以下内容: set encod ...
- (转载)Linux查看文件编码格式及文件编码转换
Linux查看文件编码格式及文件编码转换 时间:2011-04-08作者:woyoo分类:linux评论:0 我友分享: 新浪微博 腾讯微博 搜狐微博 网易微博 开心网 QQ空间 msn 如果你需要在 ...
随机推荐
- 例题1:shell脚本
题目总结: 1.搜索子域名的shell脚本 2.嗅探并抓去网页快照shell脚本 3.漏洞利用程序下载脚本 题目一:依次输入以下代码即可: 1.wget www.megacorpone.com 2. ...
- Arduino优化 减少重复代码 例2
Example->Blink: void setup() { pinMode(LED_BUILTIN, OUTPUT); } void loop() { digitalWrite(LED_BUI ...
- Docker-界面化
docker-ui docker-ui只能便于我们查看系统的相关信息,镜像或者容器.在界面上做简单的处理,可处理单机版Docker. docker pull uifd/ui-for-docker do ...
- Android笔记--文本输入
编辑框EditText 相关内部部件取下: inputType的类型如下: 具体实现: 不同边框的实现: 焦点变更监听器 具体实现: 文本变化监听器 具体实现:
- windows 系统下 workerman 在同一个运行窗口中开启多个 websocket 服务
目录 开启多个 ws 服务失败 开启服务失败解决办法 同一个窗口中运行 开启多个 ws 服务失败 正常情况下,如果你想开启多个 websocket 服务的话 只要在一个文件中,输入 new Worke ...
- 常用Linux发行版操作系统大盘点
B站CodeSheep的教程 https://www.bilibili.com/read/cv6026694
- Django笔记八之model中Meta参数的使用
前面介绍了 model 的字段属性,字段类型,这篇笔记介绍一下 model 的 Meta 选项. 这个选项提供了一些参数,比如排序(ordering),表名(db_table)等. 但这都不是必需的, ...
- vue-i18n警告
vue3引入vue-i18n警告: bundler build of vue-i18n. It is recommended to configure your bundler to explicit ...
- '林子雨大数据' 实验3 HBase操作与接口编程
"林子雨大数据" 实验3 HBase操作与接口编程 环境搭建 VM虚拟机和Ubuntu系统的安装 在Windows中使用VirtualBox安装Ubuntu虚拟机(2020年7月版 ...
- webrtc QOS笔记三 Nack机制浅析
nack源码浅析 nack源码浅析 Video Nack nack模块 nack list keyFrame list & recovered list nack 发送的策略 nack 模块的 ...